As an Amazon Associate, I earn from qualifying purchases at no extra cost to you.
12 Side of Kitchen Cabinet Ideas (That Feel Calm Fast)
 ByRayan

All of you probably have that one boring end panel, staring back at you, collecting dust. It is just a flat, lifeless slab of wood, sitting there like a missed chance for greatness. I have seen so many kitchens where this spot is totally ignored, or worse, covered in a mess of magnets and stray mail. It drives me crazy, honestly.
People usually just leave these sides blank, which is such a shame, because it is basically free real estate for your home. You are letting prime space go to waste, and your kitchen looks unfinished because of it. I have fixed this in countless homes, and trust me, it is the easiest way to make your kitchen feel like a brand new room.
In this guide, I will show you twelve ways to use that side of kitchen cabinet space, so you can stop staring at that empty wall and start enjoying a functional home. We are going to look at smart storage, pretty displays, and clever tricks that will actually make your life easier, and your kitchen look like a million bucks.
Use Open Shelving for Daily Essentials
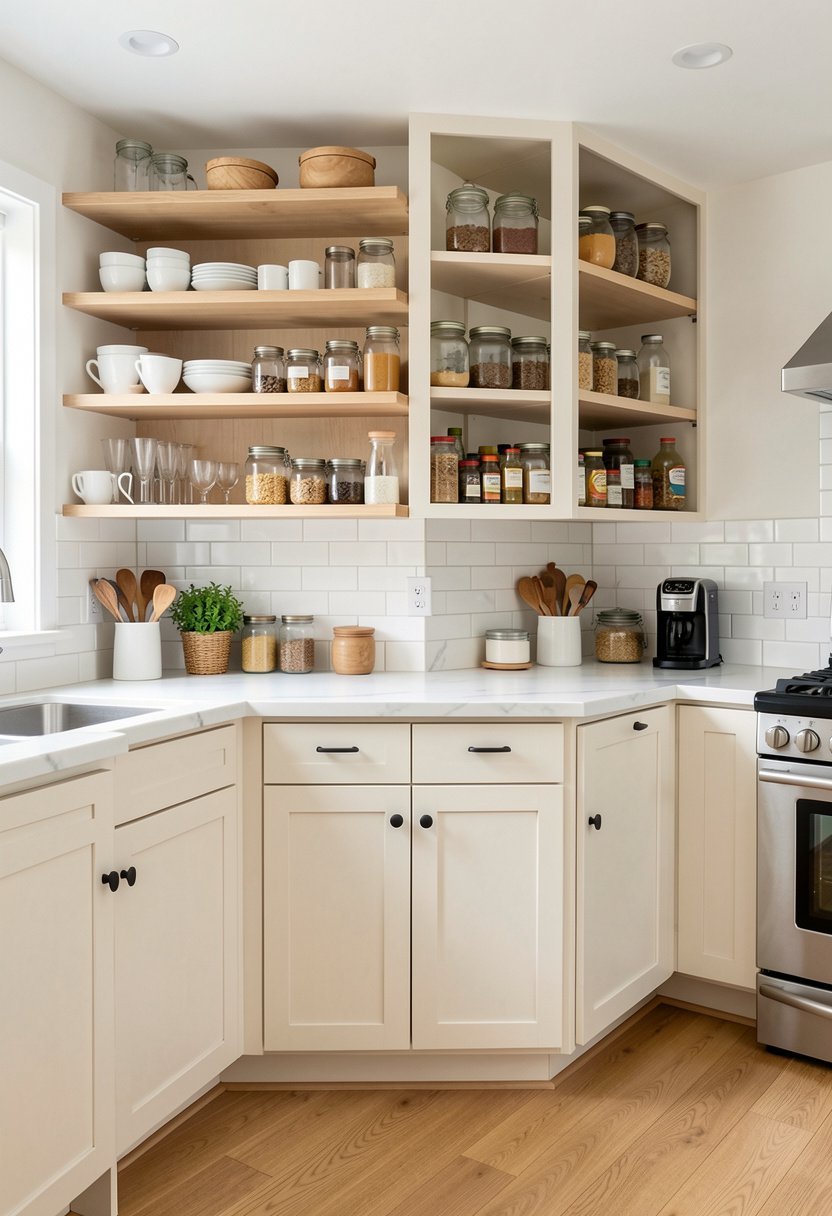
Adding a few open shelves to the end of your cabinets is a total game changer, really. Most people are terrified of open storage, thinking it will look cluttered, but that is just lazy thinking. If you keep your most used mugs or bowls here, you actually save time every single morning. It turns a dead corner into a hero spot.
I suggest keeping the wood tone simple, or matching your cabinets, so it flows well. Please, do not stuff it full of random junk. Use it for things you grab every day. If you put a bunch of heavy ceramic vases on thin shelves, that is on you when they wobble. Keep it light, keep it organized, and it will look like a professional display.
Stop worrying about dust, and just embrace the beauty of accessible items. You will feel organized every time you reach for your favorite coffee mug. It is simple, it is fast, and it works.
- Install shelves at eye level for easy reach.
- Keep the items grouped by color for style.
- Use sturdy brackets to prevent any sagging.
- Clear the clutter to keep it looking tidy.

Install a Slim Message Board for Notes
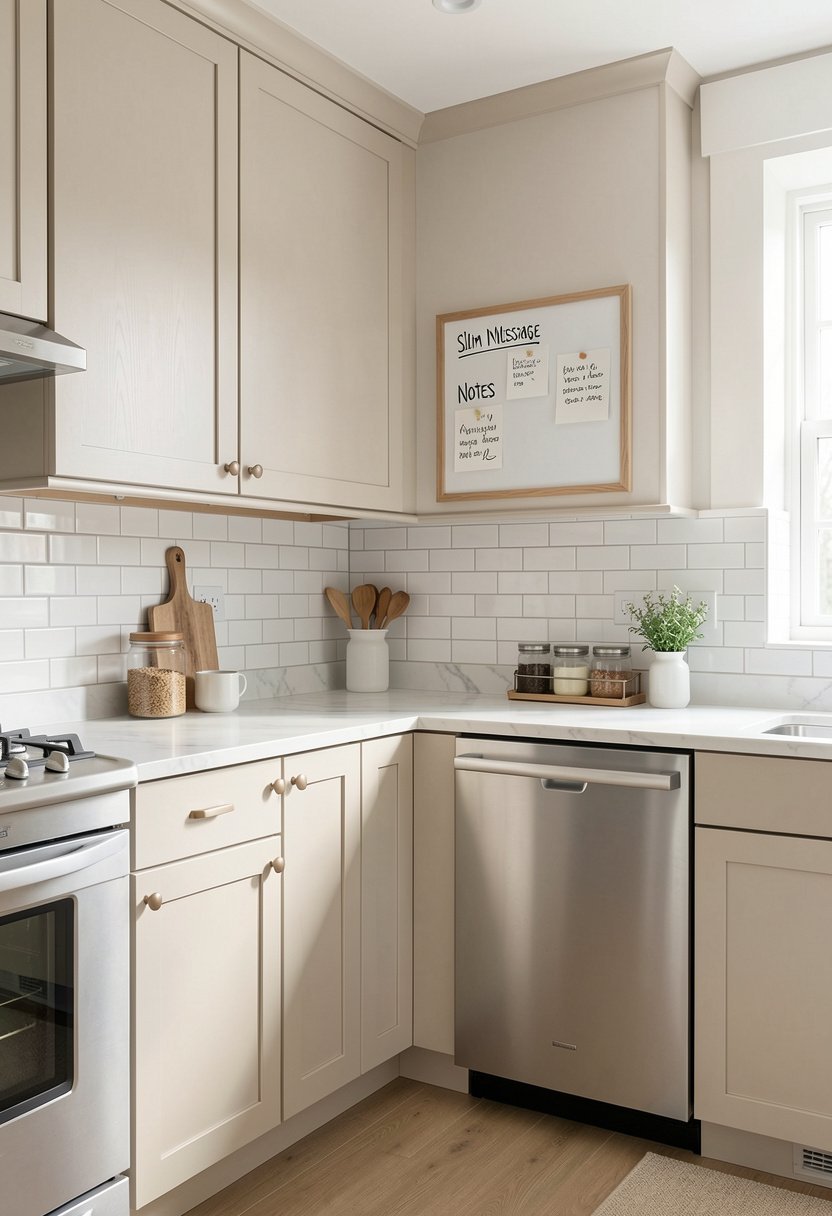
Forget those ugly, bulky bulletin boards that take up half your wall. A small message board on the side of a cabinet is sleek, smart, and totally invisible when you do not need it. You can paint the panel with chalkboard paint or add a small cork strip, which is way cleaner than taping paper to the wall. It is the best spot for grocery lists.
Everyone tries to hide their schedules on the fridge, which looks like a chaotic disaster zone. By moving your reminders to the cabinet side, you keep the fridge clean and your brain sharp. I love a dark slate color here, because it adds a nice pop of contrast without being too loud. It is functional decor that keeps your household running without the usual mess.
If you are tired of losing track of your to-do list, this is your fix. It keeps your life centered right in the heart of the kitchen, where you actually spend your time.
- Use high quality chalkboard paint for smoothness.
- Keep your chalk in a small wooden cup.
- Limit notes to just your most urgent tasks.
- Place it away from the stove for cleanliness.
Hang a Sturdy Rod for Kitchen Towels
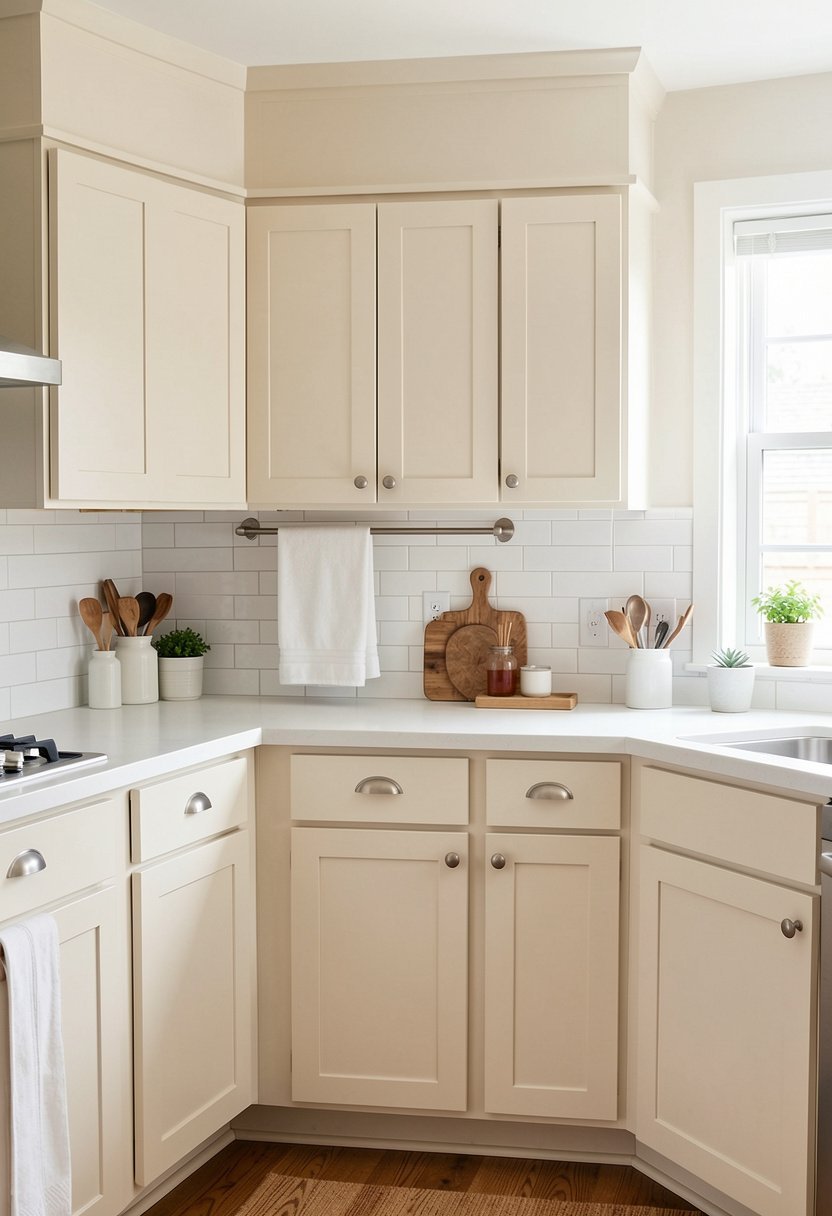
Most kitchens suffer from a complete lack of towel space, and it is honestly a tragedy. People drape damp towels over the oven door handle, which looks tacky, or they stuff them into a drawer, where they stay wet and gross. Putting a simple metal rod on the side of your cabinet is the smartest move you can make for your hygiene and your style.
Choose a finish that matches your hardware, like brushed brass or matte black, to keep it looking expensive. You want a rod that feels heavy, not that cheap plastic stuff you find at the bargain bin. If you mount it firmly, it holds your towels flat, so they actually dry between uses. This keeps your kitchen smelling fresh and looking like a clean, crisp space.
Stop settling for soggy towels on your oven handle. Give them a home that lets them air out, and your kitchen will instantly feel much more put together.
- Mount the rod at a comfortable height.
- Pick a finish that matches your faucet.
- Ensure the rod is wide enough for towels.
- Check that the towel does not touch floors.
Add a Small Magnetic Knife Strip
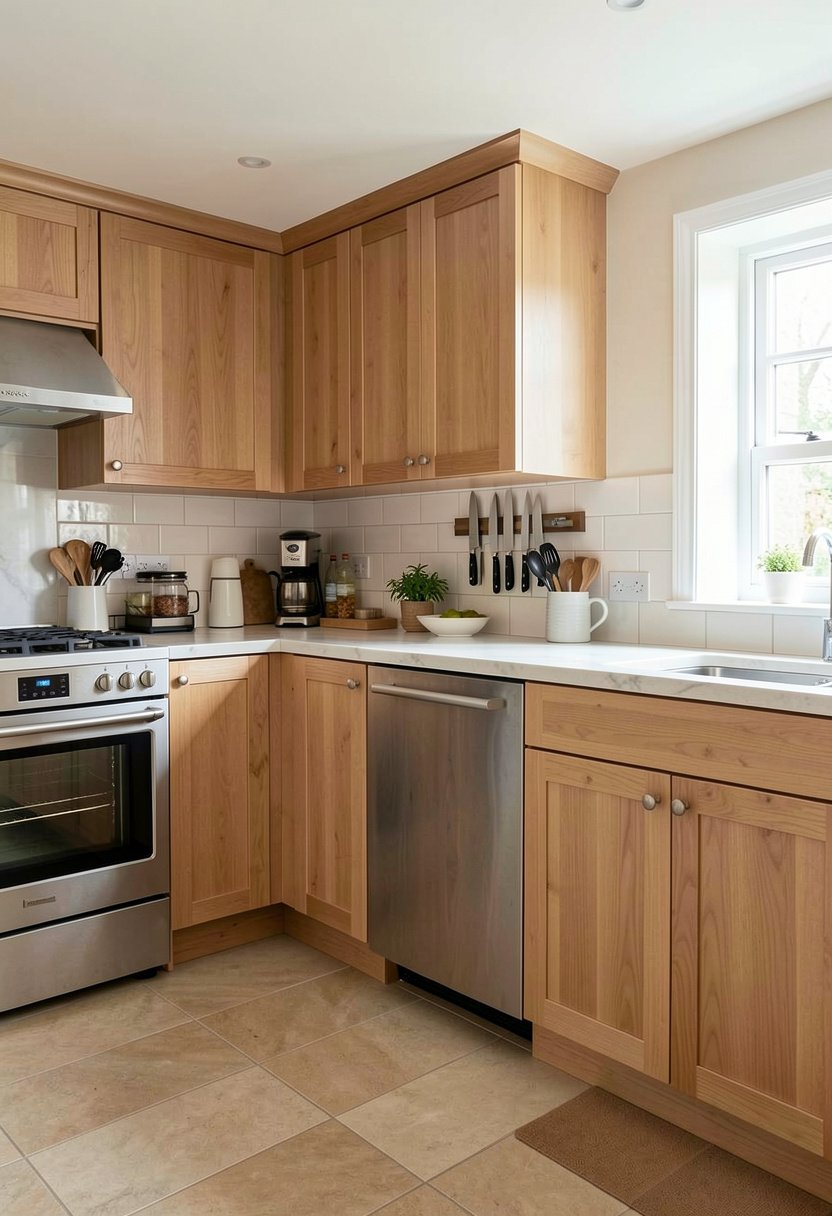
If your counter space is a total war zone, you need to get your tools off the surface immediately. A magnetic strip on the side of your cabinet is the perfect solution for keeping knives organized. I see people using those bulky wood knife blocks, which are honestly just germ traps that take up way too much room. Do not be that person.
Make sure you install the magnet strip away from high traffic areas, so you do not accidentally bump into it. It needs to be strong enough to hold your knives securely, because nobody wants a blade falling on their foot. When you have your tools right there, you will find yourself cooking more and stressing less. It looks sharp, professional, and very intentional.
Keep your blades clean and your counters clear, and you will finally feel like a chef in your own home. It is a quick upgrade that pays off every time you prep.
- Test the magnet strength before mounting knives.
- Place it high enough to avoid small children.
- Wipe the knives clean before putting them away.
- Choose a length that fits the panel well.
Create a Hidden Charging Station Hub
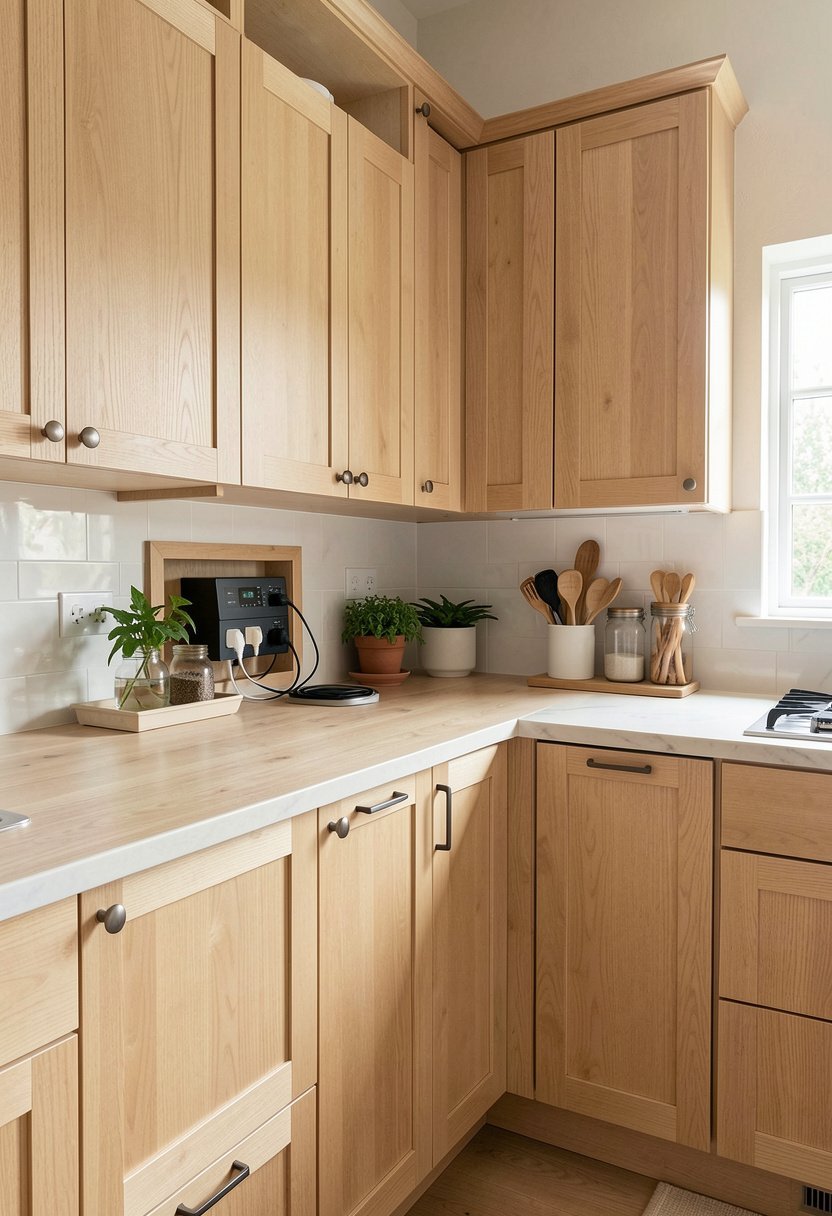
We all have way too many cords snaking across our counters, and it is a complete eyesore. If you mount a small power strip on the cabinet side, you can hide all those chargers out of sight. I use a small basket to hold the devices, so they stay tucked away while the battery fills up. It is the best way to keep tech out of your food area.
You have to be careful with where you run the cord, of course, but it is totally worth the effort. Do not let your phone live on your island where it can get covered in flour or water. By using the side panel, you save your counter and keep your gadgets charged in one spot. It is a smart move for any busy family home.
Stop letting your kitchen counters look like a server room. This hidden spot keeps everything charged and tidy, so you can actually enjoy your coffee without cords in the way.
- Use a fabric basket to hide the wires.
- Install a power strip with a surge protector.
- Keep the cables organized with small ties.
- Unplug the whole unit when not in use.
Use Pegboards for Hanging Cooking Utensils
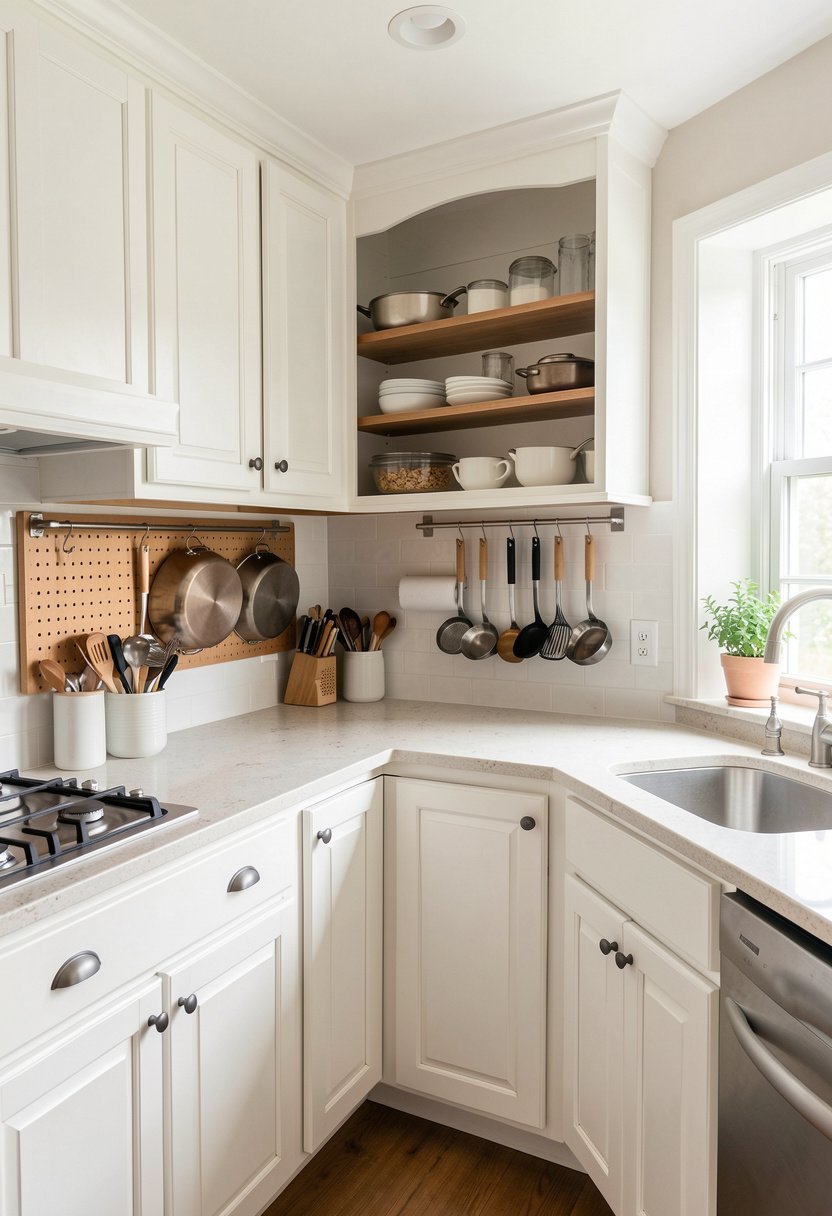
Pegboards are not just for the garage, and if you think otherwise, you are missing out on serious storage. Installing a piece of pegboard on the cabinet side gives you a modular place to hang everything from measuring cups to heavy whisks. People often shove these in drawers where they get tangled, which is such a waste of your time and energy.
I love using light wood or white pegboard to keep the vibe breezy and clean. You can move the hooks around whenever you buy a new tool, which makes it super flexible. If you want a kitchen that feels custom and highly functional, this is how you do it. It looks cool, it stays organized, and it keeps your tools within reach at all times.
Stop digging through drawers for that one elusive spatula. Just hang it up, keep it visible, and save your sanity during those busy weekday dinner prep sessions.
- Use metal hooks for a sturdy long-term hold.
- Arrange items by frequency of use clearly.
- Keep the heaviest items toward the bottom.
- Paint the board to match your wall color.
Mount a Slim Mirror for More Light
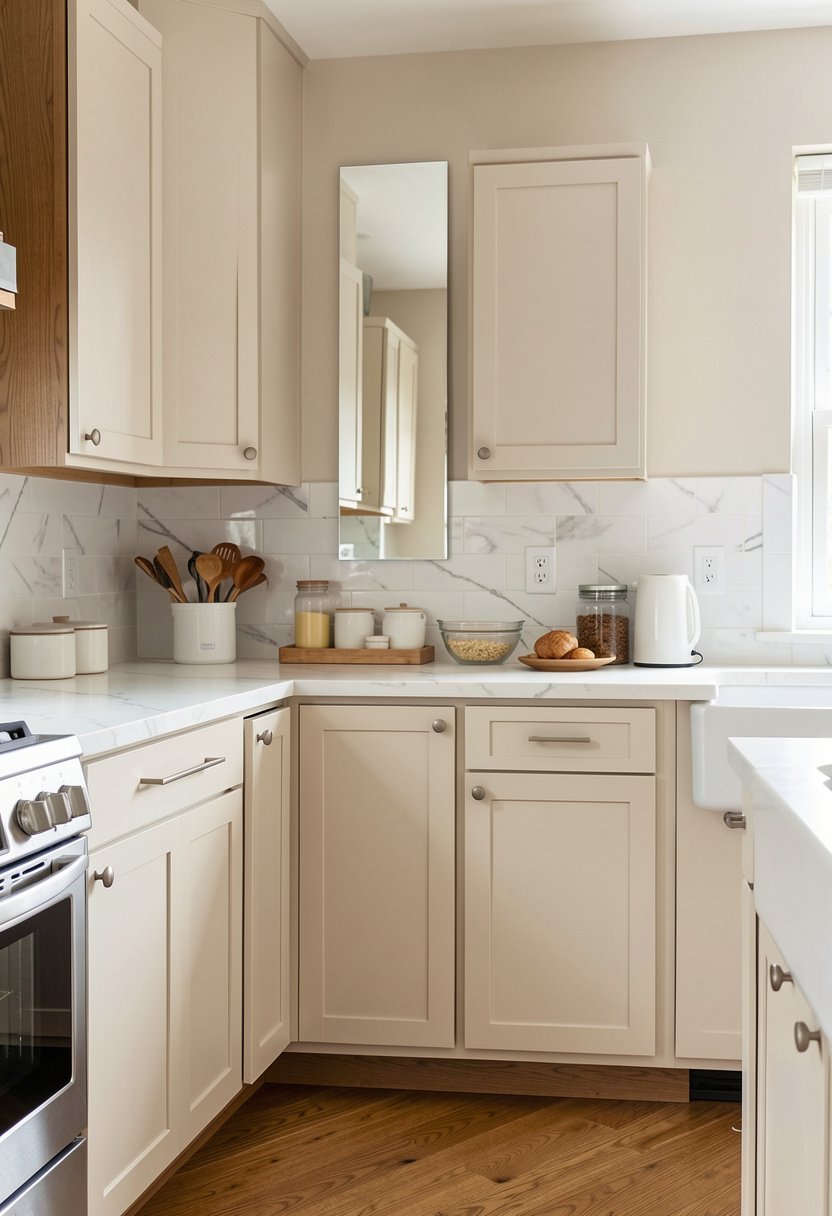
Small kitchens can feel like a dark cave, and that is a massive problem for your mood. Adding a slim, long mirror to the side of a cabinet can actually bounce light around and make the room feel twice as big. It is a secret trick that interior designers use all the time, but homeowners are usually scared to try it. Just do it.
Go for a frameless or thin metal frame to keep it looking modern. You do not want something that screams at you, just a quiet piece that adds depth. If your kitchen feels cramped or narrow, this will solve the issue instantly. It is like adding a window where there was none, which completely changes the feeling of the space in an instant.
Stop working in a dim corner. This mirror trick adds brightness, depth, and a touch of class that makes your kitchen feel larger and much lighter.
- Use a strong adhesive for a flush mount.
- Place the mirror where it reflects a light.
- Choose a simple shape to avoid distraction.
- Clean the surface often to maintain the shine.
Place a Custom Spice Rack Shelf
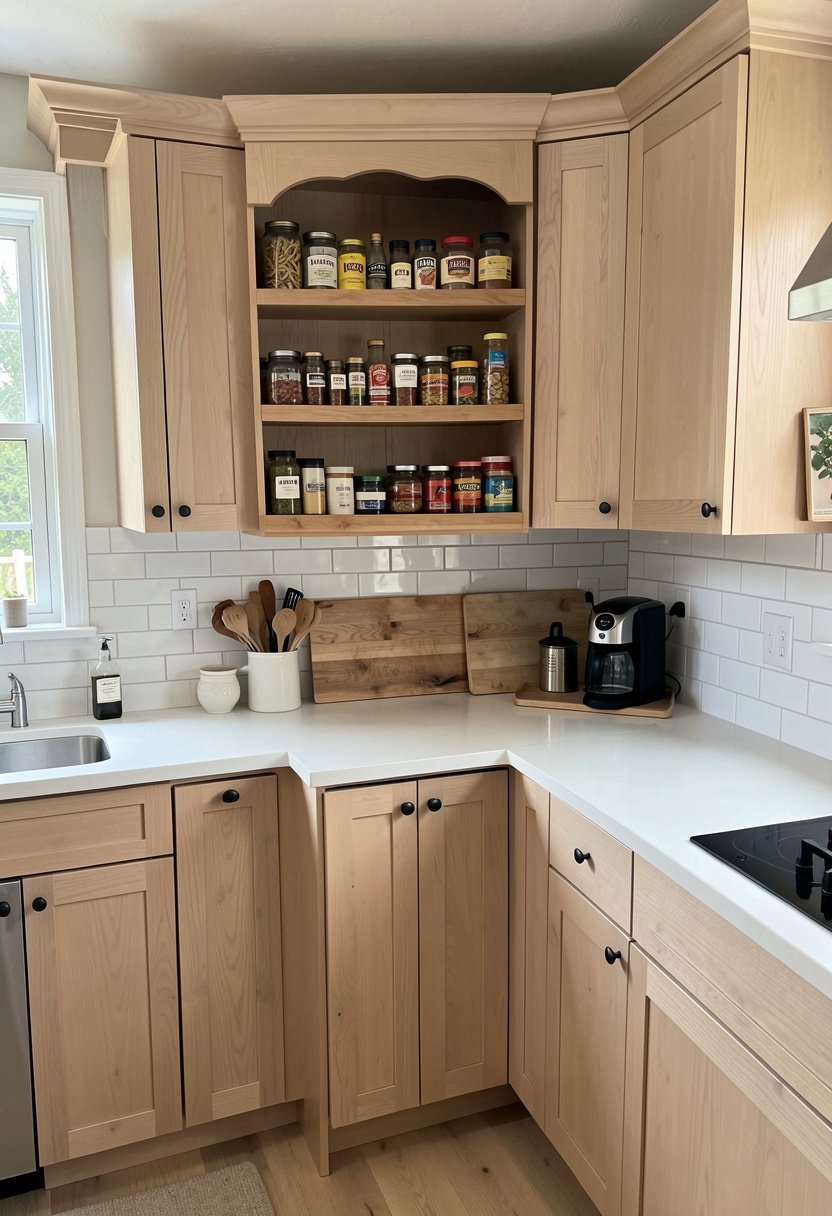
If your spices are currently hidden in a dark cabinet, you are probably forgetting what you have. A shallow spice rack on the side of a cabinet keeps your ingredients right in view, so you actually use them. I hate those bulky store-bought organizers that barely fit, so build something simple that fits your wall perfectly. It is the ultimate kitchen upgrade.
Ensure the shelves are just deep enough for a jar, so you do not lose anything in the back. I prefer clear glass jars with labels because it looks uniform and organized. When you have your spices handy, your food tastes better, and your cooking becomes much more fun. It is a small change, but it makes a massive difference in your daily routine.
Quit guessing which jar has the cumin. Keep your spices visible, organized, and ready for action, and your dinner game will finally reach the next level of success.
- Group spices by theme like baking or heat.
- Label every jar clearly for easy finding.
- Build shelves with a small front lip rail.
- Keep jars out of direct sunlight if possible.
Hang an Art Print or Family Photo
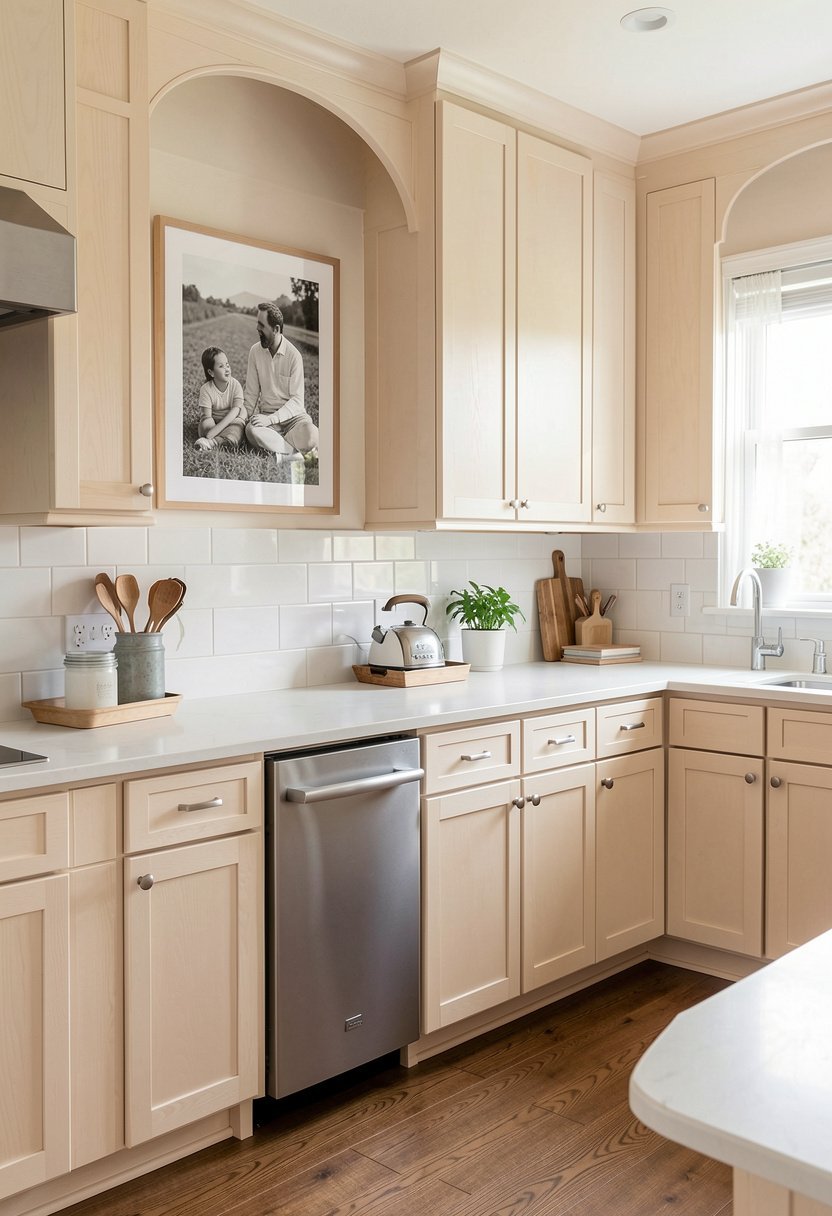
Sometimes, the best thing to do is just make the kitchen feel more like a home. The side of your cabinet is a blank canvas, and putting up a framed photo or a piece of art softens the hard lines of the appliances. People treat kitchens like sterile laboratories, but you should treat them like living spaces. A little art adds real soul.
Choose a frame that is thin and light, so you do not add unnecessary weight. I personally love black and white photography for a clean look, but go with whatever makes you smile. It creates a focal point that is not related to cleaning or cooking, which is a nice break for your eyes. It is easy, cheap, and totally changes the vibe.
Stop living in a showroom and start living in a home. A small, personal touch here turns a boring side panel into a moment of happiness.
- Use light frames to keep mounting simple.
- Pick art that inspires you while cooking.
- Keep the frame away from the cooking heat.
- Change the print to match the current season.
Add a Small Fold Down Table
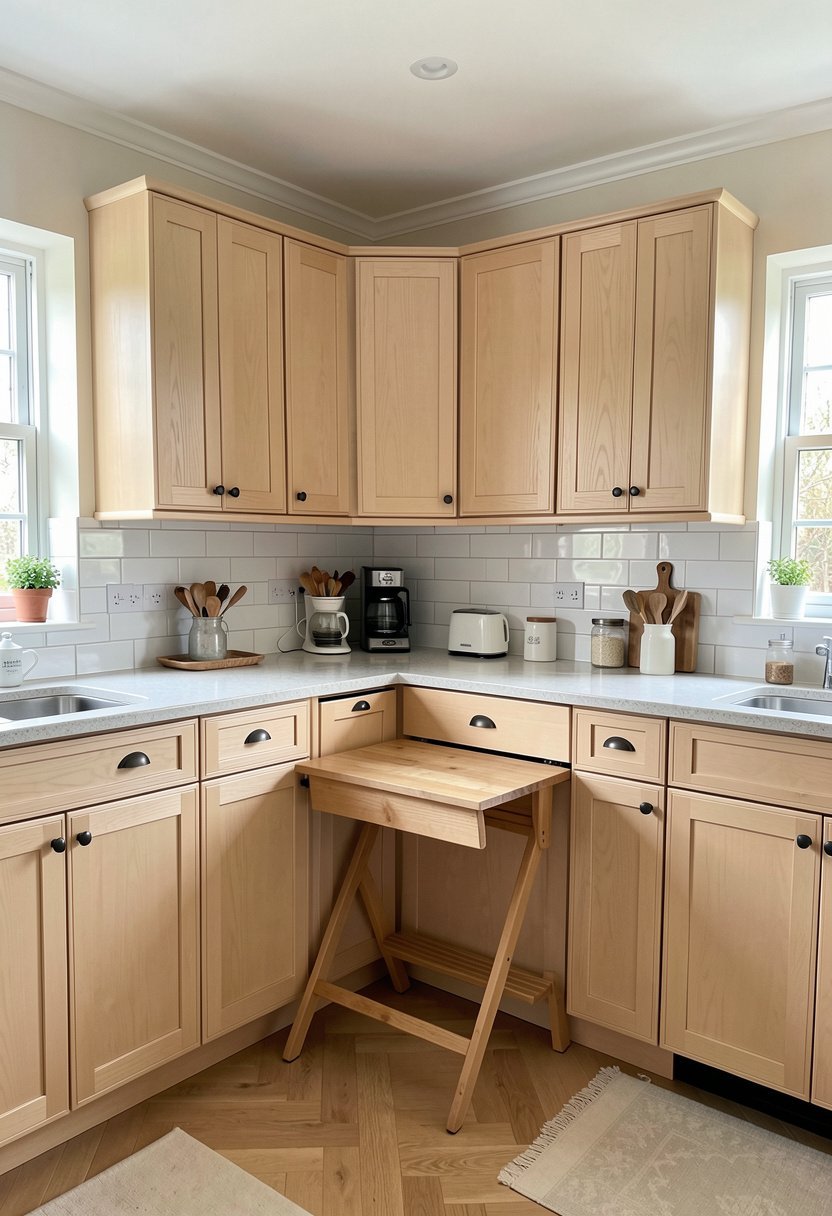
If your kitchen is tiny, you might be desperate for a bit of extra counter space. A fold-down table mounted to the side of your cabinet is a total lifesaver for prep or a quick snack. It tucks away when you do not need it, which is the kind of smart engineering I love. Most people just accept a small kitchen, but you do not have to.
Make sure the hinge is high quality, so it does not collapse while you are chopping vegetables. This needs to be sturdy or it is useless, plain and simple. When you need that extra spot, you just flip it down, get your work done, and hide it away again. It is a genius way to maximize your footprint without losing precious floor space.
Stop bumping into everything in your cramped kitchen. This little table provides the extra room you need, and disappears when the work is finally done.
- Use heavy duty hinges for total safety.
- Lock the table in place when in use.
- Choose a wood that matches your existing tops.
- Keep it folded when you have guests over.
Use a Decorative Wine Bottle Rack
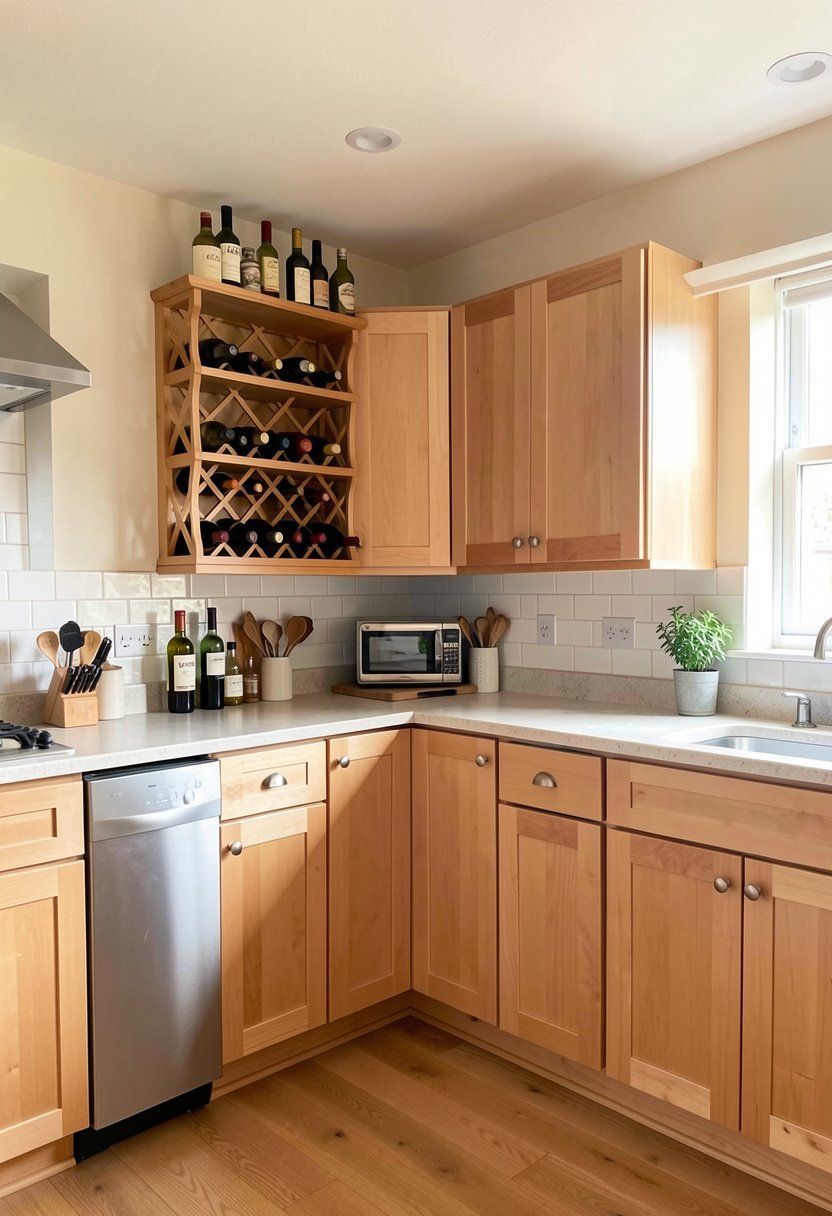
Displaying your favorite wine bottles on the side of your cabinet is a total vibe. It looks sophisticated, and it keeps your bottles horizontal so the corks stay moist. I see people sticking bottles in the fridge, or shoved in a pantry, but showing them off is much better. It turns your cabinet into a little cellar that you can actually enjoy.
Keep the rack simple and sturdy, so you do not risk a disaster. You want to see the labels, so pick a design that keeps them facing out. This is a great way to use vertical space that usually just sits there doing nothing. It adds a bit of warmth to the kitchen, and it is always ready when you need to pour a drink.
Stop hiding your wine in the dark. Put it on display, look like a pro, and enjoy the convenience of having your bottles ready for your next dinner.
- Secure the rack firmly to the wood panel.
- Avoid spots that get warm from the stove.
- Only store bottles for short term display.
- Pick a finish that matches your cabinet knobs.
Attach a Small Bin for Recyclables
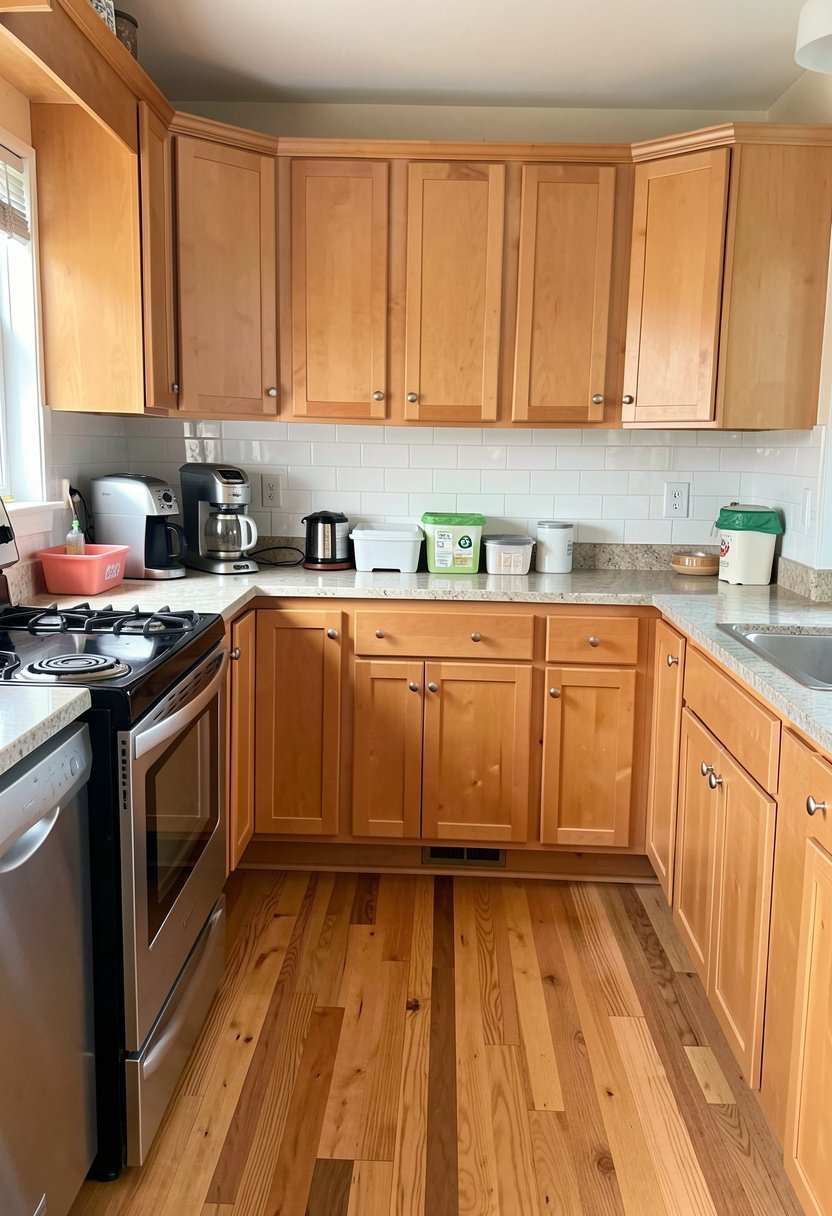
We all struggle with recycling, and the bin always ends up in the way. Mounting a small, sleek bin on the side of your cabinet makes the process seamless. People usually keep their recycling in a huge, ugly plastic bag, which is just sad. By using a wall-mounted bin, you keep the floor clear and the task of sorting your waste super easy.
Choose a bin with a lid so it looks tidy, even when it is full. It should be easy to remove so you can dump it into your larger container outside. I love matte white or stainless steel for this, as it blends right into the side of the cabinet. It is a functional fix that keeps your kitchen feeling clean and well managed.
Stop tripping over bags of plastic in your way. This simple setup makes sorting waste effortless, and keeps your kitchen floor open and much more organized.
- Get a bin that is easy to wipe down.
- Use a size that matches your daily load.
- Keep the bin at a convenient reach level.
- Label the bin so guests know what goes in.
Final Thoughts
I hope you see now that your cabinets have so much hidden potential. You do not need a big renovation to make your home feel better. Pick one of these ideas, grab a few tools, and get started this weekend. It is amazing how such a small change makes your daily life feel so much more organized and peaceful. You have got this, so just take the lead.
| Feature | Idea Option | Best For |
|---|---|---|
| Storage | Open Shelving | Mugs |
| Storage | Spice Rack | Herbs |
| Storage | Pegboard | Tools |
| Storage | Wine Rack | Bottles |
| Storage | Recycling Bin | Sorting |
| Decor | Art Frame | Style |
| Decor | Mirror | Lighting |
| Utility | Message Board | Notes |
| Utility | Towel Rod | Drying |
| Utility | Knife Strip | Prep |
| Utility | Charging Hub | Tech |
| Utility | Fold Down | Space |
| Finish | Matte Black | Contrast |
| Finish | Wood Grain | Warmth |
| Finish | Stainless | Modern |
Frequently Asked Questions
Is It Hard to Drill Into a Cabinet Side?
It is not hard if you are careful. Just use a drill bit made for wood, and be sure to check the depth so you do not poke a hole through the other side. Always mark your spot with a pencil first to be safe.
Can I Attach Heavy Items to the Side Panel?
You should be careful with heavy items. Most cabinet sides are just thin plywood. If you are hanging anything heavy, try to find the frame of the cabinet behind the panel, or use a backer board to spread the weight.
Are These Ideas Good for Rentals?
They are perfect for rentals because they are small and easy to remove. You can use adhesive strips for lighter items to avoid making holes. Just make sure to test the wall surface first to prevent any paint damage.
Do I Need Special Tools for These Projects?
You only need basic tools like a drill, a screwdriver, and a level. If you can handle a tape measure and a pencil, you can do every single one of these projects. Do not overthink it, just take your time.
Should I Match the Cabinet Wood Color?
You do not have to, but matching the color makes it look custom. If you want a fun contrast, go for it. Using a different wood tone or a bold paint color is a great way to add some personal style.
Does This Add Value to My Kitchen?
It adds value by making your space more functional and organized. Future buyers will love seeing a kitchen that uses every inch wisely. It shows you really care about the details, which is always a great selling point.
Will This Damage the Finish of the Cabinets?
If you use adhesive pads, there might be a tiny bit of residue to clean off later. If you use screws, you can fill the holes easily with wood putty. It is a very minor change for a big reward.
Are These Ideas Safe for a Kitchen?
These ideas are perfectly safe if you keep them away from heat sources like the stove or oven. Make sure everything is mounted securely so it does not fall. Always prioritize safety above the look of the project.