As an Amazon Associate, I earn from qualifying purchases at no extra cost to you.
10 Rv Kitchen Cabinet Ideas (That Turn Heads Fast)
 ByRayan

With a tiny camper kitchen, you quickly learn that every single inch of space counts, or you lose your mind. Most people just throw stuff in drawers, but that makes a mess, and it makes me want to scream. I have spent years fixing these cramped little boxes, so I know exactly what works, and what is just a waste of time.
If you have ever tried to find a spatula while driving, you know the struggle is real, and it is usually a disaster. People keep buying these heavy wooden organizers, but they are just heavy junk, and they ruin your gas mileage. You need smart, light solutions that actually stay put when you hit a bump, or you are just setting yourself up for a long, sad trip.
In this guide, I will show you my favorite 10 rv kitchen cabinet ideas that actually look good, and save you tons of space. We will talk about light storage, hidden spots, and ways to make your cabinets look custom, not like a cheap box. Trust me, these tips will save your sanity, and make your tiny home feel big, airy, and very clean.
Paint Everything Bright White
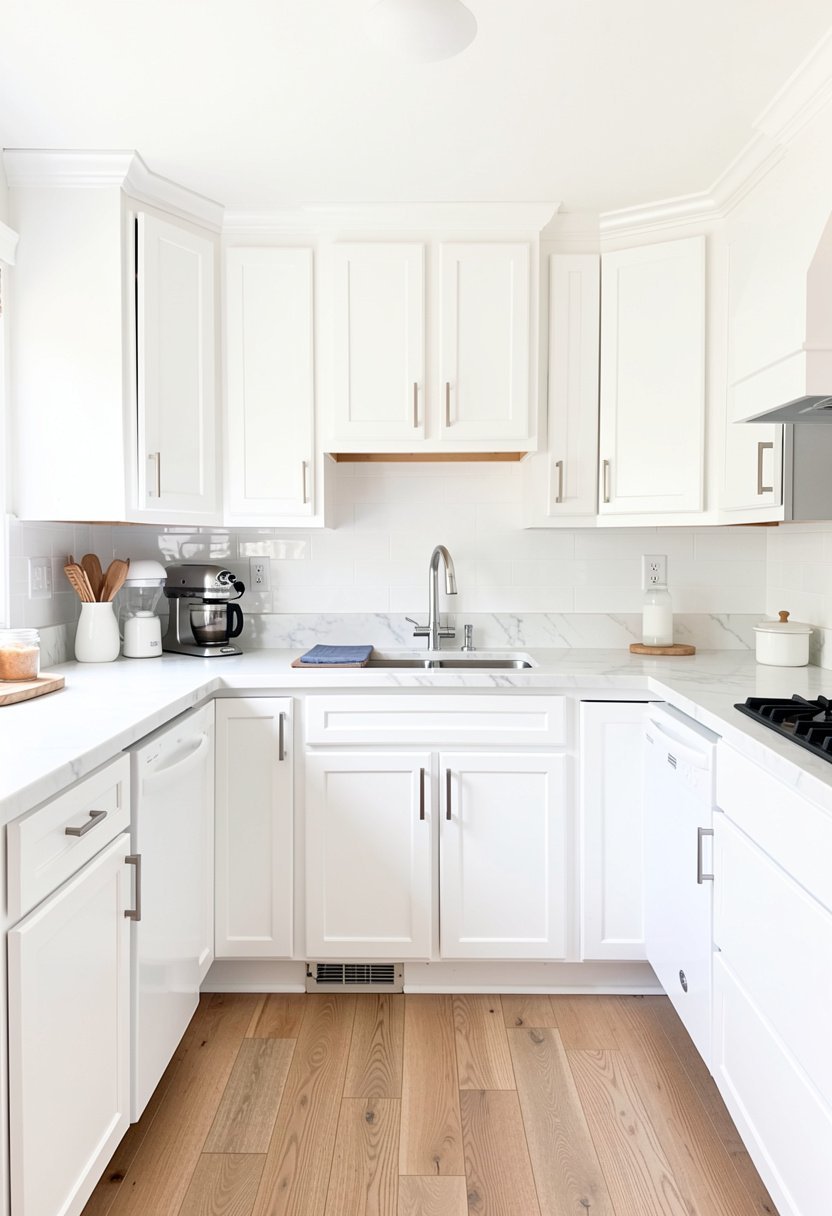
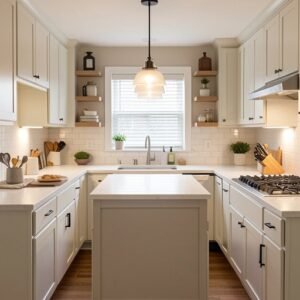
Most RV cabinets look like dark, sad caves, and they make the whole space feel tiny, heavy, and very depressing. I always tell my friends to grab a bucket of white paint, and just go for it, because it works magic. Dark wood looks dated, and it makes you feel like you are living in a library, but white opens things up. You need to use a good primer first, or the stain will bleed through, and that looks like a total amateur move. Do not be lazy with the prep work, or you will regret it, because paint will peel right off that fake wood finish. A bright space feels bigger, cleaner, and much more modern, so stop being scared of the brush. It is the cheapest way to make a huge change, and it honestly makes your kitchen look like a fancy, custom build.
- Use a primer for the laminate surface.
- Choose a satin finish for easier cleaning.
- White paint makes small rooms feel huge.
- Prep work keeps the paint from peeling.

Replace Heavy Doors with Fabric
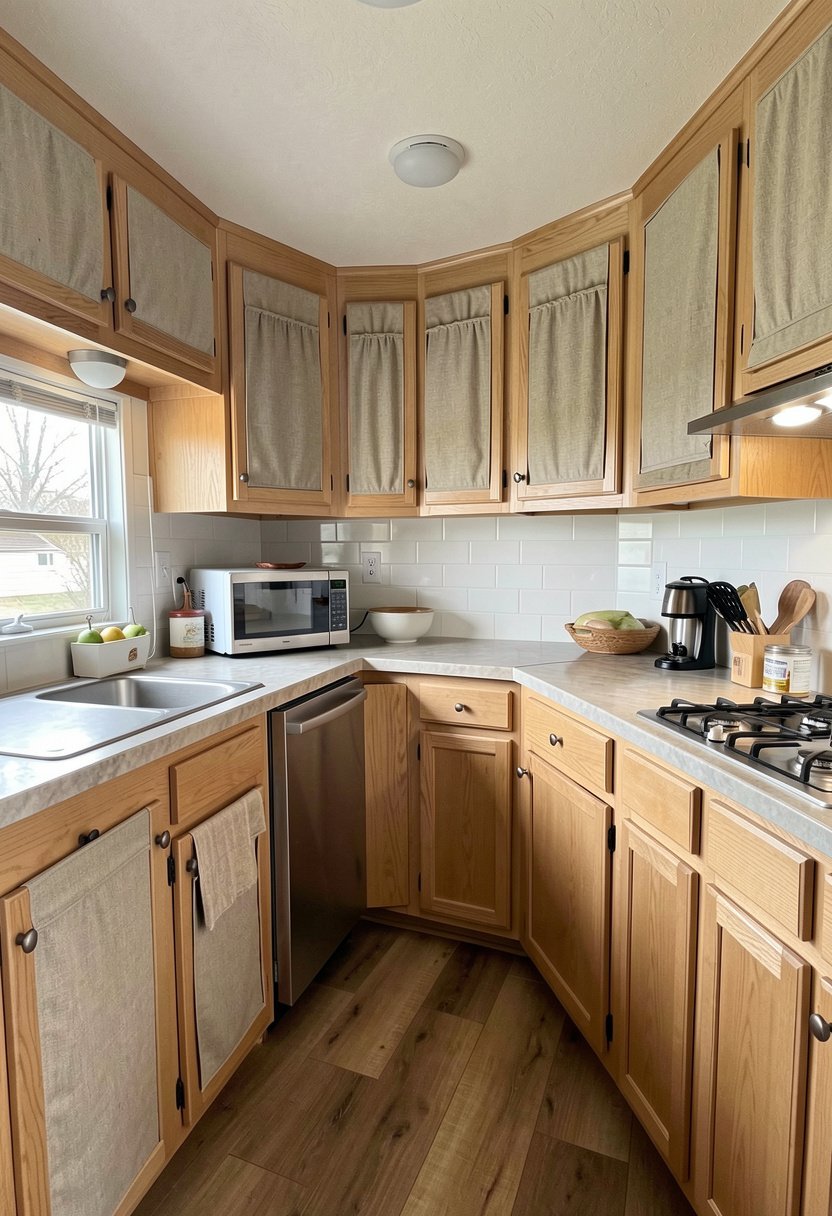
The heavy doors on your cabinets are probably just dead weight, and they look pretty clunky too. I swapped mine for simple, patterned fabric panels, and it changed the look of my entire camper instantly. You just need a tension rod or some velcro, and you can hide your messy dishes without all that extra, heavy wood. Plus, you get to add a pop of color, or a fun texture, which makes your kitchen feel like a real home. Stop worrying about hinges, and screws, and all that hardware, because fabric is way easier, and it never rattles while you are driving down the road. Just make sure the fabric is tight, and easy to wash, because kitchens get dirty fast. This is a pro move for anyone who hates the standard, boring look of plastic cabinets.
- Fabric covers keep items hidden safely.
- Use tension rods for a simple install.
- These panels add color and soft texture.
- No more annoying rattling while driving.
Use Magnetic Strips for Tools
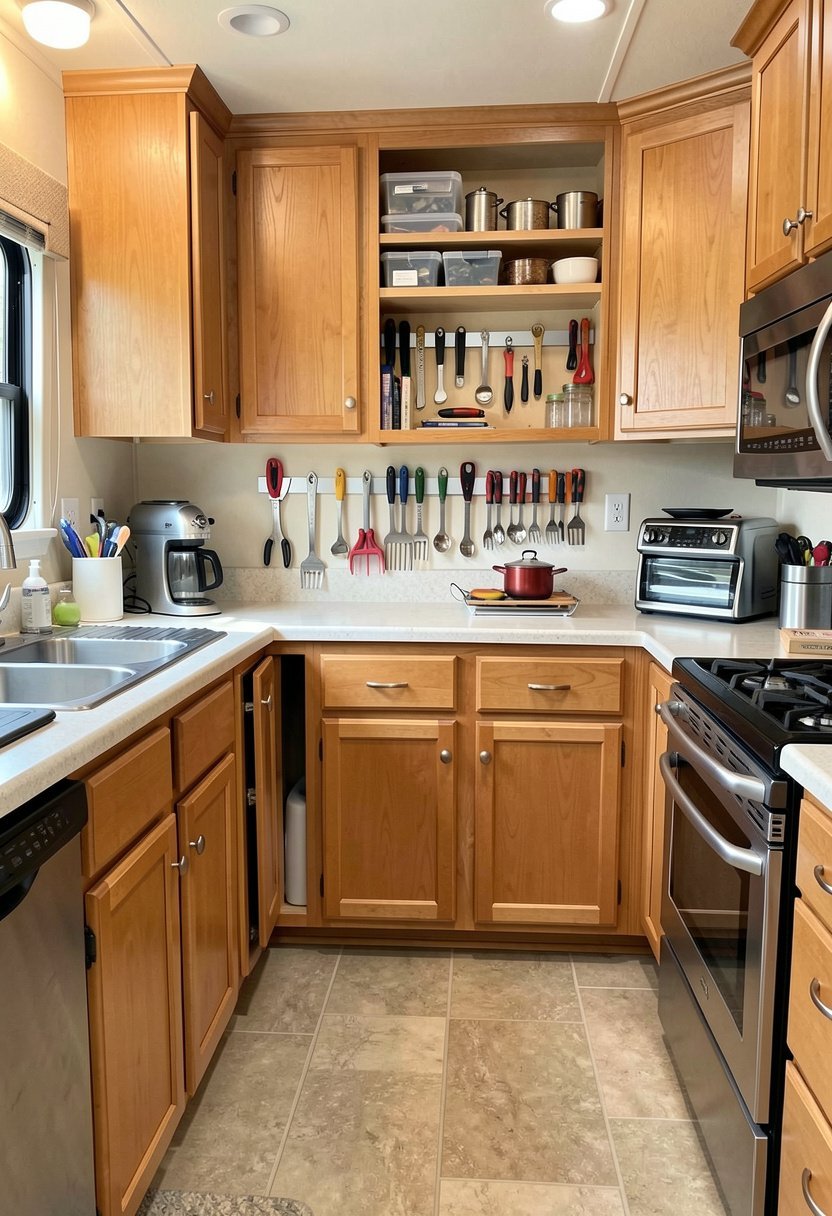
People always leave their knives in a drawer, and then they wonder why the blades get dull, or why the drawers are a mess. Stop that nonsense, and just put up a strong magnetic strip on the wall, or inside a cabinet door. It keeps your metal tools organized, visible, and super easy to grab when you are cooking a quick meal. I have done this in every rig I own, and I have never had a knife fall off, even on bumpy dirt roads. Just make sure you use heavy duty screws, and keep the magnet away from your phone, or you will have a bad day. It clears up your precious counter space, and it makes you look like a total kitchen expert. It is such a simple, cheap, and very effective upgrade.
- Keep sharp knives off the floor.
- Free up your limited counter space.
- Strong magnets hold everything in place.
- Installation takes only a few minutes.
✅ See Also: 11 Rustic Farmhouse Kitchen Cabinet Ideas
Install Clear Acrylic Bins
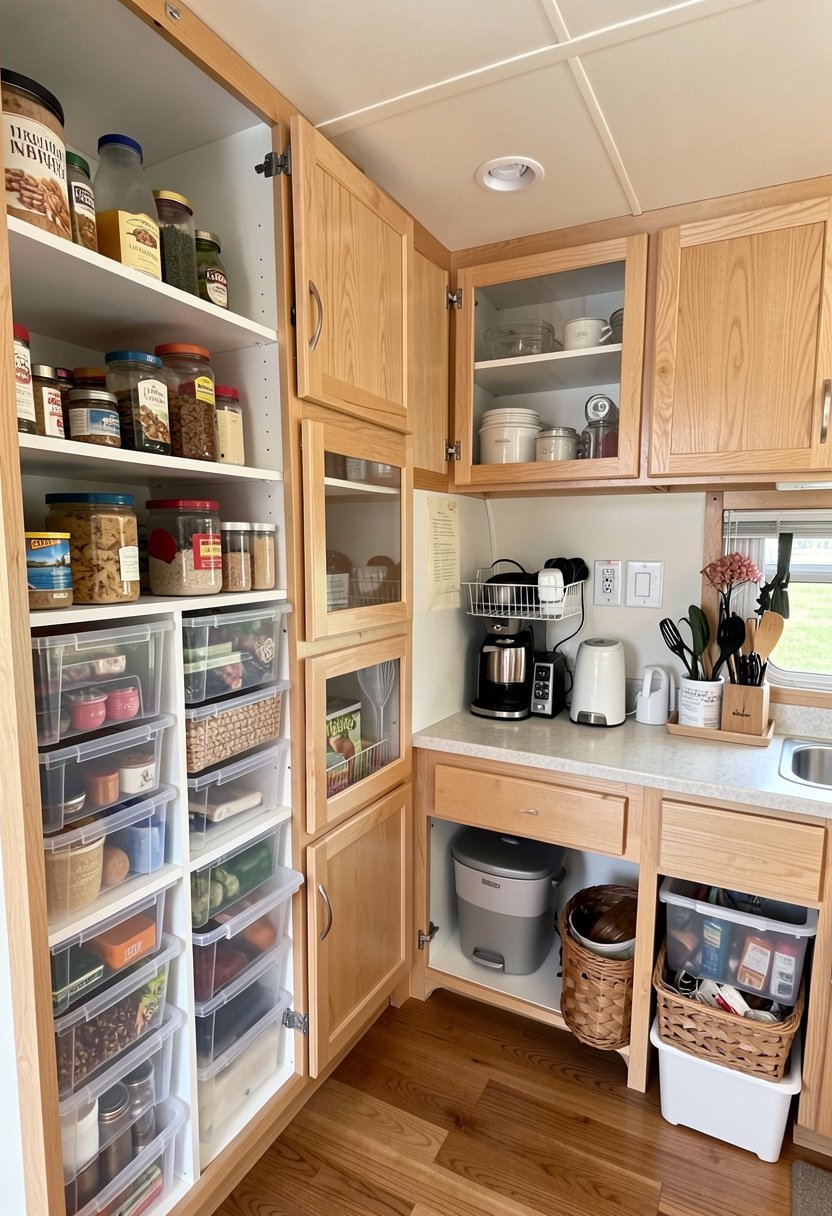
I see so many people stuffing bags into their cabinets, and then they have no idea what is even inside. You should use clear acrylic bins, because they let you see exactly what you have, and they keep everything from sliding around. They are light, they are cheap, and they fit perfectly into those weird, deep cabinets that make no sense. I organize my snacks, my spices, and my tea bags, and I never have to dig around like a raccoon again. If you keep things in their place, you save time, and you stop buying stuff you already have, which saves you money. Do not buy those expensive, fancy containers, just get the simple stuff from a discount store. It works just as well, it stays clean, and it keeps your tiny kitchen organized perfectly.
- Clear bins show all your supplies.
- No more digging for lost items.
- They stop items from sliding around.
- Cheap bins work as well as expensive.
Add Under Cabinet Lighting
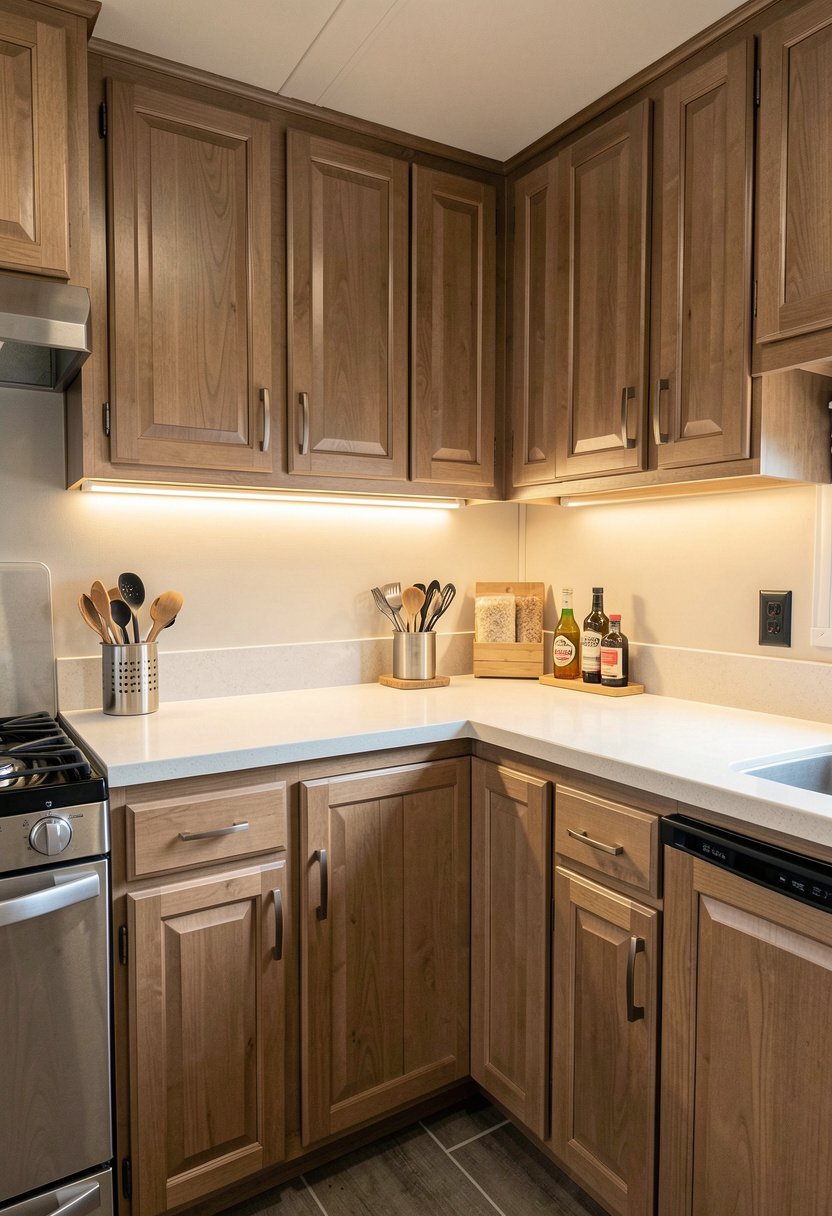
Dark cabinets are just a trap for crumbs, and you will never see the mess until it is way too late. I swear by adding simple, battery-operated stick-on lights under every cabinet, and it is a total game changer. You can see your cutting board, you can see the stove, and you do not have to turn on the harsh, big ceiling lights at night. It makes your kitchen look expensive, cozy, and very inviting, which is hard to do in a metal box. Just buy the rechargeable kind, so you do not have to keep buying batteries every week, because that gets old. It is an easy, five-minute job that makes you feel like you live in a designer home. Stop cooking in the dark, and put some lights up there right now.
- Bright light makes cleaning easier.
- Battery lights avoid complex wiring.
- Rechargeable units save you real money.
- Create a cozy vibe in your rig.
Build Pull Out Drawers
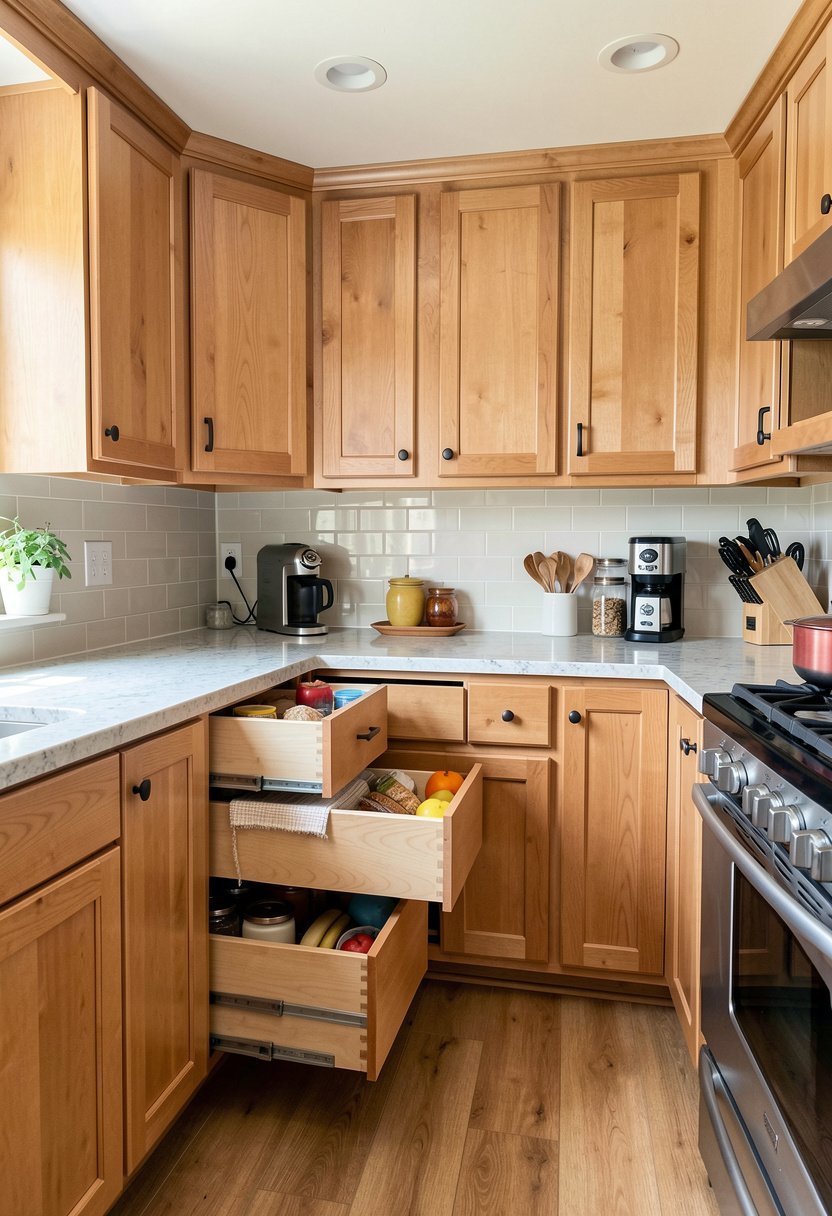
The deepest cabinets in an RV are basically black holes where food goes to die, and it drives me crazy. I built simple pull-out drawers for mine, and now I can reach everything, even the stuff hiding in the very back. It takes a little bit of wood and some basic sliders, but it is worth it for the extra storage space. Most people are too scared to try this, but it is actually really easy, and it stops you from having to crawl inside your cabinets. You can organize your heavy pots, your cans, or your pantry items without any stress. Once you have pull-out storage, you will never want to go back to static shelves, because it is just way too handy to give up now. It is a total pro upgrade.
- Reach the back of deep cabinets.
- Pull-out shelves stop the clutter.
- Organize heavy pots and dry goods.
- Simple DIY project with big results.

Mount Hooks for Utensils
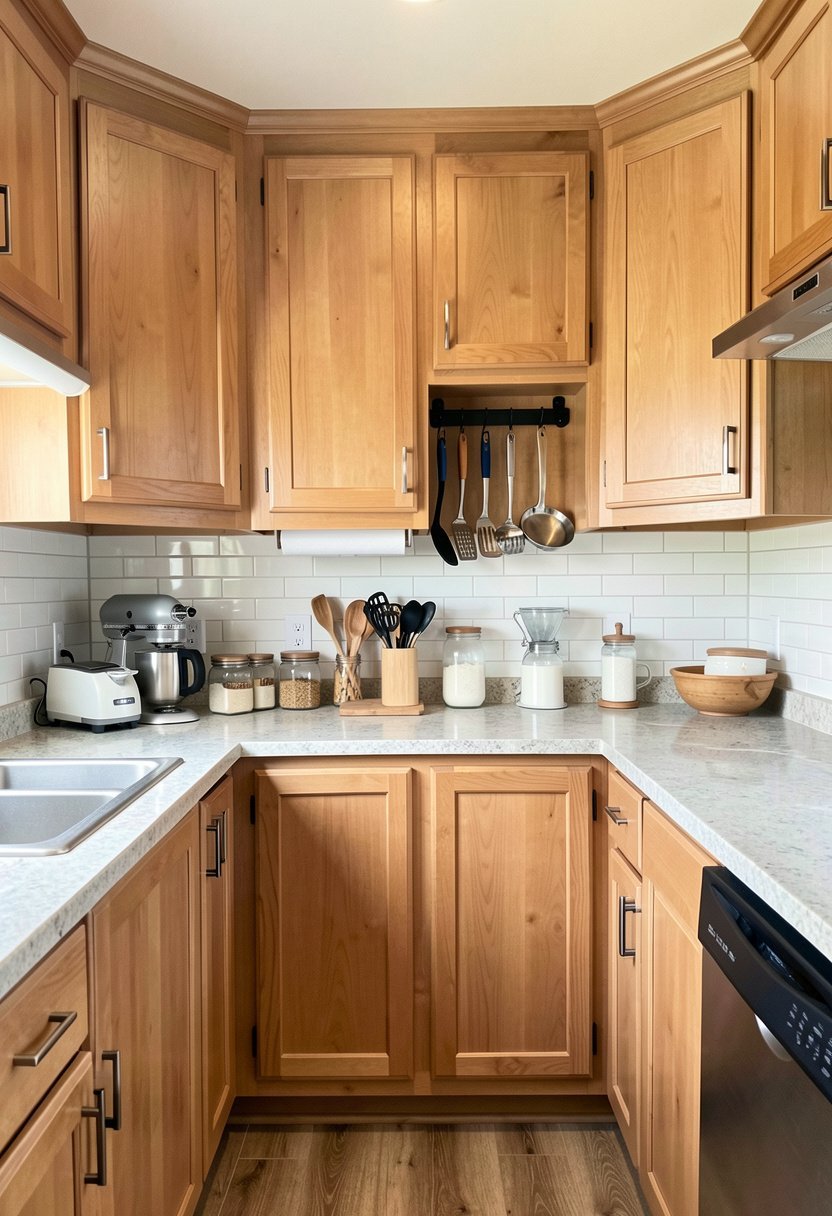
If you have a wall near your kitchen, stop letting it sit there empty, and turn it into extra storage. I use heavy duty command hooks to hang my measuring cups, my whisks, and my hot pads right where I can grab them. It looks clean, it uses vertical space, and it keeps your drawers free for things that actually need to be tucked away. Most people make the mistake of buying those bulky over-the-door racks, but those just get in the way and fall off. Just use a few nice, metal hooks, and keep it simple. It looks like a rustic, intentional design choice, and it makes you look like you know exactly what you are doing. Plus, it is basically free, and it takes zero effort to set up.
- Use walls for extra storage space.
- Hooks keep your counters totally clear.
- Use command hooks for easy removal.
- Vertical storage saves your drawers.
Use Tension Rods Vertically
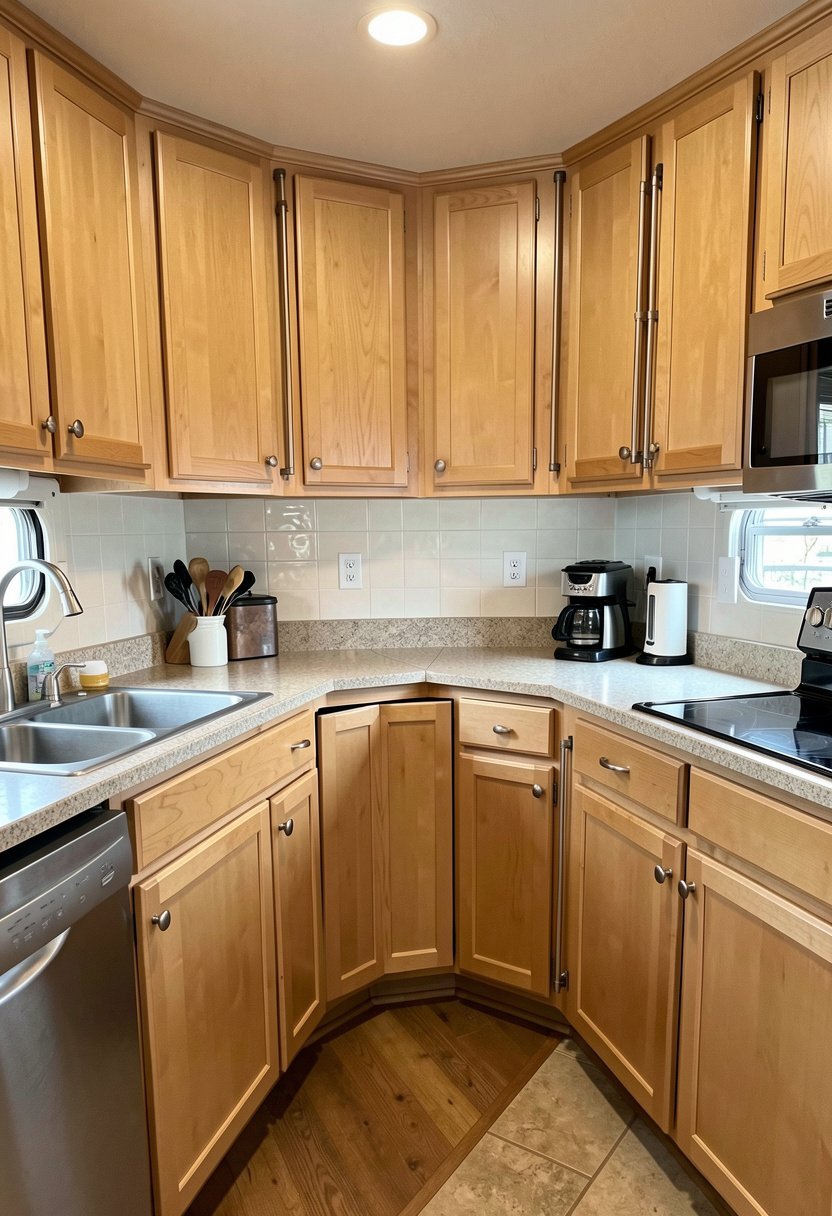
People usually think of tension rods for curtains, but I use them vertically inside my cabinets to act as dividers. You can hold your cutting boards, your baking sheets, or even your lids standing up, so they do not fall over. It stops that annoying pile of stuff from sliding into a big, jumbled mess every time you move the rig. It is so cheap, it is so fast, and you can move them around if you change your mind later. I have tried those expensive plastic racks, but they always crack, and they never fit quite right in the weird RV spaces. Just get a pack of small rods, put them in, and you are done. It is the smartest way to stop the clutter before it starts.
- Keep lids and boards standing up.
- Dividers stop the messy drawer pile.
- Move them anytime you need space.
- Tension rods are cheap and effective.
Hang a Spice Rack Door
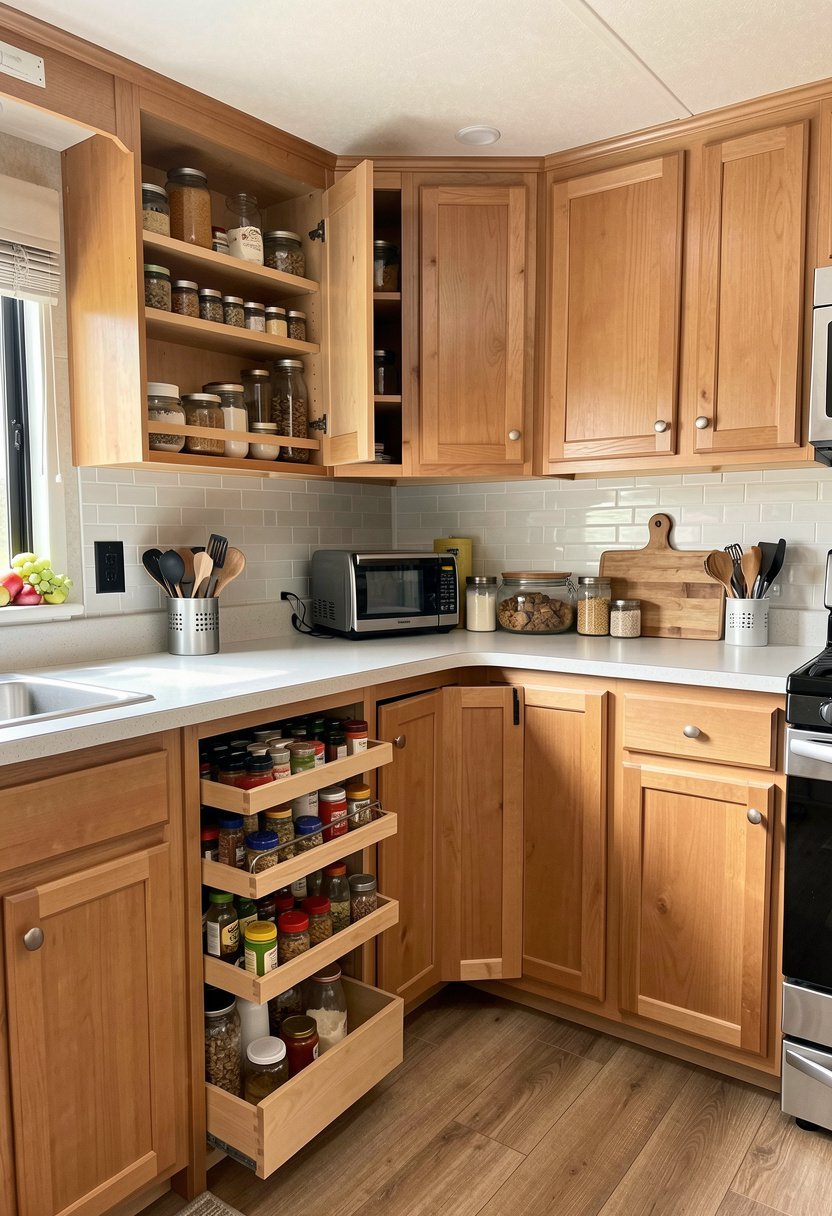
Spice jars are the absolute worst, because they roll around, they spill, and they take up way too much room. I attached a thin spice rack to the inside of my cabinet door, and it changed my entire cooking routine. Now, all my spices are right there when I open the door, and they are not taking up any shelf space. You can find these racks in all sizes, or you can make your own with a bit of wood and some glue. It is a tiny fix, but it makes your kitchen feel like a real chef station, and it keeps everything organized. Stop letting those little bottles clutter up your counters, because it looks messy and ruins the vibe of your beautiful, tiny home. Do this today.
- Doors offer perfect vertical space.
- Spices stay organized and reachable.
- Build a rack or buy one ready.
- Keeps counters free for actual work.
Choose Matte Hardware Handles
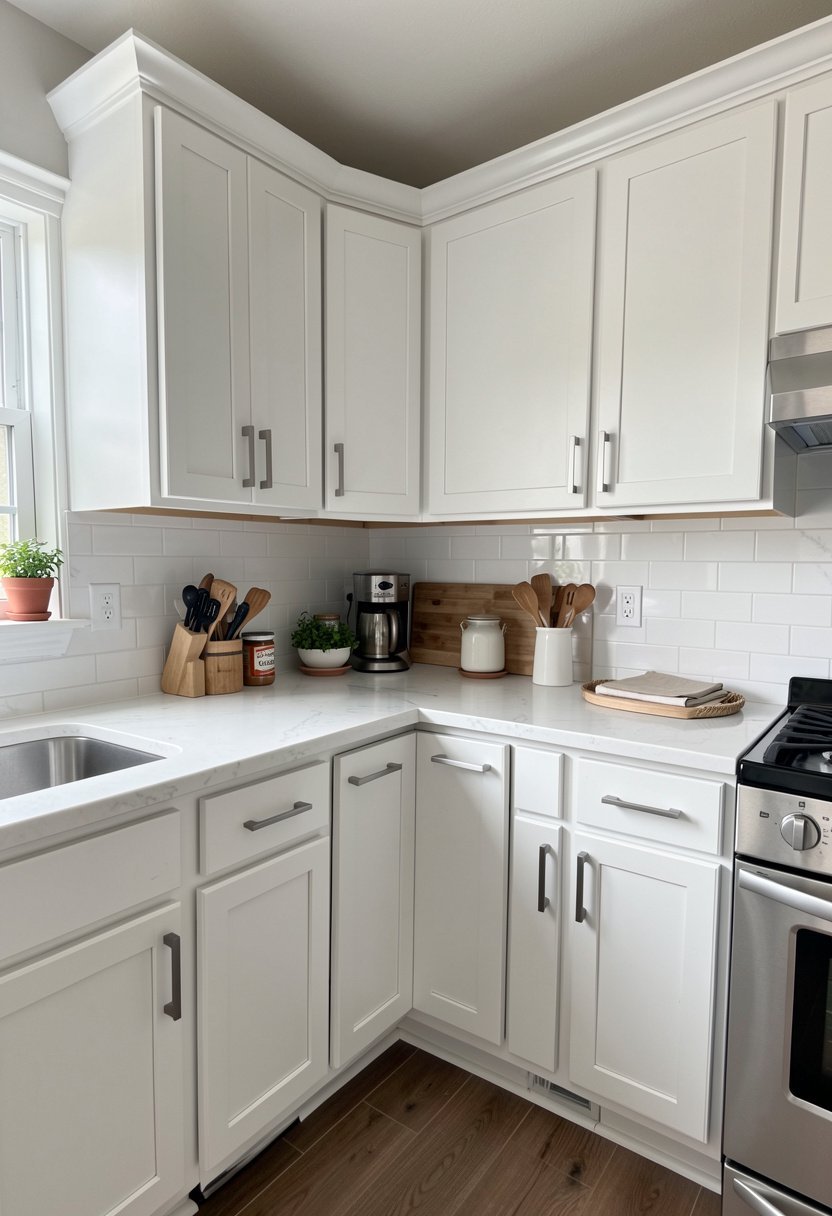
If your cabinet handles are plastic, or they look old and chipped, it makes your whole kitchen look like a bargain bin. I always swap my hardware for simple, matte black handles, because they look modern, they are cheap, and they last forever. It sounds like a small detail, but it is the first thing people notice, and it makes your cabinets look like they cost a fortune. Do not buy the shiny brass stuff, it looks tacky, and it shows every single fingerprint you leave behind. Go with something simple, matte, and strong, and your kitchen will look like a high-end, renovated space in one hour. It is the easiest way to add a bit of style to your tiny rig.
- Matte handles look very expensive.
- Swap plastic for a quick upgrade.
- Black finishes show fewer fingerprints.
- This small change adds big style.
Final Thoughts
I hope these 10 rv kitchen cabinet ideas help you finally get your rig in order. It is so much better when you have a place for everything, and you are not fighting your own kitchen while you travel. It is a process, but you will get there, and the peace of mind is totally worth the work. You have got this, so go fix those cabinets, and you’ve got this.
| Cabinet Upgrade | Benefit | Difficulty |
|---|---|---|
| White Paint | Brightness | Medium |
| Fabric Panels | Hidden Storage | Low |
| Magnet Strips | Knife Safety | Low |
| Clear Bins | Organization | Low |
| Under Lights | Visibility | Low |
| Pull Drawers | Deep Access | High |
| Wall Hooks | Space Saving | Low |
| Tension Rods | Separation | Low |
| Spice Racks | Counter Space | Medium |
| Matte Hardware | Modern Look | Low |
| Deep Cleaning | Sanitation | Low |
| Shelf Liners | Protection | Low |
| Door Latches | Security | High |
| Wood Finish | Style | Medium |
| Corner Shelves | Added Storage | Medium |
Frequently Asked Questions
Is It Hard to Paint RV Cabinets?
It is not hard, but you must do the prep work correctly or it will fail. You need to clean the fake wood veneer with a degreaser first. If you skip the primer, the paint will never stick to the surface. It is messy, but the results are worth it.
Can I Add Weight to My RV Cabinets?
You should be very careful with added weight because RVs have limits. If you add heavy wooden shelves, you might exceed the weight capacity of your rig. Stick to light materials like plastic, fabric, or thin aluminum to keep your vehicle safe and balanced.
Are Magnetic Strips Safe for Knives?
They are very safe if you use a strong magnet and mount it properly with screws. I have used them for years on bumpy roads. Just ensure your knives are clean and dry before you stick them up, or they might rust or fall off.
Do I Need Special Bins for RV Cabinets?
You do not need special bins, but you should buy clear ones that fit your exact measurements. Standard bins from any store work fine. Just check the height of your shelves, and make sure the bins do not move around too much while you drive.
Should I Remove the Cabinet Doors?
You can remove them for a more open look, but that means everything inside must stay perfectly tidy. If you are not a neat person, open shelves will make your kitchen look like a total disaster zone. Fabric covers are a better middle ground.
Can I Install Lighting Without Drilling?
Yes, you can use high-quality adhesive strips that come with most battery-operated LED lights. They stick right to the underside of the cabinet. It is a damage-free way to brighten your workspace without making a mess or needing any complex electrical tools.
Are Tension Rods Strong Enough for Travel?
They are strong enough for small items like cutting boards and lids. Do not try to hold heavy pots with them. If you drive on very rough roads, you might need to use a bit of museum putty to keep them from sliding sideways.
Will Changing Hardware Improve Resale Value?
It will definitely help your kitchen look updated and cared for, which helps with resale. Simple, modern hardware is a very cheap investment that makes a big impact on the first impression. It is one of the easiest ways to refresh your home.