Staring at your yellowing cabinet doors while holding a coffee cup makes you want to tear the whole wall down. You know that specific itch to change the look without spending a fortune.
Most people paint over old hardware or pick a color that clashes with the floor. You waste your weekends doing work that looks wrong the second the light changes.
12 kitchen paint and cabinet ideas help you pick the right finish and tone today. You will understand how to choose paint that lasts and how to organize your space properly.
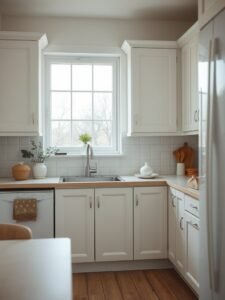
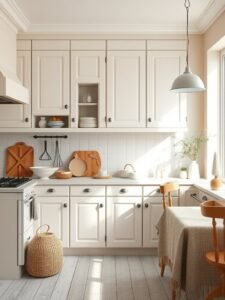
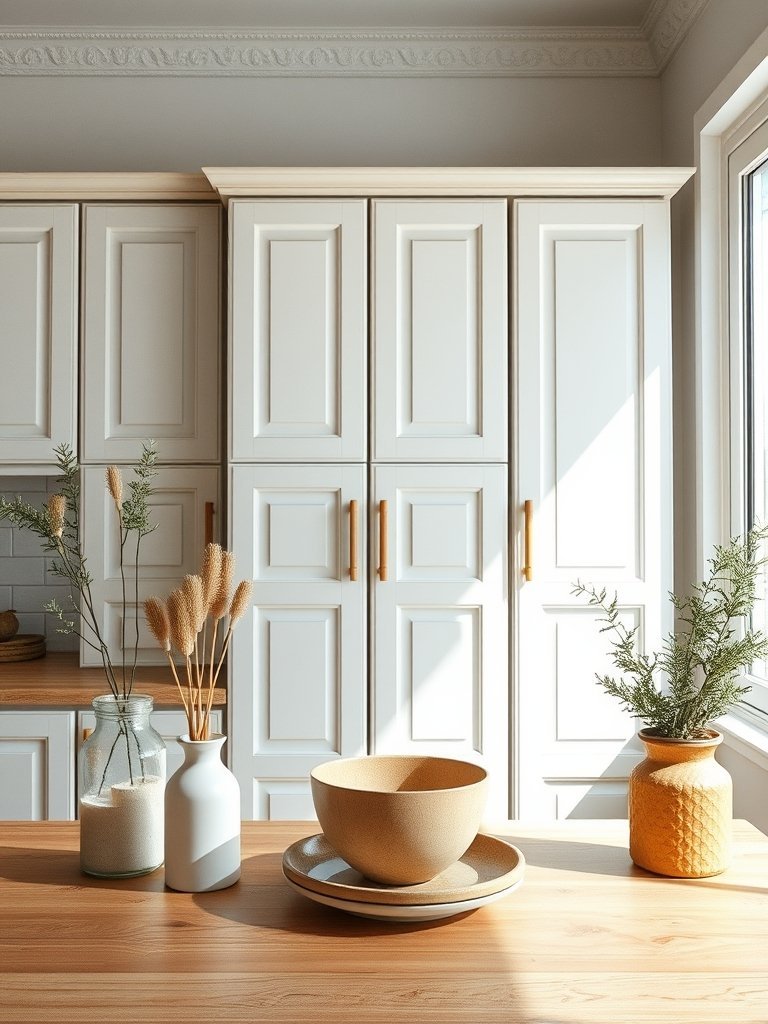
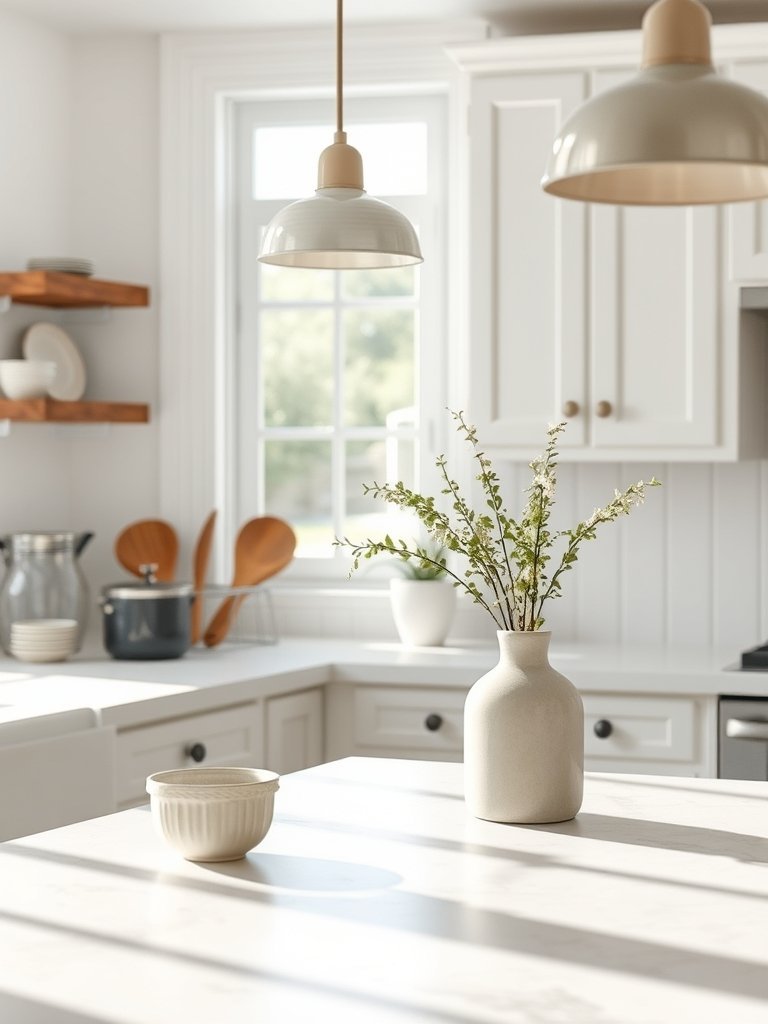
Go with Crisp White Paint
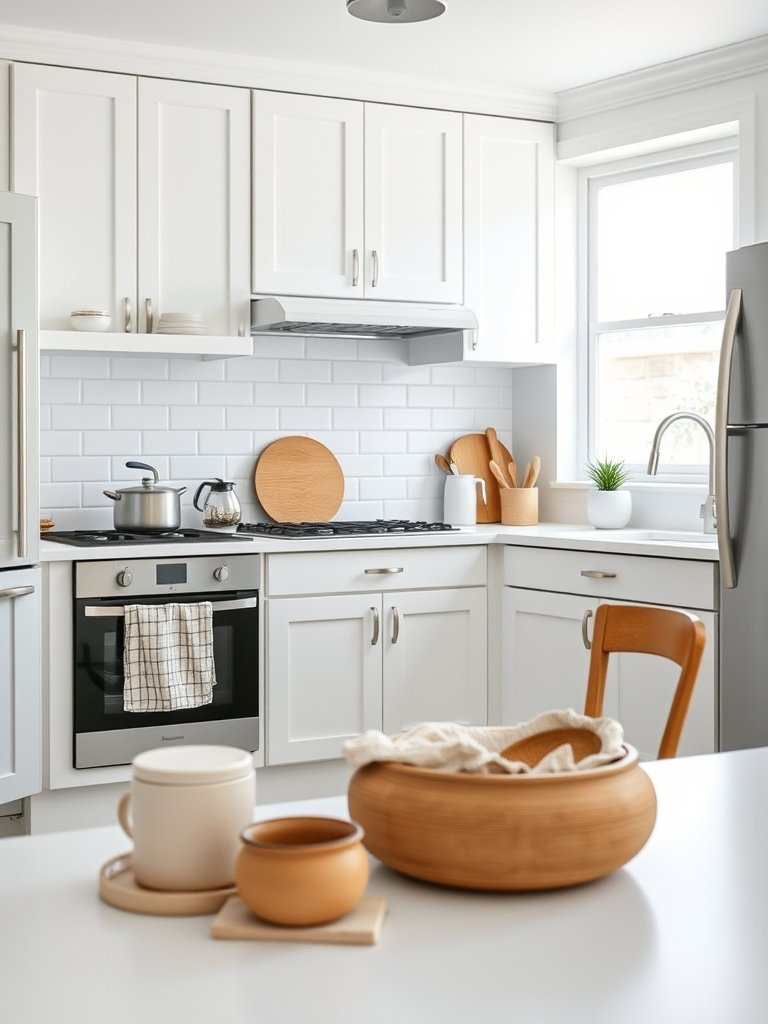
Painting your cabinets a bright white color opens up a small kitchen instantly. You remove the heavy look of dark wood by applying several coats of durable enamel. Clean white surfaces act like a blank canvas for your kitchen decor.
Many folks fear white will look boring or show every speck of dust. You solve this by choosing a satin finish that wipes clean with a damp cloth easily. Glossy options reflect light well but show every single imperfection in the wood.
Pairing white cabinets with dark hardware creates a nice balance that looks professional. You change the entire mood of the room without replacing a single frame. It feels fresh and new every morning.
- Use high quality primer
- Clean wood before painting
- Choose a satin finish
- Buy matte black knobs
Try Navy Blue Lower Cabinets
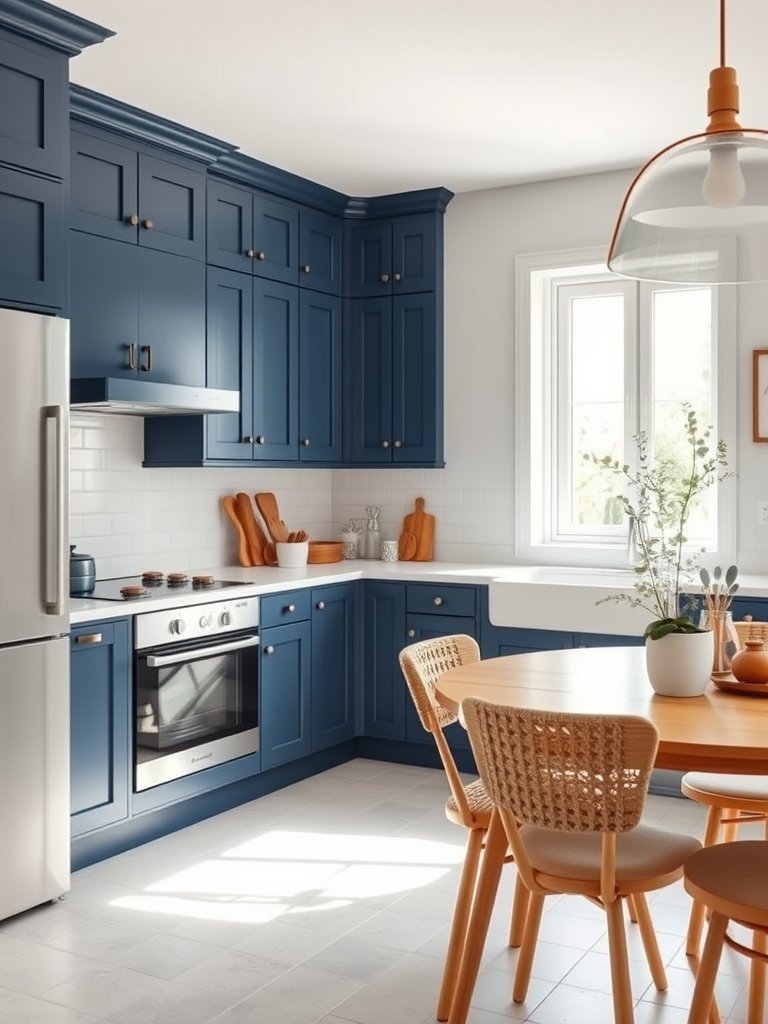
Painting just your lower cabinets a bold navy color grounds the whole room perfectly. You create a custom look that feels very expensive but costs very little. Dark colors hide scuffs and daily wear from your busy family.
Navy blue works because it matches almost every countertop material you might have already. You keep the upper cabinets light to ensure the room stays airy and bright. People will assume you hired a designer for the project.
Remember that dark paint requires good lighting to avoid a gloomy feeling after sunset. You add under cabinet lights to keep the workspace bright and functional for dinner. It makes cooking feel like a joy.
- Use deep blue tones
- Keep upper cabinets light
- Add extra task lighting
- Apply two solid coats
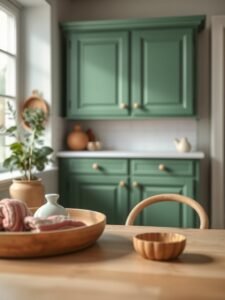
Select Soft Sage Green Shades

Sage green brings a calm nature vibe into a space that feels too industrial. You paint your cabinets this muted color to soften the hard edges of your appliances. It pairs well with warm wood tones on the floor.
Green acts as a neutral color because it mirrors shades found in the outdoors. You find that your kitchen feels quieter and more inviting after the transformation. Guests will notice the difference immediately upon entering the room.
Select a flat or matte paint to emphasize the earthy quality of the green. You avoid anything too bright or neon to keep the look timeless and calm. It works perfectly in rustic or modern homes.
- Use muted sage tones
- Pair with wood accents
- Keep wall colors light
- Choose a matte finish
Use Two Tone Color Schemes
Mixing two different colors creates a focal point that breaks up a wall of cabinets. You paint the island one color and the perimeter units another for contrast. It gives your eyes a place to rest while you cook.
Success with this idea depends on picking colors that share the same undertone. You might choose a warm gray for the base and a creamy white for the tops. It makes the kitchen look like it has layers of history.
Avoid picking two bright colors that fight for attention in a small room. You want harmony instead of chaos when you walk in for a quick snack. Keep the transition subtle for the best result.
- Connect two shared tones
- Paint the island differently
- Keep the palette simple
- Balance light and dark
Add Glass Inserts to Doors
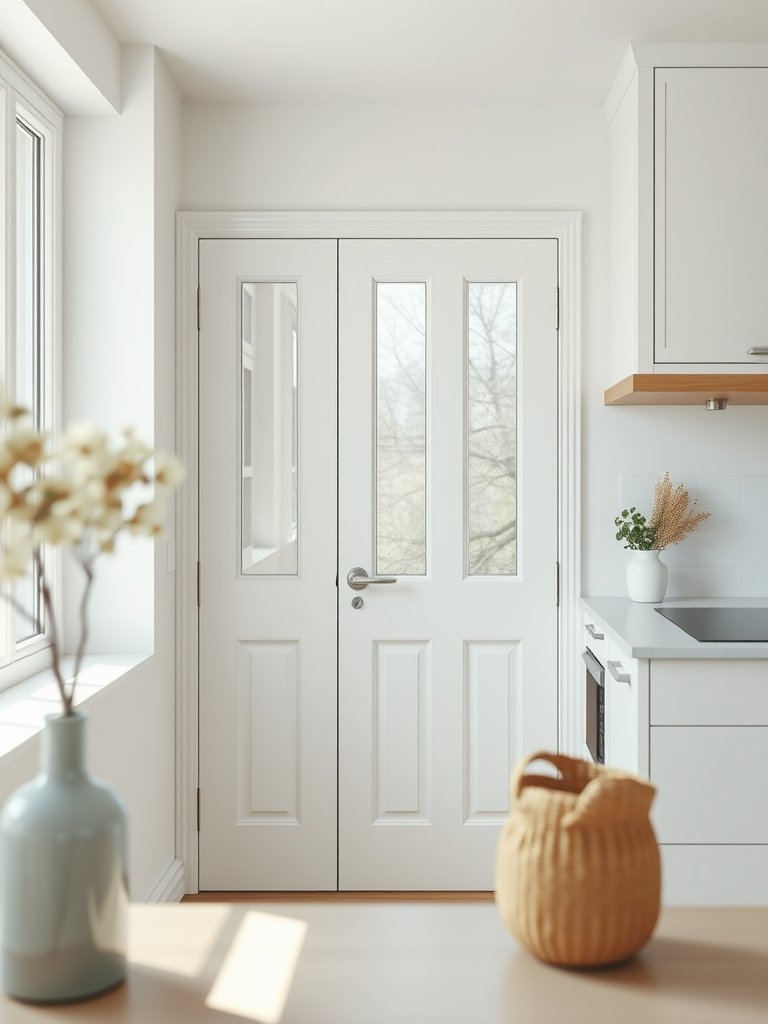
Replacing wood panels with clear glass makes your kitchen look much larger than before. You remove the center of select cabinet doors with a simple jigsaw tool. This change turns storage into a decorative display area.
Glass inserts force you to keep your dishes organized and tidy at all times. You place your favorite white plates or colorful glassware inside to add personality. It turns a boring storage unit into a custom display case.
If you hate seeing the clutter, use frosted glass instead of clear sheets. You still get the light feeling without showing every messy stack of bowls. It remains a very popular design choice today.
- Use a jigsaw carefully
- Add frosted glass options
- Keep interior items clean
- Mount glass with clips
Install Modern Gold Hardware
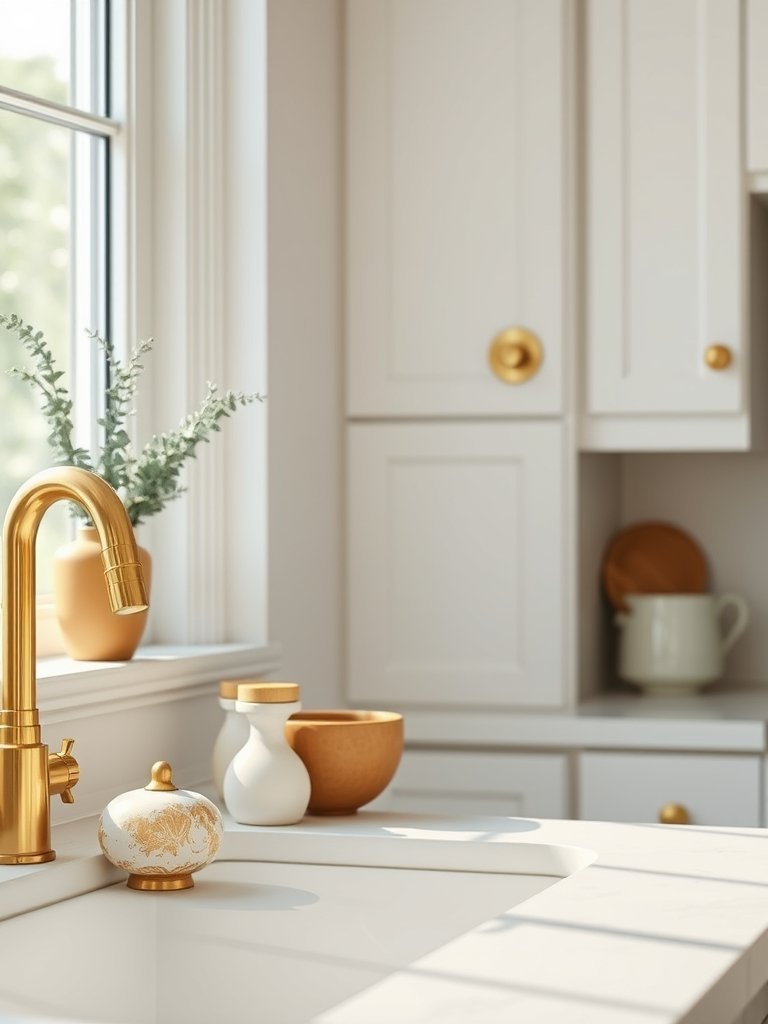
Changing the handles on your cabinets is the fastest way to refresh the kitchen. You remove dated brass or chipped silver pulls for a sleek gold look. It adds a touch of shine against painted wood surfaces.
Hardware acts like jewelry for your cabinets because it draws the eye immediately. You choose long pulls for a modern vibe or rounded knobs for comfort. Make sure you match the holes from the old hardware.
Measure the distance between screws before you buy new sets at the store. You save time by picking pieces that fit existing holes perfectly every single time. It takes less than an hour to finish.
- Measure hole distance first
- Choose brushed gold finish
- Update all matching pieces
- Use a drill carefully
📖 See Also: 14 Apartment Kitchen Cabinet Ideas (Easy Fixes)
Paint the Interior Cabinet Backs
Painting the inside back of a cabinet adds a hidden pop of color. You use a bold shade like yellow or teal to surprise anyone who opens it. This works best when you have glass doors or open shelving.
Most people ignore the inside of their cabinets during a kitchen renovation project. You change this by adding a coat of paint to the back panel only. It makes your mugs and bowls pop against the wall.
Keep the shelves neutral so the color does not feel too busy or loud. You want the back panel to act as a frame for your collection. It feels like a secret designer detail.
- Choose a bold color
- Paint only the back
- Keep shelves neutral white
- Highlight favorite items
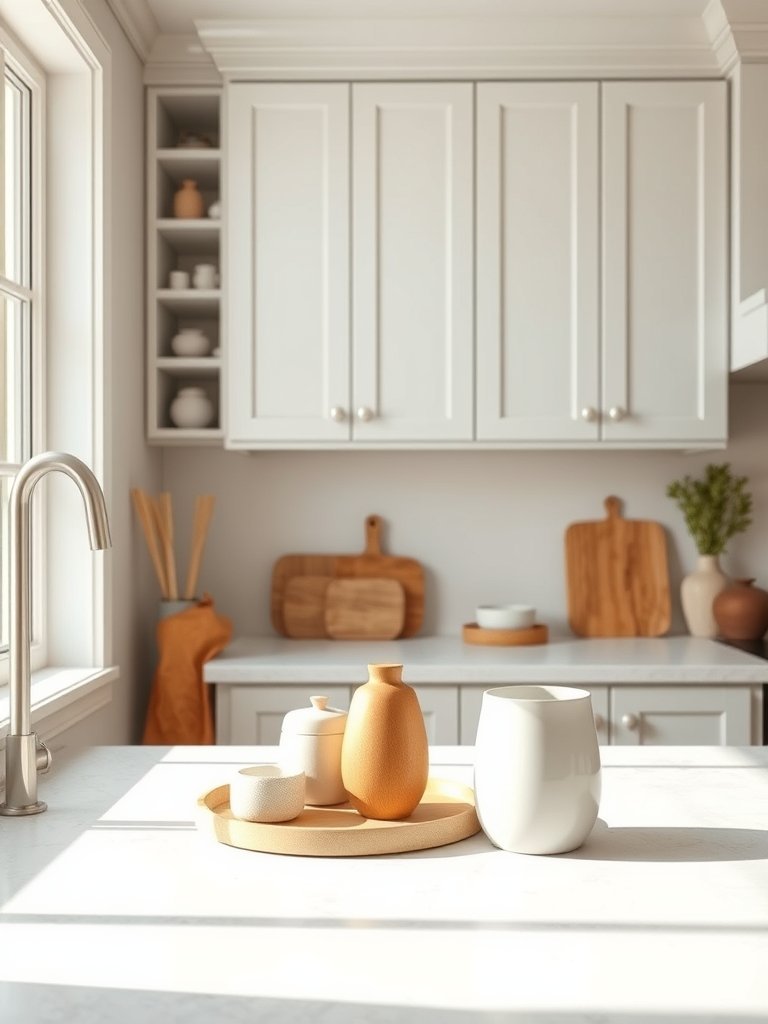
Try Warm Mushroom Gray Paint
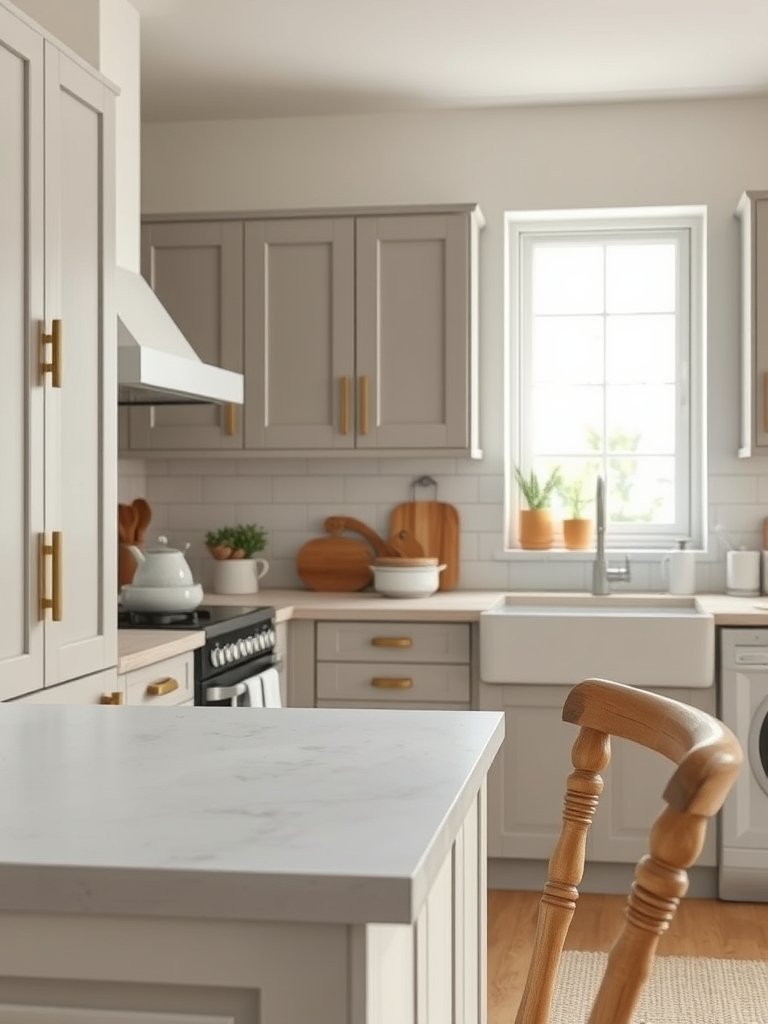
Mushroom gray is a mix of tan and gray that feels very cozy. You use this color to hide dirt better than pure white paint ever could. It looks soft against stainless steel appliances and wood floors.
This shade works because it is versatile enough for almost any kitchen style. You find it makes the room feel warmer when the morning light hits the surface. It is a very forgiving color for beginners to use.
Use a high quality eggshell finish to give the paint a soft texture. You apply it in thin layers to ensure the grain of the wood stays visible. It is a timeless choice for any busy home.
- Mix tan with gray
- Use eggshell finish paint
- Clean surfaces thoroughly
- Pair with silver accents
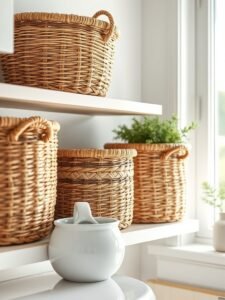
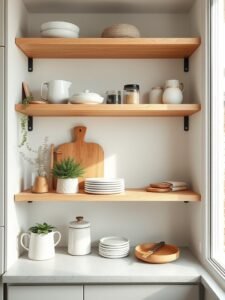
Use Open Shelving for Storage
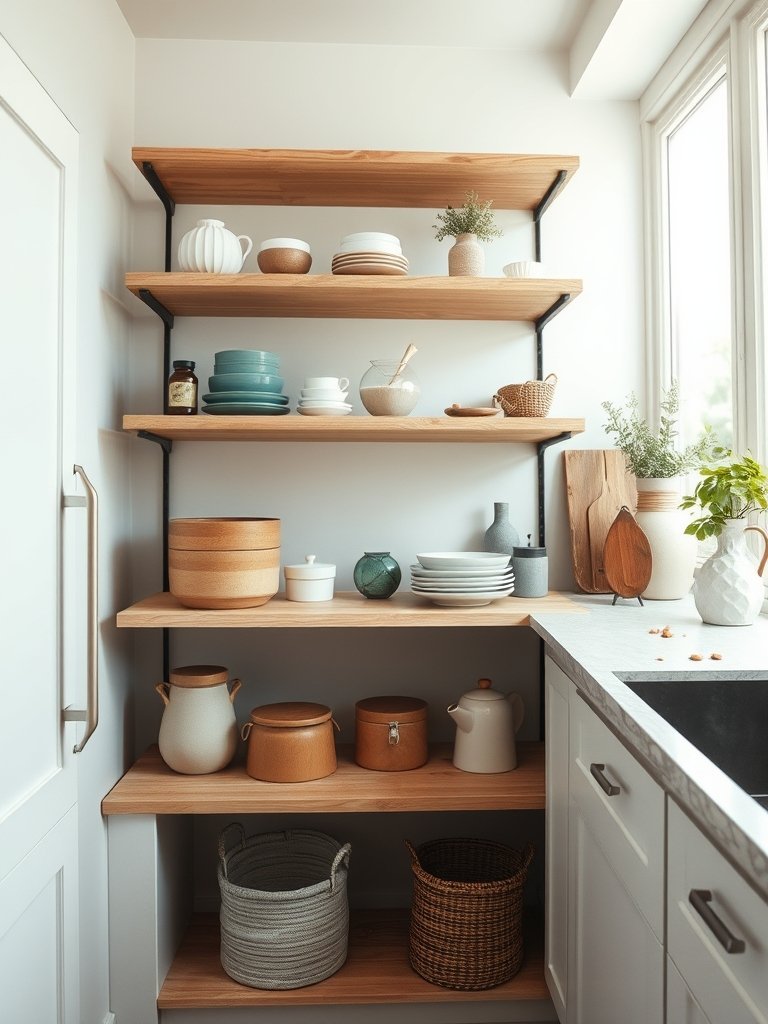
Removing the upper cabinet doors creates a sense of space in cramped areas. You take down the heavy doors and fill the holes with wood filler. Then you paint the entire frame to match the wall.
Open shelves require you to own items that actually look nice when displayed. You stack your prettiest bowls and cups where everyone can see them easily. It makes the kitchen feel more like a living room.
Keep the shelves organized to avoid a cluttered look that ruins the vibe. You only keep items here that you reach for on a daily basis. It makes cooking feel faster and more efficient.
- Fill door hinge holes
- Organize items by height
- Keep colors coordinated
- Use strong wall brackets
Add Beadboard to Cabinet Ends
Beadboard adds texture to the side panels of your plain kitchen cabinets. You glue thin sheets of this wood pattern to the exposed ends of your units. It gives a cottage feel that looks very intentional.
Most factory cabinets have flat sides that look a bit cheap or unfinished. You hide these flat sides with the wood pattern to elevate the design. Paint the beadboard the same color as your cabinet doors.
The texture hides scratches that often happen on the side of a kitchen island. You save your furniture from damage while adding a classic touch. It is a very durable and smart choice.
- Buy thin wood sheets
- Use strong wood glue
- Paint to match doors
- Cover exposed side panels
Use Matte Black for Drama
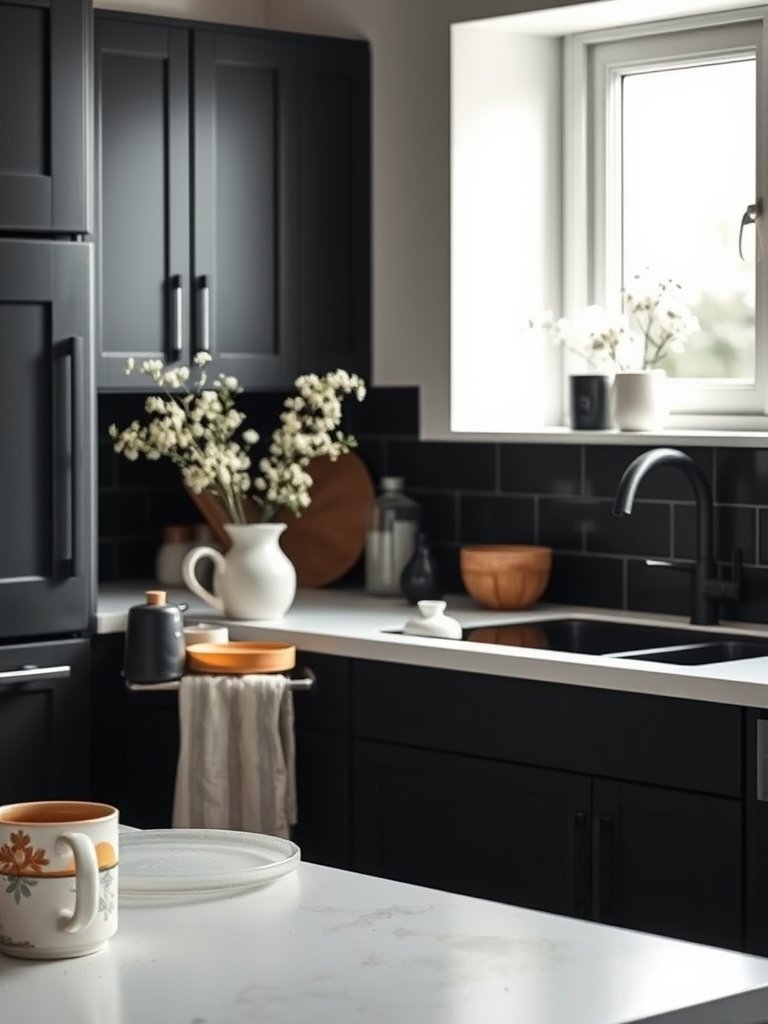
Matte black paint makes a kitchen look edgy and very modern. You use this bold choice if you have good natural light in the room. It makes wood tones and greenery look bright and vibrant.
Black paint absorbs light, so you must use it in a space with big windows. You avoid painting every single surface black to keep the kitchen from feeling small. Use it on the lower cabinets for a grounded look.
Check the paint finish carefully because high gloss black shows every fingerprint. You want a flat or matte finish that stays looking clean for longer. It is a very bold move that pays off.
- Use in bright rooms
- Pick flat finish paint
- Balance with light tops
- Pair with wood accents
Try Distressed Wood Finishes

Distressed cabinets provide a worn look that feels very comfortable and lived in. You sand down the edges of painted cabinets to reveal the wood underneath. It adds character to a brand new kitchen installation.
This style hides small dings that happen during normal daily family activity. You do not have to stress about perfection when you choose this rustic approach. It looks even better as it ages over time.
Control how much you sand to keep the look intentional and not messy. You want just a hint of wood showing on the corners and edges. It creates a soft and welcoming kitchen environment for guests.
- Sand edges very lightly
- Focus on corners only
- Use a soft brush
- Seal with clear wax
Final Thoughts
I hope these ideas help you feel ready to pick up a paintbrush this weekend. Changing your kitchen look does not require a huge budget or fancy tools. You just need a clear plan and a bit of patience to see it through. Take it one cabinet at a time, trust your taste, and remember that mistakes are easy to fix. You have got this.
| Idea Number | Kitchen Surface | Primary Benefit |
|---|---|---|
| 1 | Cabinet Doors | Adds light |
| 2 | Lower Units | Modern style |
| 3 | Cabinet Frames | Calming mood |
| 4 | Kitchen Island | Visual contrast |
| 5 | Cabinet Doors | Display space |
| 6 | Drawer Pulls | Easy update |
| 7 | Cabinet Backs | Hidden color |
| 8 | Cabinet Frames | Warm feel |
| 9 | Wall Mounts | Airy flow |
| 10 | Side Panels | Adds texture |
| 11 | Lower Units | Bold drama |
| 12 | Cabinet Edges | Rustic charm |
| 13 | Kitchen Walls | Quick change |
| 14 | Cabinet Base | Clean finish |
| 15 | Counter Tops | Protect wood |
Frequently Asked Questions (FAQs)
Is painting cabinets better than buying new ones?
Painting your old cabinets usually saves a ton of money compared to a full remodel. You keep your current layout while changing the look for a fraction of the cost. The result is often just as good if you take your time.
Can I paint over laminate kitchen cabinets?
You can paint laminate if you use the right bonding primer first. Normal paint will peel off smooth surfaces without that special layer underneath. Sanding the surface slightly before you prime helps the new paint stick for years to come.
Are light colors better for small kitchens?
Light colors definitely make a small room feel much bigger and brighter. They reflect light around the space and keep things from feeling too closed in. You can still use dark colors as accents if you want some contrast.
Do I need to remove all cabinet doors first?
Removing the doors is the best way to get a smooth and professional finish. It prevents paint from getting on your hinges and helps you reach every corner. You also avoid drips that happen when painting doors while they hang.
Does matte paint show more dirt than gloss?
Matte paint can be a bit harder to wipe down than a satin or semi-gloss finish. You should pick a durable enamel that is made specifically for kitchen use. These modern paints are very tough and clean up quite easily.
Should I use a roller or a brush?
You should use both to get the best result on your cabinet project. Use a foam roller for the big flat panels and a high quality brush for the edges. This combination gives you a smooth look without visible streaks.
Will dark cabinet colors make a kitchen feel small?
Dark colors can feel small if you use them on every single surface. You balance the space by using dark colors only on the bottom or on an island. Keeping the upper area light ensures the room stays open.
Do I need to sand before I paint?
You should always sand the surface to give the primer something to grab onto. This step is the most important part of the whole project for long term results. Skipping this step often leads to peeling or chipping later on.