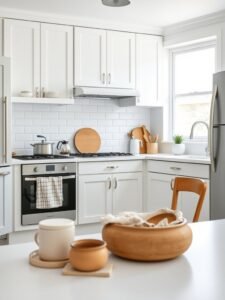
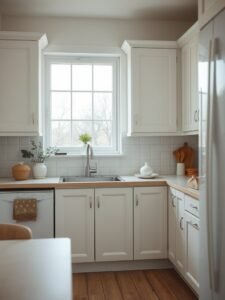
Your kitchen looks like a showroom catalog page from a cold, big store. Everyone buys the same flat grey doors because they think it saves time.
Most people paint over old wood with thick white paint that chips in a month. They try to hide the past instead of using it to make a better space.
You will see how to fix your layout by using color, glass, and hardware. My tips show you how to blend old pieces into a modern home. 14 antique kitchen cabinet ideas make your room feel warm and lived in right now.
1. Use Deep Green Paint Colors
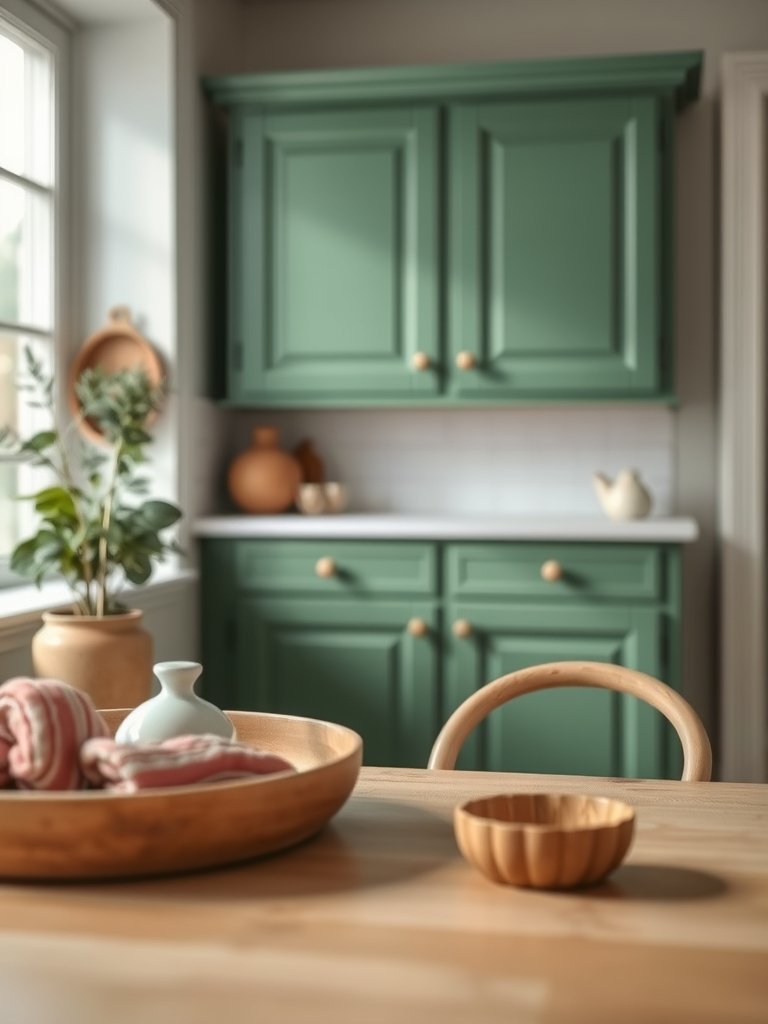
Dark green brings a forest feel into your room without making it feel like a cave. I painted my old cabinets this color once and it changed the light levels instantly. Pick a shade that leans toward moss instead of neon to keep it classic.
Test the paint on a small piece of wood first. Dark shades show dust and scratches faster than white cabinets. Use a satin finish because it hides tiny bumps on older cabinet doors better than shiny gloss.
Buy high quality primer to stop the old stains from showing through the new color. You might need three coats if the wood is very dark. Fresh paint gives your house a custom look for very little money.
- Pick matte or satin finish paint.
- Test color on sample boards.
- Use primer for even coverage.
- Choose earthy moss green shades.
2. Install Glass Cabinet Door Fronts
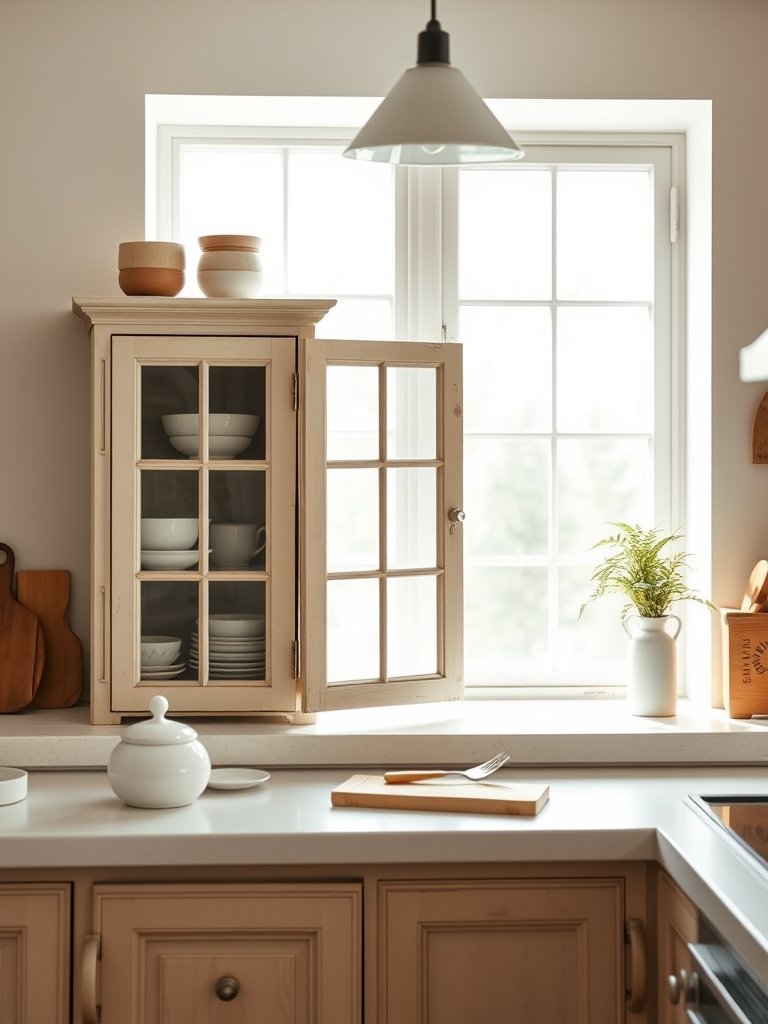
Glass doors let you show off your favorite mugs and plates. I found that swapping two center panels for glass creates a focal point. You can buy premade frames or have a local shop cut glass for you.
Safety matters when you have glass in a busy kitchen. Use tempered glass because it holds up better if you bump it with a heavy pot. Clear glass shows everything, so keep your stacks organized and clean.
Put small puck lights inside if your kitchen feels dim at night. You can hide the cords behind the shelves easily. Glass makes a small room feel much bigger and brighter than solid wood ever could.
- Swap panels for tempered glass.
- Keep inner shelves very organized.
- Add puck lights for glow.
- Choose frosted glass for privacy.
3. Add Worn Brass Drawer Pulls
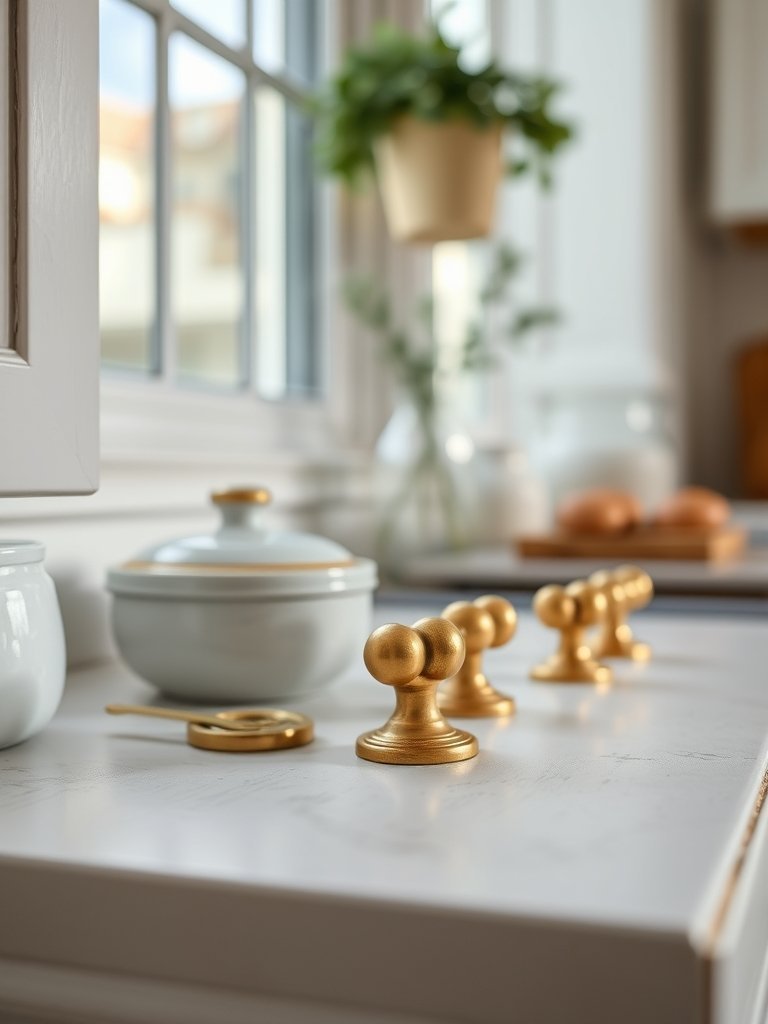
Brass hardware makes cheap doors look like expensive custom furniture. I prefer unlacquered brass because it turns a darker brown over time as you touch it. This natural aging process adds a layer of history to your space.
Measure the holes on your current drawers before you buy new metal pulls. Most older cabinets use different sizes than modern stores sell today. You might need to fill the holes with wood putty and drill new ones.
Polish the brass once a year if you want to keep it bright. I like the dull look better because it feels like a real farmhouse kitchen. Spend a little more money on sturdy metal knobs.
- Measure holes before buying hardware.
- Choose unlacquered brass for aging.
- Fill old holes with putty.
- Buy heavy metal for quality.
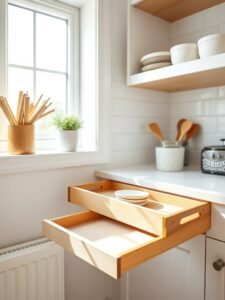
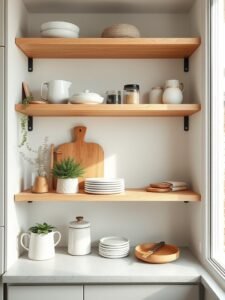
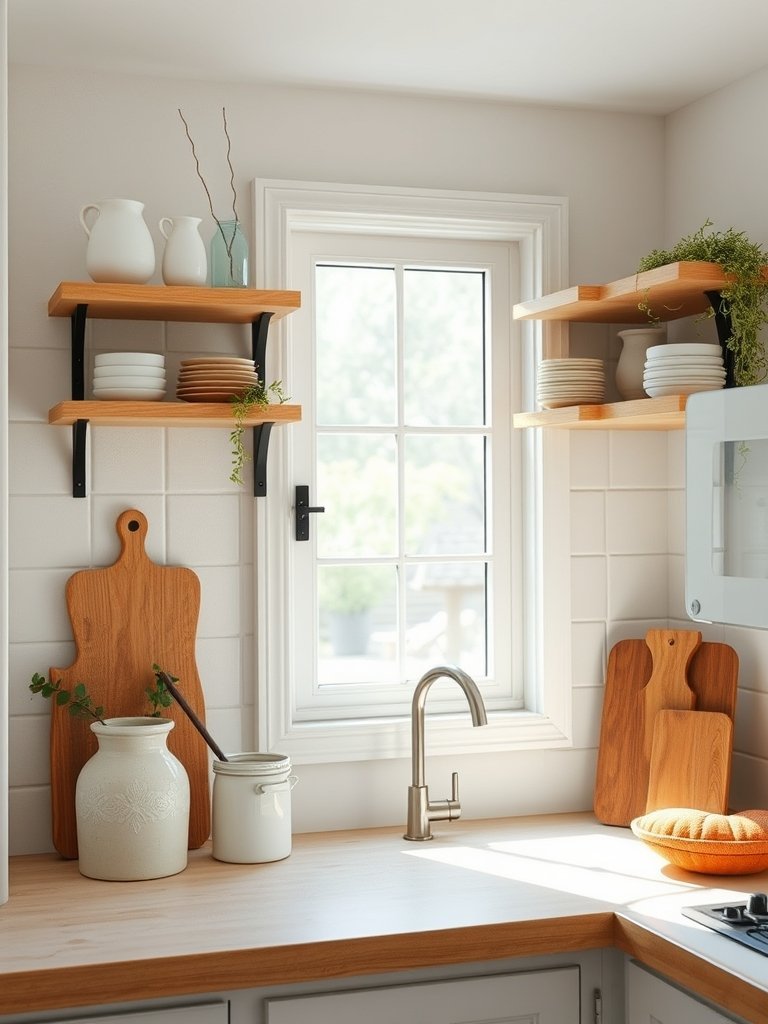
4. Include Open Shelving Units
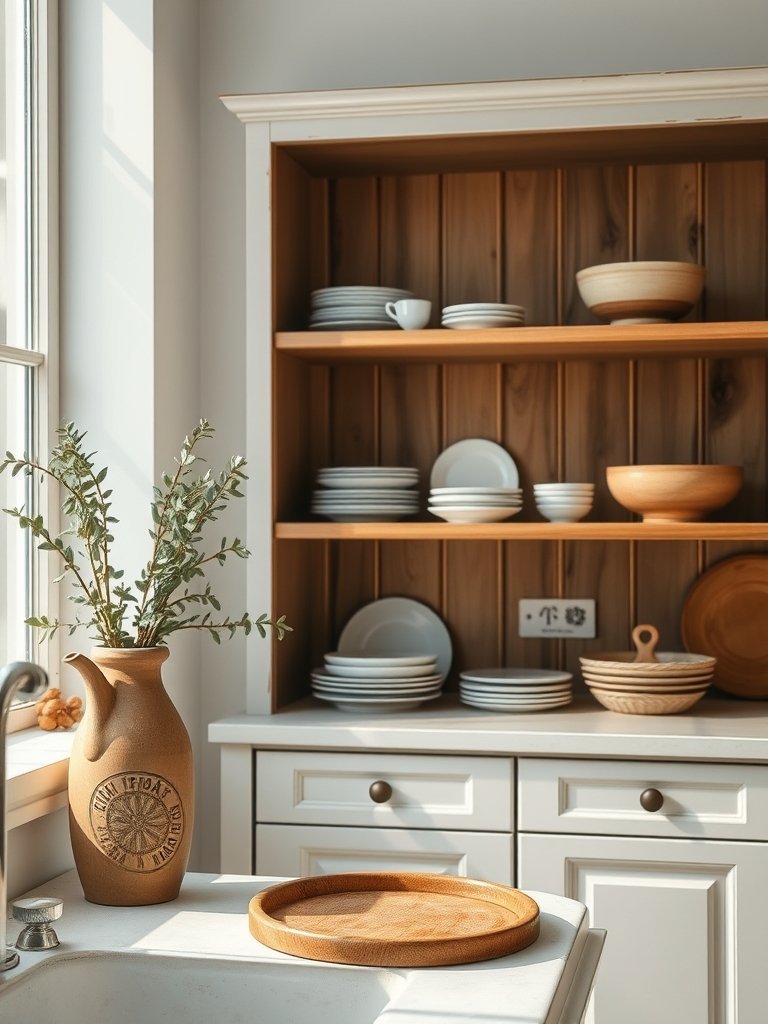
Open shelves take the pressure off your storage system. I removed two heavy upper doors to create a shelf for my spices and jars. This trick makes the kitchen feel open and very easy to reach.
Install thick wood planks that match your floor or your main table. You must find the wall studs to keep the heavy wood from falling down later. Heavy items belong on the bottom, not on the high shelves.
Decorate the space with things you actually use every day. Don’t worry about perfect rows or fancy displays. The beauty comes from the objects you love, like your favorite ceramic bowl or heavy stone jar.
- Find wall studs for safety.
- Remove doors to create space.
- Keep heavy items down low.
- Use wood that matches floors.
5. Paint Inside the Cabinets
Painting the inside of your cabinets is a fun secret detail. I chose a bright yellow for my pantry once and it cheered me up every morning. You only see it when you reach for a snack.
Pick a color that contrasts with the outside paint. If your outside is navy blue, use a soft cream or white inside. It helps you see small items that get lost in the back corners.
Use durable paint that withstands constant rubbing from cups and plates. I recommend a water-based enamel for the inside areas. This small detail proves that you care about every part of your house, not just the front.
- Choose bright colors for contrast.
- Use durable water-based enamel.
- Paint the back wall only.
- Keep colors light for visibility.
6. Add Beadboard Backing Panels
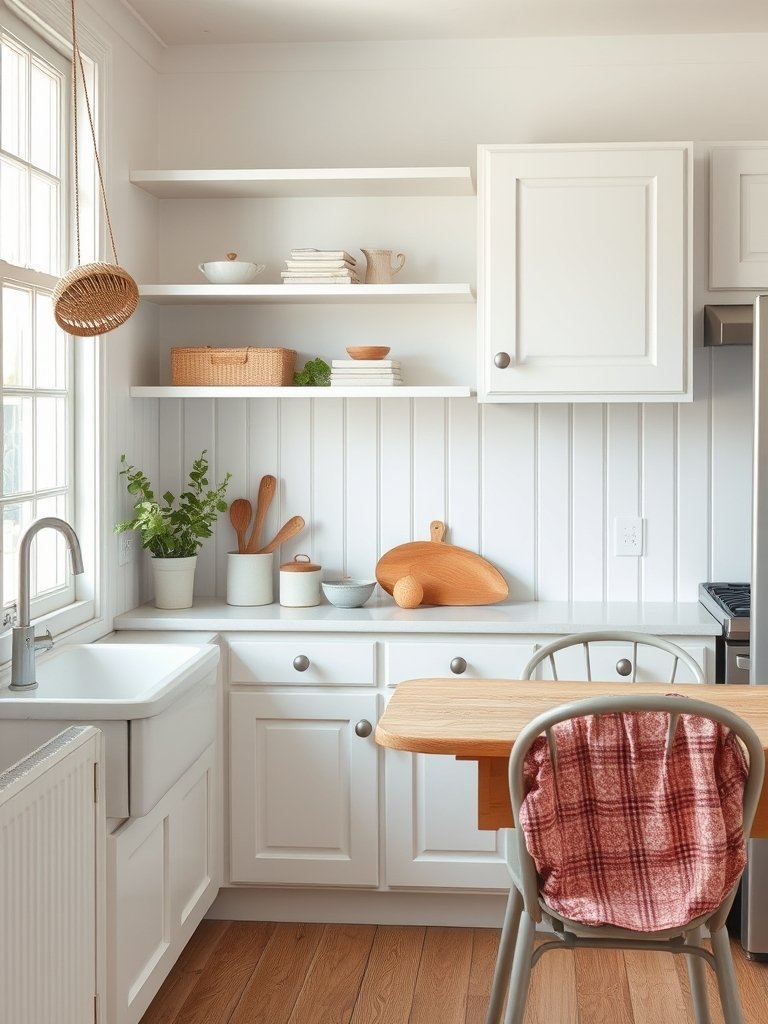
Beadboard adds texture to walls that feel too flat. I nailed thin panels to the back of my open shelves to give them a finished look. It makes a plain box look like a piece of custom carpentry.
Buy pre-cut sheets at the store to save hours of work. Use a tiny bit of glue and small nails to hold the panels in place. White beadboard works with almost every style you can think of.
Paint the beadboard a soft grey if white feels too bright for you. The vertical lines draw your eye up toward the ceiling. It hides the ugly plaster walls that might sit behind your old wall units.
- Buy pre-cut sheets for speed.
- Use nails and light glue.
- Paint soft grey for depth.
- Focus on vertical lines only.
7. Build a Custom Kitchen Island
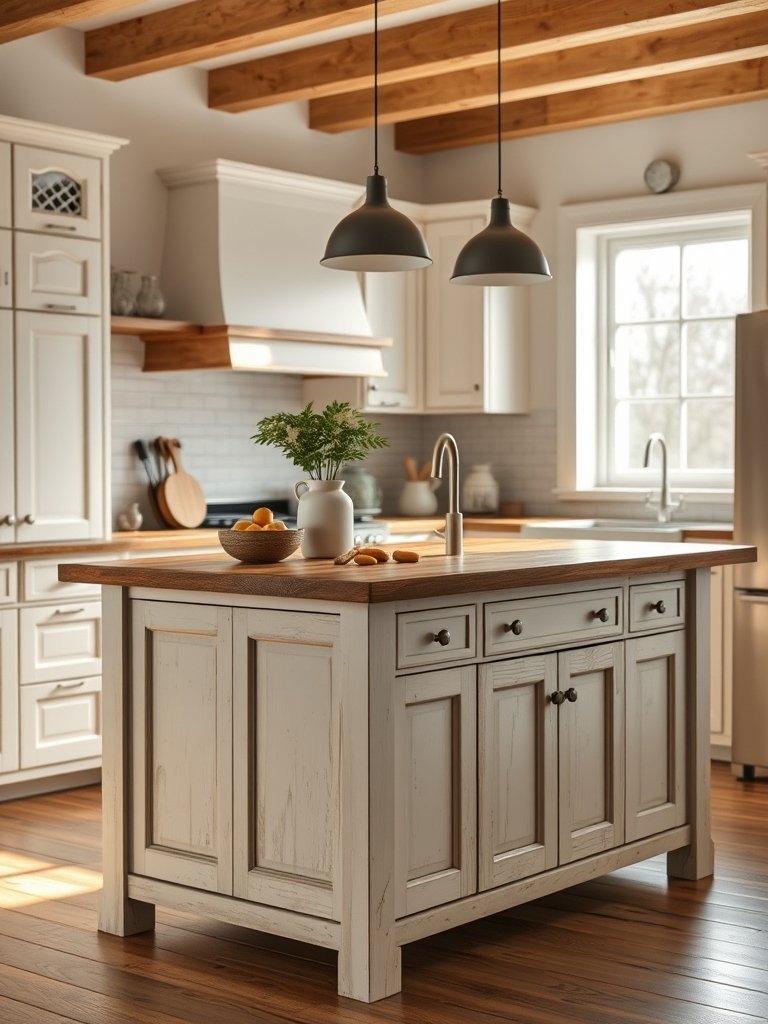
Islands provide the best space for cutting vegetables and talking to guests. I converted an old dresser into a island by adding a heavy wood top. It holds my pots and pans below while I cook.
Locking wheels allow you to move the unit when you need more floor room. This is a life saver in a tiny kitchen where space is limited. Use a butcher block top to create a sturdy work surface.
Seal the wood top with food safe oil twice a month. It keeps the surface clean and prevents water damage from spills. Your kitchen deserves a centerpiece that has a story to tell every day.
- Convert dressers into islands.
- Use locking wheels for movement.
- Choose food safe oil finish.
- Store pans on bottom shelves.
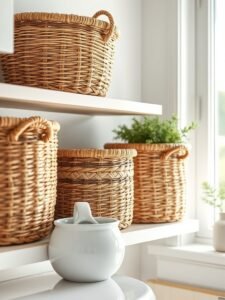
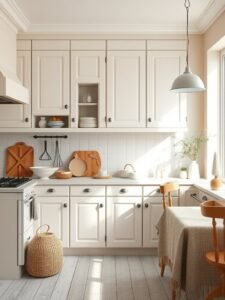
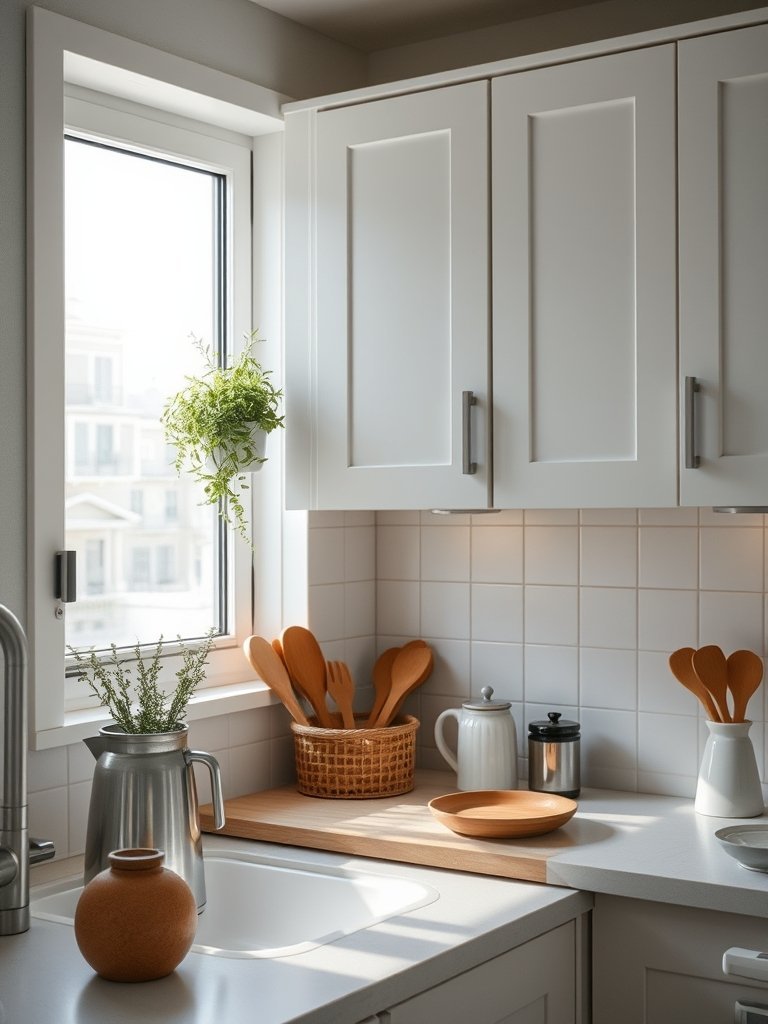
8. Hang Woven Baskets High
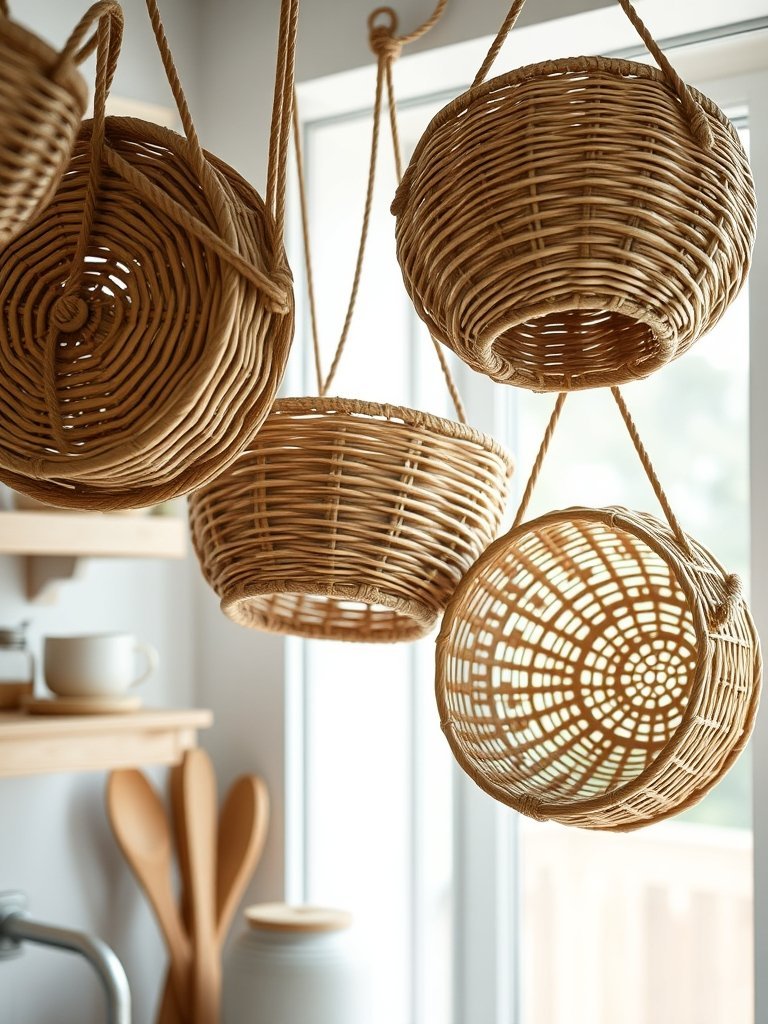
Baskets hide the clutter you cannot fit inside the drawers. I keep my extra towels and plastic bags in baskets on top of the cabinets. It adds a natural feel that wood cannot provide alone.
Look for seagrass or wicker baskets that fit your height requirements. Measure the gap between your cabinets and the ceiling before buying anything. You want them to look like they belong there, not like a pile.
Dust the baskets with a soft brush during your weekly cleaning routine. They are perfect for items you use once a month. Natural textures soften the hard edges of your appliances and metal handles.
- Measure gaps before you buy.
- Use natural seagrass or wicker.
- Dust with a soft brush.
- Store items you rarely use.
9. Use Mismatched Cabinet Knobs
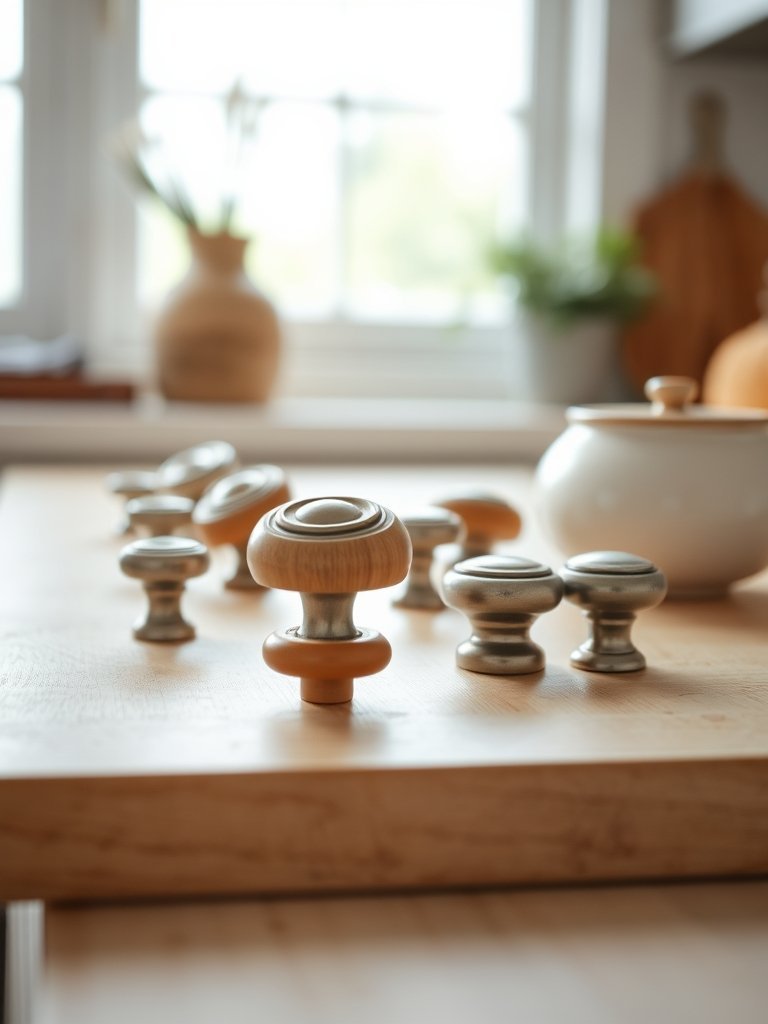
Mismatched hardware gives your kitchen a creative and cozy vibe. I picked up vintage glass knobs from a local fair for my bottom drawers. My top drawers have simple iron pulls for a sharp contrast.
Group your knobs by style or color to keep it from looking like a total mess. All the knobs on one door should match, but different doors can hold different styles. It feels like a collection over time.
Check the screw length on each piece before you install them. Some old knobs have short screws that will not reach through thick doors. This is a very simple way to show off your personality.
- Group knobs by style or color.
- Match doors, not the whole set.
- Check screw lengths for fit.
- Mix glass with heavy iron.
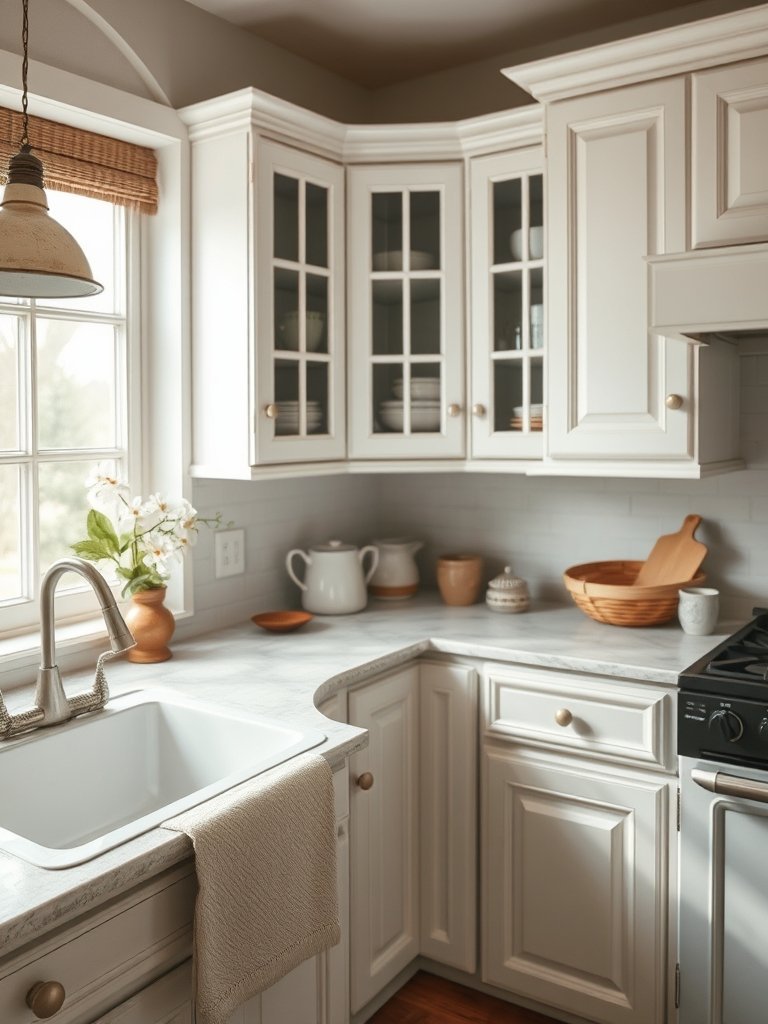
10. Frame the Window Area
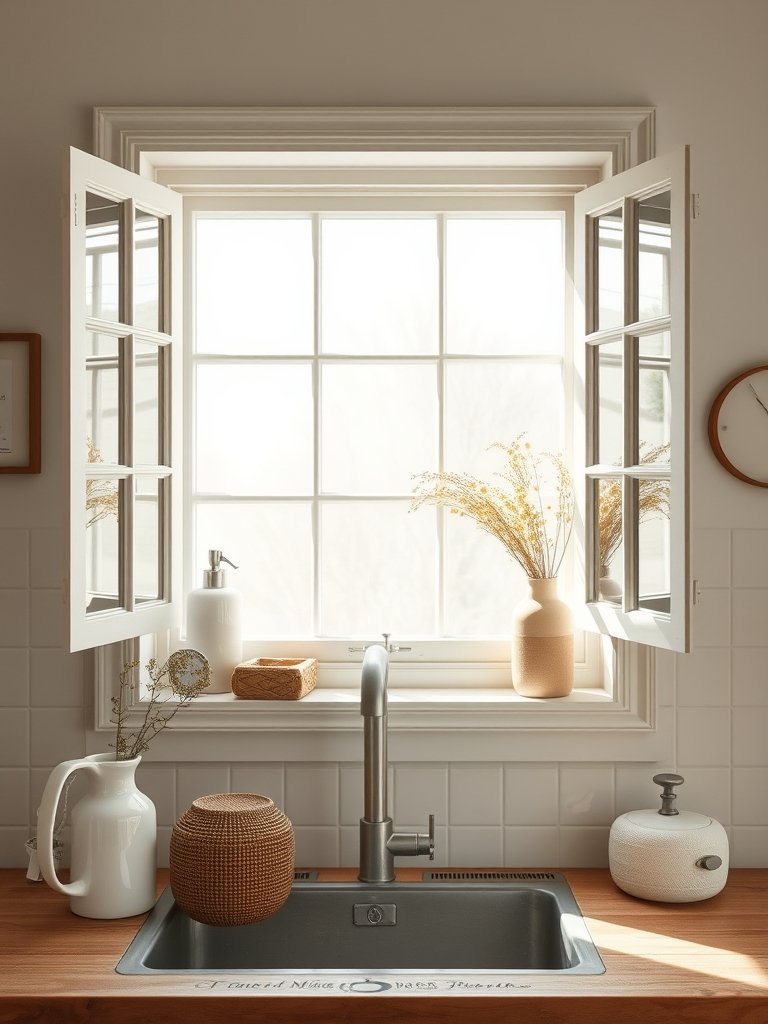
Windows need to stand out as part of your decor scheme. I added small wood valances above my sink to link the two sides of my cabinets. It creates a bridge that pulls the design together.
Use reclaimed wood to keep the look antique and aged. It matches well with older homes that have character. You can hang a small plant from the center to bring in some green.
Keep the wood light so it does not block natural sunlight. A warm stain lets the grain show through and adds a nice glow. This small addition makes the sink feel like a planned design spot.
- Use reclaimed wood for age.
- Build a bridge between cabinets.
- Hang small plants for color.
- Keep stains light and warm.
11. Add Corner Shelf Units
Corners often turn into dead space that collects dust. I installed curved corner shelves to hold my cookbook collection. It makes the cabinets look softer and finishes the run of the wood.
Wood shelves fit better than metal ones in an antique style home. Sand the edges until they feel smooth and round to the touch. This makes the kitchen feel safer for people walking by.
Attach the shelves with hidden brackets to keep the lines clean. You want the wood to look like it is floating against the wall. Fill them with things that reflect your love of food.
- Use wood for softer looks.
- Sand edges until very smooth.
- Add hidden brackets for style.
- Fill with heavy recipe books.
12. Create a Coffee Station
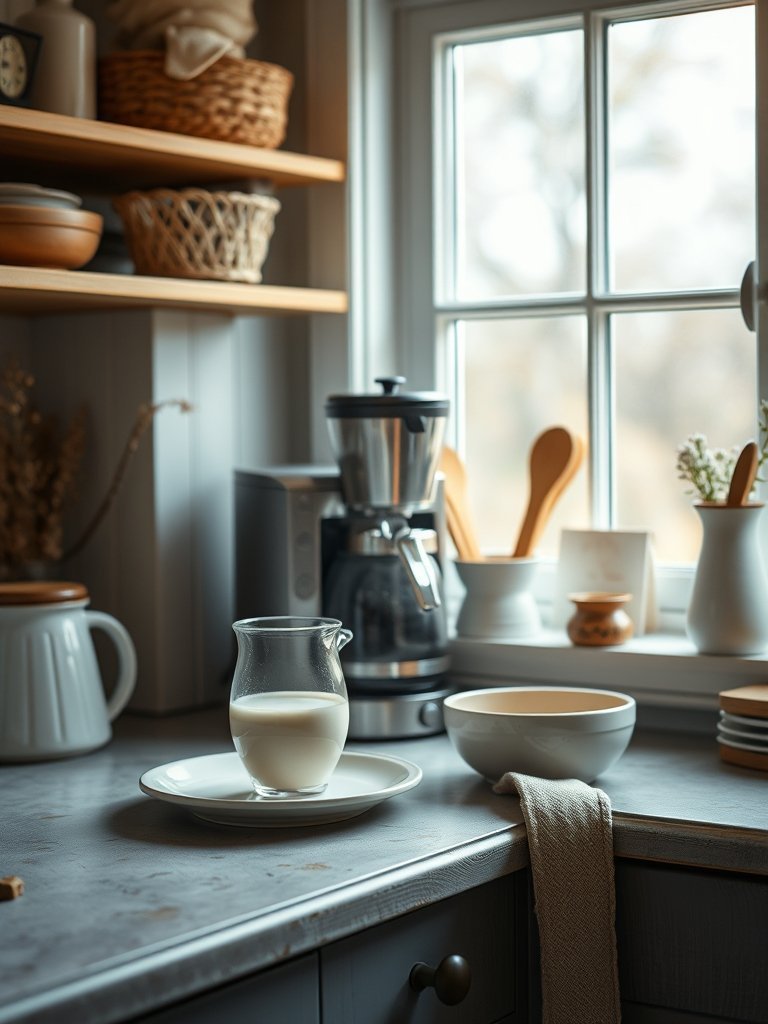
Coffee stations save your counter space from messy piles. I turned one lower cabinet into a dedicated zone with my machine and mugs. It feels like a small cafe inside my own home.
Organize the drawer below with spoons and coffee pods for easy access. You can add a small chalkboard on the door to list your favorite drink recipes. It becomes a ritual you look forward to daily.
Keep the area wiped down so it stays fresh looking. Use a tray to catch drips from the machine. Everything you need is right there in one spot instead of scattered around.
- Turn cabinets into drink zones.
- Organize pods in the drawer.
- Use trays to catch drips.
- Add chalkboard for fun notes.
13. Use Distressed Paint Techniques
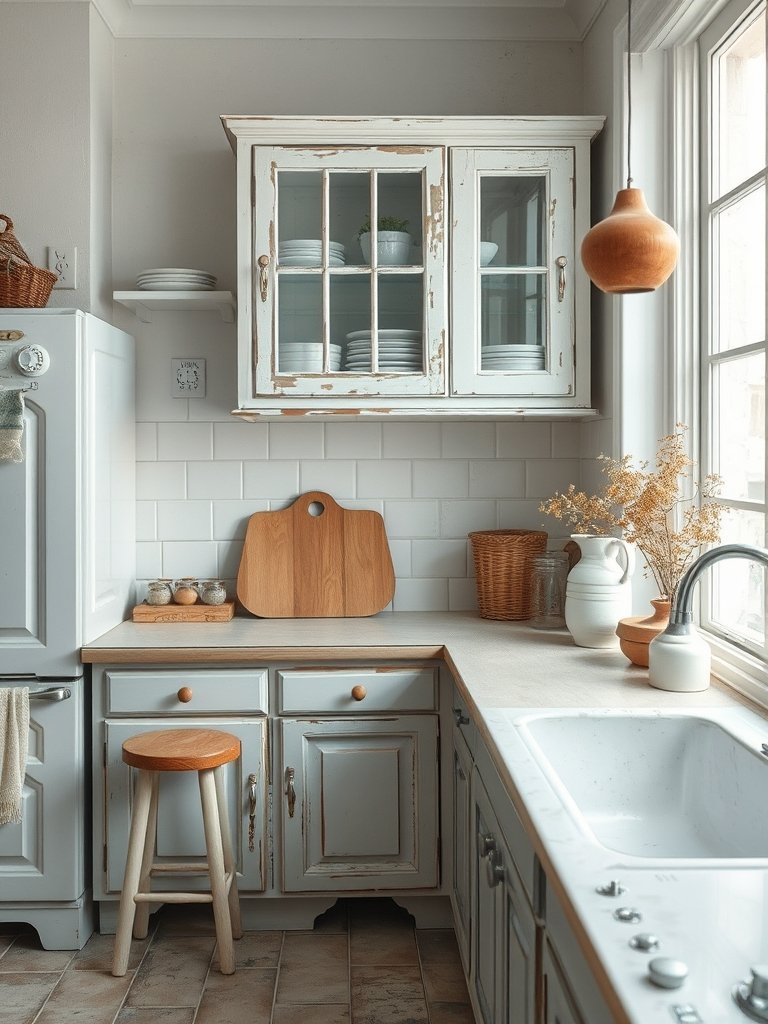
Distressed cabinets look like they have lived in your house for decades. I sanded the corners of my doors until the base layer of wood showed through. It hides the marks that happen from daily use.
You should use two layers of paint for the best look. Paint a dark color first, then add white over the top. Rub the edges with a wet cloth to let the dark base peek out.
Seal the whole door with a matte wax so the paint stays locked. The finish should look dull and very soft. Do not overdo the sanding because it can look like an accident quickly.
- Paint dark colors underneath white.
- Sand corners to show layers.
- Seal with wax for durability.
- Use soft matte finish paint.
14. Add Under Cabinet Lighting
Lighting is the final touch that makes everything look rich. I installed LED strips that stick under my cabinets to brighten the counters. It helps me see clearly when I am chopping food.
Choose a warm white light instead of the harsh blue bulbs. Warm light makes wood look better and feels more inviting to guests. You can buy battery kits if you cannot wire them to electricity.
Hide the wires behind the front edge of the cabinet frame. Nobody should see the source of the glow, only the light itself. It changes the mood of the entire kitchen after the sun sets.
- Use warm white light bulbs.
- Hide wires behind cabinet edges.
- Buy battery kits for ease.
- Focus light on counter space.
I hope you found the perfect way to bring new life into your home. Fixing your space does not have to be a chore or a massive cost. You can pick one small change today and feel the difference immediately. Whether you choose new paint or just swap a few knobs, your room will feel better. Take your time, enjoy the process, and you’ve got this.
| Idea Number | Idea Name | Impact Level |
|---|---|---|
| 1 | Deep Green Paint | High |
| 2 | Glass Doors | High |
| 3 | Brass Hardware | Medium |
| 4 | Open Shelves | High |
| 5 | Inside Paint | Low |
| 6 | Beadboard | Medium |
| 7 | Custom Island | High |
| 8 | Woven Baskets | Low |
| 9 | Mismatched Knobs | Low |
| 10 | Window Frame | Medium |
| 11 | Corner Shelves | Medium |
| 12 | Coffee Station | High |
| 13 | Distressed Paint | High |
| 14 | Under Cabinet Lights | High |
Frequently Asked Questions (FAQs)
Is it hard to paint my own cabinets?
Painting is very easy if you take your time with the prep work. You must clean the wood well to remove grease before the paint goes on. If you skip the cleaning, the paint will peel off in a few months. Use a roller for big flat spots and a small brush for corners.
Can I mix modern and antique looks?
You should mix styles because it keeps the house from looking like a showroom. A modern appliance looks great next to a wooden cabinet with character. Keep your colors neutral to help the different styles blend together. Start with small items like knobs to see how they look.
Are open shelves hard to keep clean?
Open shelves collect dust just like any other surface in your house. You should only store things you use every single day on them. Items you use daily get washed often, so they never sit there long enough to get dirty. Do not place fancy decor that you never touch on them.
Do I need to buy expensive hardware?
You do not need to buy expensive hardware to get a good look. Vintage shops or online marketplaces have great deals on metal knobs. Solid brass is heavy and feels better than plastic, so look for weight when you shop. Buy a few samples to test the look on your doors.
Does painting inside cabinets take long?
Painting the inside is much faster than the outside because you do not need perfect lines. You do not have to worry about bumps as much since the door hides most of it. Use a bright color so you can see your food and jars at the back. Two hours is enough for most cabinets.
Should I remove the doors to paint them?
You should remove the doors to get a smooth, professional finish. It prevents paint from dripping into your hinges and makes the work much faster. Lay the doors flat on a table to avoid runs in the paint. Label each door with tape so you know where it goes later.
Can I fix broken cabinet wood easily?
Small cracks or holes are simple to fix with wood filler. Spread the filler in the gap and let it dry for a few hours. Sand the spot until it is flat and smooth like the rest of the door. Paint over the area and nobody will ever see the spot.
Will lighting make my kitchen feel bigger?
Lighting makes any room feel larger by removing dark corners. Shadows make a room look small and cramped. Bright light under your cabinets draws the eye down to the counters and makes the whole space glow. Use warm light to keep the atmosphere friendly and very soft.