As an Amazon Associate, I earn from qualifying purchases at no extra cost to you.
14 No Door Kitchen Cabinet Ideas (That Feel Cozy Fast)
 ByRayan

You know, staring at those dark, closed boxes in your kitchen can really suck the life out of your morning coffee. Most people just live with boring cabinets because they think a remodel costs a fortune, but you really do not need a contractor to make a change. I have been there, hacking away at my own kitchen, and trust me, open shelving is the best way to get that airy, happy feeling without breaking the bank.
People get so scared of showing their plates, thinking every dish needs to look like a museum piece. That is honestly just silly, because a home should look like you actually live there, not like a showroom. You are going to learn how to ditch those heavy doors, style your shelves like a pro, and finally stop hiding your pretty mugs, bowls, and favorite kitchen finds behind ugly wood panels.
1. Paint the Inside Back Walls
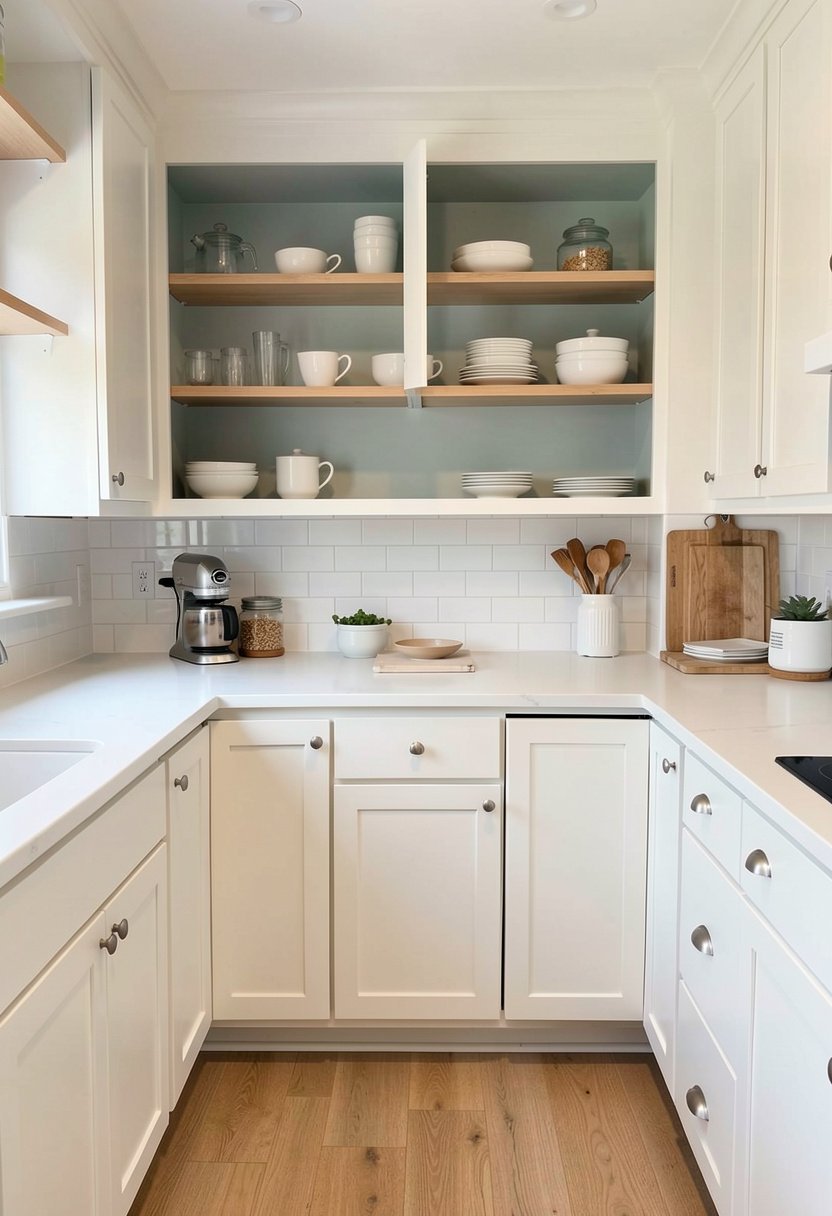
Painting the back of your cabinets is a total game changer, and honestly, I am shocked more people do not do it. You pick a bold color, maybe a deep navy or a soft sage, and suddenly your plates look like art. Most folks leave them white, which is fine, but it is also boring, and life is too short for boring walls. Do not be afraid to go dark, because it makes your stuff pop, and it hides all the little scuffs from years of use.
If you are worried about the finish, just use a nice matte paint. It covers up drapes of uneven wood grain, and it looks much more expensive than it is. I once painted mine a charcoal black, and it made my white dishes look like they belonged in a fancy hotel. It is a tiny task, but it adds so much soul, and it makes your kitchen feel custom.
You really only need a sample pot of paint, a small roller, and about an hour of your time. Just clear your shelves, tape off the edges, and go to town. It is the easiest way to add character, and if you hate it, you can just paint over it. Do not let fear stop you, because this tiny change is the secret to a high-end look.
- Use a bold contrast color.
- Pick a matte finish paint.
- Clean the surfaces really well.
- Take your time with tape.

2. Install Simple Floating Wood Shelves
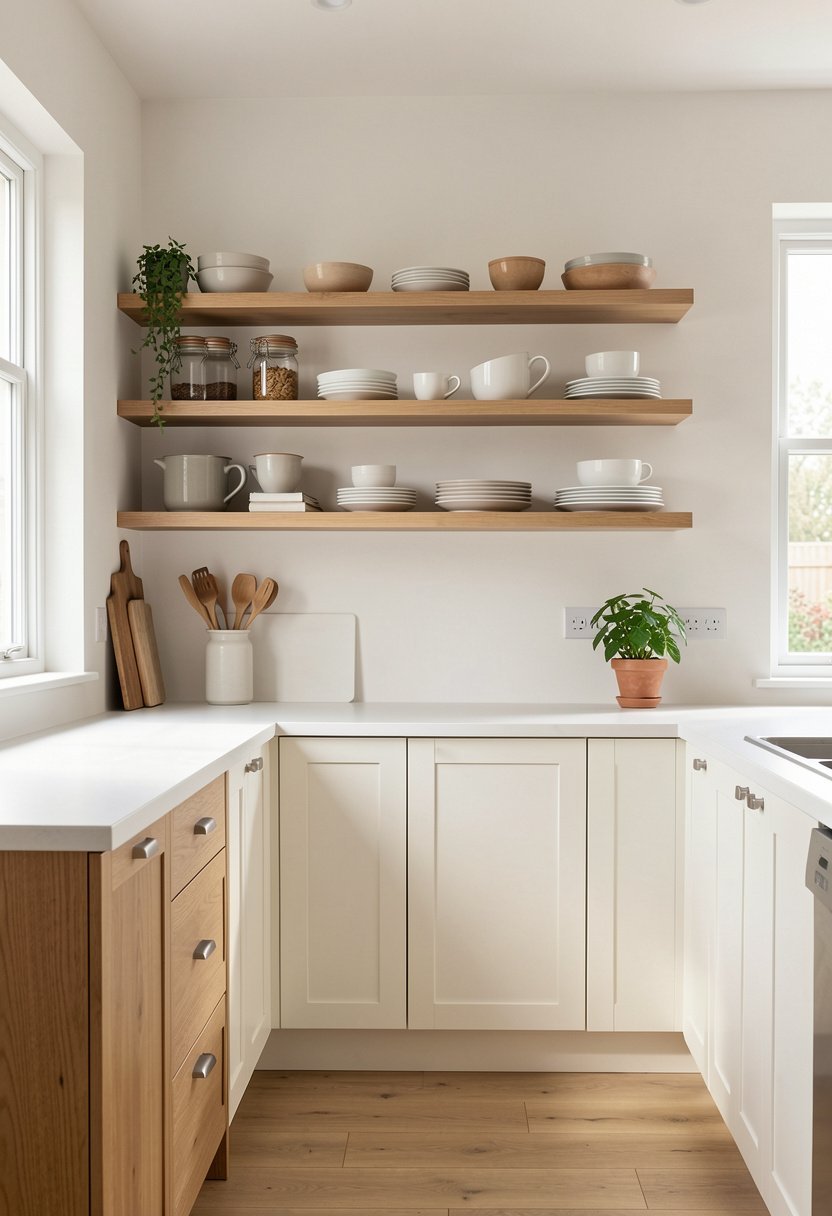
Floating shelves are better than old cabinets, and I will die on this hill. You pull out those heavy, clunky doors, and you slide in thick pieces of natural wood to bridge the gap. It makes the kitchen feel twice as big, and you stop banging your head on those annoying door corners. People usually buy the cheap ones, but you should look for reclaimed wood, because it has history, and it feels warm under your hands.
The trick is to use hidden brackets, because you want the shelf to look like it is floating on magic. If you see big, ugly metal supports, you have failed, so spend the extra five bucks on good hardware. I have seen so many kitchens ruined by wobbly shelves, so just measure twice, find your wall studs, and make sure that thing is solid. You can put your heavy cast iron on there, no problem.
I love using light oak or walnut, as they bring a natural vibe to a sterile kitchen. It breaks up the wall of flat colors, and it feels so much more organic. When you add a bit of wood, the whole room just exhales, and you feel that cozy weight of a real home. It is a simple swap, but it transforms the entire vibe of the space.
- Choose thick natural wood.
- Use strong hidden brackets.
- Anchor into the wall studs.
- Style with texture and wood.

3. Add Under Shelf Lighting
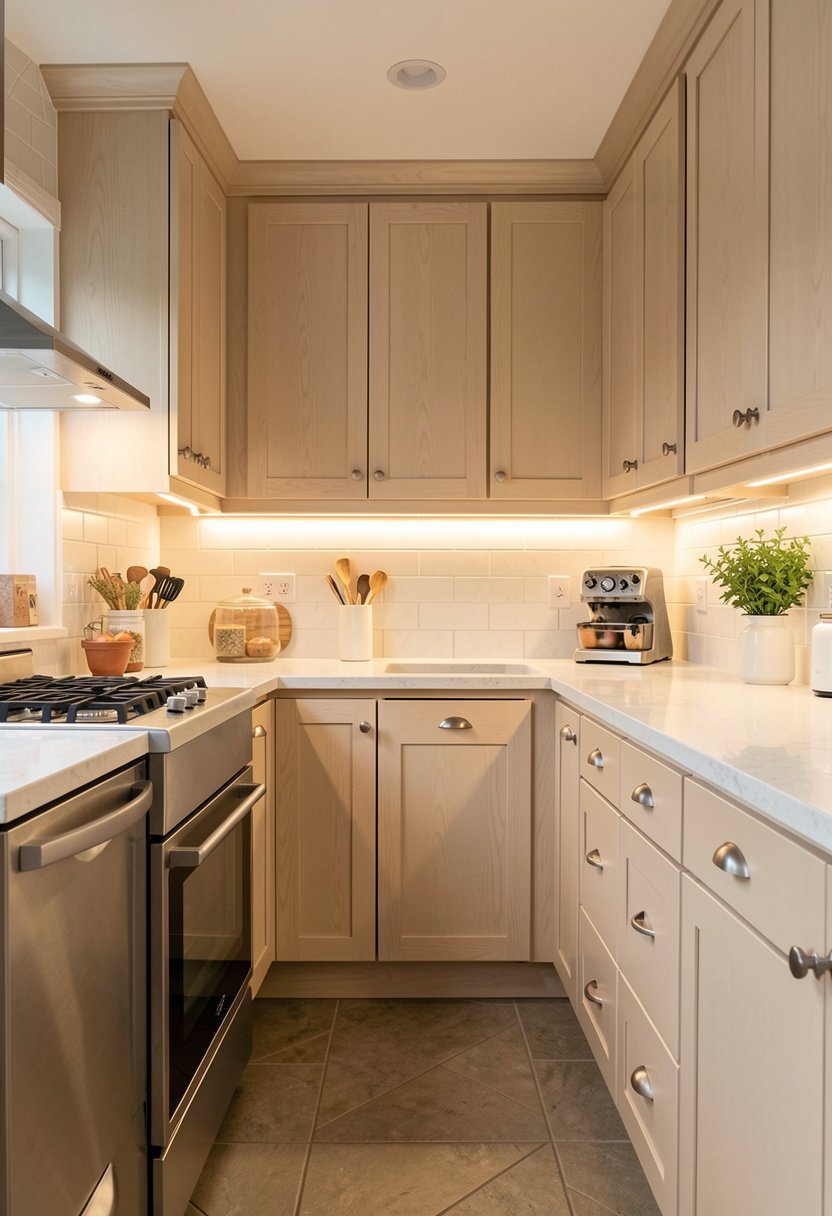
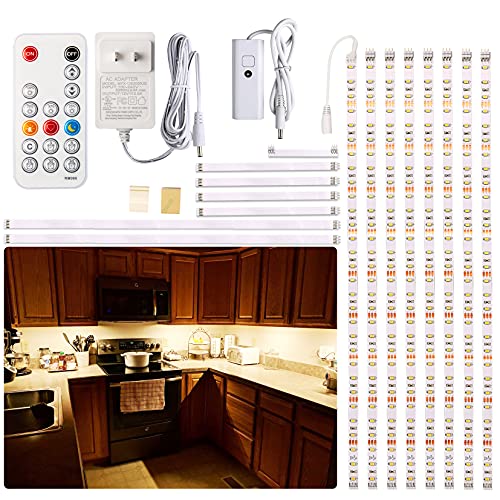
Nothing looks sadder than a dark corner, so you need to put lights under your shelves. People think this is a huge electrical job, but you can just use little stick-on LED strips. I put these under every single shelf in my kitchen, and it changed the vibe from dreary to dreamy in ten minutes. It is not just about seeing your spices, it is about that warm, soft glow that makes your kitchen feel like a high-end cafe.
Do not buy the cheap, flickery blue lights, because they look like a hospital room. You want a warm white, maybe something soft and golden, so it feels like a sunset on your shelves. You can get remote controls or even motion sensors, so they come on when you walk in. It is such a treat to walk into the kitchen at night and have that soft, welcoming light waiting for you.
When the sun goes down, these lights do all the heavy lifting. They highlight your glass jars, they make your pretty pitchers shine, and they add a layer of depth you just cannot get with ceiling lights. It is a cheap, easy win, and you will wonder how you ever lived in the dark. Trust me, the light changes everything, and it makes your kitchen feel loved.
- Pick warm white LED strips.
- Use a remote or sensor.
- Avoid the harsh blue tint.
- Hide the cords behind trim.
4. Use Matching Storage Jars
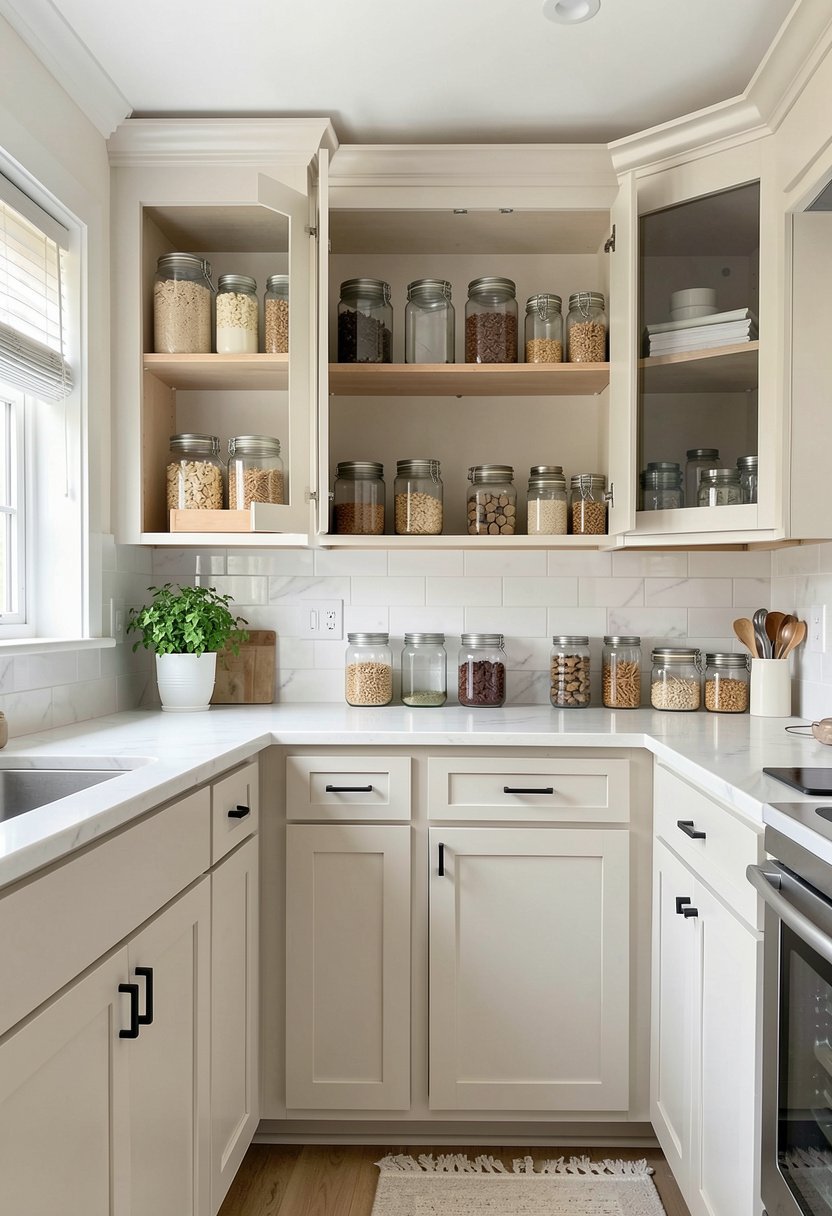
Open shelves look messy if you keep everything in ugly plastic bags. You should move your dry goods into matching glass jars with wood lids. I did this, and it made my kitchen look like it was organized by a person who actually has their life together. It is not just for looks, because you can actually see when you are low on flour, and you stop buying stuff you already have in the back.
Glass jars keep things fresh, they look clean, and they let the light pass through. I hate seeing those crinkly, loud bags on a shelf, because they make the whole space feel like a grocery store aisle. If you get jars of different heights, it creates a nice rhythm, and it makes the shelf look styled. It is a bit of an investment, but you buy them once, and they last a lifetime.
You want a uniform look, so do not mix and match too many shapes. Keep it simple, stick to clear glass, and use pretty labels if you want to be fancy. It takes a few minutes to pour your cereal and pasta into jars, but the reward is a shelf that makes you smile every time you reach for something. It is simple, it is functional, and it is a total game changer.
- Choose clear glass jars.
- Buy matching wood lids.
- Vary the jar heights.
- Use labels for easy spotting.

5. Mix in Some Green Plants
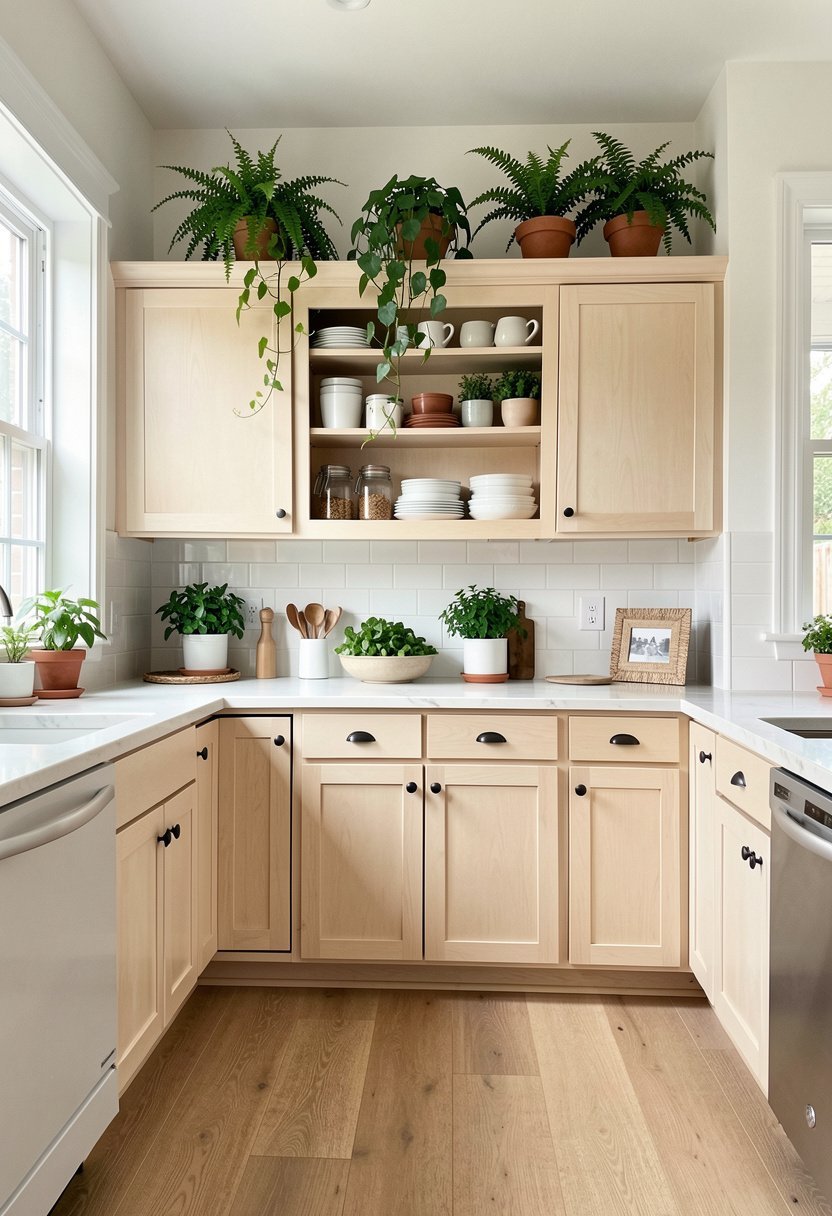
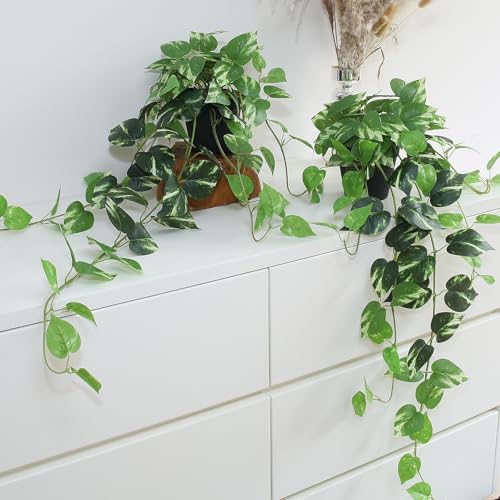
A kitchen without plants is just a box, so put some greenery on your open shelves. I like trailing plants like pothos, because they spill over the edge and soften the hard lines of the cabinets. People worry about cooking near plants, but honestly, most herbs love the light near a window, and they smell amazing. Just make sure you do not put a plant right next to the stove, unless you like crispy leaves.
If you kill every plant you touch, go for a fake one that looks real. There is no shame in that, and modern silk plants have come such a long way. You want to add life, not a chore, so pick something that fits your space. A splash of bright green against your plates creates a fresh look, and it makes your kitchen feel like part of the garden.
Plants bring a sense of calm, and they draw the eye up, which makes the ceiling feel higher. I like to tuck a small succulent next to my coffee mugs, or place a leafy fern on a top shelf. It breaks up the monotony of dishes, and it brings a bit of nature inside. Your kitchen should feel alive, so get some green in there, and enjoy the view.
- Use trailing plants for softness.
- Pick real or high-quality silk.
- Keep plants away from heat.
- Use pots that match decor.
6. Curate Your Daily Dishes
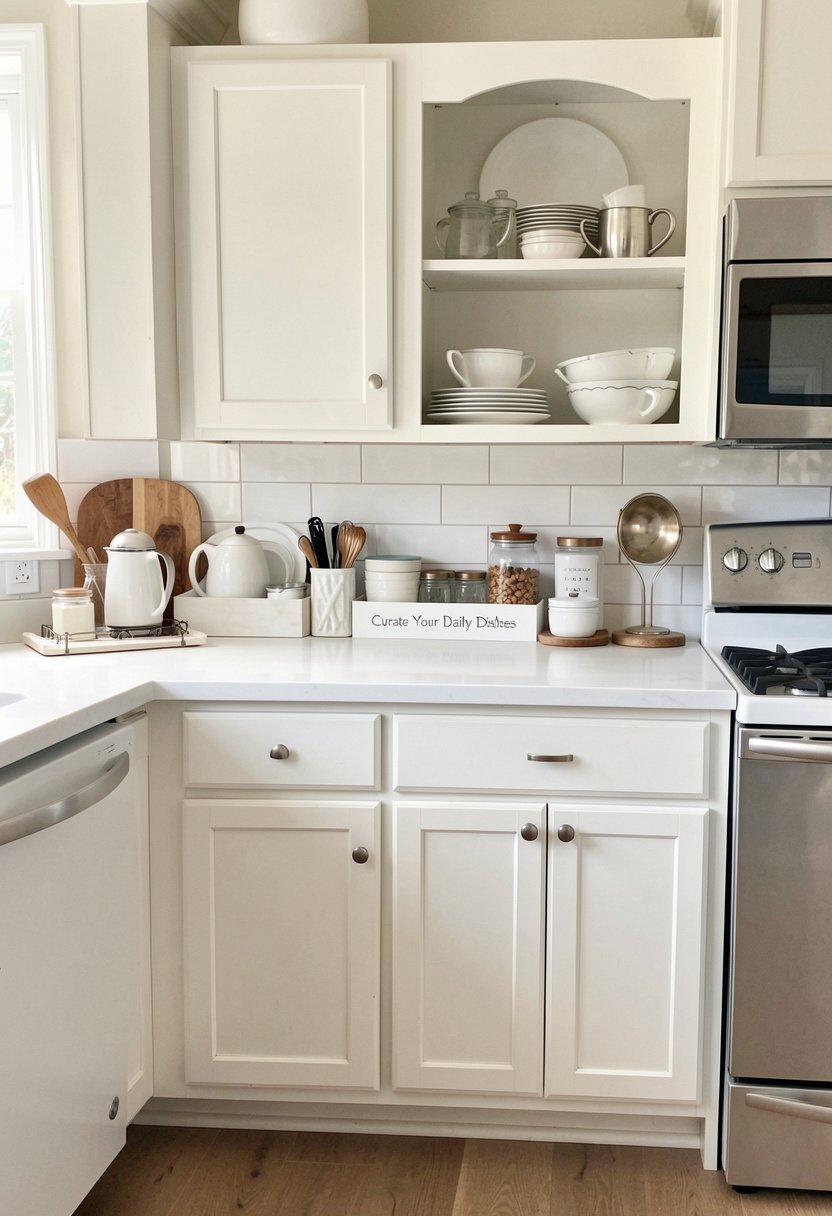
Do not put every single plate you own on open shelves. That is the biggest mistake people make, because it turns into a cluttered mess. Pick your favorite items, the ones you use every day, and let them be the stars. I keep my white ceramic stack, my best glass cups, and my favorite tea pot front and center. Everything else stays hidden in a drawer or a lower cabinet.
Open shelving is about curation, so you need to be a little bit ruthless. If a bowl is chipped or ugly, get rid of it, or tuck it away. You want to see things that bring you joy, and you want the space to feel intentional. It should look like you made a choice to display these items, not like you just ran out of room in the dark cupboard.
It is fine to rotate your collection, too. I swap my summer bowls for my winter mugs when the seasons change. It keeps the kitchen feeling fresh, and it gives you a reason to interact with your stuff. Keep it light, keep it clean, and keep the clutter away. Your shelves should work for you, and they should look good doing it, so edit often.
- Pick only favorite daily items.
- Hide the ugly or chipped.
- Rotate pieces by the season.
- Group items by their color.

7. Hang Hooks Under Shelves
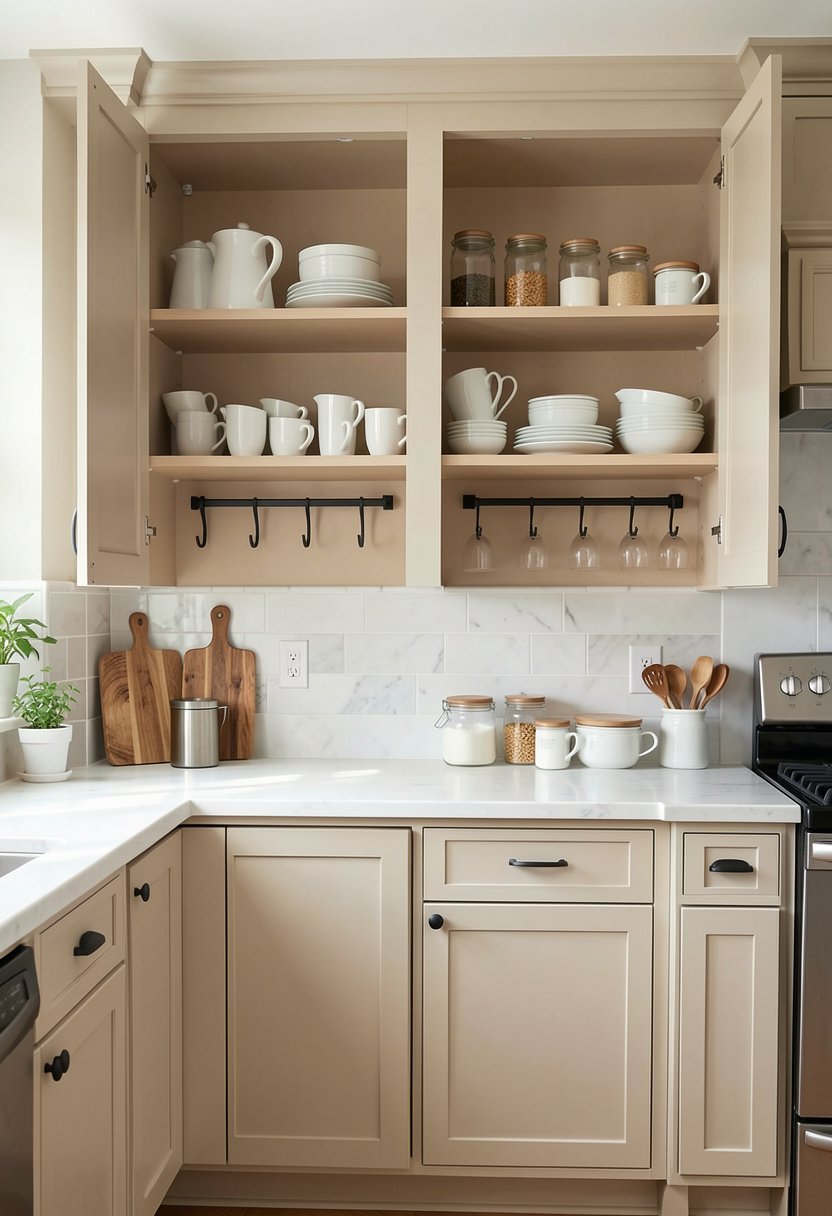
You have all this empty space under the bottom shelf, so use it. I screwed a few simple brass hooks into the bottom, and now my coffee mugs hang there. It saves so much space, it looks super cute, and it is honestly so much fun to grab a mug by the handle. People are always impressed by this, but it is just a five minute job that adds so much function to a small wall.
You can hang measuring cups, small pitchers, or even dried herbs if you want that rustic vibe. It fills the void, and it uses space that was basically dead before. Just make sure you measure the distance between the hooks, because you do not want your mugs clanking into each other. If you hang them with the handles facing out, it looks perfect every time you walk into the room.
If you do not want to drill, you can find adhesive hooks that hold a surprising amount of weight. Brass or matte black hooks look the best, and they add a nice bit of hardware to your kitchen. It is one of those small details that makes the whole room feel considered and polished. Use the vertical space, save your shelf room, and keep things handy.
- Use brass or black hooks.
- Space mugs so they swing.
- Drill or use strong adhesive.
- Hang your most used tools.

8. Add a Decorative Backsplash
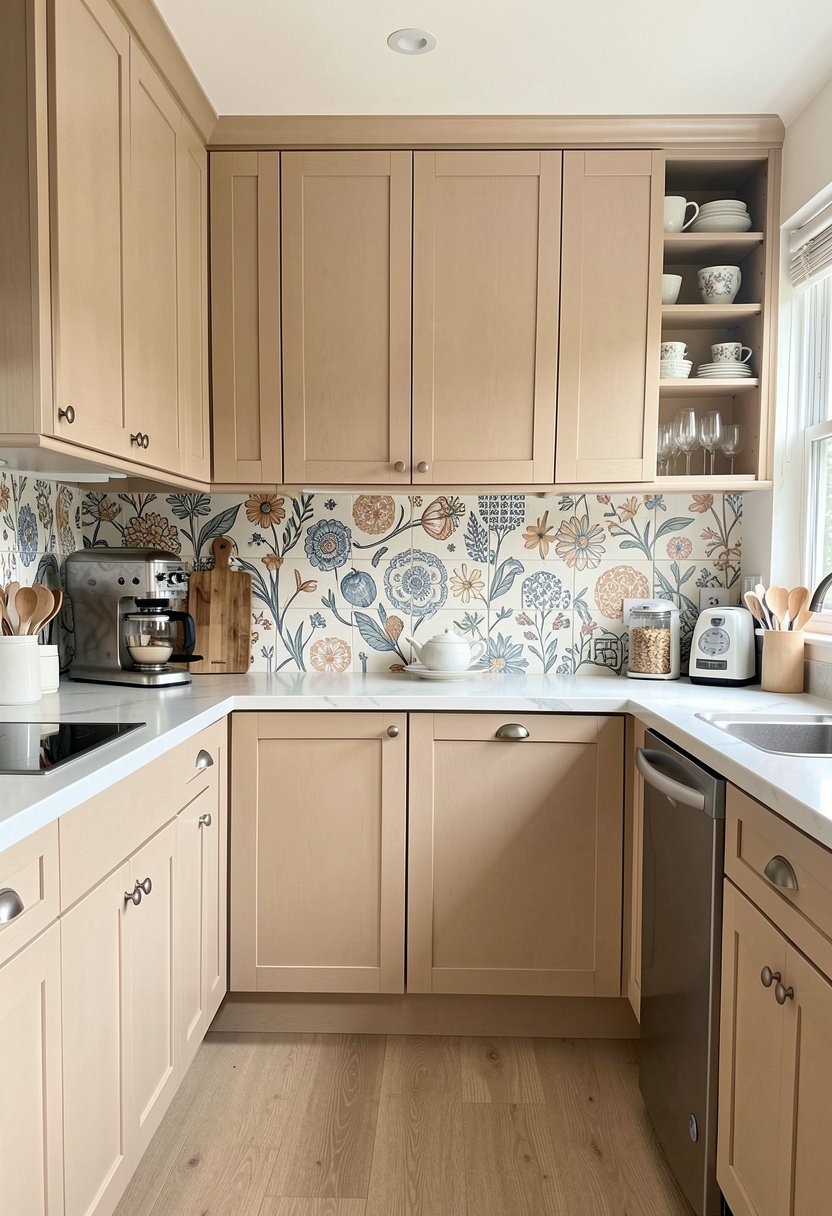
If your cabinet doors are gone, the wall behind the shelves becomes a main feature. Do not leave it as plain, boring drywall. I used a simple peel-and-stick tile, and it completely changed the look of my kitchen. It adds pattern and texture, and it is so much easier to clean than flat paint. People think tile is hard, but you can get some really high-quality stickers that look like real ceramic.
You should pick a pattern that fits your style, maybe a classic subway tile or a fun geometric print. It frames your dishes, and it makes the whole shelving area look like a deliberate design choice. It is a little bit of work, but it is way cheaper than a full remodel, and it makes such a big impact. When you see it, you will wonder why you waited so long.
If tile is too much, try a beadboard panel. It adds a lovely cottage feel, and it is very durable. Just cut it to size, paint it a bright color, and nail it to the wall. It gives you that classic farmhouse look, and it provides a nice, sturdy backdrop for your everyday stuff. Make the wall count, because it is the stage for your favorite pieces.
- Use peel-and-stick tiles.
- Try beadboard for texture.
- Choose a pattern you love.
- Measure and cut very carefully.

9. Create a Coffee Station
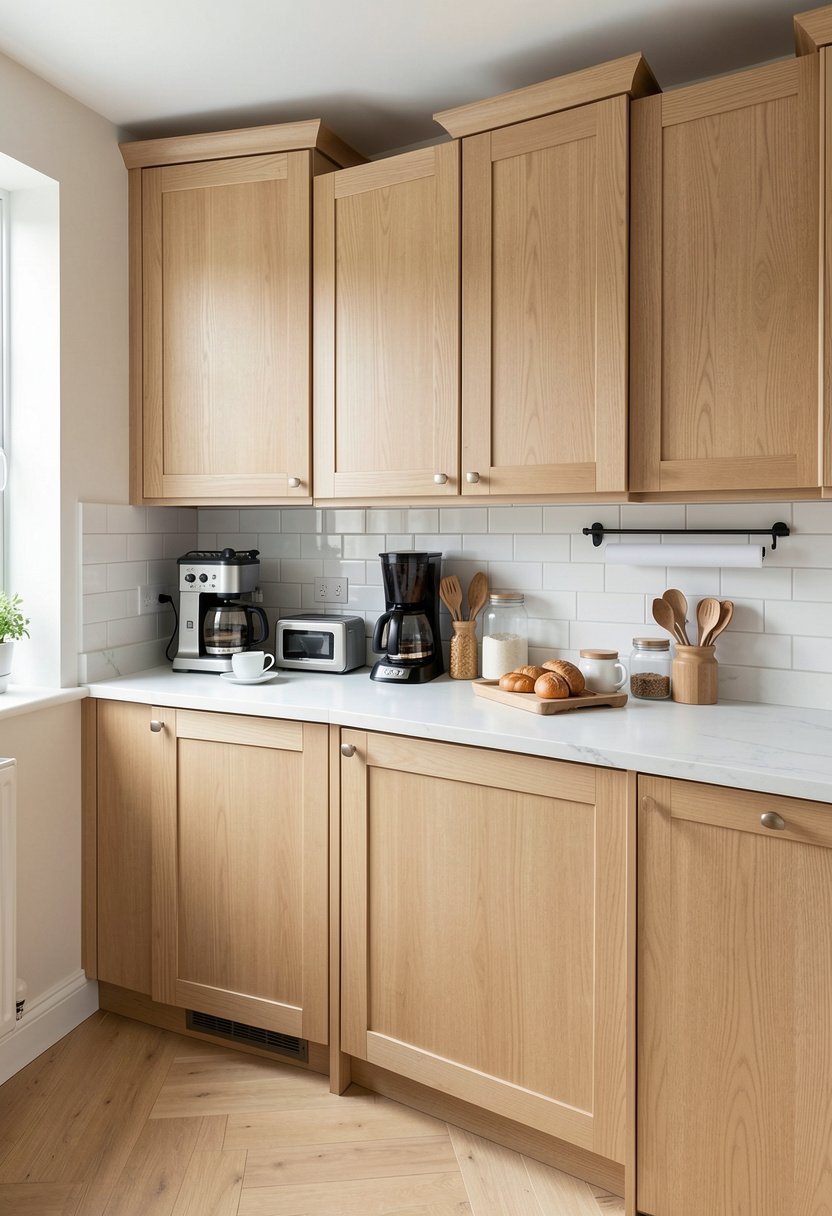
Turn one section of your open cabinets into a coffee nook. This is my favorite thing I have ever done, because it keeps the clutter off my counters. I keep my beans, my filters, and my mugs right there, so everything is within reach when I wake up. It feels like a little cafe in my own home, and it makes the morning rush feel much more like a treat.
You can set up your French press, your grinder, and your favorite syrups right on the shelf. Everything looks professional because it is grouped by use, and it is all in one spot. People love walking into a kitchen and seeing a designated coffee area. It feels fancy, it feels organized, and it shows that you know how to enjoy the little moments in your day.
Make sure your shelf is low enough to be easy to reach, and keep the area clear of non-coffee items. It is okay to have a small machine on the counter below, but the shelf holds the magic. Keep your jars clean, add a small spoon rest, and enjoy your perfect cup. It is the best way to start the day, and it makes your kitchen feel very special.
- Group all coffee tools together.
- Keep your beans in glass.
- Designate one shelf just here.
- Place it near your machine.

10. Use Baskets for Clutter
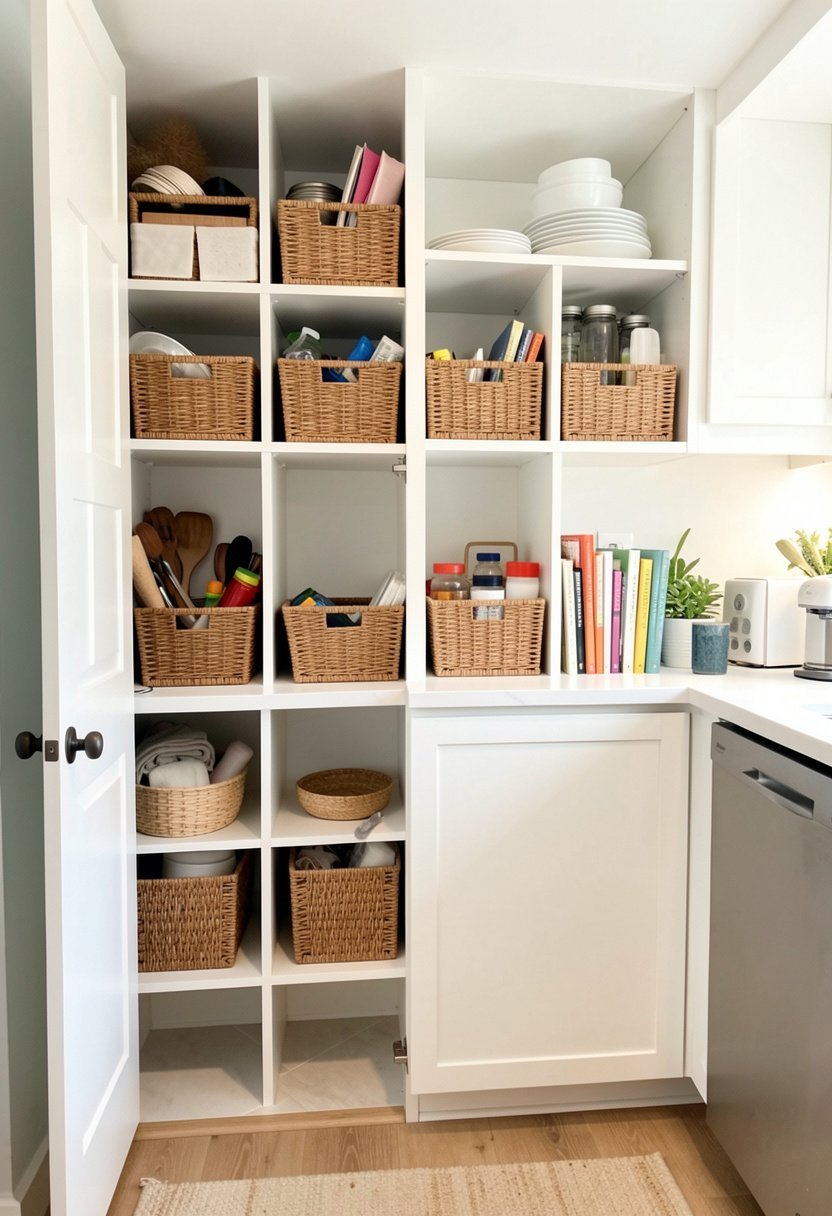
Not everything belongs on display, and that is where baskets come in. I have a few woven seagrass baskets on my top shelves, and they are perfect for hiding my tea stash and extra napkins. They look natural, they add a great texture, and they save me from looking at mismatched boxes. You want your kitchen to be open, but you do not need to show off your bulk food supply.
Baskets are also great for little things like snack bars, small gadgets, or loose packets. It keeps the shelf from looking chaotic, and it pulls the room together with a soft, warm vibe. I like to use different sizes of baskets to fill the gaps, and it makes the storage feel like a planned part of the kitchen decor. It is functional, it is pretty, and it hides all the mess.
If your kitchen feels a bit cold, baskets are the best way to warm it up. They are easy to grab, they are lightweight, and they handle the daily wear of a kitchen without any trouble. Do not try to stuff a tiny basket with too much, or it will look sloppy. Keep them tidy, keep them matching, and enjoy the secret hidden storage they give you.
- Buy baskets with natural fibers.
- Group them for a full look.
- Hide the ugly bulk items.
- Keep them on upper levels.

11. Coordinate with Wall Paint
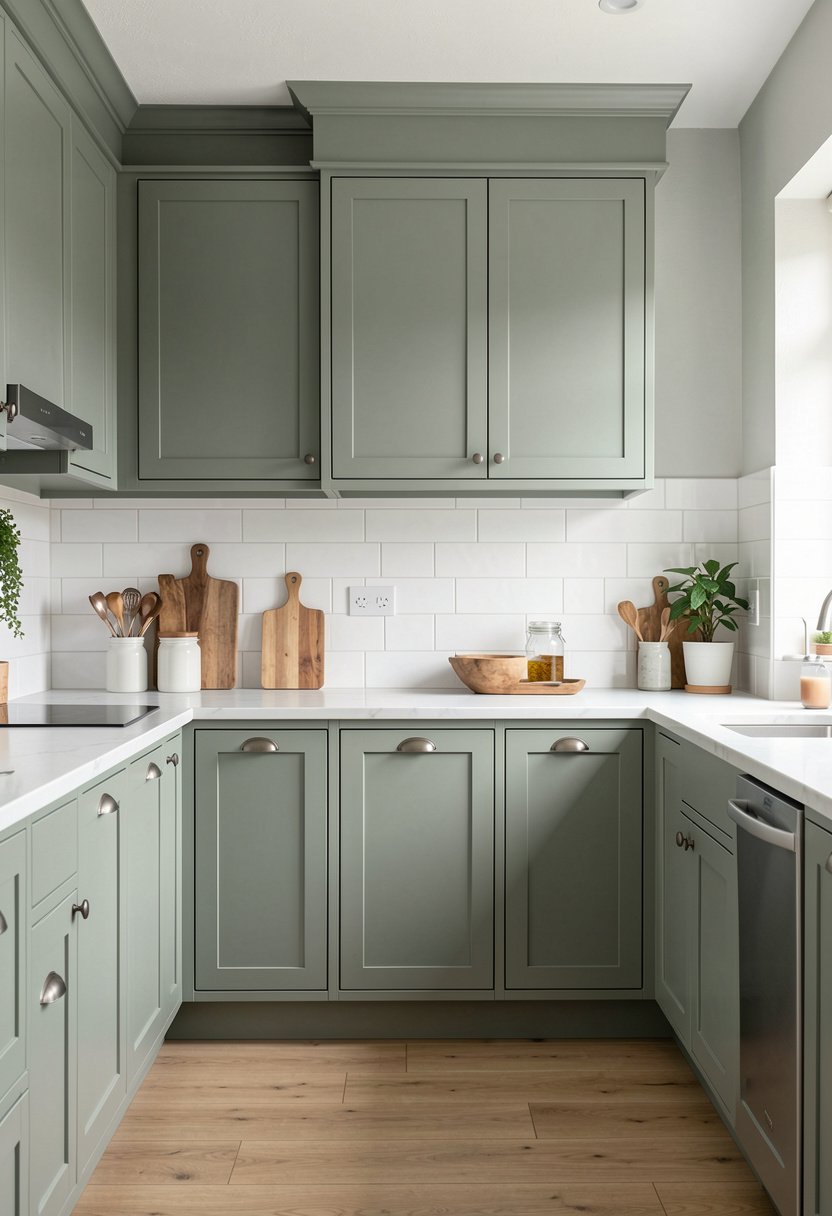
Most people ignore their wall color when they pull the doors off their cabinets. That is a mistake, because the walls now act as the frame for your dishes. I painted my kitchen wall a warm, soft white to make the shelves blend in. It creates a seamless look, and it makes the whole wall feel like one big, airy space. You can go dark if you want a moody look, too.
Whatever color you choose, make sure it makes your plates stand out. If you have white dishes, a soft gray wall looks amazing. If you have colorful pottery, stick to something more neutral so you do not clash. It is all about how things sit together, and you want a calm background that doesn’t scream for attention. It is the base for your entire kitchen style.
If you are feeling brave, you can paint the back wall a different color than the rest of the kitchen. It acts as an accent wall, and it draws your eyes right to your shelves. It is a bold move, but it pays off, and it makes the kitchen feel custom designed. Don’t be shy with paint, because it is the cheapest way to change the entire room.
- Use a soft, neutral backdrop.
- Paint the back wall different.
- Match walls to your dishes.
- Keep the finish very matte.
12. Mix Materials On Shelves
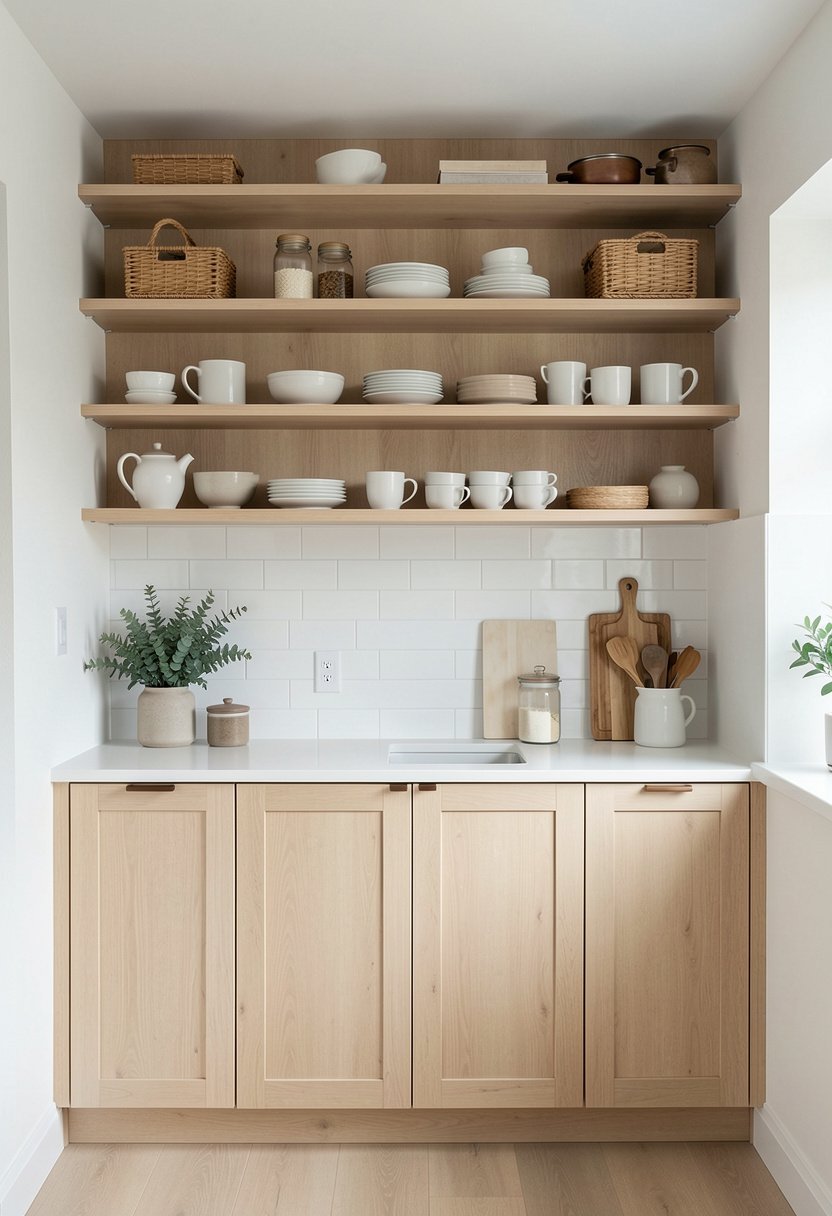
Do not make every shelf look the same. A mix of materials makes the kitchen look curated instead of stale. I have a wood shelf for my bowls, a glass shelf for my cups, and a metal rack for my linens. It adds so much visual interest, and it keeps your eyes moving across the wall. If everything matches perfectly, it feels like a hospital, not a home.
You can mix metal brackets with wood planks, or add a stone slab for a heavy, grounding feel. Even a small ceramic tile added to a shelf surface adds a nice detail. It shows that you have an eye for design, and it stops the shelves from feeling like a static list. Play with the depth, use different textures, and have fun with how things sit.
If you are nervous about mixing things, start small. Put a wood bowl on a metal shelf, or a glass jar on a wood shelf. It is about layering, so don’t be afraid to try combinations until you see something that makes you happy. Your kitchen should be a reflection of your personality, so bring in the pieces you love, and let them live together on your shelves.
- Combine wood with metal.
- Vary the height of shelves.
- Use stone for grounding pieces.
- Layer items for added depth.

13. Style with Art and Prints
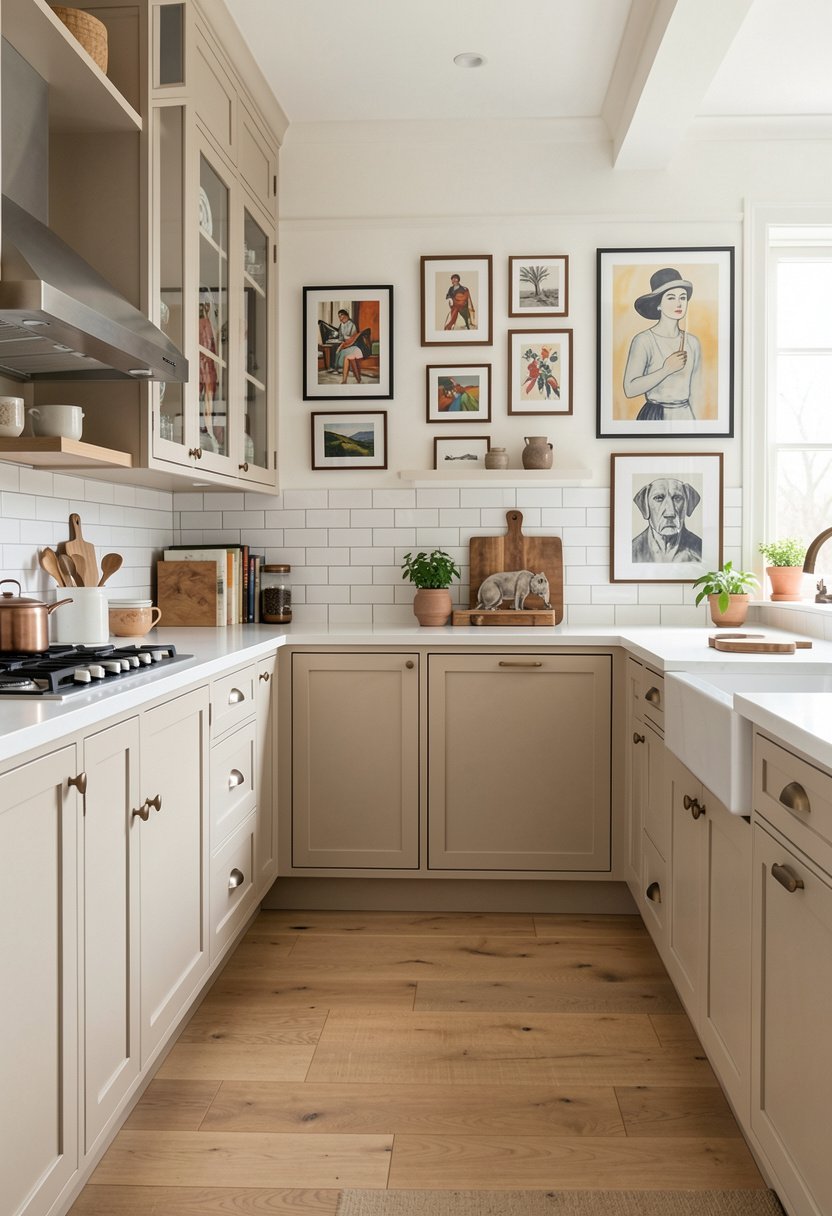
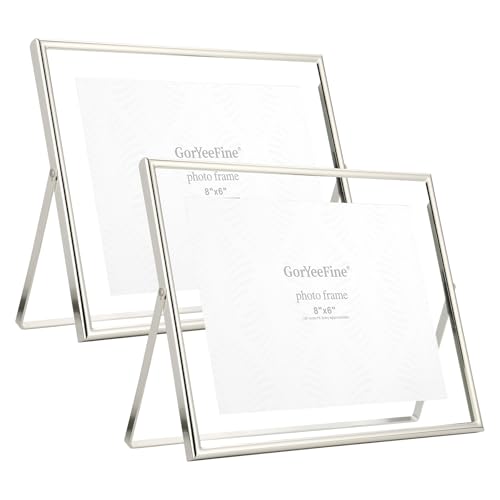
You don’t need to put dishes on every inch of your shelves. Tuck a small framed print or a piece of art between your stacks of plates. I have a little black and white photo on one shelf, and it makes the whole kitchen feel like a room in a house instead of just a place to cook. It is unexpected, it is personal, and it adds so much style.
Choose art that makes you happy, maybe a local landscape or a fun abstract print. Keep the frame simple so it doesn’t distract from the other items, and make sure it is sturdy enough to sit upright. It breaks up the rows of dishes, and it adds a touch of character that you just won’t find in any kitchen catalog. It is your space, so fill it with things you love.
If you have a small shelf, lean a postcard or a small painting against the back wall. It works as a focal point, and it makes the shelving feel like a gallery. I think people are way too serious about kitchen decor, and this is the perfect way to lighten the mood. You don’t have to follow any rules, so just pick what makes you feel good.
- Lean art against the back.
- Keep the frames very simple.
- Pick prints that bring joy.
- Use art to break up rows.
14. Keep Everything Clean and Dust-Free
This is the boring part, but it is the truth. Open shelves mean things collect dust, so you need to be realistic about how you live. I try to wipe my shelves down every week, and I use my dishes often enough that they don’t sit still long enough to get dirty. If you have an item you only use once a year, do not put it on an open shelf.
Keep your most-used items on the lower shelves, and your occasional stuff in the back or in drawers. It is easy to keep a stack of plates clean if you use them every day, so don’t be scared of the dust. If you live in a very dusty area, just stick to the middle and lower shelves. It is not rocket science, it is just common sense.
You might want to give things a quick rinse before you use them, but that is fine. It is a small trade-off for the beautiful, airy look that open shelving gives you. Don’t let a little dust stop you from having the kitchen of your dreams. Just stay consistent, keep things organized, and enjoy the process of keeping your space beautiful. It is worth every second.
- Wipe shelves down weekly.
- Use open items very often.
- Rinse pieces before you dine.
- Keep rarely used items hidden.

Final Thoughts
I hope these ideas show you that you do not need a massive budget to love your kitchen again. Open shelves are not just for magazines, they are for your life, your home, and your happiness. Start small, try one shelf, and see how it changes everything. You do not have to do it all at once. Just enjoy the process of clearing the clutter, you’ve got this.
| Kitchen Project | Time Needed | Difficulty |
|---|---|---|
| Remove Doors | 1 Hour | Easy |
| Paint Backs | 2 Hours | Easy |
| Floating Shelves | 4 Hours | Medium |
| LED Strips | 30 Mins | Easy |
| Storage Jars | 1 Hour | Easy |
| Adding Plants | 30 Mins | Easy |
| Curation | 2 Hours | Easy |
| Install Hooks | 1 Hour | Easy |
| Backsplash Tile | 3 Hours | Medium |
| Coffee Setup | 1 Hour | Easy |
| Adding Baskets | 30 Mins | Easy |
| Wall Paint | 4 Hours | Medium |
| Mixing Materials | 2 Hours | Medium |
| Adding Art | 30 Mins | Easy |
| Weekly Cleaning | 15 Mins | Easy |
Frequently Asked Questions
Is Open Shelving Hard to Keep Clean in a Kitchen?
It is not hard if you are realistic about it. You just need to use your items often, which keeps the dust from settling on them. A quick wipe of the shelf once a week keeps everything looking fresh and feeling totally clean.
Can I Install Floating Shelves by Myself?
You can absolutely do it if you have a drill and a level. The most important thing is finding your wall studs so the shelves do not sag. If you have those two things, you are ready to go today.
Are Open Cabinets Bad for Resale Value?
They are not bad, but they might not be for everyone. Most people love the open, airy look, so it might even help. If you are worried, just keep the old doors in the garage to put back later.
Do I Need to Be a Professional to Remove Doors?
You definitely do not. You just need a screwdriver to remove the hinges. It is the easiest DIY project ever, and you will be shocked at how much bigger your kitchen feels the moment they come off.
Can I Mix Open Shelves with Existing Cabinets?
You sure can, and it often looks better than doing the whole kitchen at once. Try removing doors from just a few cabinets near your sink or stove. It creates a nice focal point without changing everything.
Does Open Shelving Make a Kitchen Feel Cluttered?
It only feels cluttered if you let it get messy. If you curate your items and keep the bulk stuff in baskets, it actually looks much cleaner than a kitchen full of dark, hidden, and overflowing cupboards.
Should I Worry About Grease On My Open Shelves?
Grease is a real thing in a kitchen, so keep your shelves at least a few feet away from your stove. If they are nearby, just stick to items you use daily so they get washed in the sink.
Will Lighting Make My Kitchen Look Too Modern?
It depends on the lights you buy. If you pick a soft, warm LED strip, it adds a cozy, welcoming glow. Stay away from the cool, blue lights if you want to keep the space feeling warm.