As an Amazon Associate, I earn from qualifying purchases at no extra cost to you.
14 Peel and Stick Kitchen Cabinet Ideas (That Feel Like Hotels)
 ByRayan

Each time I walk into a kitchen with tired cabinets, I feel a little bit of my soul leave my body, honestly. You stare at that ugly wood grain, you dream of a fancy remodel, and then you see the price tag. I have been there, crying over my bank account, while trying to ignore the chipped paint.
Most people think they need a massive crew to fix their home, but that is just a lie sold by companies. I learned the hard way that you can change your whole life with some sticky film. It is fast, it is cheap, and it saves you from months of dust and misery.
Today, I am going to show you 14 ways to fix your kitchen using peel and stick covers. We are going to make those cabinets look expensive, polished, and fresh, all by yourself. Forget the contractors, because you are about to become a pro in your own home, with just a simple roll of vinyl.
Use Matte White for a Clean Look
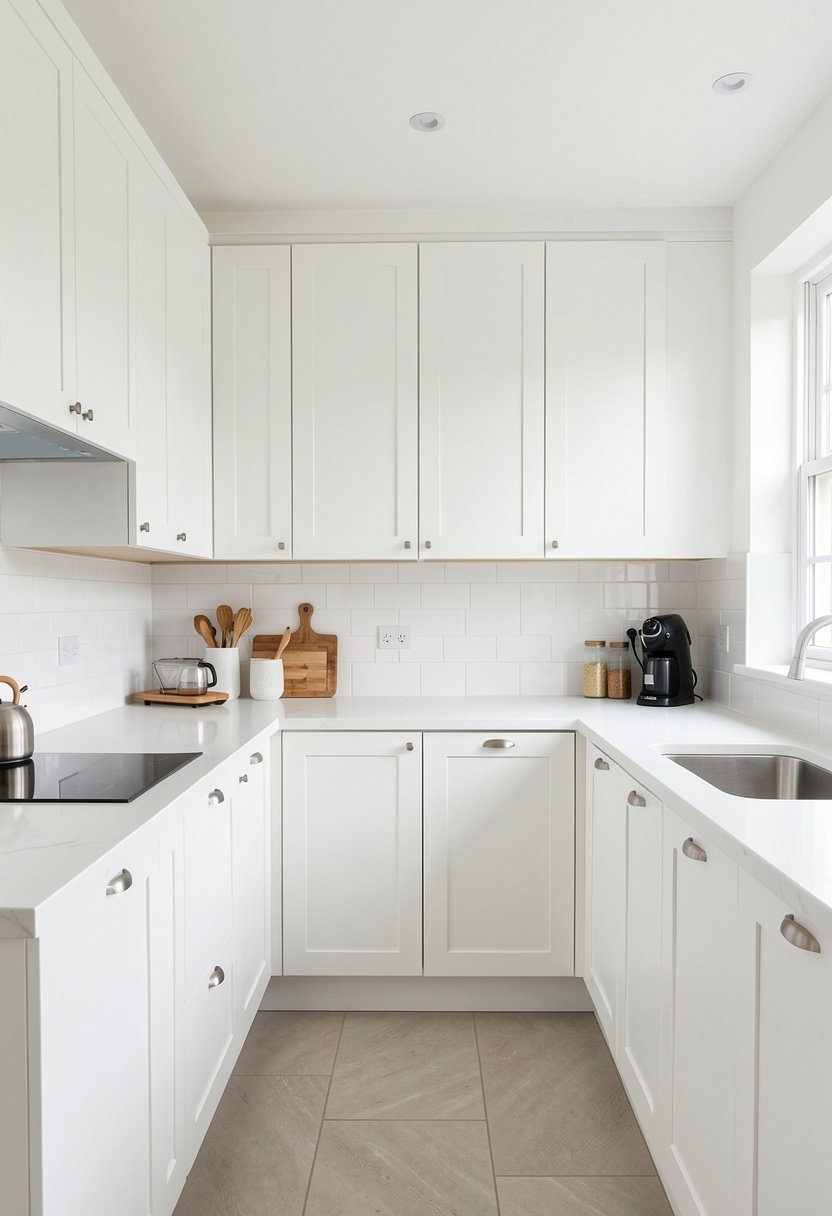
Matte white is the secret weapon for anyone wanting that high-end, crisp, hotel vibe. I see so many people choose glossy finishes, which look like cheap plastic trash after just one month of fingerprints. Matte hides everything, it stays clean, and it makes your small kitchen look twice as big as it is.
When you apply this, you have to be steady, and take your time with the edges. Most folks rush the corners, and that is how you ruin the whole project in ten seconds. If you see a bubble, just pull it up, use a credit card to push the air out, and keep moving.
Do not be afraid to go totally white on everything, because it turns your room into a bright box of light. It looks modern, it feels airy, and it cleans up with a simple damp cloth, which is a blessing.
- Matte finish hides every fingerprint.
- White paint makes small rooms large.
- Take your time on corners now.
- Use a card for smooth surfaces.

Go Deep Charcoal for Mood
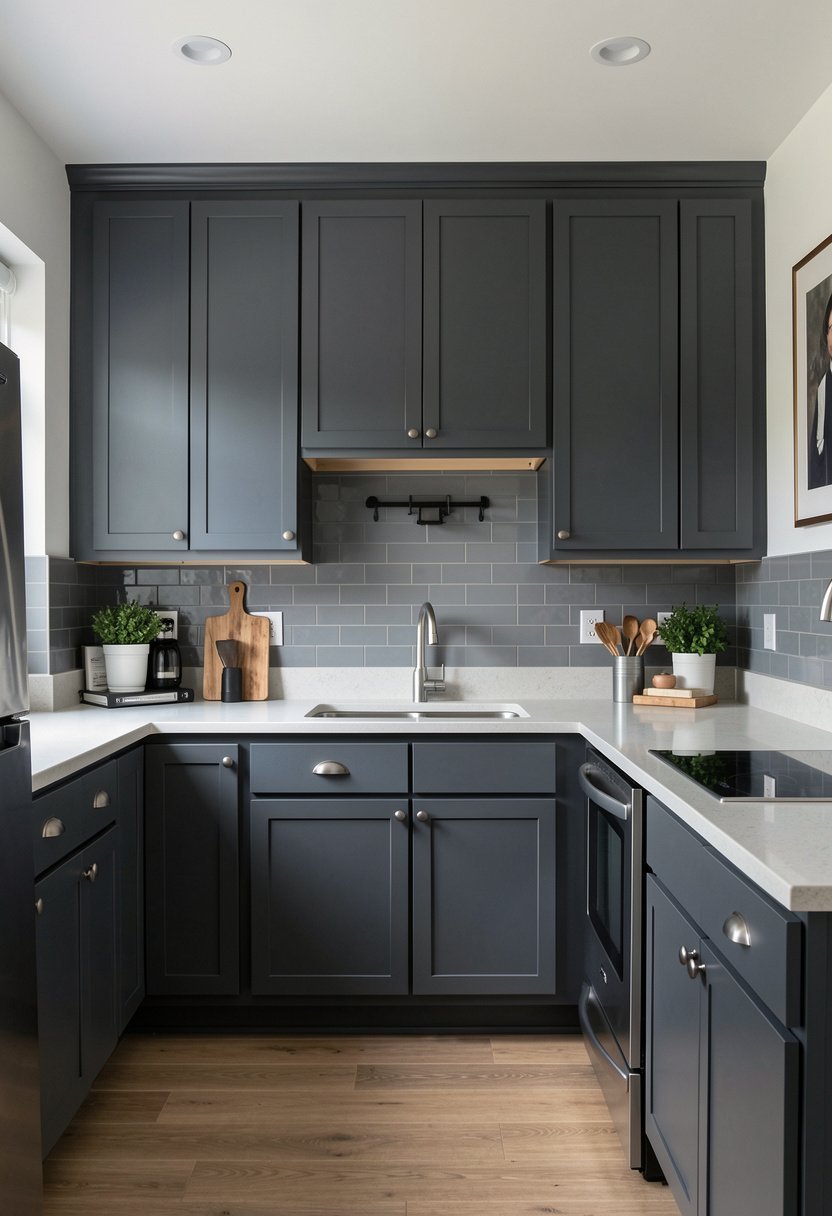
I once saw a kitchen painted light beige, and it just felt sad, like an old hospital hallway. When I switched to charcoal, my friends thought I did a full reno for thousands. Dark colors add depth, they look custom, and they turn your kitchen into a moody, stylish place.
You need to wipe your cabinets down first, or the sticky stuff will just fail in a week. I used a simple cleaner to remove the grease, and then I let it dry for an hour. If you skip this, the film will peel, and you will be back to square one.
Pair this dark look with gold handles, and your friends will think you hired a fancy interior designer. It is bold, it is moody, and it works perfectly in any kitchen that gets decent light during the day.
- Clean the grease off first.
- Charcoal hides all the wear.
- Gold hardware looks very rich.
- Prep is key for success.

Pick Wood Grain for Warmth
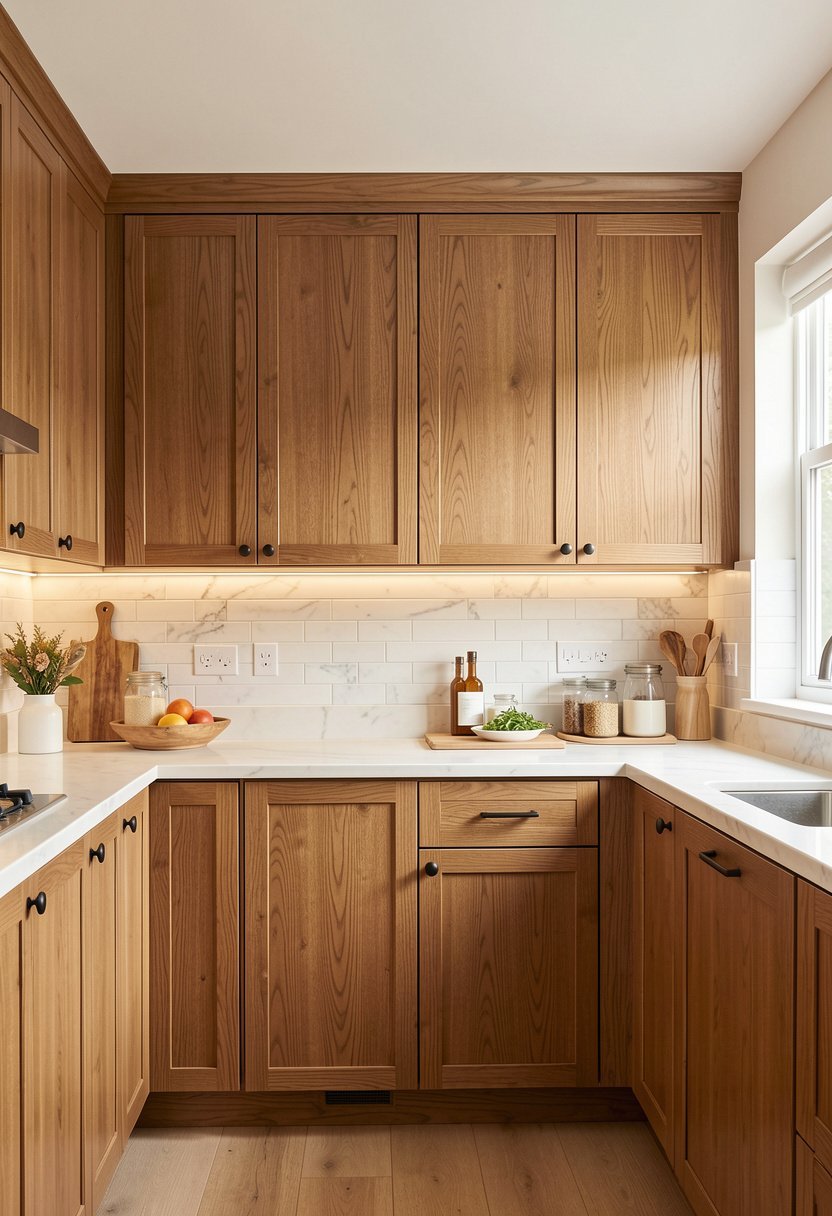
Some people say fake wood looks tacky, but they just haven’t found the right, textured film yet. I found a lovely oak pattern that feels real to the touch, and it adds warmth that paint never could. It brings a cozy feeling, which makes your kitchen feel like a home.
If you have those orange cabinets from the eighties, do not paint them, just cover them up. You want to line up the grain pattern so it looks like real, solid wood planks. It takes a little patience, but the result is a kitchen that looks like a calm forest retreat.
This is my favorite way to hide old dings, because the texture acts like camouflage for dents. It is sturdy, it looks expensive, and it makes your kitchen feel like a place you actually want to stay.
- Textured film feels very real.
- Line up grain for quality.
- Hide dings with busy patterns.
- Add warmth to old spaces.

Choose Sage Green for Calm
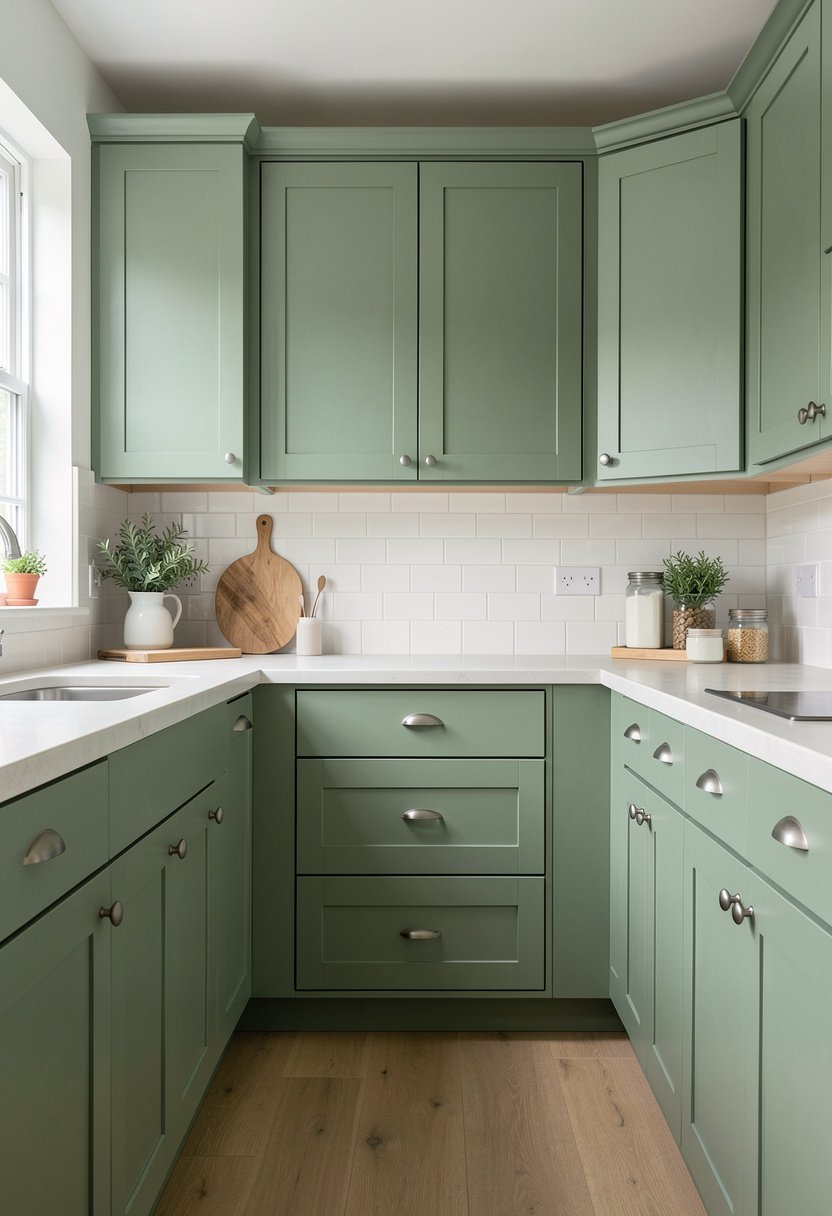
Sage green is everywhere, and for good reason, because it just feels like you are sitting in a spa. I tried this in my last house, and it changed the vibe from stressful to relaxing instantly. It is the perfect color for anyone who wants a kitchen that feels soft, quiet, and very classy.
When you work with this color, make sure your lightbulbs are a warm temperature. If you use cold blue light, sage green starts to look like a swamp, which is not the look you want. I keep my lighting warm, and the cabinets glow like a soft morning sun.
This works best if you keep your counters clear of clutter. Let the color be the star of the show, because it is gentle on the eyes and makes cooking feel like a real treat.
- Use warm light with green.
- Sage is calming and soft.
- Keep your counters very clear.
- Avoid cold blue light bulbs.

Add Navy for a Statement
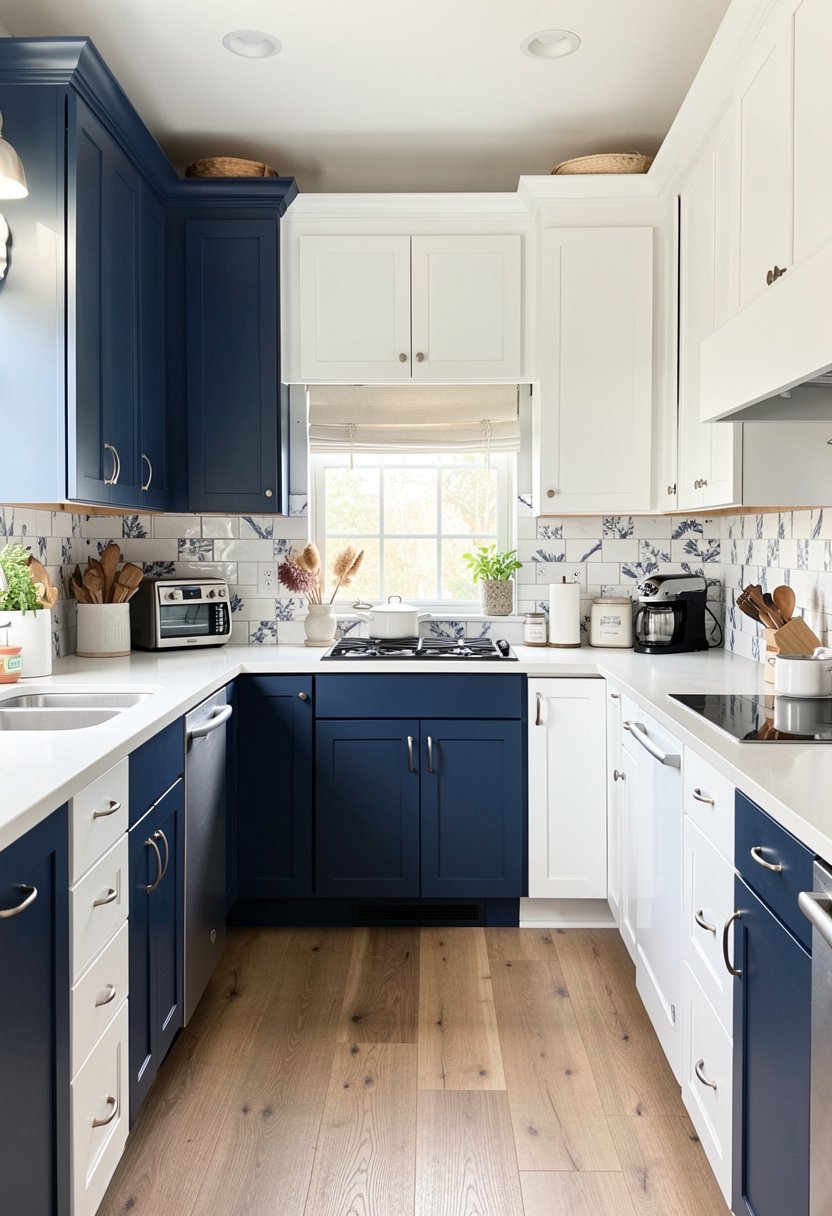
Navy blue is the tuxedo of kitchen cabinets, and it never ever goes out of style. I remember everyone telling me it would make my kitchen look like a cave, but they were all completely wrong. When you use navy on the bottom cabinets, it grounds the room and feels very grounded.
You have to be careful with the seams on navy, because every mistake shows up instantly. I used a small knife to trim the edges, and it made the whole thing look like a professional installation. Do not leave any hanging edges, or they will snag on your clothes.
This look demands respect, and it works best if you have light floors or a light backsplash. It is dramatic, it is sharp, and it makes your kitchen feel like a place where real things happen.
- Navy acts like a tuxedo.
- Trim edges with a knife.
- Keep floors light and bright.
- Navy brings drama to rooms.

✅ See Also: 12 Pink Kitchen Cabinet Ideas (Anyone Can Copy)
Try Light Gray for Modern
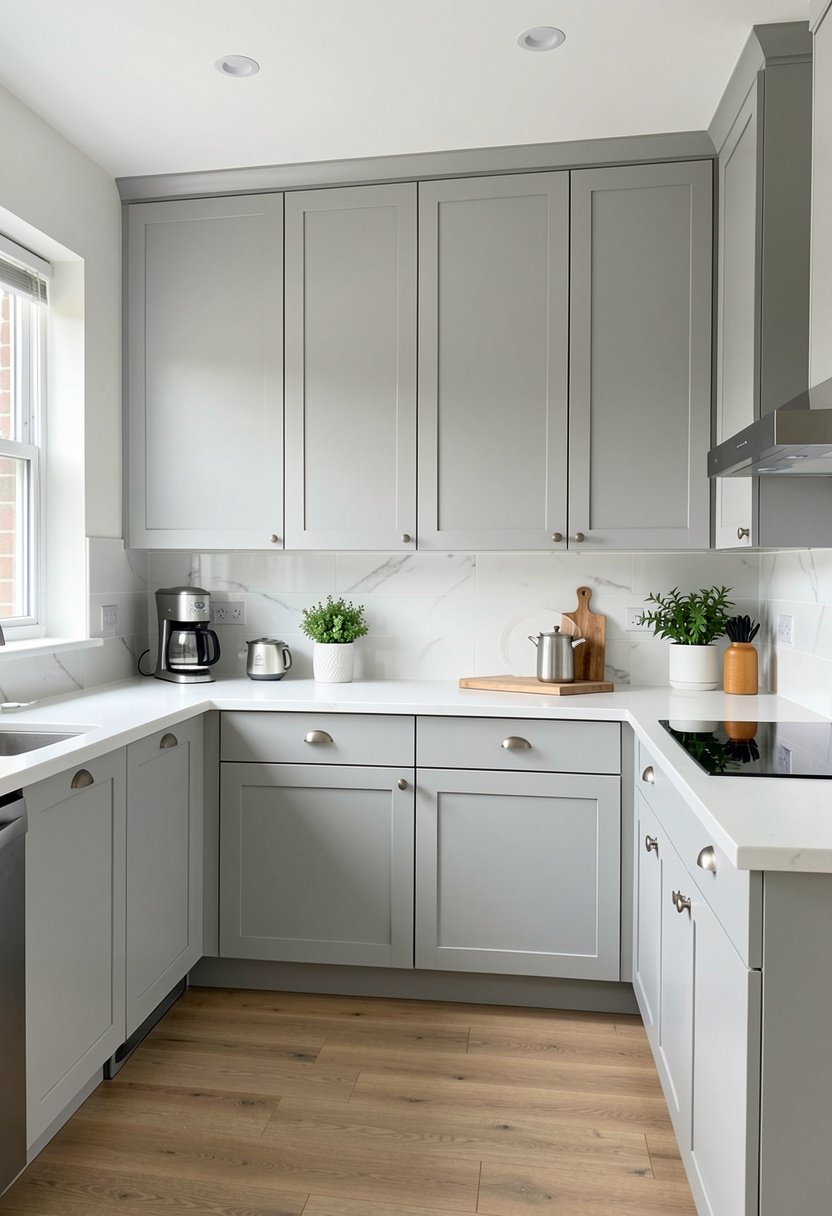
If you are scared of color, start with a soft, light gray film. It is way more interesting than white, but it is just as safe and easy to live with every day. I used this in a rental once, and it looked so modern that the landlord actually kept it.
The trick here is to find a finish that is not too shiny. You want something that looks like satin, because satin feels expensive and hides scratches better than anything else. I have tried shiny stuff, and it is a nightmare that shows every single tiny speck of dust.
Gray is the king of versatility, because it matches any hardware you choose. You can use silver, black, or even copper, and it will look like you thought about it for months.
- Gray is very safe today.
- Satin is better than gloss.
- Matches any type of hardware.
- Good for a rental kitchen.

Use Bold Black for Drama
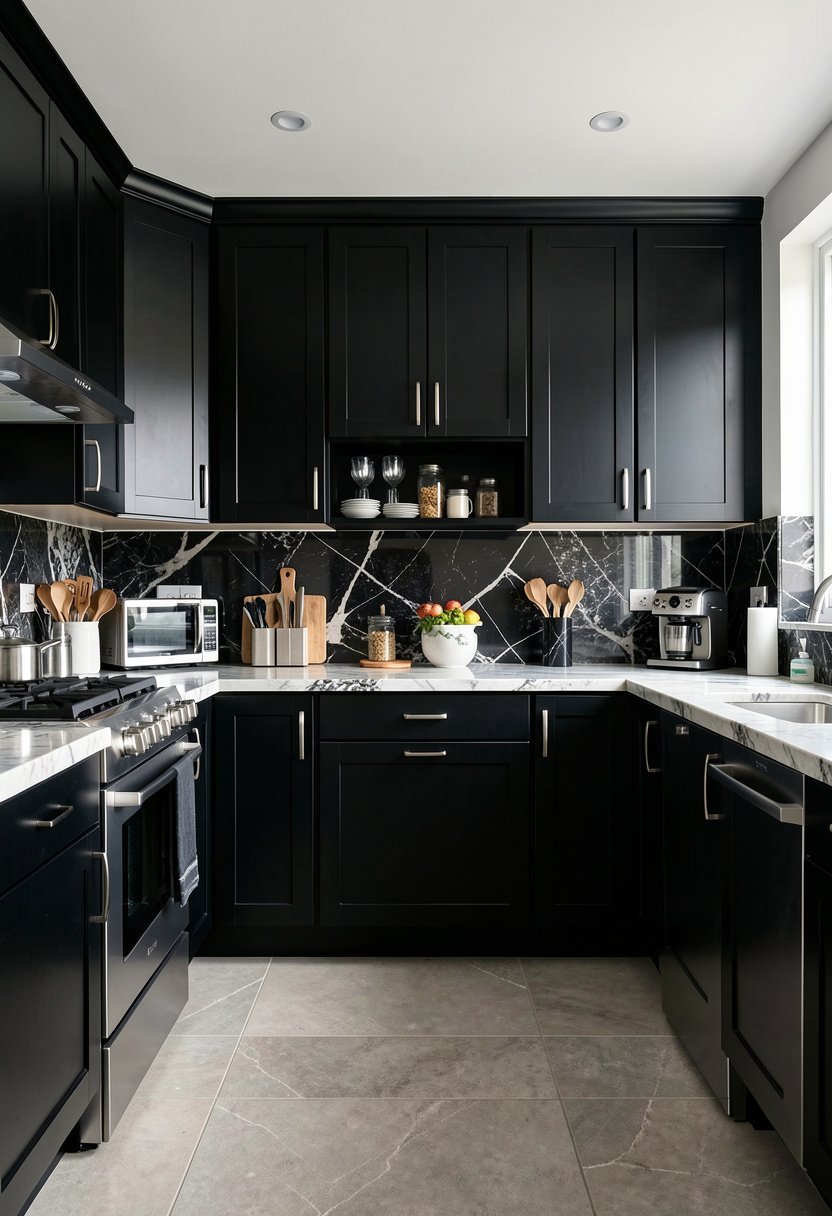
Black cabinets are for the brave, and they look like something out of a luxury hotel penthouse. I painted my first kitchen black, and it was a mess, but using peel and stick film is much easier. It is smooth, it is deep, and it looks incredibly expensive when done well.
You absolutely must have great lighting if you go this dark. Add some lights under your cabinets, or just change your ceiling bulbs to something brighter. If the room is dark, black cabinets will just make it feel like a closet, which is the opposite of a hotel.
I love how black looks with white marble counters. It creates such a sharp contrast that makes the whole kitchen pop. It is moody, it is sleek, and it screams that you know exactly what you are doing.
- Black needs extra bright light.
- Go for a super matte.
- Contrast with a white counter.
- Luxury hotels use dark tones.

Mix Two Colors Together
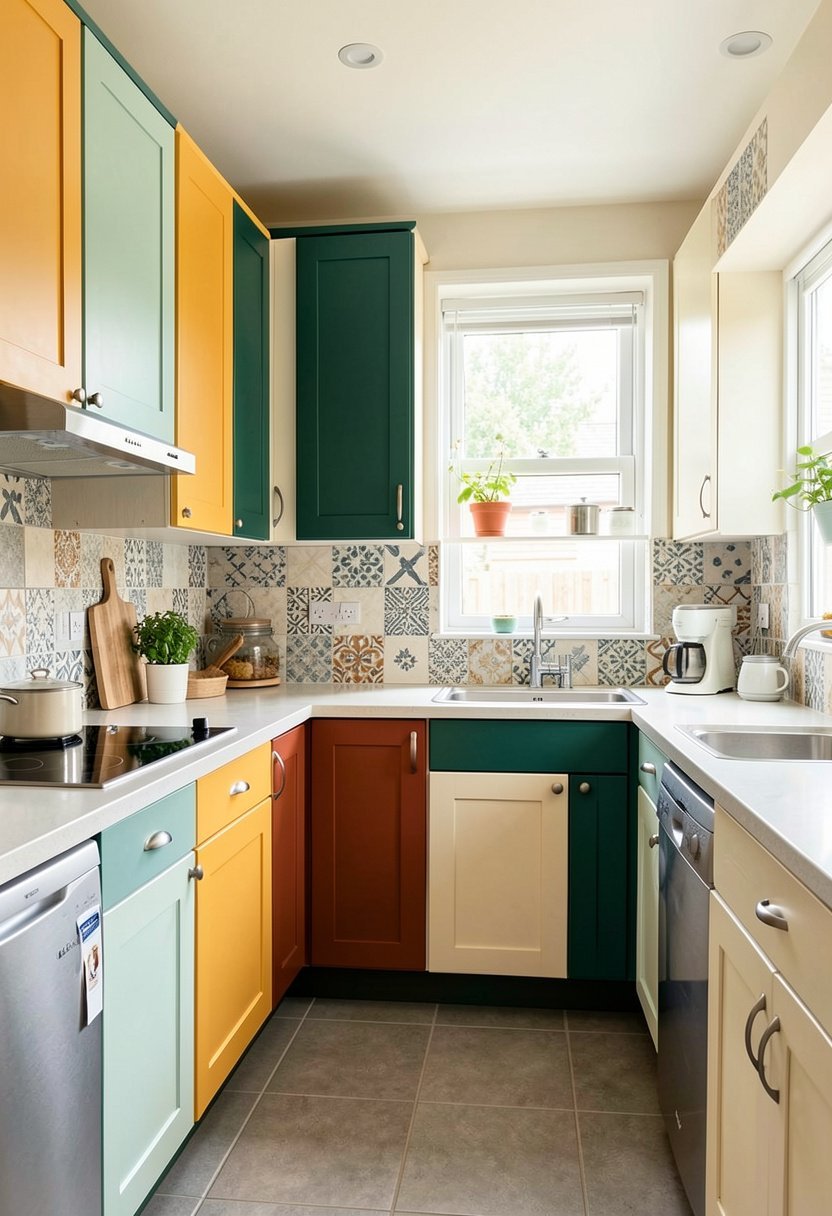
Why stick to one color when you can have two, and make your kitchen look like a custom design? I did navy on the bottom and white on the top, and it is the best decision I ever made. It makes the ceiling feel higher, and it gives the room a nice, balanced weight.
You need to make sure the two colors have the same finish, or it will just look like a mismatch. If you pick matte navy, keep the white matte too. It makes the transition look natural, like you paid a professional thousands of dollars to build it for you.
This is a great way to use up leftover rolls from other projects. It looks intentional, it looks smart, and it is a fun way to bring a bit of personality into your home.
- Mix two colors for height.
- Keep the finish the same.
- Two tones look very custom.
- Perfect for using extra film.

Go Concrete for Industrial
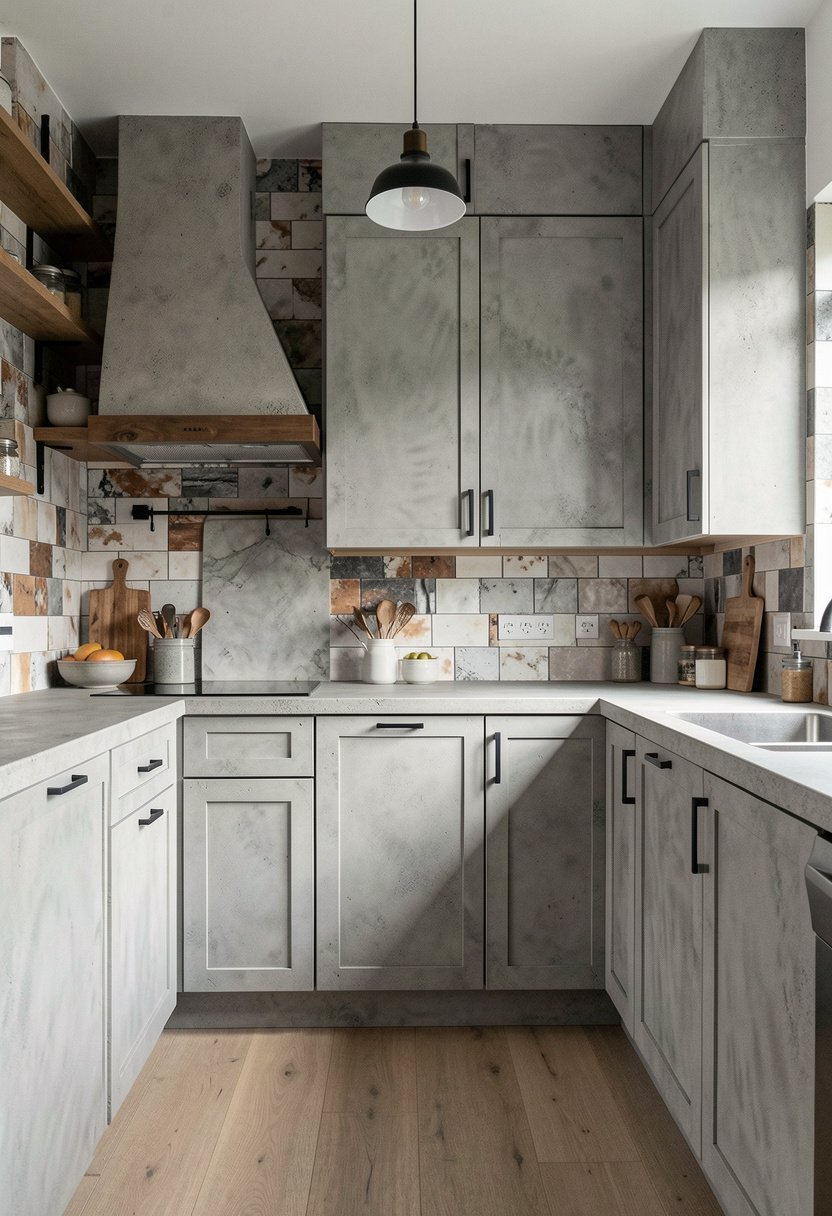
Industrial style is not for everyone, but if you want that cool, urban loft feel, concrete film is it. I love how it looks rugged and tough, but still clean enough for a kitchen. It is a bold move, but it pays off if you want something that stands out.
Because this finish is busy, it is the best thing ever for hiding mistakes in your application. If you have a tiny wrinkle, the concrete pattern just swallows it up. It is the most forgiving material I have ever used, and I recommend it for beginners who are nervous.
Pair this with metal hardware, and you will have a kitchen that looks like a high-end studio. It is rough, it is cool, and it is much cheaper than real stone.
- Concrete is very forgiving film.
- Urban loft vibe is cool.
- Best for hiding small mistakes.
- Use metal for the hardware.

Add Marble for Glamour
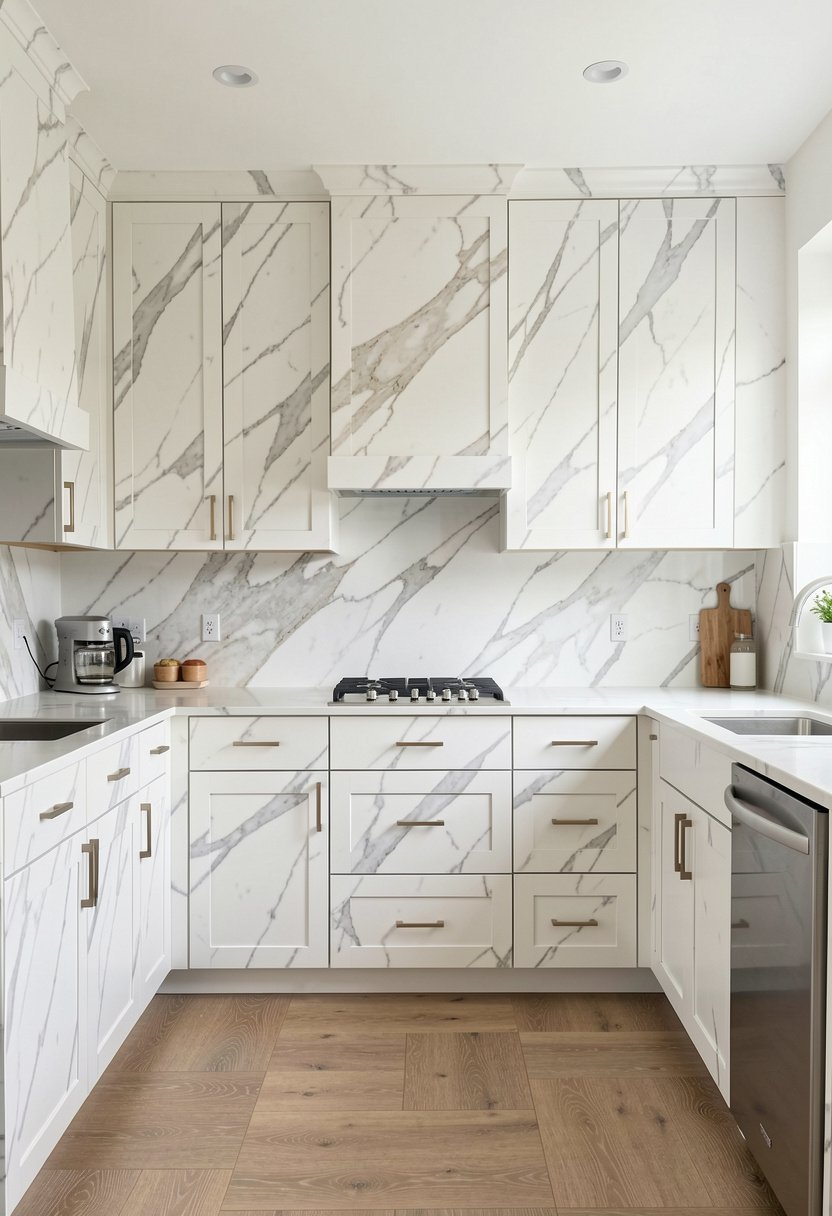
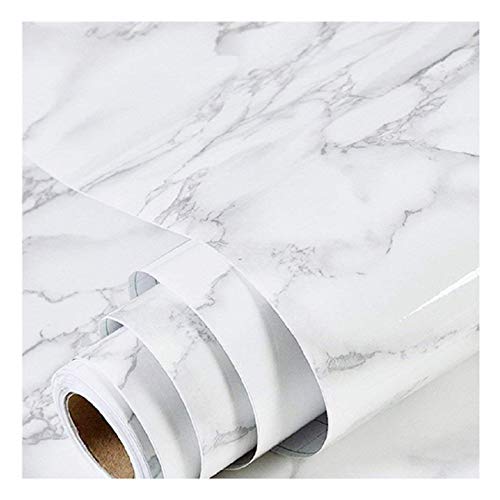
Marble is the ultimate symbol of wealth, but real marble is a heavy, expensive nightmare to maintain. Peel and stick marble film gives you that fancy, polished look without any of the stress. I used this on my island, and it completely changed the energy of the entire kitchen.
You have to be careful with the seams on marble film, or the pattern will look broken. Take your time to line up the veins in the rock, and try to hide the cuts along the corners. If you do it right, people will walk up and touch it, just to check if it is fake.
It brings instant glamour, and it makes your kitchen feel like a suite in a fancy boutique hotel. It is classy, it is clean, and it never goes out of style.
- Marble brings instant glamour.
- Line up the pattern veins.
- Fake stone looks very real.
- Perfect for a kitchen island.
Try Blue for a Pop
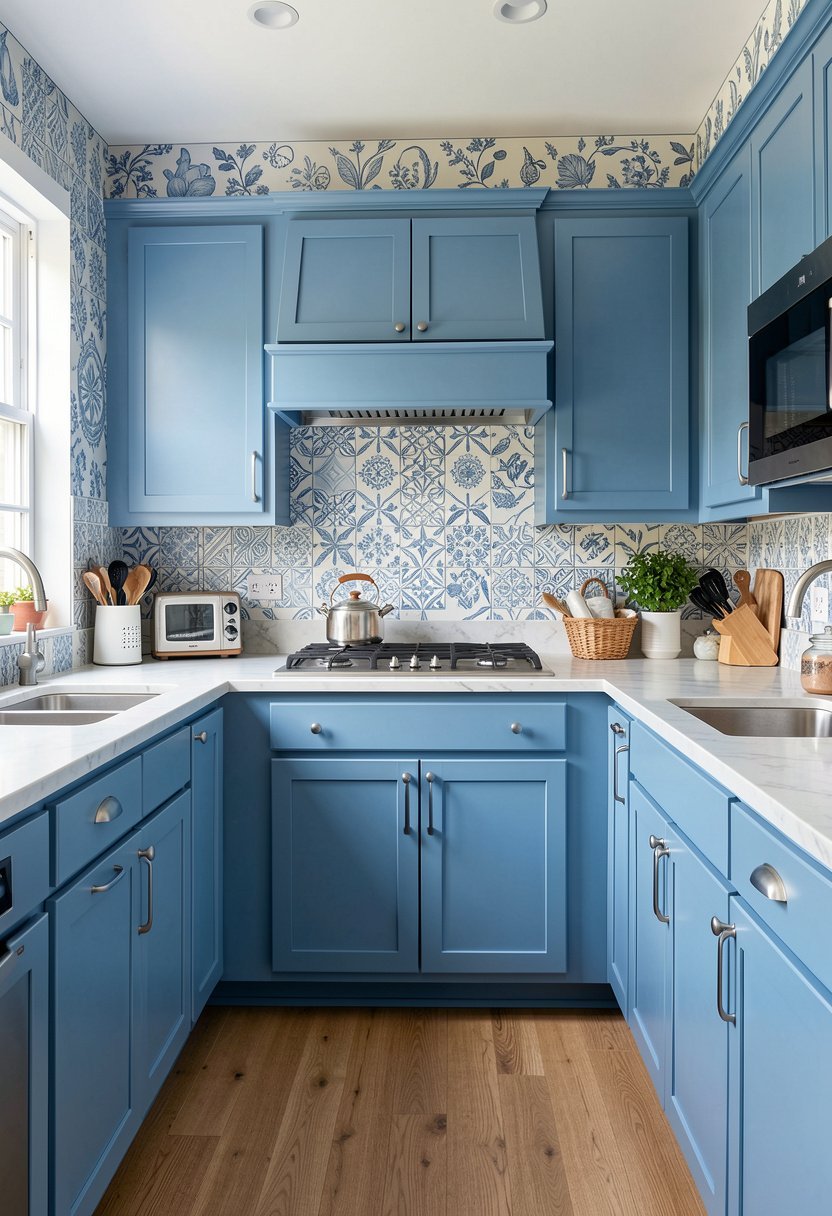
Sometimes a room just feels boring, and you need a shot of energy to wake things up. A bold, mid-tone blue is perfect for this, as it feels fresh and lively without being loud. I put this in my cottage, and it makes me smile every time I walk inside.
You should use this color if your kitchen is mostly white or beige. It acts like a piece of art, and it draws your eye to the cabinets, which makes the whole space feel more interesting. I like to keep the hardware simple with blue, so the color really pops.
It is a brave choice, but it pays off by making your home feel unique to you. It is friendly, it is bright, and it turns a basic kitchen into a fun, personal space.
- Blue adds massive energy now.
- Keep hardware very simple here.
- Makes a boring room fun.
- The best pop of color.

Use Linen for Texture
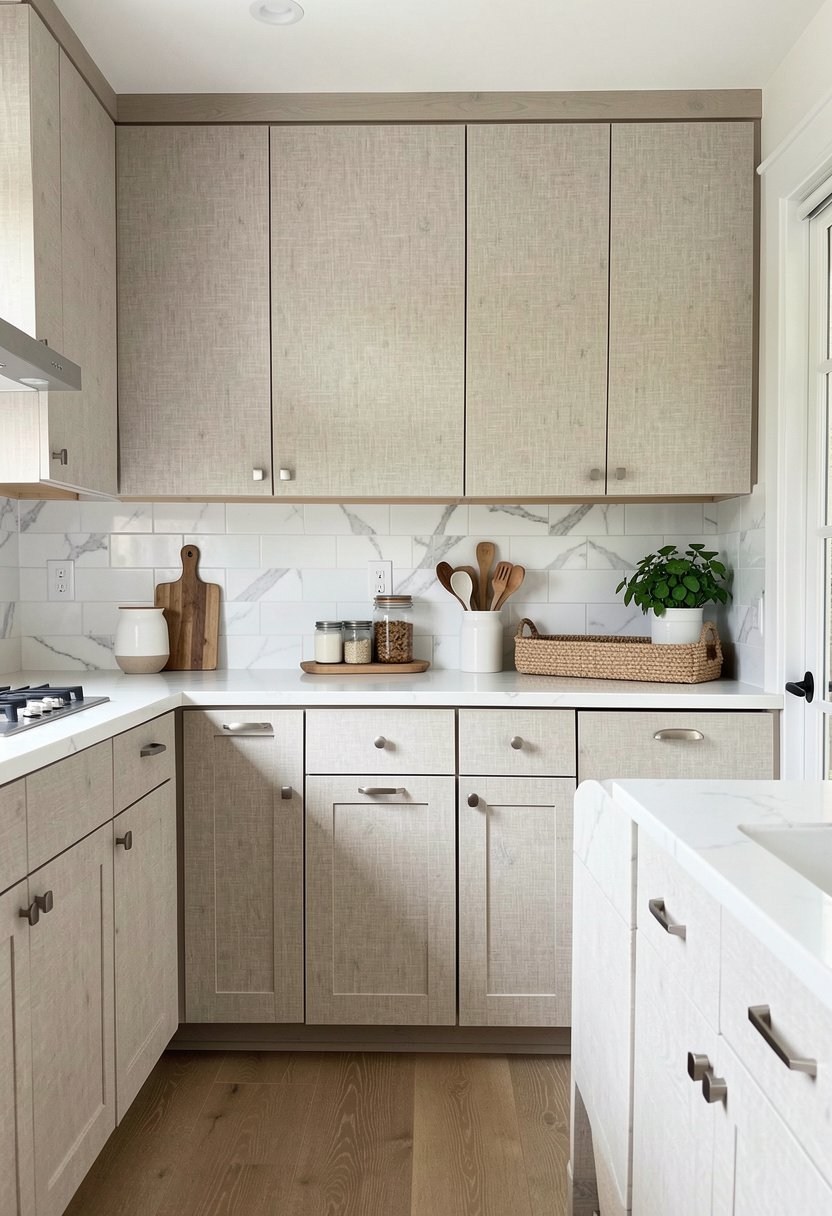
Linen texture is subtle, but it adds so much warmth to a flat surface. I love using this in kitchens that feel too cold or sterile. It gives the cabinets a fabric-like look, which softens the whole room and makes it feel much more like a living space.
This material is great because it does not show scratches, and it feels nice under your fingers. It is perfect if you have kids, because they cannot mess it up with their busy hands. I have used this in high-traffic areas, and it still looks new after two years of heavy use.
It is a sophisticated look that says you have good taste. It is understated, it is cozy, and it makes your home feel like a high-end, comfortable sanctuary.
- Linen adds warm soft texture.
- Great for high traffic areas.
- Cozy feel for any kitchen.
- Resists scratches and daily wear.

Try Soft Cream for Old Homes
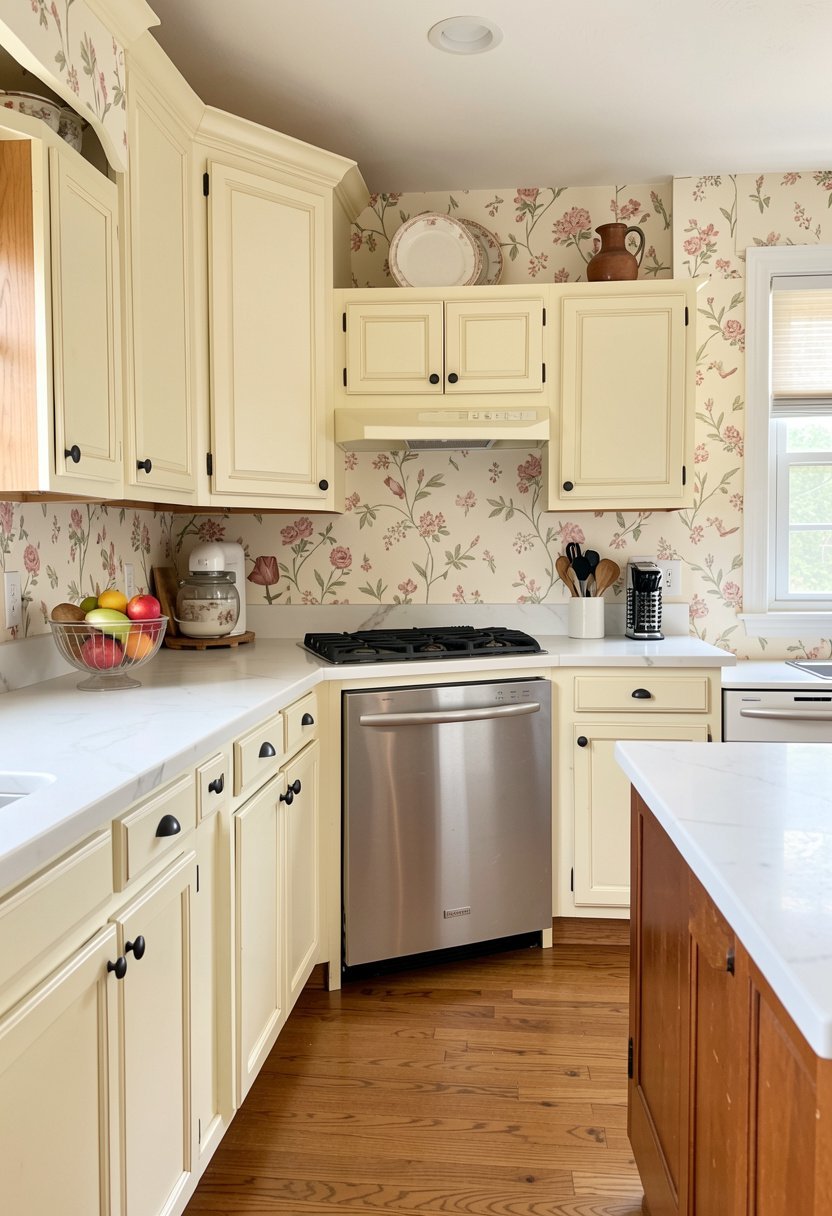
Bright white can be too harsh in an old house, so soft cream is a much better choice. It looks vintage, it feels warm, and it fits perfectly with wood floors. I used this in my old farmhouse, and it felt like it had always been there.
The trick is to use hardware that looks like it came from another time. Think antique brass or simple black iron, because they look amazing against cream. It turns your kitchen into a place that feels like it has a long, happy history.
It is timeless, it is gentle, and it makes your kitchen feel like a hug. You will love how it looks in the morning light, as it catches the sun and warms up the whole house.
- Cream is better than white.
- Looks great in old homes.
- Use antique brass for hardware.
- Feels warm and very inviting.

Use Terracotta for Earthy Vibes
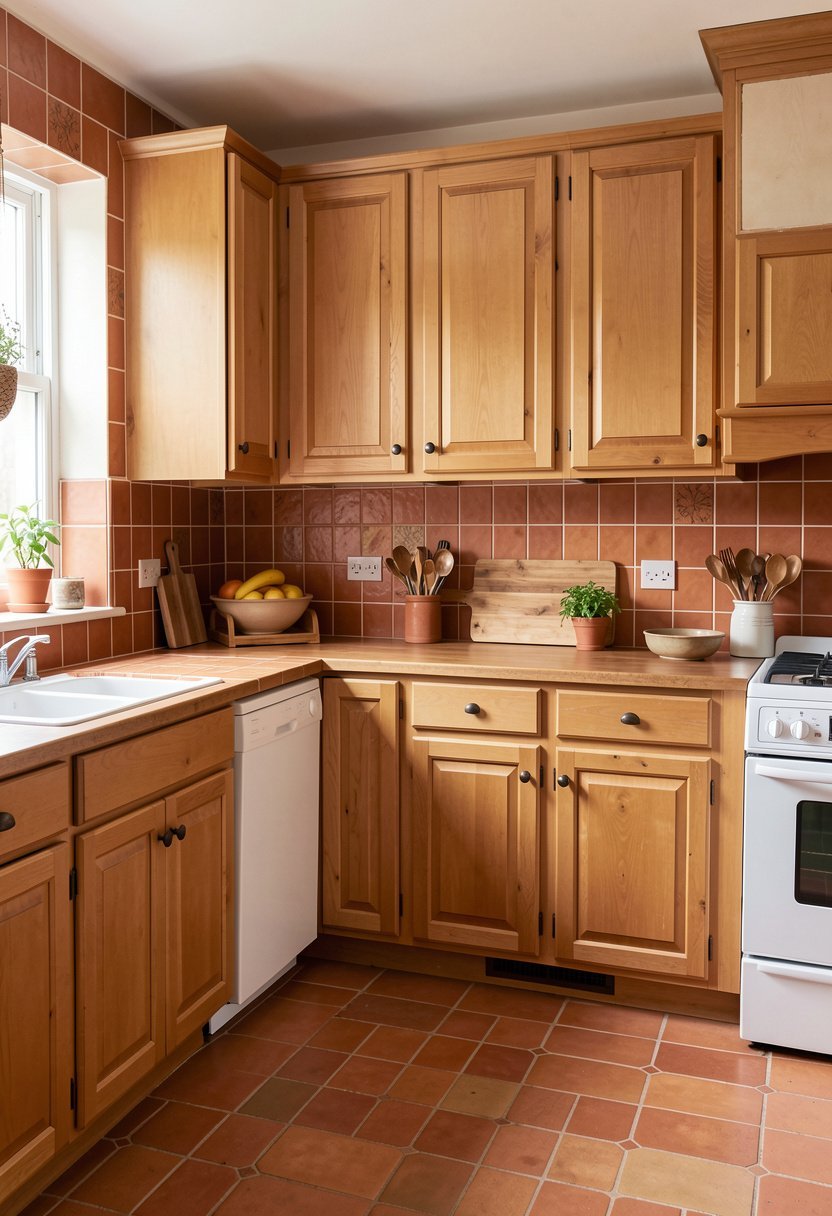
Terracotta is a bold, earthy color that feels like a trip to a sunny, warm place. I know it sounds like a lot, but it looks stunning in a kitchen with lots of plants. It is grounding, it is vibrant, and it turns your kitchen into a place of life.
You need to commit to this look, so don’t be afraid to go all in on the decor. Add some woven baskets, wooden bowls, and hanging lights to match the mood. It is a very natural look that feels honest, simple, and totally beautiful for a modern family kitchen.
It is the perfect way to bring the outside in, and it feels very current, like something you would see in a magazine. It is bold, it is natural, and it brings happiness to every single meal.
- Terracotta is very earthy tone.
- Perfect for kitchens with plants.
- Matches with wood and baskets.
- Bring the outside look inside.

Final Thoughts
I hope you feel ready to start your own project today, because you really can do this. The best part about 14 peel and stick kitchen cabinet ideas is that you get to choose exactly what fits your home. You don’t need to ask anyone, you don’t need a huge budget, and you just need a little bit of patience. Take your time, trust your taste, and you’ve got this.
| Idea | Vibe | Difficulty |
|---|---|---|
| Matte White | Clean | Easy |
| Charcoal | Moody | Medium |
| Wood Grain | Warm | Medium |
| Sage Green | Calm | Easy |
| Navy Blue | Sharp | Hard |
| Light Gray | Modern | Easy |
| Bold Black | Luxury | Hard |
| Two Tone | Custom | Medium |
| Concrete | Loft | Easy |
| Marble | Glam | Medium |
| Bright Blue | Fun | Easy |
| Linen | Soft | Easy |
| Soft Cream | Vintage | Easy |
| Terracotta | Earthy | Medium |
| Copper Trim | Accent | Hard |
Frequently Asked Questions (FAQs)
Is Peel and Stick Safe for All Cabinets?
Yes, it is safe for most surfaces, but you need a clean, flat cabinet to start. If your cabinets are peeling paint or have wood that is rotting, you should fix those first. The film needs a solid base, or it will eventually lift up and look messy.
Can I Remove the Film If I Am Renting?
Absolutely, and that is why I love it. It peels off easily if you use a hair dryer to heat it up, which softens the glue. Just take your time, pull slowly, and it will not damage your cabinets at all, which keeps your security deposit safe from landlords.
Are These Cabinets Easy to Clean?
They are very easy to wipe down. I use a damp cloth with a tiny bit of soap, and it takes off all the cooking grease. Do not use harsh chemicals or rough pads, because you might scratch the surface of the film and ruin the look over time.
Do I Need to Remove the Doors First?
I strongly suggest it. You will do a much better job if you lay the doors flat on a table. It is easier to fold the edges, you get a smoother finish, and you won’t have to worry about the film slipping while you work on vertical surfaces.
Does the Film Hold Up Near Heat?
It handles normal kitchen heat just fine, but do not put it right on top of a stove or near an open flame. It is plastic, so it can melt if it gets too hot. Keep a little distance from your stove, and you will have no issues at all.
Should I Buy Expensive Brands?
You get what you pay for, and the cheap stuff is usually too thin. I have tried both, and the pricier, thicker film is way easier to install. It doesn’t tear as easily, it covers the color underneath better, and it looks much more like a real finish.
Will the Edges Peel Back?
If you clean the surface and heat the edges after you apply them, they will stay put. The heat from your hair dryer helps the glue set properly. If a corner does pop up, just heat it and press it down hard, and it will stick for good.
Can I Apply This to Textured Wood?
You can try, but the texture might show through the thin film. I recommend a light sanding before you start if your wood is very rough. If the grain is deep, it is better to pick a thick, textured film that hides the bumps naturally, which works wonders.