As an Amazon Associate, I earn from qualifying purchases at no extra cost to you.
13 Cheap Kitchen Cabinet Ideas (That Feel New Again)
 ByRayan

No, you do not need to spend your entire savings account to get a dream kitchen. I have seen so many people rip out perfectly good wood just to buy cheap, particle board junk from a big box store, and it breaks my heart. You have more power than you think.
Most people look at a dated kitchen and see a giant bill, but I see a playground. I have fixed up dozens of kitchens over the years, and I promise you that paint, hardware, and clever tricks are your best friends. You just need a little grit, a steady hand, and my honest advice.
In this guide, I will show you how to take your old, tired space and make it look expensive on a budget. We are going to cover everything from simple paint colors to clever DIY swaps that hide years of wear and tear. Let us get to work and make your house a home.
1. Refresh with Clean White Paint
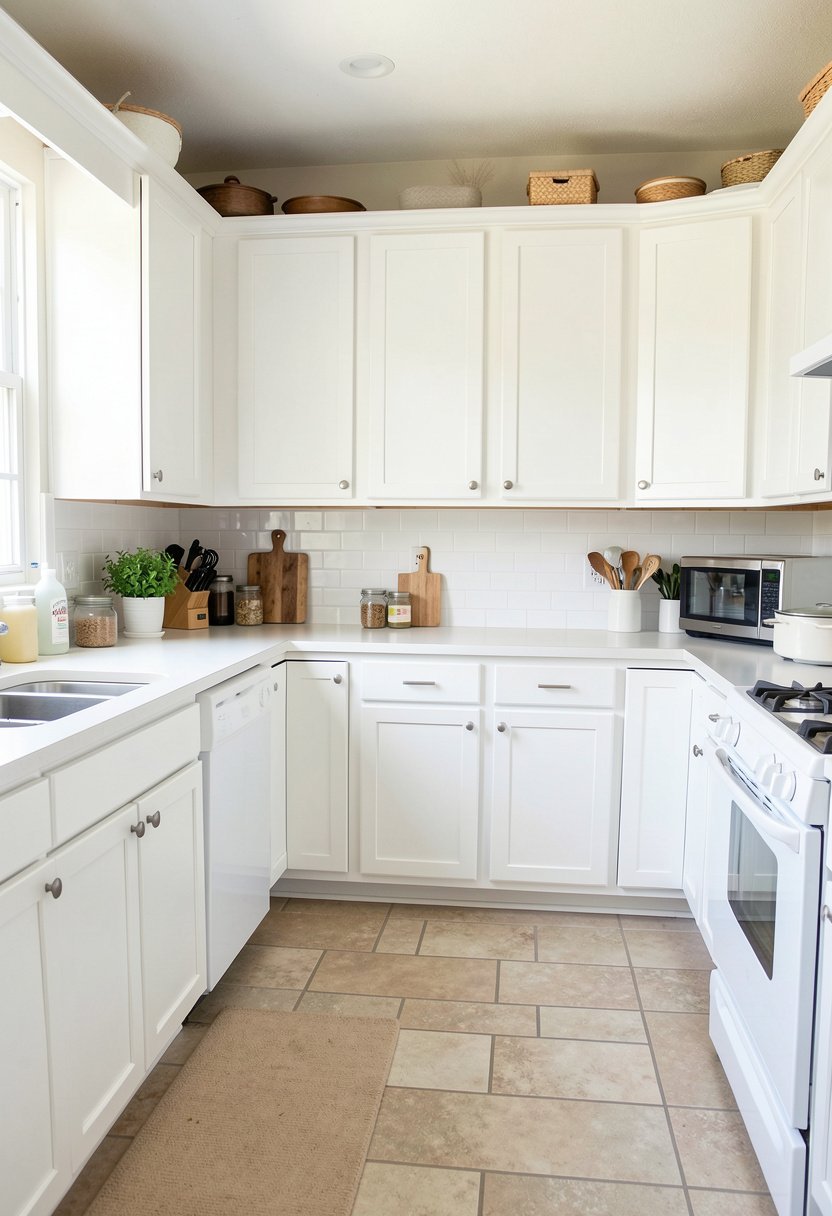
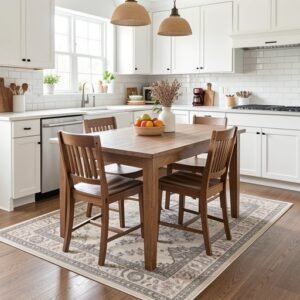
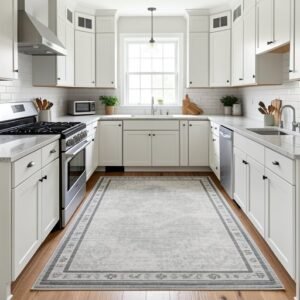
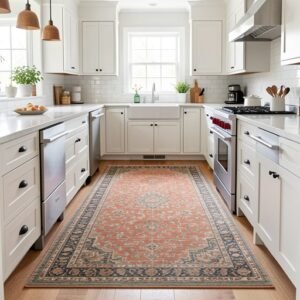
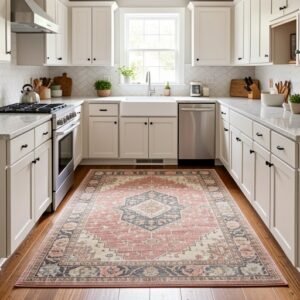
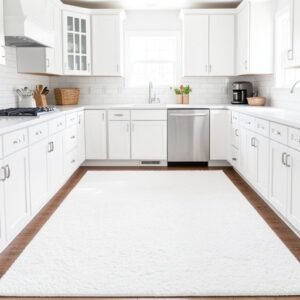
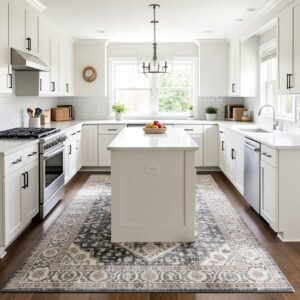
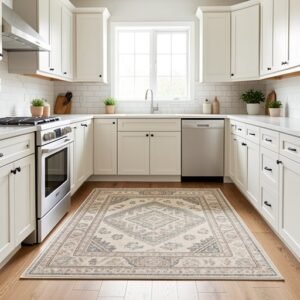
Stop thinking that your cabinets need a total replacement just because they look dull. I have painted more kitchens than I can count, and white is always the safest, smartest bet for a small space. It makes everything feel open, airy, and much larger than it was before you started.
Most people buy the cheapest paint they can find, but please, do not do that. You need a high-quality enamel that sticks well to wood, or your finish will peel off in a month. Take the doors off first, clean them well with a degreaser, and sand them down, or you will regret it.
When you do this right, your kitchen will look like it cost ten times what you actually spent. People will walk in and ask which high-end shop did the work. Just smile, keep your secret, and enjoy your bright, new space. It is truly the king of all kitchen upgrades.
- Remove all doors and hinges carefully.
- Clean surfaces with a strong degreaser.
- Use a high-quality furniture enamel paint.
- Sand lightly between each thin coat.

2. Swap Out the Old Hardware
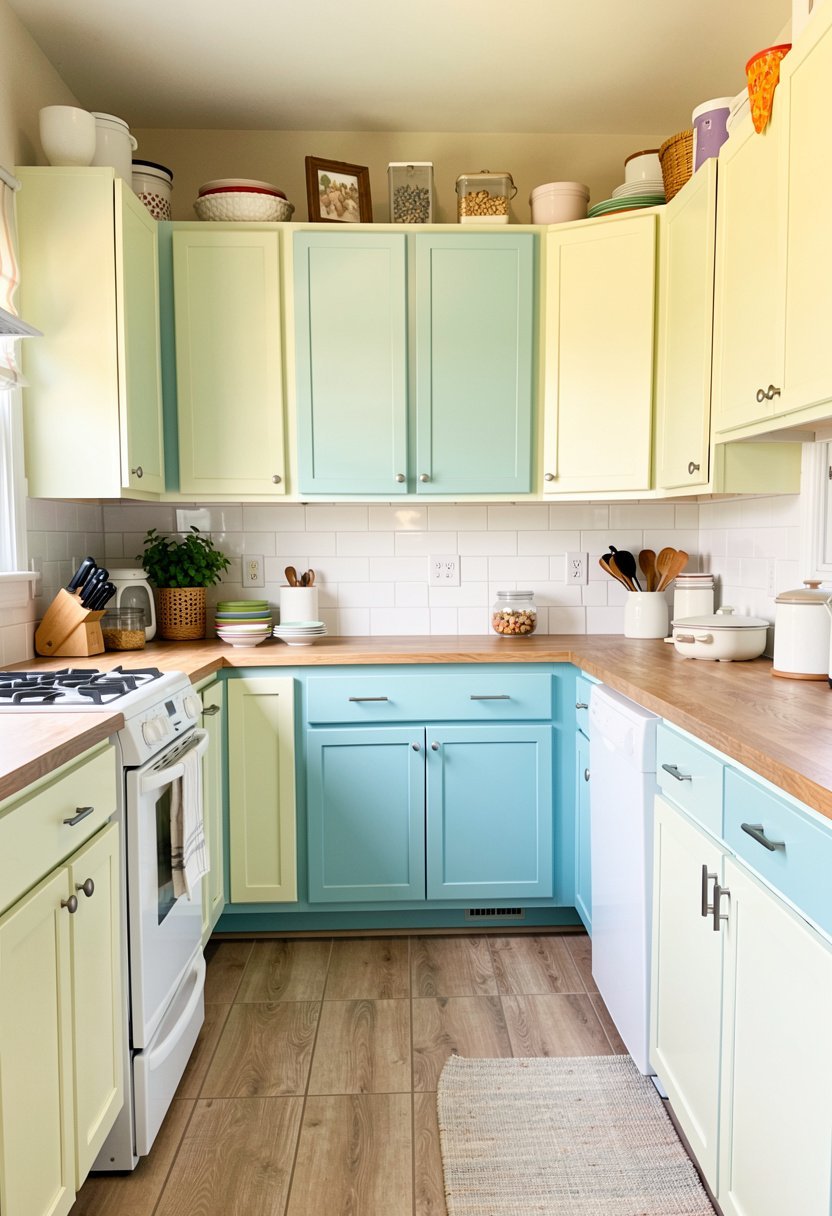
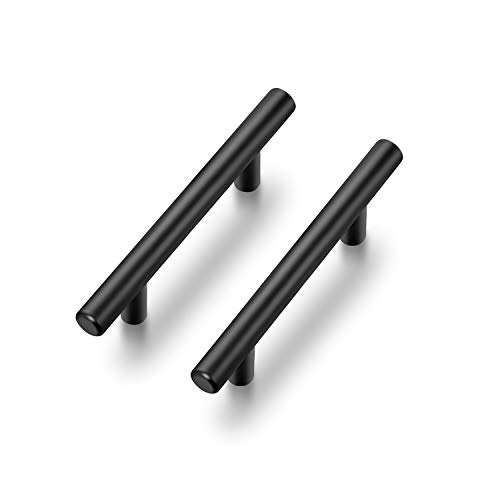
I see people keeping the same, dingy handles for ten years and wondering why their kitchen looks sad. Changing your hardware is the fastest way to get a new look, and it takes about thirty minutes. Toss those dated gold knobs in the trash, and pick something modern, heavy, and cool.
Do not be afraid to pick a finish that stands out, like matte black or brushed nickel. I once helped a friend swap her tiny brass knobs for long, sleek pulls, and the whole room changed instantly. It gave her modern kitchen aesthetics without spending more than fifty bucks on the parts.
Just make sure you measure your current holes before you buy new gear. If the holes do not match, you will have to fill them with wood filler, sand, and touch up the paint. It is a tiny bit of extra work, but the finished look is worth the effort.
- Measure the distance between handle holes.
- Pick a finish that matches your faucet.
- Buy handles with a nice, heavy weight.
- Use a drill guide for perfect alignment.
3. Add Open Shelving Displays
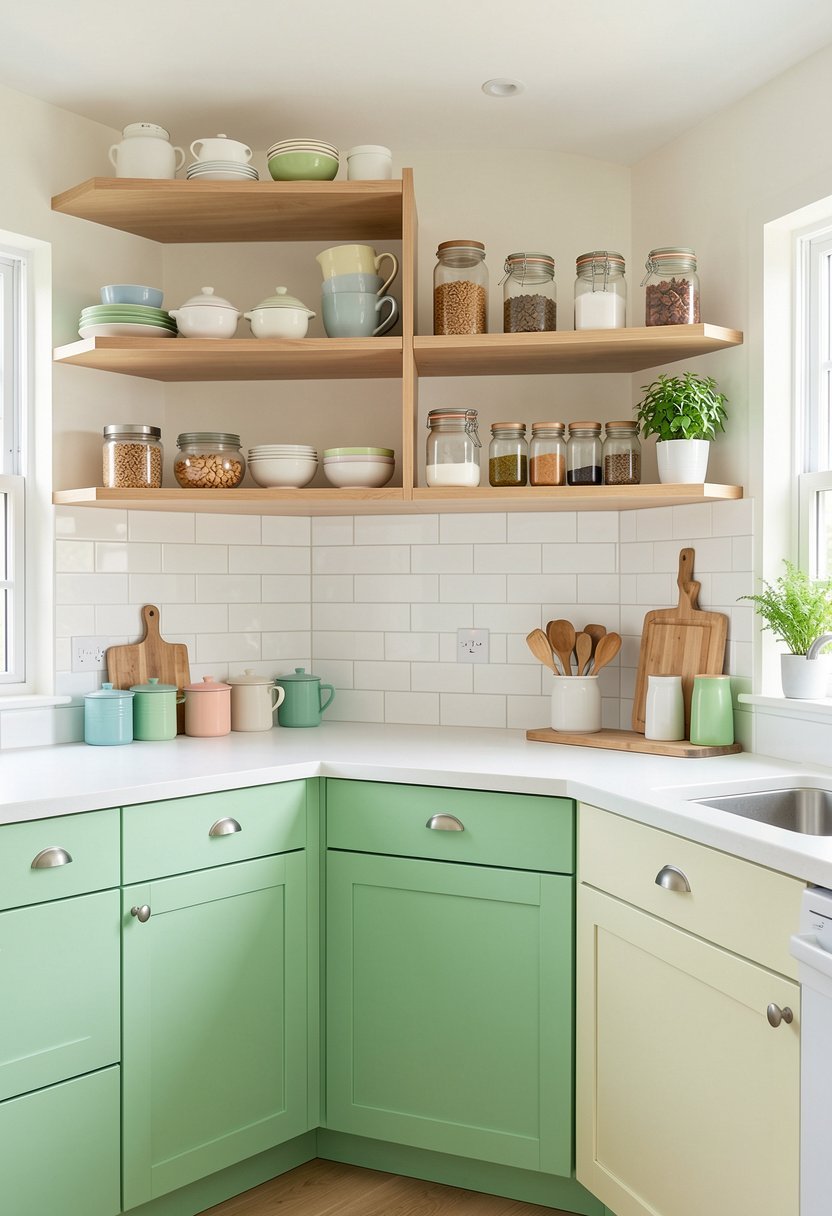
Removing a few upper cabinet doors is the bravest, best thing you can do for a stuffy room. I did this in my own place years ago, and I never looked back. It forces you to keep your dishes tidy, but it also makes the kitchen feel like a fancy cafe.
You should pick the cabinets near your stove or coffee maker to show off your favorite mugs. Paint the inside of the cabinet a soft, contrasting color to add depth, and put your prettiest plates on display. It is a great way to show off your interior design style without buying decor.
If you hate the look after a week, you can always put the doors back on. It is a zero-risk move that opens up the room. Just make sure you do not clutter the shelves, or the whole effect will disappear in a mess of mismatched glasses.
- Remove doors from the upper cabinets.
- Paint the back wall a new color.
- Stack your dishes in neat, organized piles.
- Keep the display simple and very clean.
4. Install Under Cabinet Lights
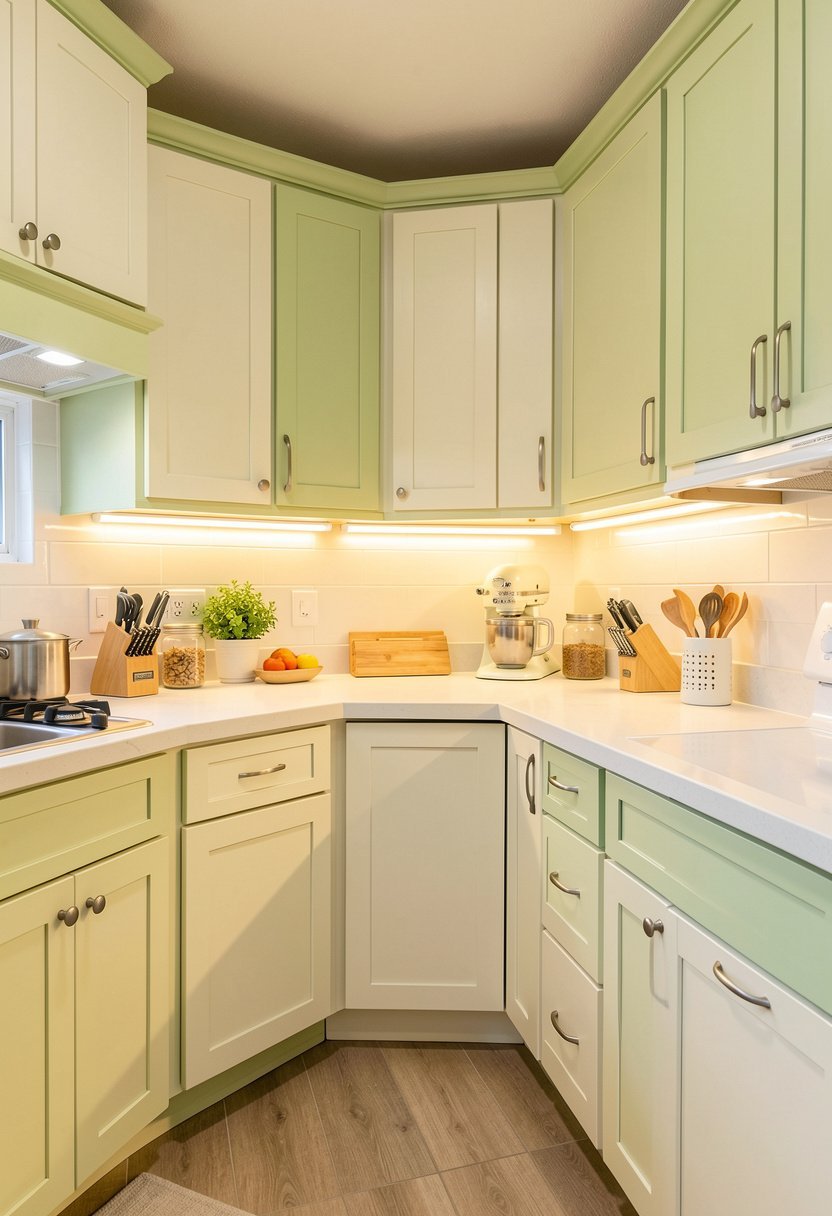
I cannot stand a dark kitchen, and I do not know why people tolerate shadows while they cook. Adding a simple light strip under your cabinets changes everything. It highlights your counters, makes the room feel warm, and honestly, it makes you feel like a pro chef in your home.
You can buy kits that plug into the wall or use battery power, so you do not even need a sparky. Just stick them on, hide the wires behind a small piece of wood, and flip the switch. It is a tiny change that adds cozy home lighting to your work space.
Do not buy the cheap yellow lights that look like a dusty attic. Go for a soft white glow, and your kitchen will feel premium. It makes late night snacks feel a little bit more special, and it helps you see exactly what you are doing while chopping those veggies.
- Buy led strips with a remote.
- Clean the cabinet bottom before sticking.
- Hide all loose wires with clips.
- Select a soft, warm white light.

5. Use Modern Glass Inserts
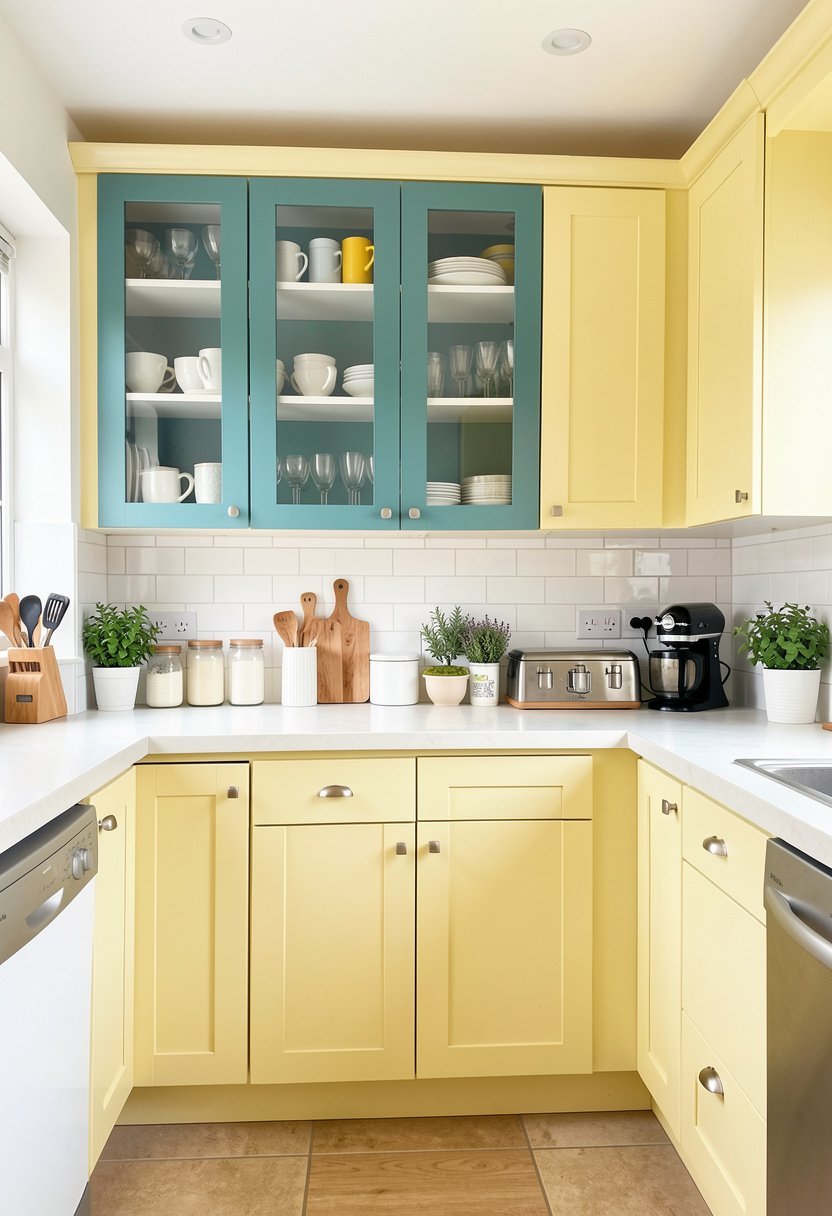
If your wood doors feel too heavy, try replacing the center panels with clear or frosted glass. It is a classic move that adds elegance to any boring setup. I have seen this work wonders in older homes where the kitchen feels like a dark, wooden cave that never ends.
You can take your doors to a glass shop, or you can do it yourself if you have a saw. Just swap the middle wood part for a piece of glass, and secure it with tiny clips. It creates a beautiful custom kitchen look that feels very expensive and high-end.
Be careful with the glass, as it can chip if you are not gentle. Also, remember that you can see inside now, so keep your glasses organized. If you are not a fan of being tidy, choose frosted glass to hide the clutter while still letting the light shine through.
- Take off the door panel carefully.
- Measure the center area very accurately.
- Use tempered glass for safety reasons.
- Fasten with clips and clear silicone.

6. Apply Adhesive Wood Veneer
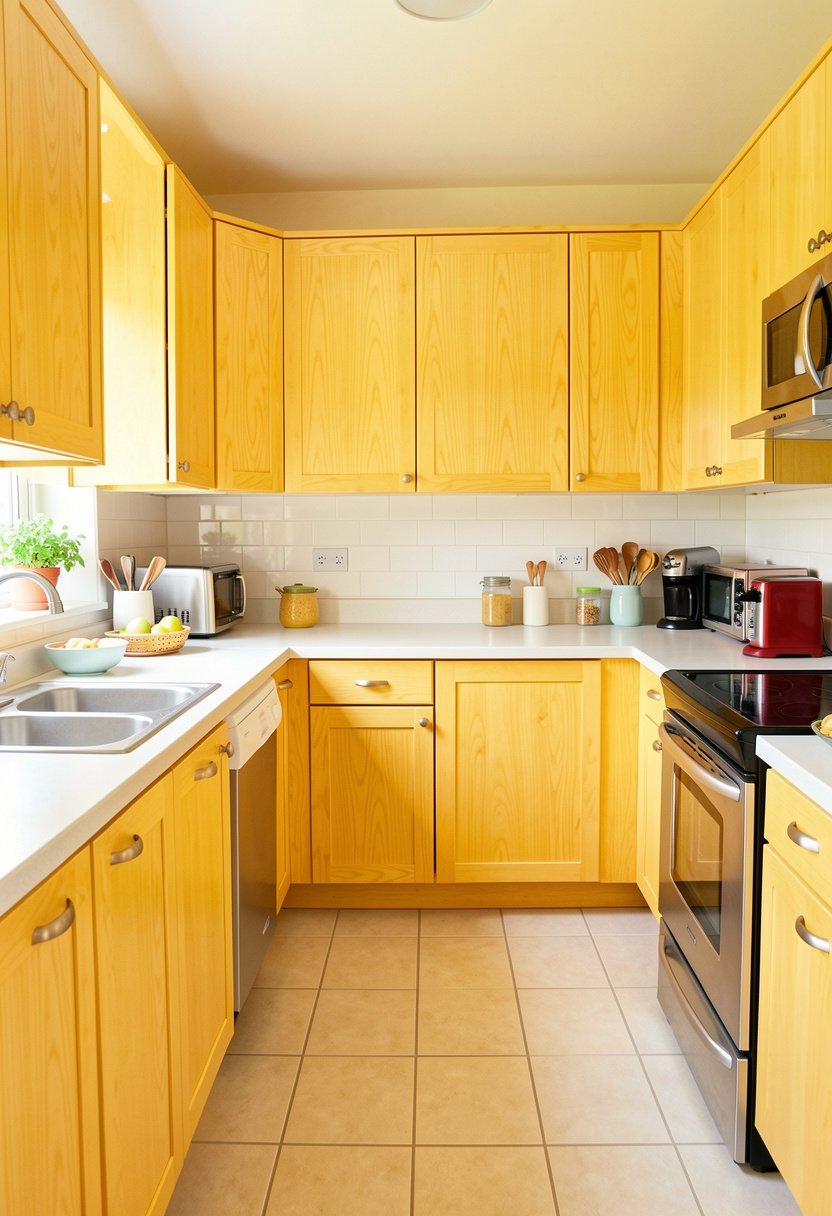
Sometimes your cabinets are just ugly, and paint is not enough to fix the texture. If you have flat, plain doors, you can add a wood veneer over them to get a high-end, grainy look. It is a fun way to change the vibe from cheap laminate to something really natural.
Most people think this is too hard, but it is just like putting down a big sticker. You cut the veneer to size, peel the back off, and press it onto your smooth cabinet front. It is a great trick for a renovated kitchen feel that hides all the past damage.
Make sure you press out all the bubbles with a plastic tool. If you leave a bubble, it will show later, and it will drive you crazy every time you see it. Take your time, go slow, and you will have a cabinet that looks like it is made of solid oak.
- Measure the door surface very carefully.
- Use a plastic tool to smooth.
- Cut edges with a sharp blade.
- Seal the edges with some wax.

✅ See Also: 12 Custom Kitchen Cabinet Ideas (for Any Budget)
7. Change Your Cabinet Hinge Type
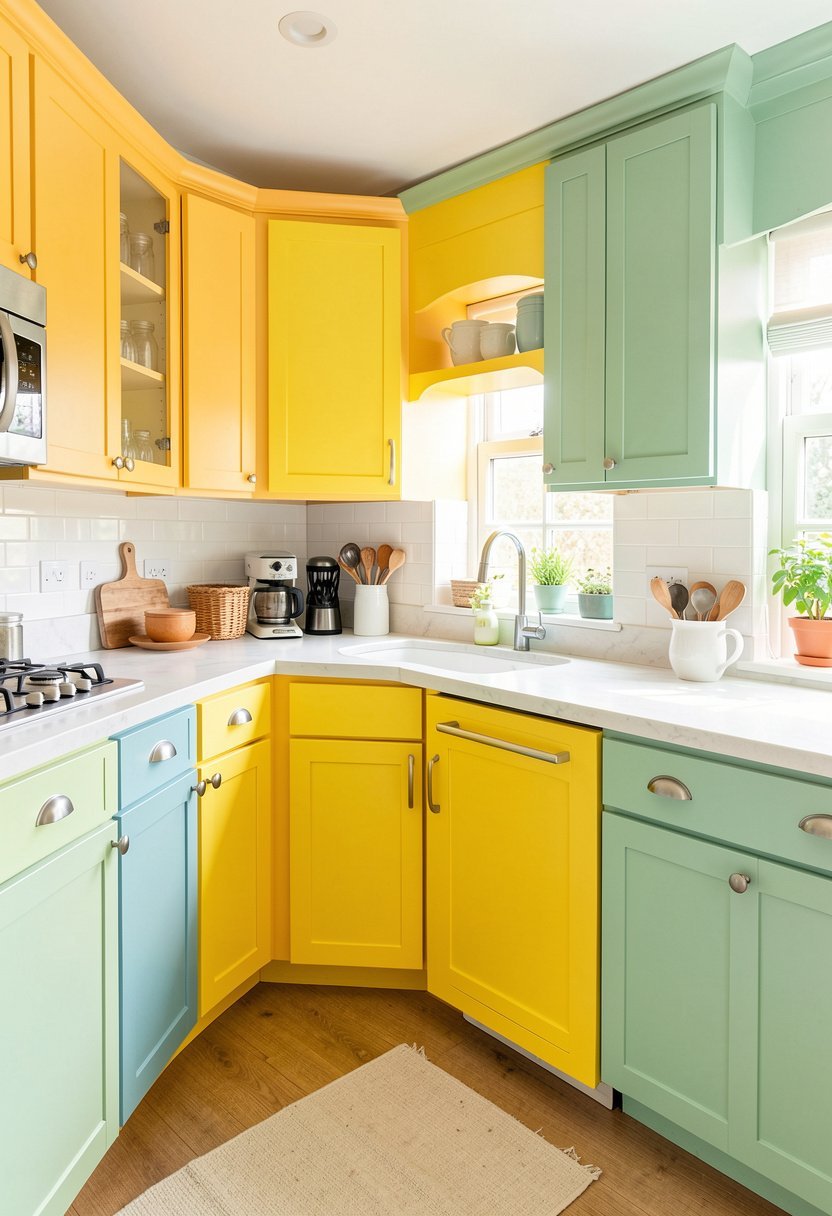
Did you know that soft-close hinges exist for almost every cabinet on earth? Most people just slam their doors shut like they are angry at the wood. It is loud, it is annoying, and it wears out your cabinets way faster than you want. Trust me, it is a bad habit.
Replacing your old, clunky hinges with soft-close ones is a game-changer. It makes your old, cheap cabinets feel like they came from a luxury store. You can buy these in packs online for almost nothing, and you only need a screwdriver to get the job done right.
It sounds like a small detail, but you will notice the difference every single time you put away a bowl. It brings a sense of calm to your morning routine. Plus, your cabinet doors will stay in better shape for much longer because they are not banging around anymore.
- Buy hinges that fit your holes.
- Follow the guide for mounting alignment.
- Test the closing speed after install.
- Adjust the tension for perfect results.

8. Add Crown Molding Details
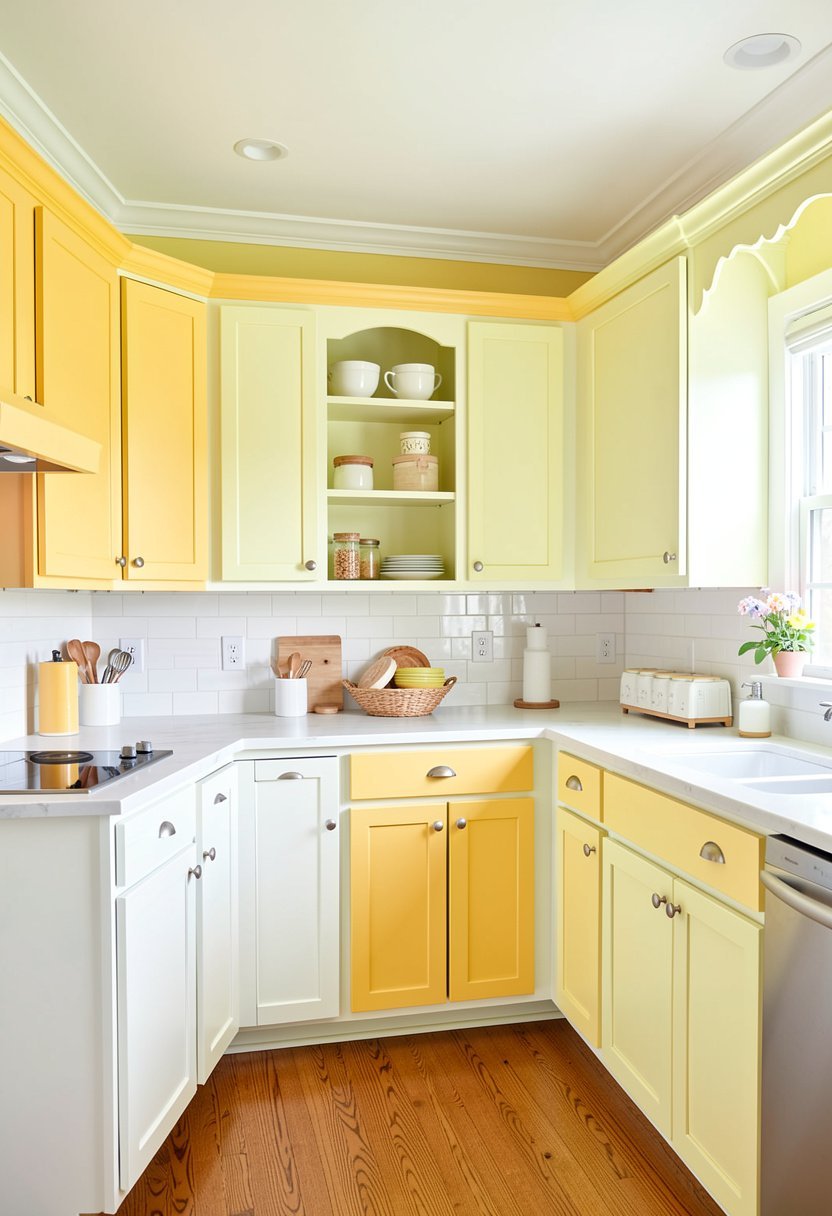
If your cabinets end with a gap between the top and the ceiling, you are losing a massive chance to make them look custom. Adding a simple piece of crown molding fills that space and draws the eye upward. It makes your room feel tall, elegant, and finished, like a custom build.
I know people are scared of cutting wood, but you can buy foam crown molding that is super easy to work with. You just glue it on, paint it to match your cabinets, and nobody will ever know the difference. It creates a seamless cabinet design that hides the dust traps.
Avoid making it too fancy or busy. Keep it simple, clean, and painted the exact same color as your cabinets. It adds structure to the room and makes your kitchen feel like a place where someone actually spent some time thinking about the style.
- Measure the top cabinet edge carefully.
- Cut foam molding to exact size.
- Use construction glue for a hold.
- Paint to match the existing finish.

9. Create Open Cubby Storage
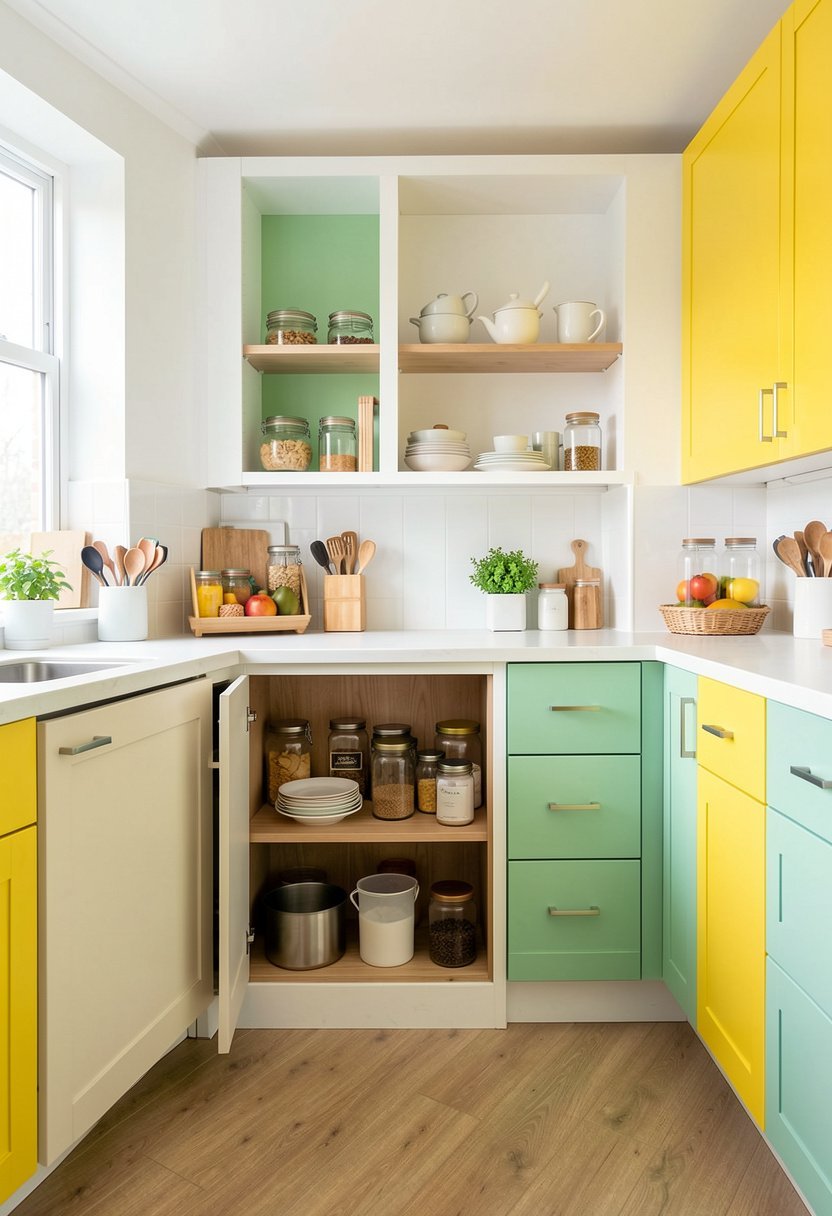
Do you have that one cabinet above the fridge that is impossible to reach? Stop putting junk in there that you never touch. Take the door off, paint the inside, and add a small shelf for wine bottles or cookbooks. It is a cool way to add functional kitchen storage.
I did this to store my giant collection of recipe books, and it looks so much better than a plain, closed door. It feels intentional, like a library nook in the kitchen. It is also a perfect spot to keep things you use often but want to keep off the counter.
Do not overload the cubby, or it will look like a trash pile. Keep it curated, clean, and simple. It adds a bit of flair to a boring area and gives you a reason to actually look up at your cabinets instead of just walking past them every day.
- Remove the door and extra hardware.
- Sand and paint the interior well.
- Build a shelf for your books.
- Keep the look very organized daily.
10. Update with New Door Fronts
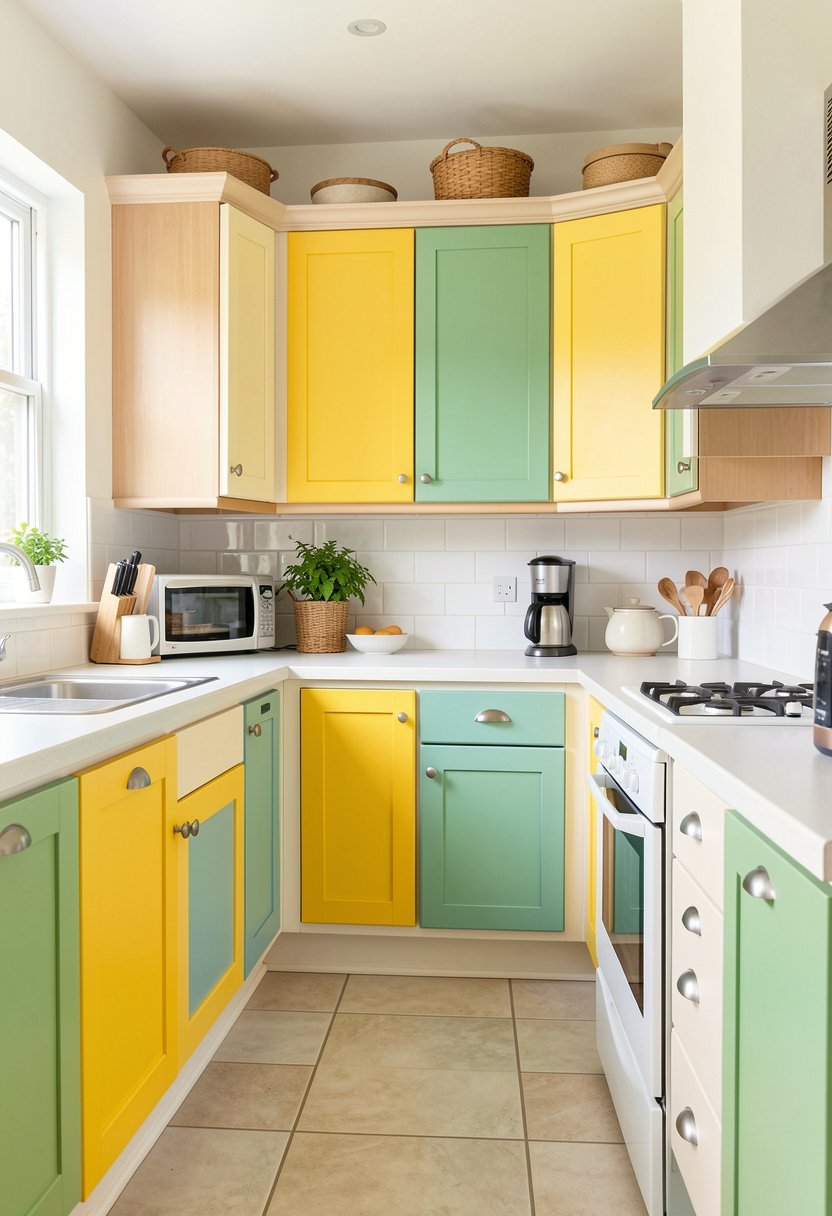
If your cabinet boxes are solid but your doors are a total disaster, just buy new door fronts. You can keep the old boxes and just swap the face. It is a secret trick that saves you thousands of dollars while still giving you a brand new look and feel.
I see people replace the whole box when they only need to change the front. It is a waste of money and a lot of extra stress for you. You can find shops that make custom-sized fronts for almost any standard box. It is the ultimate budget home improvement.
Measure twice, and then measure a third time just to be sure. You do not want to order these and find out they are too small. When you get them, paint them or leave them natural, and your kitchen will look like you did a full remodel in a day.
- Measure the box openings very carefully.
- Order doors that match your style.
- Paint or stain the new fronts.
- Attach with your existing, good hinges.
11. Add Functional Pullout Trays
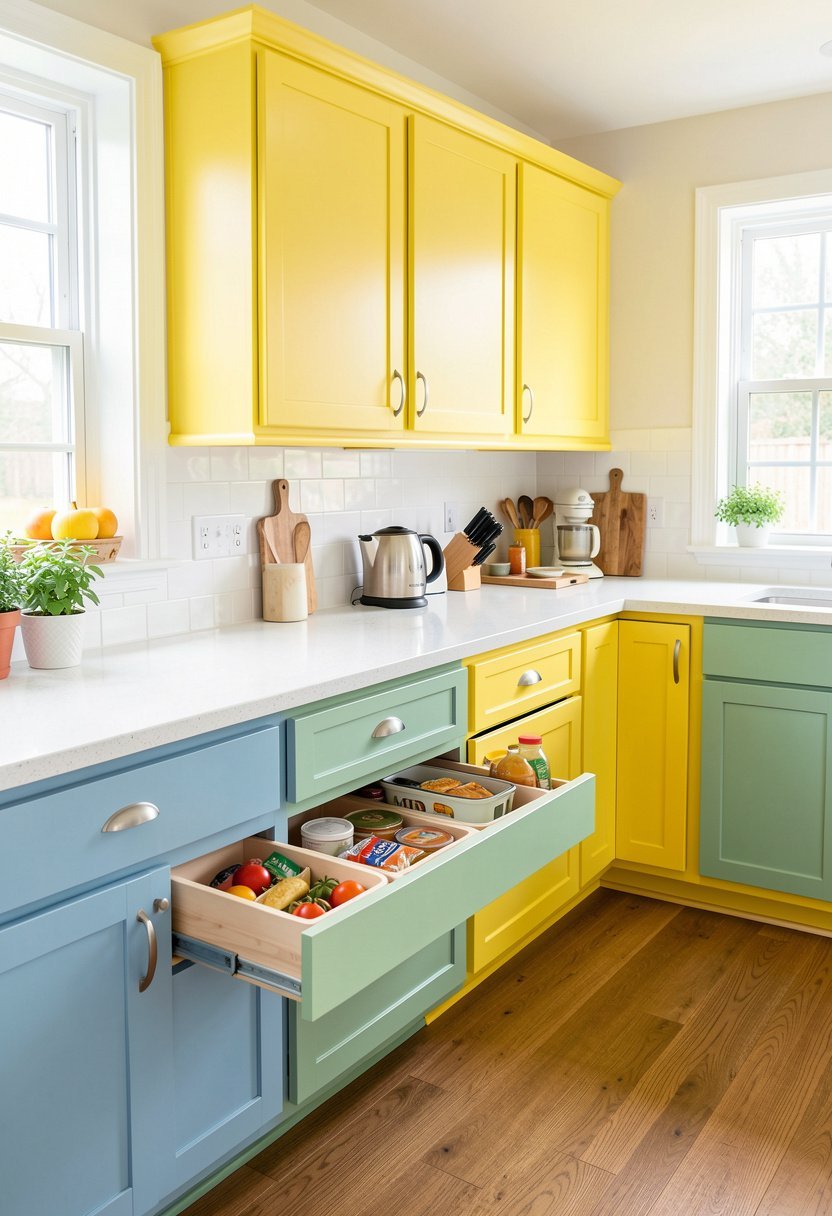
Stop digging around in the back of your deep cabinets for that one pan you need. Adding a sliding tray inside your base cabinets is life-changing. I have done this for my heavy pots and pans, and it saves my back from hurting every single day while I cook.
You can buy kits that screw into the base of the cabinet, and they glide out with a smooth push. It turns a dark, messy pit into a smart, organized drawer. This is one of the best kitchen organization hacks I have ever found for my own home.
Make sure you choose a tray that can hold heavy weight, or it will sag under your pots. I like to use metal trays because they are tough and easy to wipe down. It makes cooking so much faster when you can just grab what you need in a second.
- Measure the depth of the cabinet.
- Buy trays that handle heavy weight.
- Secure the tracks to the base.
- Ensure the tray glides out smoothly.
12. Apply Chalkboard Paint Panels
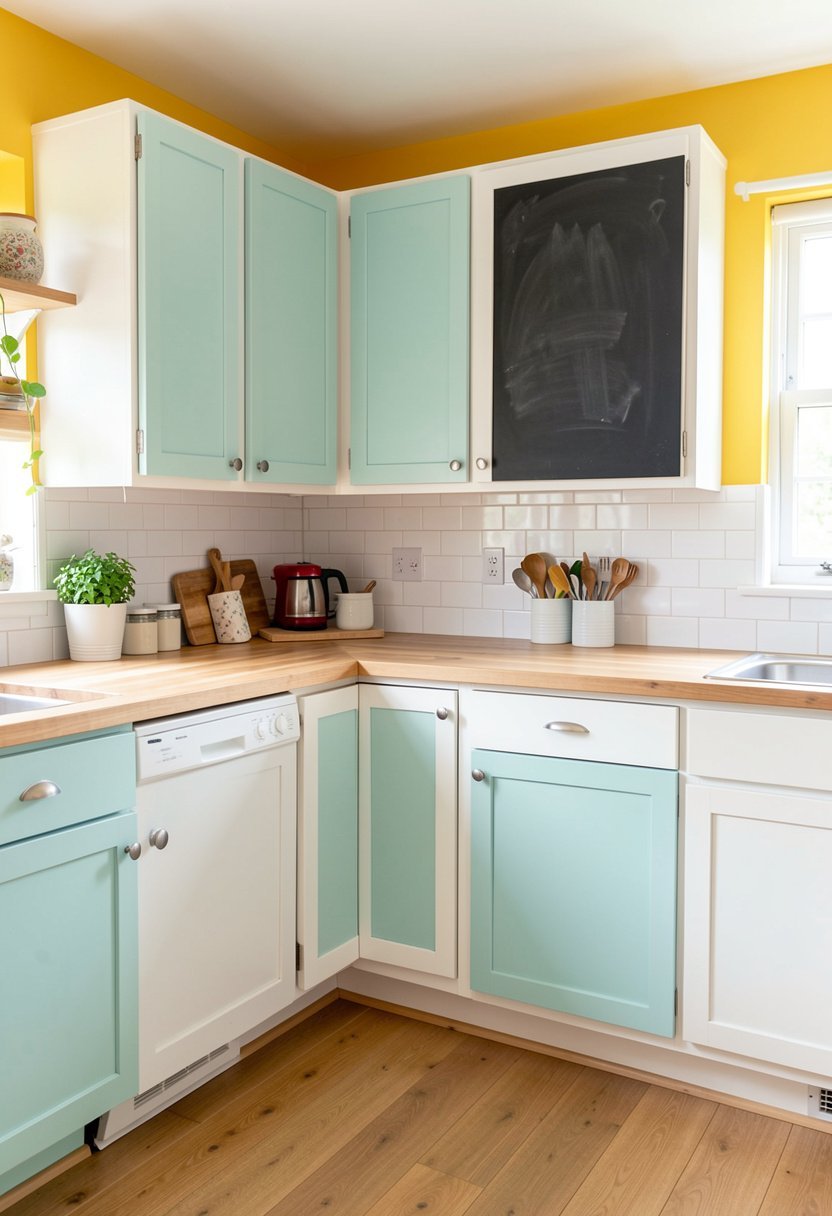
If you want a kitchen that feels fun and personal, try painting a section of your cabinets with chalkboard paint. I did this on a side pantry door in my house, and it is the best spot for writing grocery lists or leaving sweet notes for my family to find.
It looks chic in a matte black finish, and it adds a bit of grit to your design. Do not paint all your cabinets this way, or it will feel like a classroom. Just pick one door or a small panel to keep it tasteful and cool for your creative home decor.
Make sure you use a primer first, or the chalkboard paint will flake off and look messy. Use actual chalk or liquid markers to write your lists, and enjoy having a place to stay organized. It is the most useful piece of decor I have ever added to a room.
- Use a good primer on wood.
- Apply two coats of chalkboard paint.
- Let it dry for two days.
- Keep a small eraser handy nearby.

13. Install Corner Lazy Susans
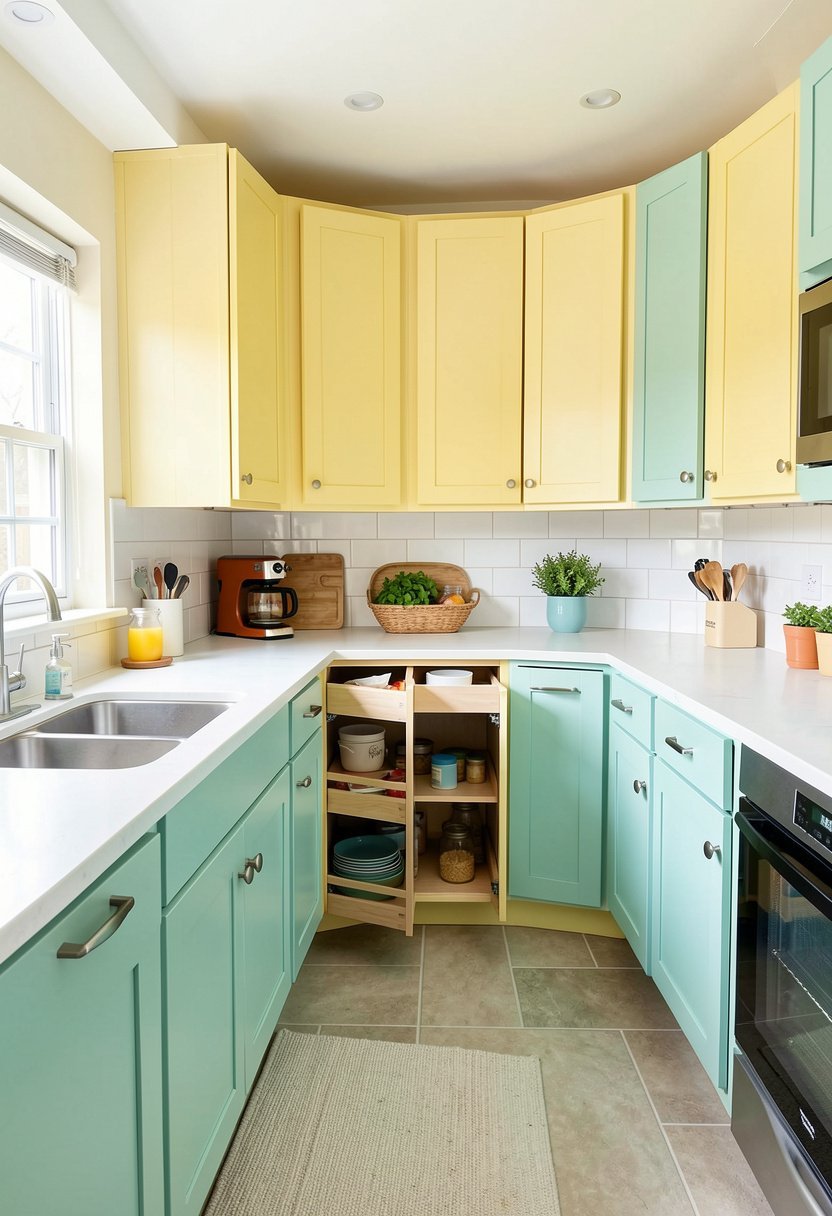
Corner cabinets are the worst place in the kitchen because everything just gets lost in the dark abyss. If you do not have a spinning tray, you are doing it wrong. Installing a lazy Susan in your corner cabinet is the only way to save that space and your sanity.
I used to spend five minutes looking for my spices, and now I just give the tray a little spin and find them instantly. It is a small change that brings a massive amount of peace to your daily life. Stop living with the clutter and fix it right now.
You can buy kits that fit into almost any corner shape. It is a bit of a puzzle to set up, but once it is in, you will wonder how you lived without it for so long. It is just simple, smart living that makes your kitchen work for you.
- Clear out everything from the corner.
- Assemble the spinning tray mechanism well.
- Fix the tray into the cabinet.
- Arrange items so they stay centered.

Final Thoughts
I hope you feel ready to tackle these projects now. You do not need to be a pro to make your kitchen look fresh, clean, and expensive. Just pick one thing from this list, grab your tools, and get started today. Do not overthink it, keep your budget low, and trust your gut. You have the power to change your space, and you have got this.
| Idea Number | Best For | Difficulty |
|---|---|---|
| 1 | Brightening | Low |
| 2 | Quick Refresh | Very Low |
| 3 | Displaying | Medium |
| 4 | Atmosphere | Low |
| 5 | Elegance | Medium |
| 6 | Texture | Medium |
| 7 | Sound | Low |
| 8 | Height | Low |
| 9 | Books | Low |
| 10 | New Look | Medium |
| 11 | Heavy Pots | Medium |
| 12 | Planning | Low |
| 13 | Organization | Medium |
| 14 | N/A | N/A |
| 15 | N/A | N/A |
Frequently Asked Questions
Is It Hard to Paint My Kitchen Cabinets?
It is not hard, but it does take time and patience. You have to clean the doors, sand them, and use a good primer. If you rush, the paint will chip. Just take it slow, work in thin layers, and you will get a smooth, professional result that lasts for years.
Can I Change Hardware Without Drilling New Holes?
Yes, you absolutely can. Just measure your current handle holes before you buy new ones. If you buy handles that match the exact same size, you can just screw them right into the existing holes. It is the easiest way to get a new look without any extra work.
Are Open Shelves a Good Idea for Every Kitchen?
They look great, but they are not for everyone. If you have a lot of stuff or hate dusting, you might find them annoying. Try removing just two doors first to see if you like it. If you love it, you can keep going and take off even more.
Do I Need to Buy Expensive Tools for These Ideas?
Not at all. Most of these ideas only need a screwdriver, a paintbrush, and maybe a drill. I have done almost all of these with basic tools I bought at a local hardware store. You do not need fancy gear to make your kitchen look like a million bucks.
Does Chalkboard Paint Look Messy?
It only looks messy if you use it on everything. If you pick just one cabinet or a small side panel, it looks very stylish and modern. Use a good primer, keep your writing neat, and use a damp cloth to clean it off whenever you need a change.
Should I Hire a Pro to Install Crown Molding?
You do not have to. You can buy foam crown molding that is light and easy to glue on. It does not require a saw or complicated cuts. Just measure the length of your cabinet top, cut the foam with a knife, and glue it in place for perfection.
Will Soft-close Hinges Save My Cabinets?
They definitely will. They stop the doors from banging into the frame, which keeps the finish from chipping over time. They also make your kitchen feel quiet and calm. It is a very cheap upgrade that adds a lot of value and comfort to your home cooking space.
Can I Mix and Match These Cheap Kitchen Cabinet Ideas?
You should mix them. Try painting the doors and adding new hardware at the same time. The best kitchens use a few of these tricks together to get a total transformation. Pick what works for your space, be bold, and have fun with your new home design.