As an Amazon Associate, I earn from qualifying purchases at no extra cost to you.
11 Floating Kitchen Cabinet Ideas (for Any Budget)
 ByRayan

Often, people think a kitchen needs to be heavy, dark, and bolted to the floor to look right. I walked into my first kitchen remodel with that same silly idea, and I spent way too much money on chunky base cabinets. Please, stop buying those clunky boxes, because you are hiding the best part of your floor. You really need 11 floating kitchen cabinet ideas to open up your space, make it feel light, and actually look like a pro designed it.
Most folks try to jam too much furniture into a small room, and it makes the whole house feel tight. Floating cabinets pull the weight off the ground, they give your eyes a place to rest, and they make cleaning the floor a dream. If you keep the floor visible, you trick your brain into thinking the room is much larger than it really is. I will show you how to pull this off without breaking your back, or your bank account, while keeping your style sharp.
You are about to learn how to pick the right mounts, how to save money on hardware, and why lighting is the secret sauce. Forget the heavy stuff, stop worrying about floor space, and start thinking about lines that flow. I have seen the mistakes, I have fixed the messes, and I am ready to show you the way. Let us get your kitchen looking like a magazine, but without the fake, stiff feeling that ruins most fancy homes.
1. Use Steel Brackets for Strength
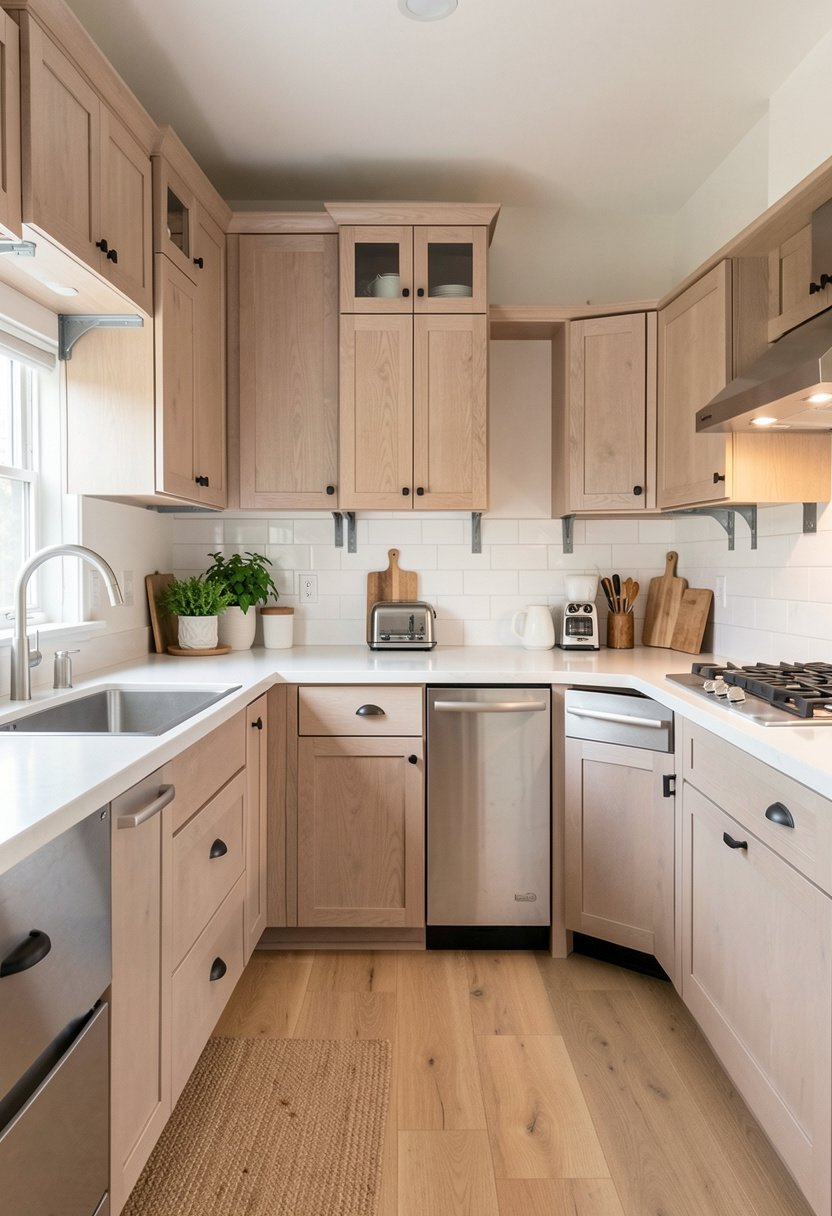
You might worry that cabinets will fall, but steel is your best friend here. I used heavy, thick steel plates, and they held my heavy dishes without a single wiggle. Do not trust wood alone, it will sag, and you will cry when your plates hit the floor. Use steel, bolt it deep into the studs, and keep things tight. People often skimp on the metal, they use cheap hardware, and then they wonder why their cabinets lean, which is a classic rookie mistake.
Strong steel brackets create a clean look, they stay hidden, and they give you peace of mind. I suggest you measure twice, find those wall studs, and make sure every bolt is tight. If the cabinet moves, you did not use enough steel. Do not listen to the store clerk, they just want to sell you the weakest parts, but you need metal that holds real weight for years.
The steel does not need to be fancy, it just needs to be tough, and it needs to be bolted to real framing. Check your wall before you buy anything, because drywall will not hold a cabinet. Spend the extra few dollars on high-quality anchors, trust the steel, and ignore the flimsy stuff. Your kitchen will stay level, look sleek, and you will never worry about your dinnerware crashing down.
- Always bolt steel mounts directly into wall studs.
- Avoid using drywall anchors for heavy kitchen cabinets.
- Check your wall framing before starting the install.
- Buy thicker steel than you think you need.

2. Add Warm LED Light Strips
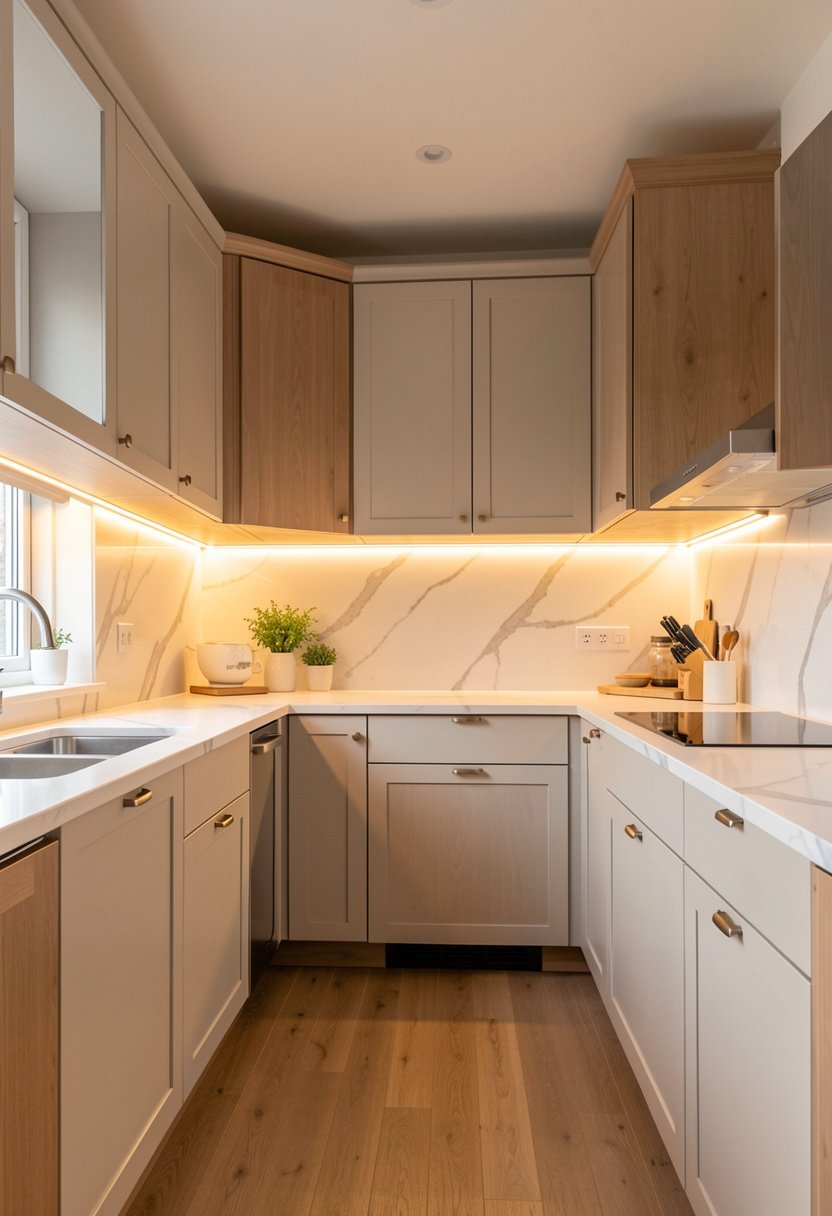
Light is the magic trick of the trade, and putting it under your cabinets changes everything. I put thin, warm LED strips under mine, and the room suddenly felt like a high-end spa. Stop buying those bright, blue-white lights, they make your kitchen look like a cold hospital room, and nobody wants that when they are cooking dinner. Stick to warm tones, keep the glow soft, and enjoy the vibe.
Placement is everything, so tuck the strips behind a small lip, or hide them inside a channel. You want the light to wash down, not hit your eyes directly, because glare ruins the mood. I wired mine to a simple dimmer switch, and I use them every single night. It is the cheapest way to make a kitchen feel expensive, and it hides the shadow that floating cabinets often cast below.
Skip the battery lights, they always die when you need them, and they are a massive pain to replace. Hardwired is better, it looks clean, and it stays on as long as you want. Most people mess this up by putting the light in the wrong spot, but if you tuck it back, you get a glow that makes the floor look like it is floating on air.
- Choose warm light bulbs for a cozy kitchen feel.
- Hide LED strips behind cabinet lips to prevent glare.
- Use hardwired connections to avoid changing annoying batteries.
- Install a dimmer switch for better control at night.

3. Keep a Consistent Color Palette
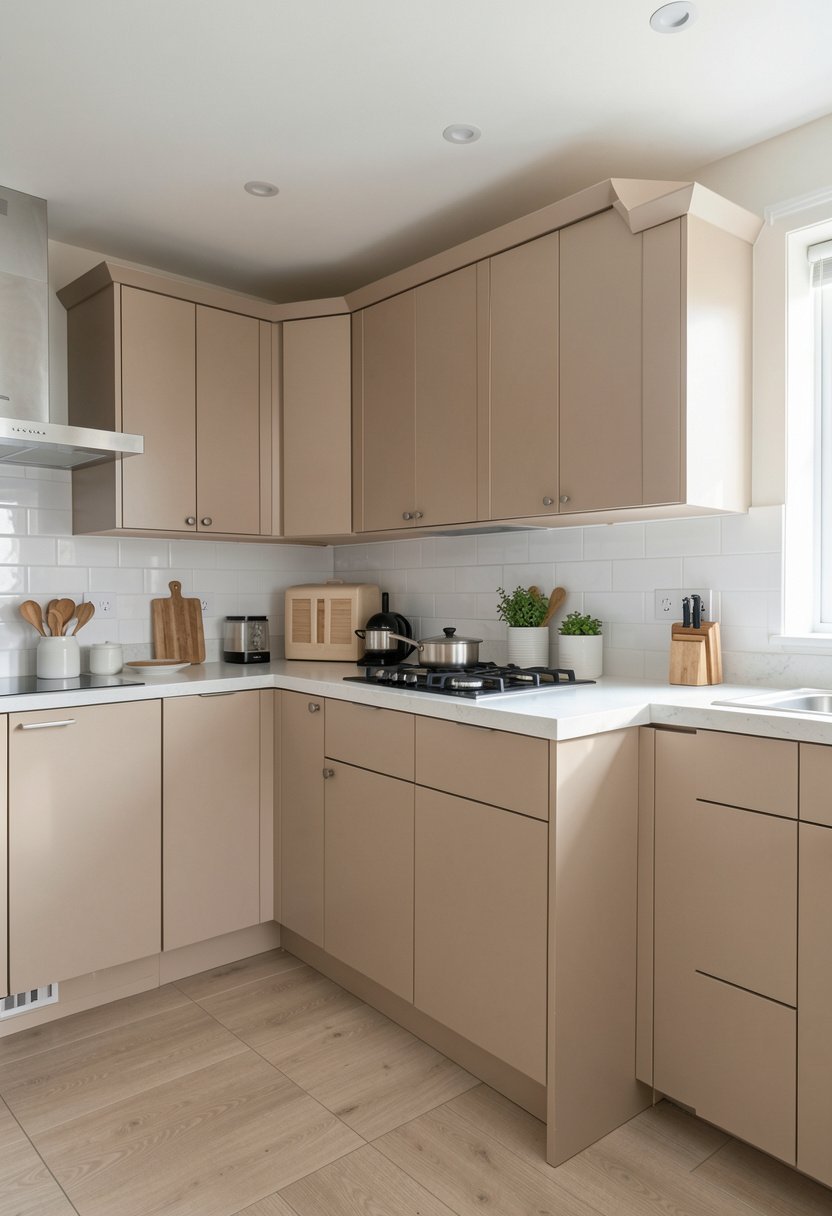
Many people try to get clever with too many colors, but simple is almost always better. I painted my floating units the same color as the walls, and the room grew instantly. If you use a dark cabinet against a white wall, you kill the illusion, and the cabinet looks like a block just hanging there. Match the paint, keep the lines clean, and let the space feel like one big piece.
I have seen kitchens with five different wood tones, and it makes my head hurt just looking at them. Pick one shade, maybe two if you are feeling fancy, and stick to that plan. If you want a bold look, do it with the backsplash, not the cabinets themselves. Floating cabinets need to disappear into the room, they should not fight for attention, or the whole point of the design is lost.
Sticking to one color makes the room look taller, wider, and much more intentional. Do not get distracted by trends, they change every year, but a clean, matching finish lasts forever. If you want a bit of texture, use a matte finish, it hides dust better than gloss. Keep it simple, keep it matchy, and your kitchen will look like a total pro built it for you.
- Paint cabinets the same color as the walls for unity.
- Use matte paint finishes to hide dust and fingerprints.
- Avoid clashing too many different wood stains or colors.
- Keep bold patterns for the backsplash or small decor.

4. Install Floating Shelves Below
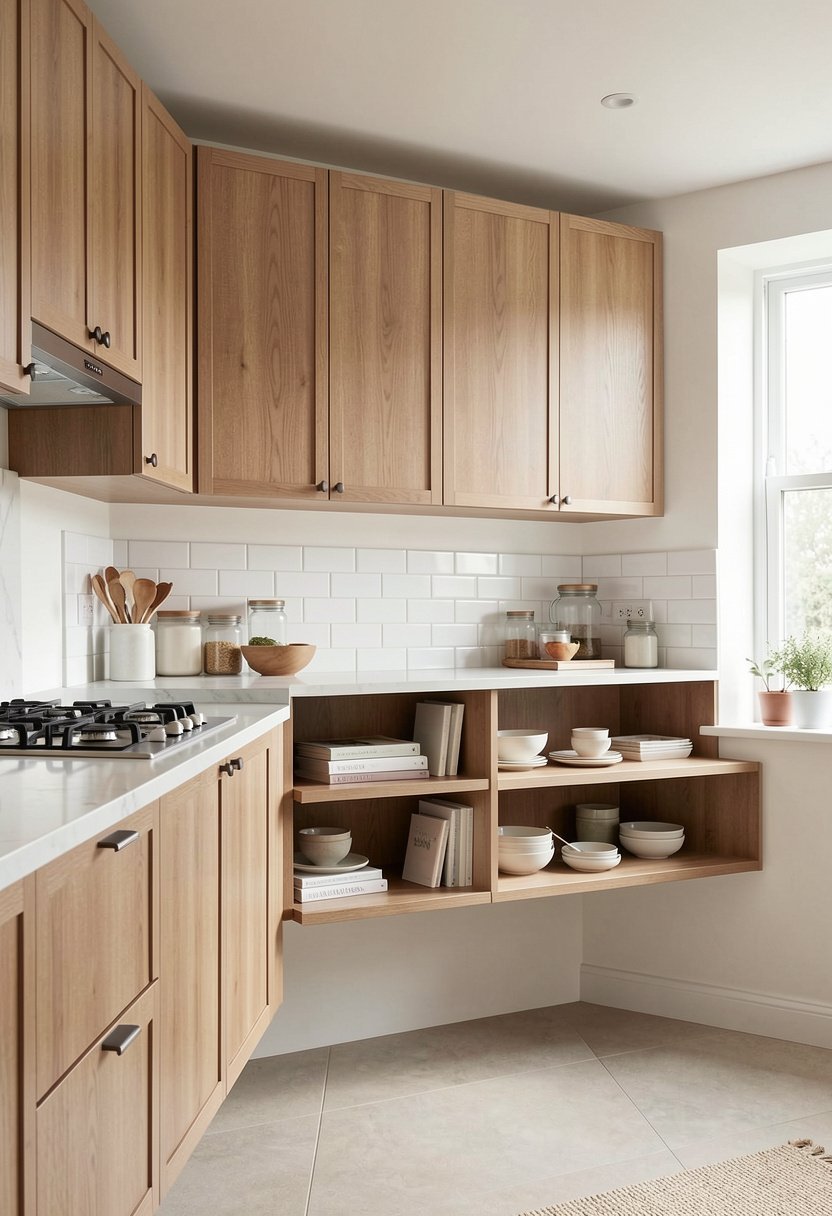
If you have a gap, put a slim, floating shelf right under your cabinet line. I did this in my small kitchen, and it gave me the perfect spot for my daily spices. Don’t crowd the wall, keep it thin, and make sure the shelf matches your main cabinets. Most people leave that space blank, but it is wasted storage, and it looks a bit lonely when you don’t fill the gap.
This trick is great for heavy items, or things you grab all the time, like coffee mugs or tea. Make sure the shelf is sturdy, screw it into the wall, and don’t overload it with cast iron pans. I like the look of a staggered setup, but keep it balanced, or it will look like you just guessed where things should go. It adds depth, it adds function, and it really fills the room.
Keep the shelf decor very light, so you do not block the view of the floor, which is why we floated the cabinets anyway. If you put too much on the shelf, you lose the airy feel, and you end up back where you started. A few plants or a nice bowl look great, but save the heavy stuff for the main cabinets. Balance is the key to this whole look.
- Use shelves to store daily items like spices.
- Keep the wood type matching your main cabinet color.
- Don’t overload lower shelves with heavy cast iron.
- Use a staggered layout for a modern, fun appearance.

5. Select Minimalist Handle Hardware
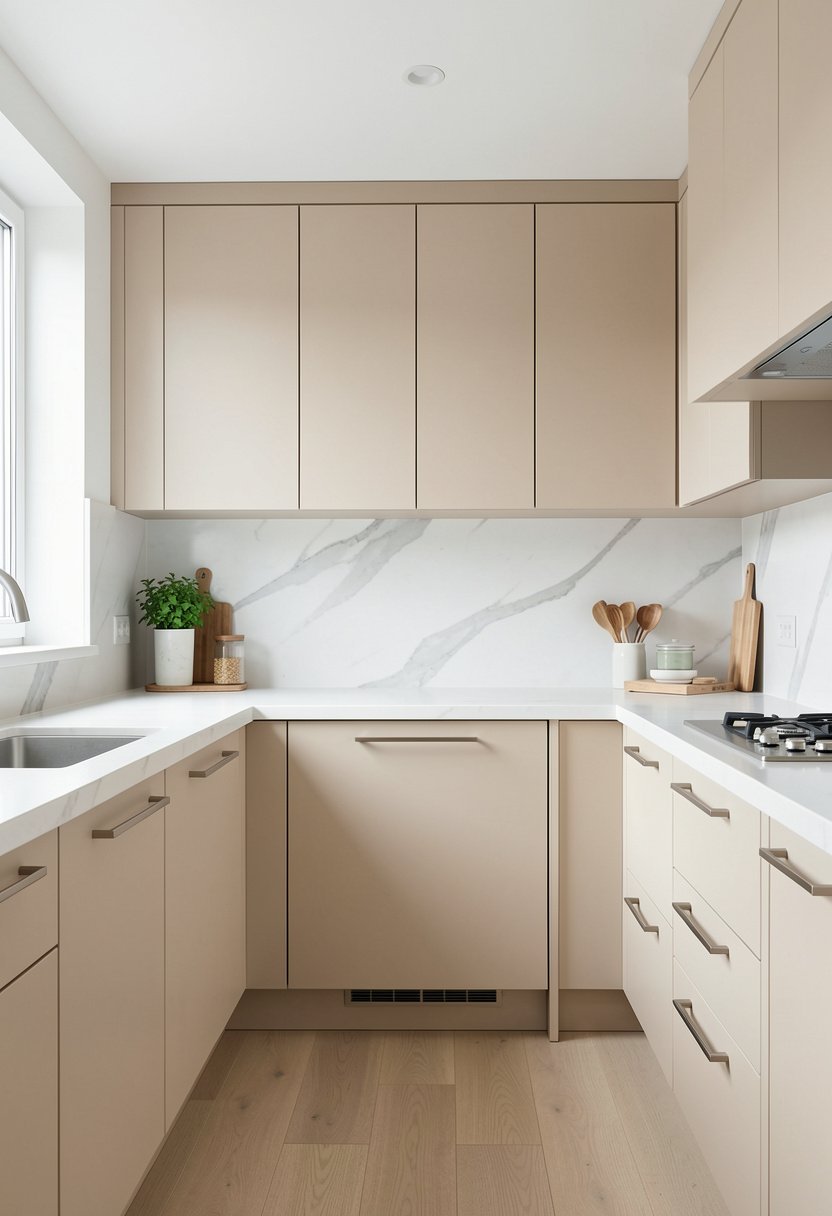
Hardware is the jewelry of your kitchen, and you should treat it with some respect. I went with tiny, brass pulls, and they changed the look from cheap to custom. Stop buying those huge, bulky handles that dominate the door, because they make a small cabinet look heavy. You want a pull that feels good in your hand, looks sleek, and does not scream for your total attention.
I suggest you go for a simple, bar style or a tiny knob that hides well. If you have the budget, push-to-open doors are the gold standard for floating cabinets, as they delete the hardware entirely. I tried that once, and I loved the clean look, but my kids hated it. If you want handles, keep them narrow, keep them thin, and line them up perfectly. A crooked handle will ruin the whole thing.
Do not be afraid to mix metals if you have to, but try to keep it to one finish throughout the room. Brushed gold or matte black looks sharp against almost any wood, and it hides fingerprints better than shiny chrome. Shiny chrome is a chore to keep clean, and honestly, it looks a bit dated now. Pick a finish that feels warm, keep it small, and let your cabinets do the talking.
- Choose slim pulls to keep the cabinet profile light.
- Consider push-to-open doors for a totally hardware-free look.
- Stick to one metal finish for the whole kitchen.
- Avoid shiny chrome as it shows every single smudge.

6. Create a Glass Cabinet Section
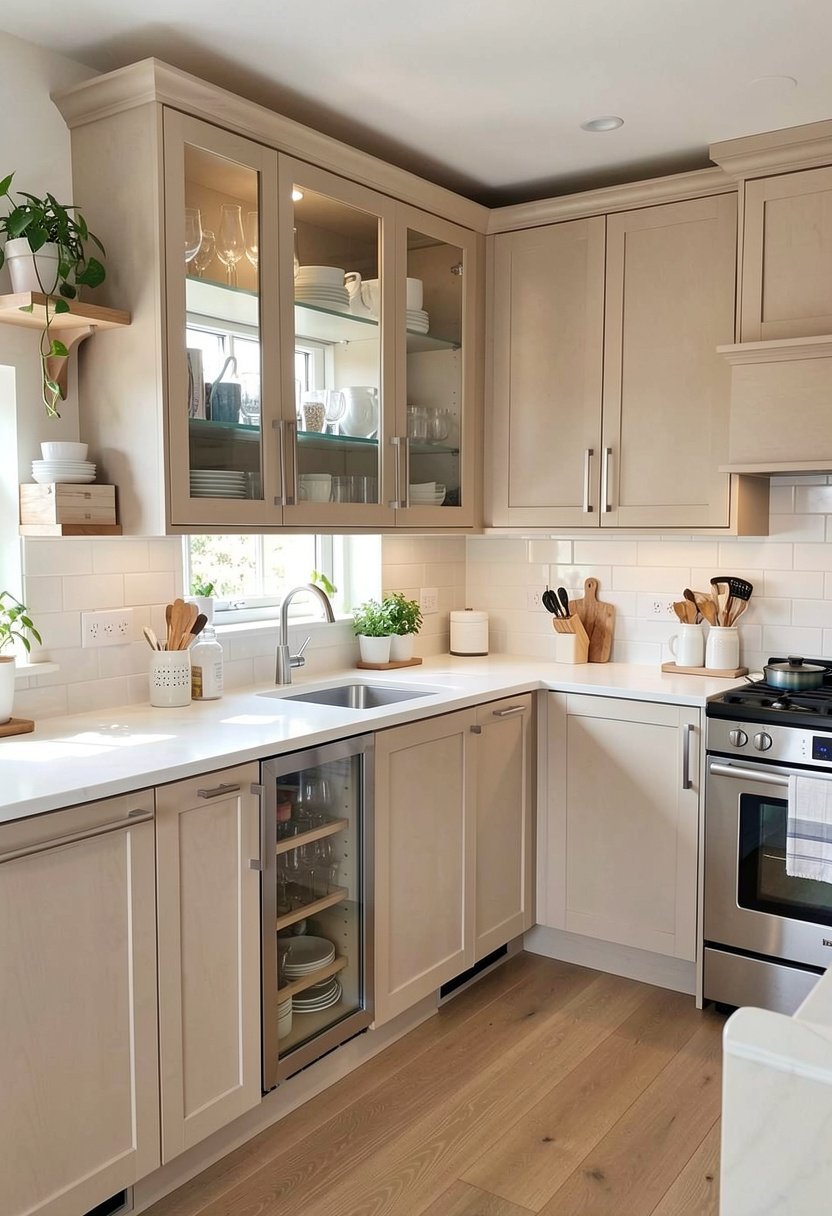
Glass doors are a brilliant way to break up the solid wood wall that makes kitchens feel like a box. I added one glass door to my floating row, and I displayed my favorite white plates behind it. It looks so much lighter than wood, and it forces you to keep your dishes tidy, which is honestly a good habit to get into anyway. Don’t hide all your nice things in a dark cupboard.
Use frosted glass if you don’t want to see every little thing, or clear glass if you have nice, matching dishes. I found that clear glass works best when you keep the color of your plates simple, like all white or all blue. If you have a messy collection of mismatched mugs, keep them in a solid wood cabinet, and use the glass section for the fancy stuff. It adds a layer of depth.
Glass also bounces light around the room, which makes it feel much bigger and brighter. People often put glass in the wrong place, but it works best right at eye level, where you can see your items easily. If you have a dark corner, a glass cabinet with a light inside is a total game changer. It feels like a little gallery, and it makes the floating cabinets look deliberate.
- Use glass doors to break up solid cabinet runs.
- Keep dishes behind glass in a simple, matching color.
- Add internal lights to show off your favorite plates.
- Use frosted glass if you prefer a less cluttered look.

7. Use Vertical Space Wisely
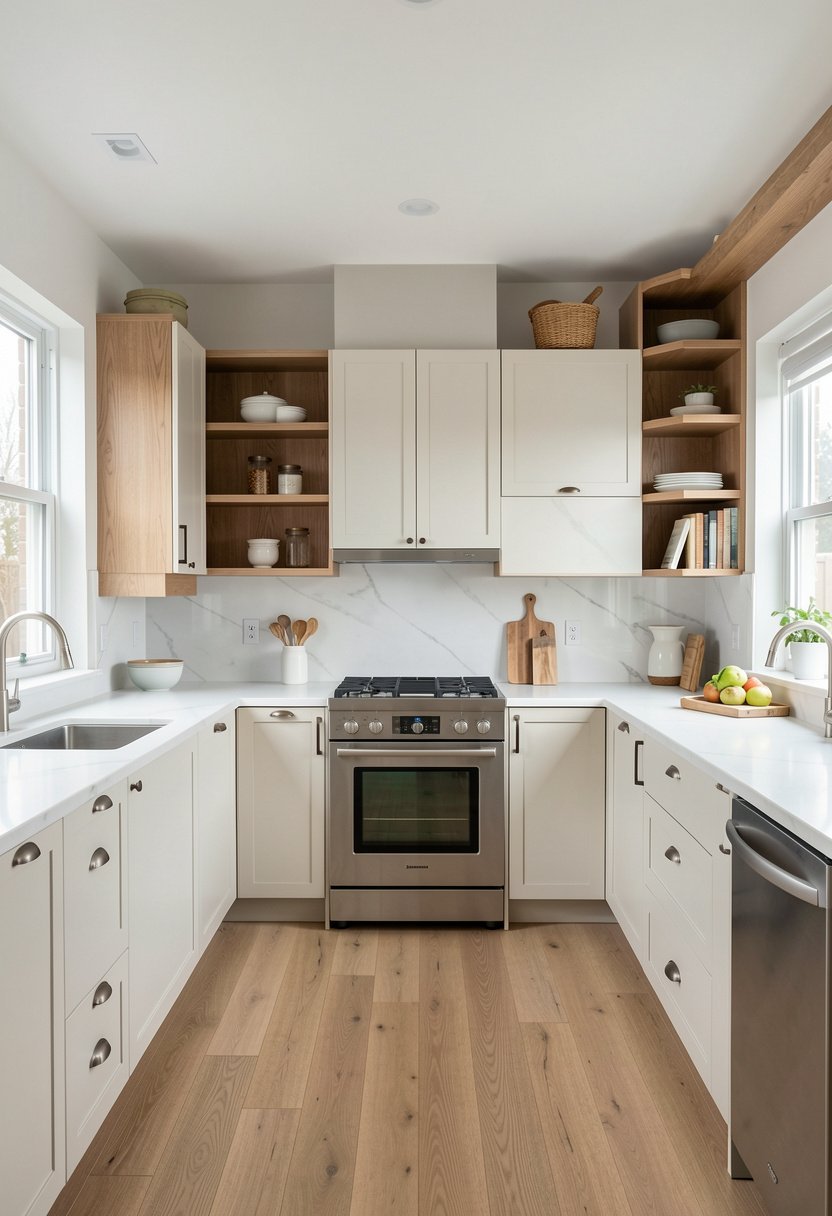
People always mess up by hanging cabinets too low, and then they have no room to work. I hang mine higher than the standard, and it gives me way more room to chop veggies on the counter. Don’t be afraid to go up, as long as you can still reach the middle shelf. Floating cabinets shouldn’t choke your workspace, they should sit nicely above your head and out of your way.
If you have a high ceiling, take the cabinets all the way to the top, because dust on top of cabinets is a nightmare to clean. I hate dusting, so I sealed the gap to the ceiling, and my kitchen stays way cleaner. You want the eye to move up, it makes the room feel taller, and it adds a professional look that store-bought kitchens just don’t have. It is about using the room you have.
Think about how you move in your kitchen, what you reach for, and where you stand. If you are tall, raise them up a bit more, and don’t feel bad about it. It is your kitchen, and you should be comfortable in it. Most manuals tell you to hang them at one height, but they don’t know how you cook. Adjust the height, make it work for you, and ignore the standard rule.
- Hang cabinets higher to get more counter workspace.
- Run cabinets to the ceiling to avoid collecting dust.
- Test your reach before you lock the height in.
- Adjust cabinet placement based on your own height.

8. Focus On the Floor Finish
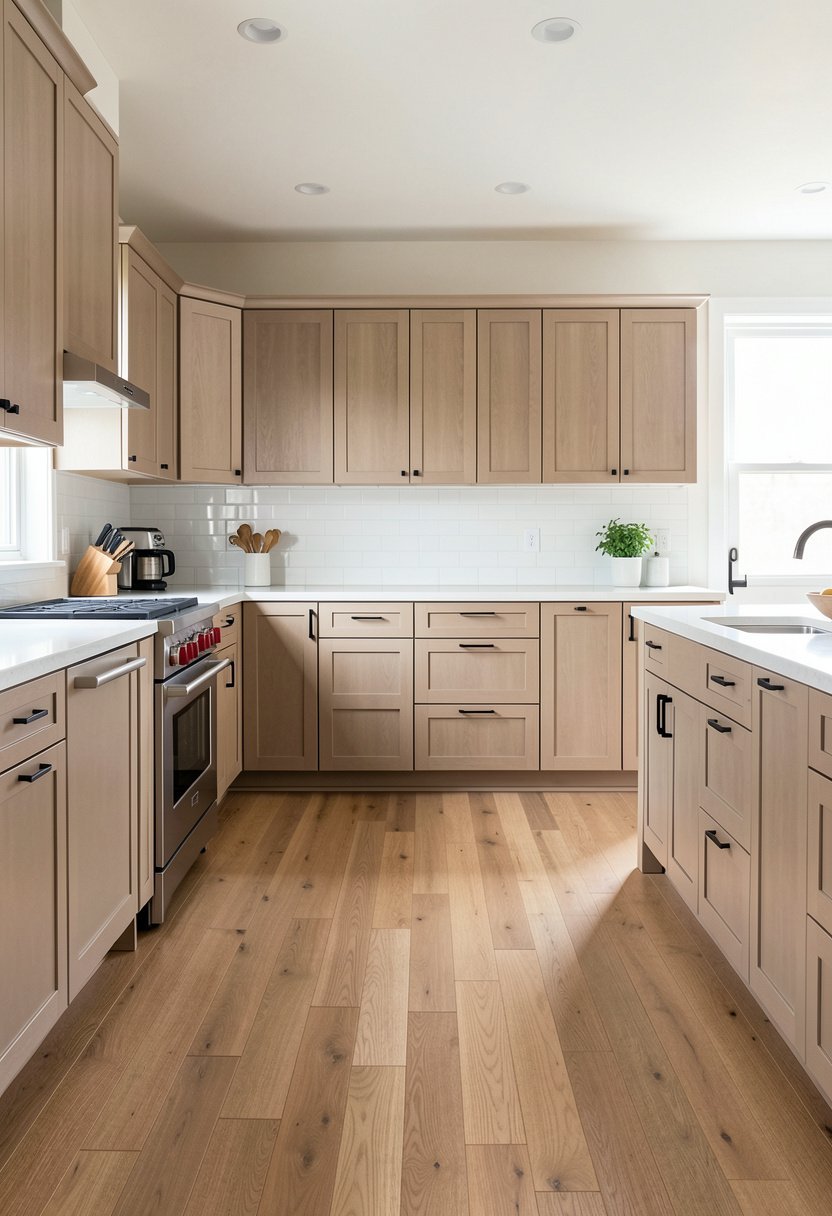
Since your cabinets are floating, your floor is now a huge part of your decor, so make it count. I refinished my hardwood floors before I put in the cabinets, and it made the whole kitchen look brand new. Don’t hide a beautiful floor with a giant rug, just show it off. People spend a fortune on fancy flooring, and then they cover it up with big, ugly cabinets. Floating them lets the floor breathe.
If your floor is old or worn, this is the perfect time to give it some love, because the cabinets won’t be in your way. I like a simple, light wood stain, it reflects light and makes everything look clean. If you use a dark tile, make sure it is polished, or the shadows under the cabinets will make the floor look dirty. You want the floor to look intentional, clean, and open.
Consider how the transition looks between the kitchen and the next room. Floating cabinets make the kitchen feel like part of the living area, so keep the flooring consistent if you can. It stops the room from feeling chopped up, and it lets your eye flow from one space to the next. That is how you make a small home feel like a mansion, with just a little bit of design sense.
- Refinish or clean floors before installing floating units.
- Keep flooring consistent across the open kitchen space.
- Choose a light wood stain to reflect more light.
- Avoid large rugs that hide your beautiful, visible floor.
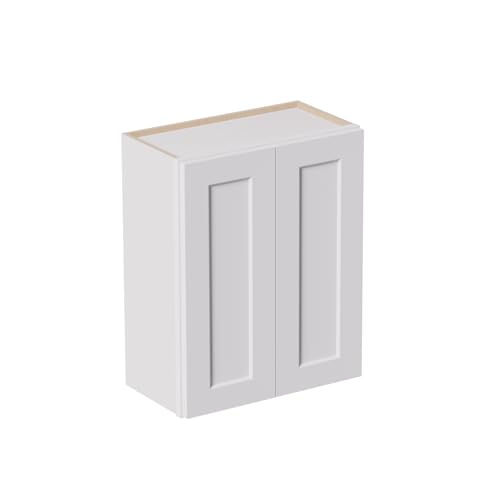
9. Install a Clean Backsplash
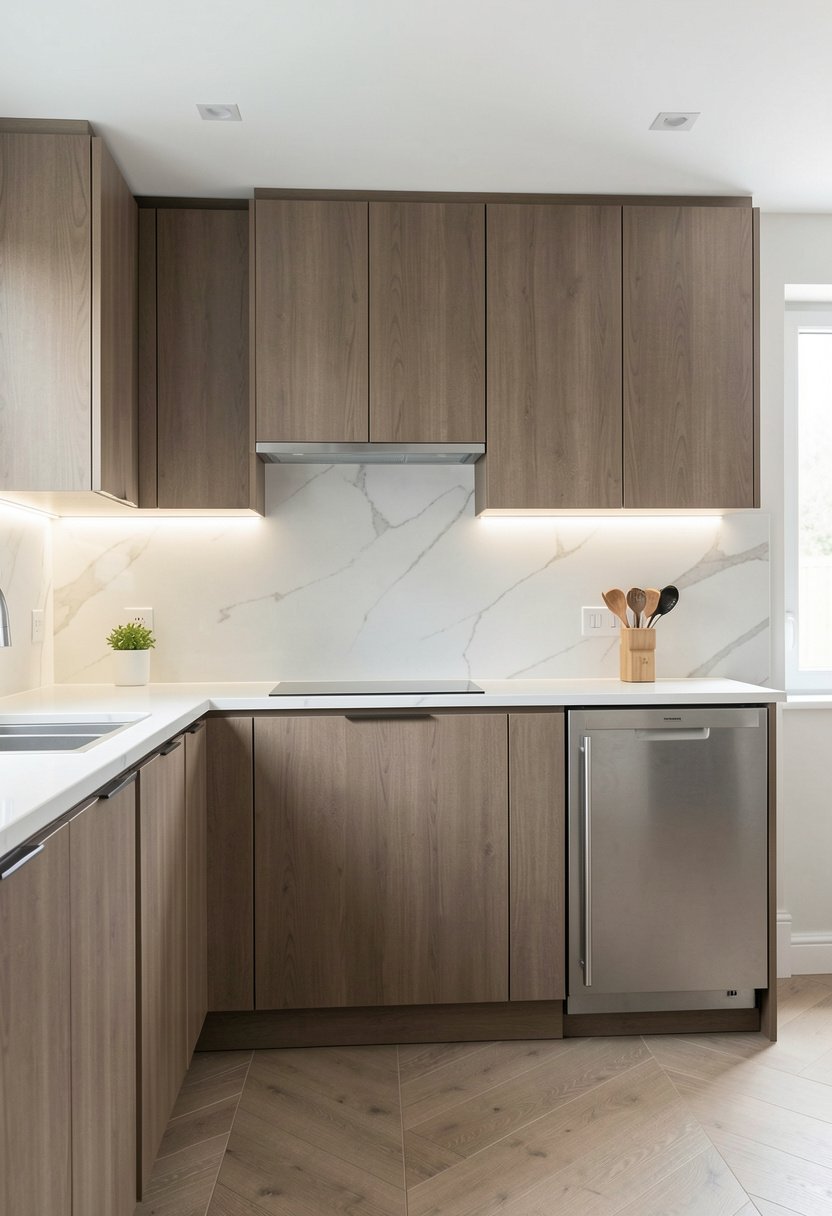
Your backsplash needs to be the star when you have floating cabinets, so pick something you love. I went with a simple white subway tile, and it makes the floating cabinets pop off the wall. Don’t use a busy pattern that fights with your cabinet lines, you want the eye to move smoothly. If the tile is too busy, it makes the wall look cluttered, and you lose the clean, modern vibe you want.
I have seen people pick stone with giant swirls, and it looks like a disaster in a small kitchen. Stick to something simple, or maybe one solid color that ties the cabinets and the counter together. A nice, glossy tile is easy to wipe clean, which you will appreciate when the cooking gets messy. The space between the counter and the cabinets is the work zone, so keep it clean and functional.
Think about the grout, because that is where most people go wrong. If you use white grout with white tile, it disappears, which is what I recommend. If you use dark grout, it makes a grid pattern on the wall, and that might be too much for your eyes to handle. Keep it smooth, keep it light, and focus on the shape of the tile rather than the color of the lines.
- Pick a simple backsplash tile to avoid visual clutter.
- Use grout that matches the tile for a seamless look.
- Choose glossy tiles because they are easy to wipe clean.
- Ensure the backsplash colors tie the cabinets and counters.

10. Hide Your Power Cords
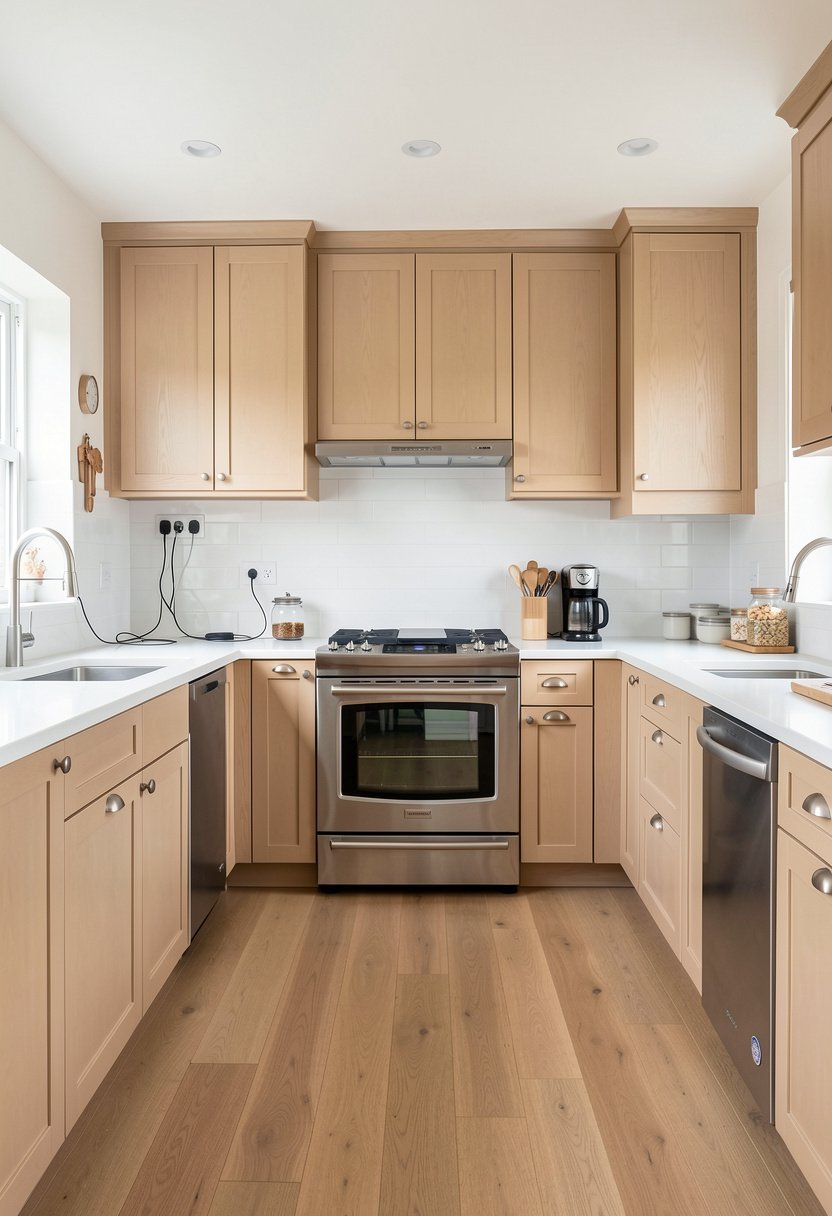
Nothing ruins a floating look faster than a ugly wire hanging down from a coffee maker. I built a hidden nook behind the cabinets for all my power needs, and it keeps the counter so clean. Don’t leave your cords dangling, it looks like a mess, and it makes the whole design feel half-finished. If you are doing a big remodel, put the outlets inside the cabinet, or tuck them under the frame.
I also love a good, long power strip that is hidden behind the lip of the cabinet. It keeps everything plugged in but totally out of sight. You want to see the wall, the floor, and the cabinets, but you do not want to see your tangled cords. It is a small detail, but it is the kind of thing that makes people walk into your kitchen and think, how did they do that?
If you cannot hide them, at least organize them with some clips or ties. It is a cheap fix, it takes five minutes, and it keeps your sanity in check. I hate messy cords more than anything, and I have seen too many nice kitchens ruined by them. Just tuck them away, keep the counter surface clear, and you will love the way your kitchen looks every single morning.
- Hide power cords behind cabinets to keep counters clean.
- Consider installing outlets inside the cabinet storage areas.
- Use clips to organize any wires you cannot hide.
- Mount power strips behind the cabinet lip for access.

11. Add Natural Green Plants
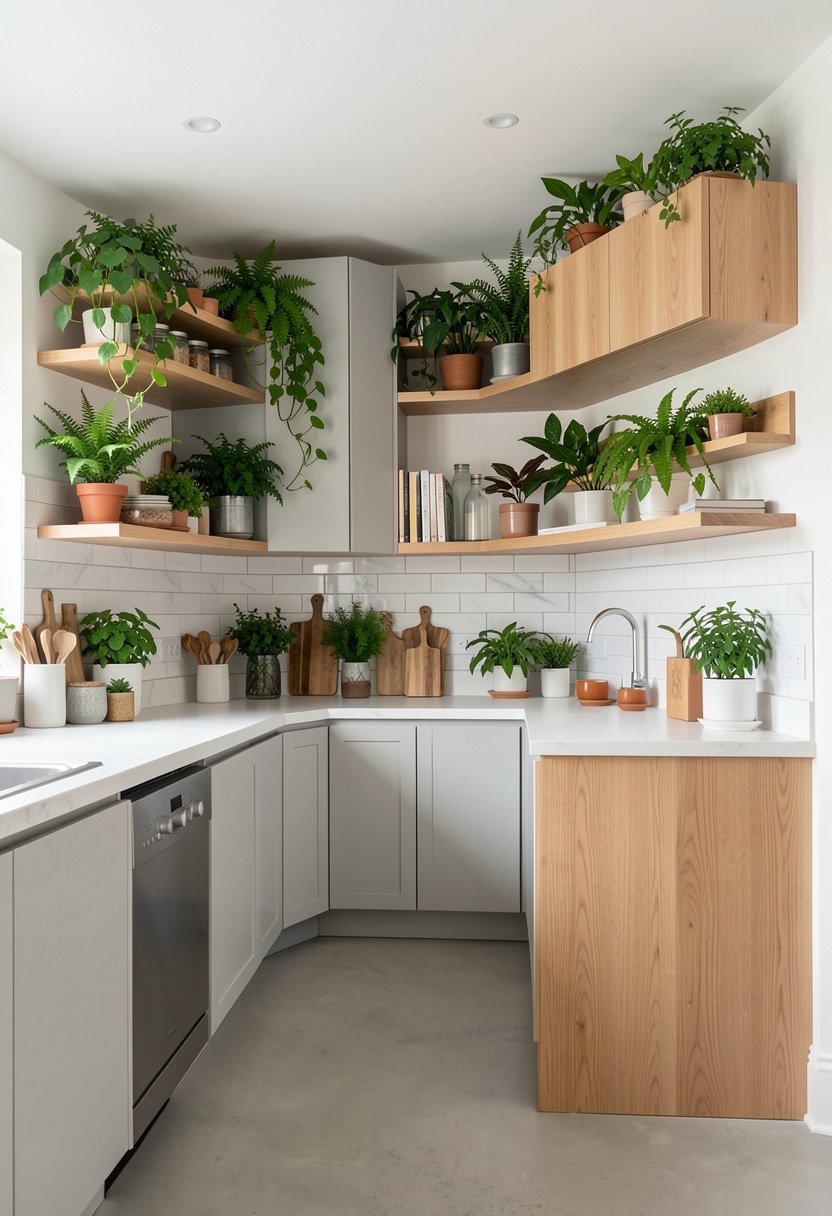
Plants breathe life into a kitchen, especially when you have a modern, floating setup that can feel a bit cold. I put a small trailing vine on the far end of my cabinets, and it softens the sharp, straight lines. Don’t put huge, dirt-filled pots on your nice, clean surfaces, use a small, cute planter that matches your hardware. It adds a pop of color, it makes the air feel fresher, and it looks great.
Pick a plant that loves a little light, like a pothos, because they are hard to kill. I have killed plenty of plants, but those vines just keep growing. It adds a bit of nature, it breaks up the wall, and it makes the whole design feel grounded. If you really can’t handle real plants, a nice fake one is fine, just don’t pick the plastic-looking ones. Quality matters here.
Put the plants where they won’t interfere with your cooking, maybe on the end of a shelf or on top of a wall unit. It makes the kitchen feel more like a home and less like a showroom. I think every kitchen needs a little bit of green to feel right. It is a tiny, cheap touch, but it makes a massive difference in how the room feels when you walk in.
- Use trailing plants to soften sharp cabinet lines.
- Choose hardy plants like pothos for low maintenance.
- Avoid large, messy pots that take up counter space.
- Select high-quality faux plants if you lack light.

Final Thoughts
I hope these ideas show you that you do not need to be a millionaire to fix your kitchen. Floating cabinets are not just for magazines, they are a practical way to reclaim your space, show off your floors, and make your home feel lighter. Trust your gut, measure your studs, and keep your design simple. You have all the info you need to get it done, so take a breath, and you’ve got this.
| Feature | Low Budget | Mid Budget | High Budget |
|---|---|---|---|
| Cabinet Material | Particleboard | Plywood | Solid Wood |
| Mounting System | Standard L-Brackets | Heavy Duty Steel | Concealed Steel |
| Lighting | Battery LED | Plug-in Strips | Hardwired Dimmer |
| Hardware | Plastic Knobs | Metal Pulls | Push-to-open |
| Doors | Solid | Partial Glass | Full Glass |
| Backsplash | Paint | Subway Tile | Natural Stone |
| Floor Finish | Vinyl Plank | Refinished Wood | Hardwood |
| Shelf Style | Floating Pine | Matching Wood | Custom Floating |
| Finish | Matte Paint | Satin Stain | Lacquer |
| Power | Clips | Surface Outlets | In-Cabinet Power |
| Plants | Pothos | Succulents | Hanging Ferns |
| Install | DIY | Handyman | Professional |
| Design | Minimalist | Modern | Custom |
| Durability | Moderate | High | Lifetime |
| Style | Clean | Contemporary | Bespoke |
Frequently Asked Questions (FAQs)
Is It Hard to Install Floating Cabinets by Yourself?
It is not hard if you have the right tools and a little bit of patience. You must find the wall studs, because drywall will not hold the weight. If you measure carefully and use heavy steel brackets, you will be fine. Just take your time, and do not rush the leveling part, or your cabinets will look crooked forever.
Can Floating Cabinets Support Heavy Plates and Bowls?
Yes, they can hold plenty of weight if you mount them properly into the studs. I have my heavy stoneware in mine, and they never move. The trick is the brackets. Do not use cheap, flimsy hardware. If you bolt them into the wood framing, they are just as strong as any cabinet that sits on the floor.
Are Floating Kitchen Cabinets Expensive to Buy?
They can be very cheap if you keep the design simple and do the work yourself. You do not need custom boxes to get the floating look. You can often use standard wall cabinets and mount them with strong, hidden brackets. It is the install that costs money if you hire someone, so DIY is your best friend here.
Do I Need to Worry About the Floor Under the Cabinets?
You definitely want your floor to look nice because it will be fully visible. If your floor is in bad shape, you should fix it before you install the cabinets. The whole point of floating them is to show off the floor, so it should be clean, consistent, and well-finished to get the best look.
Should I Put Lights Under My Floating Cabinets?
You absolutely should add lights if you want a professional look. It makes a huge difference in the evening, and it hides the shadows that hanging cabinets create. It is a simple, cheap addition that makes the kitchen feel expensive. Just make sure you tuck them back so the light is soft and indirect.
Will Floating Cabinets Make My Small Kitchen Feel Bigger?
They are the best way to make a small kitchen feel much larger than it really is. By showing the floor, you trick the eye into seeing more space. It removes the heavy, grounded feeling of traditional base cabinets. It makes the room feel airy, light, and much less cramped than a standard kitchen.
Does the Wall Need to Be Reinforced for These Cabinets?
It is a good idea to check your wall, but if you hit the studs, you are usually safe. If your walls are old or weak, you might need to add an extra layer of wood behind the drywall to make it super secure. Always check the weight limit of your brackets, and follow the instructions carefully.
Can I Mix Floating Cabinets with Standard Floor Cabinets?
You can mix them, but it is tricky to get right. If you want a modern look, usually floating everything is cleaner. If you want to mix them, try to keep the colors the same, so the room doesn’t look like a patchwork mess. It works best if the floating units are for decor or light items.