As an Amazon Associate, I earn from qualifying purchases at no extra cost to you.
14 Large Kitchen Island Ideas (Pros Swear By)
 ByRayan

Many people dream of a massive cooking space, but they end up with a tiny counter that feels like a prison. You see these sad, cramped kitchens all the time on social media, where people try to squeeze a cart into a corner and call it a designer move. It makes me want to scream, honestly, because it ignores how people actually live.
If you have the square footage, you need a serious island. Most folks just pick a box, put some stools around it, and wonder why the room feels awkward and blocked off. They treat it like a piece of furniture, not the heart of the house, and that is a massive mistake that ruins your flow.
We are going to fix your kitchen layout today. I have tried every setup you can think of, from double islands to custom built-ins, and I know what actually works. You will learn how to pick 14 large kitchen island ideas that make your life easier, keep your floor plan open, and look like a million bucks.
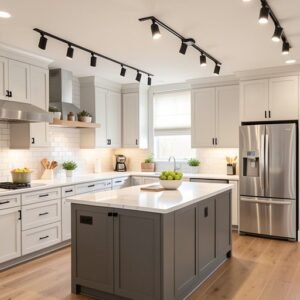
1. the Double Island Layout
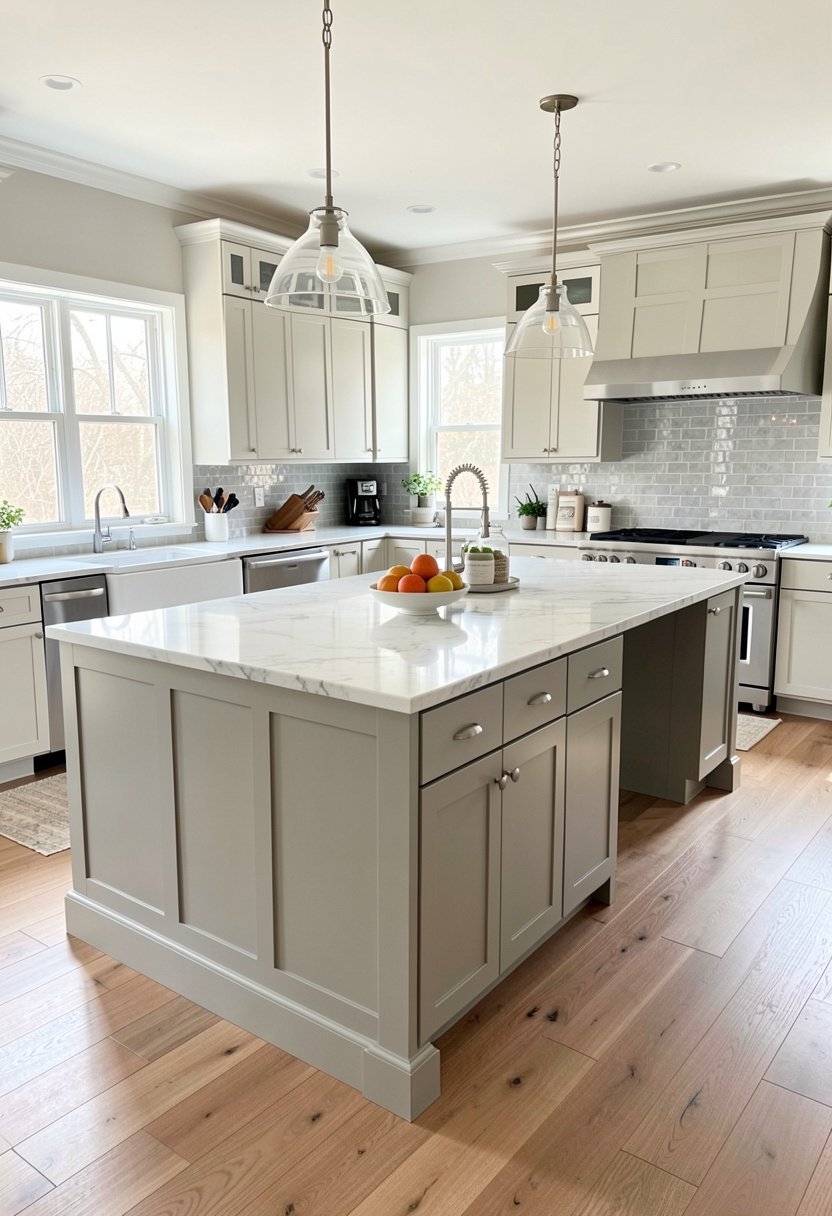
Double islands are the ultimate flex, but they need a huge room to breathe, or you will just be dodging furniture all day long. I have seen designers shove two small islands into a space that barely fits one, which makes the whole kitchen feel like a messy obstacle course. Do not make that mistake, because space is your best friend.
When you have the room, put one island for prepping food and the second for sitting down. This separates the messy cooking from the clean dining, which keeps your guests out of your way while you work. I love this because it creates a clear zone for everything, and it makes hosting feel like a breeze instead of a chore.
If you can fit two, go for it, but leave at least four feet between them. Tight aisles are the worst, and they make me crazy when I am trying to move a hot pan across the room. Measure twice, build once, and keep your paths clear for the best results, always.
- Two islands work best in long, open rooms.
- Keep your prep sink on the work island.
- Use the second island for casual dining space.
- Leave four feet of room for walking around.

2. the Waterfall Stone Edge
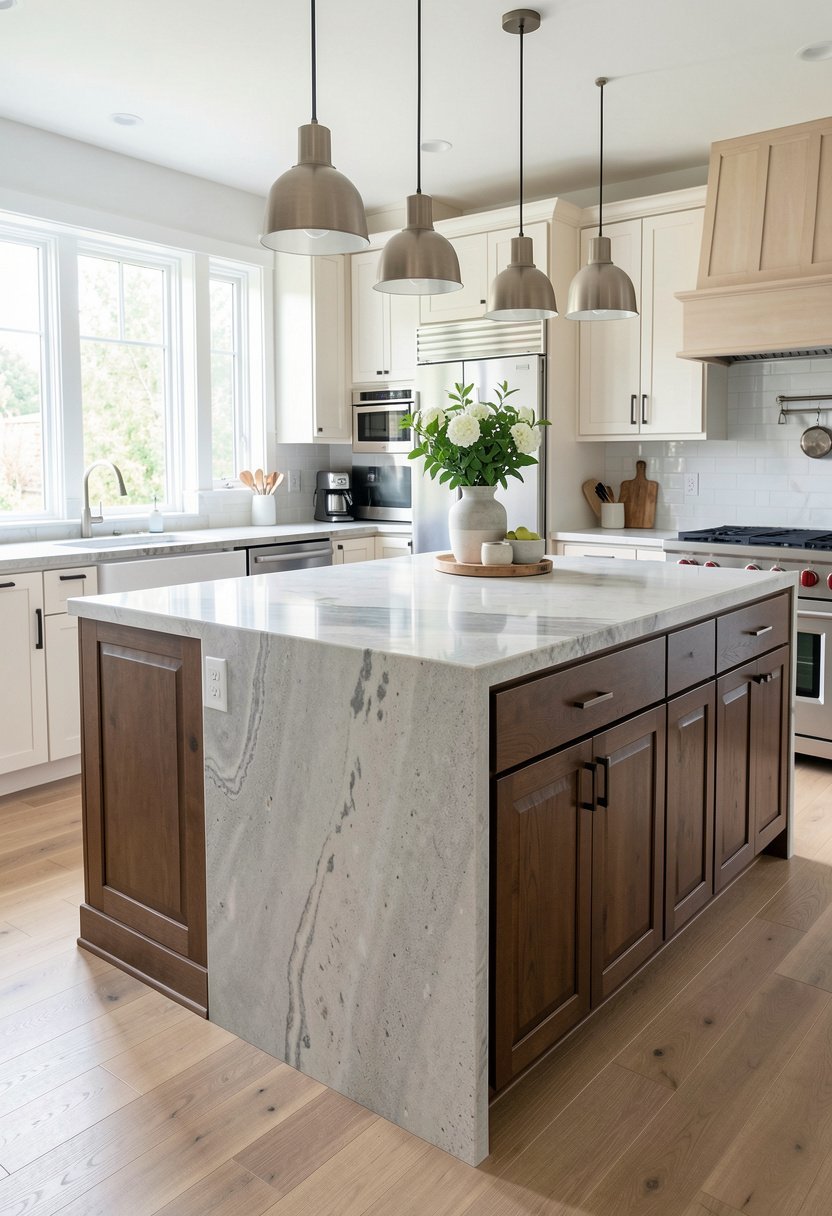
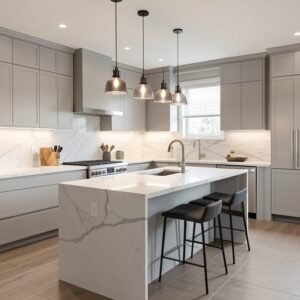
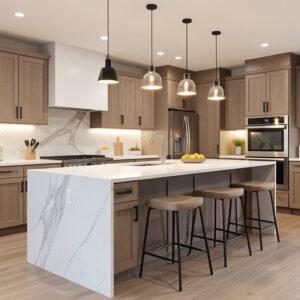
Waterfall edges look sharp, clean, and honestly, they are the only way to finish a luxury island right now. People often stop the counter at the edge of the cabinets, but that looks unfinished, cheap, and dated. Why hide that beautiful stone when you can show it off by wrapping it all the way to the floor.
I have installed these in dozens of homes, and they always look expensive, even if the rest of your kitchen is simple. It frames the island like a piece of art, and it protects your cabinet panels from getting kicked or scratched by stray toes. It is practical and pretty, which is my favorite combination for any home project.
Just make sure your stone installer knows what they are doing, because those mitered corners have to line up perfectly. If you settle for a bad seam, you will stare at it every morning while drinking your coffee. Invest in a pro, pay for the good cuts, and do not try to save money here.
- The stone needs to flow down to the floor.
- Use durable materials like quartz for best results.
- Perfect mitered corners are required for this look.
- This protects your cabinets from getting dirty.
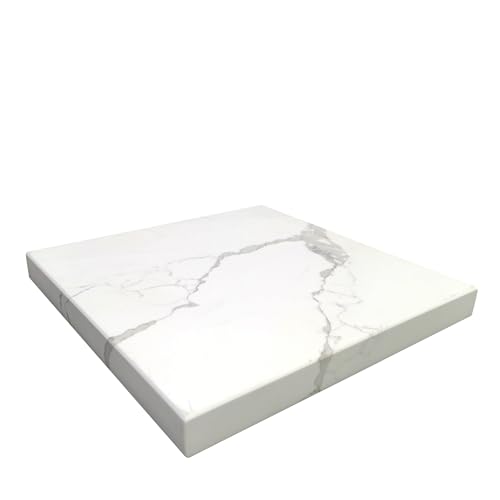
3. the Industrial Metal Frame
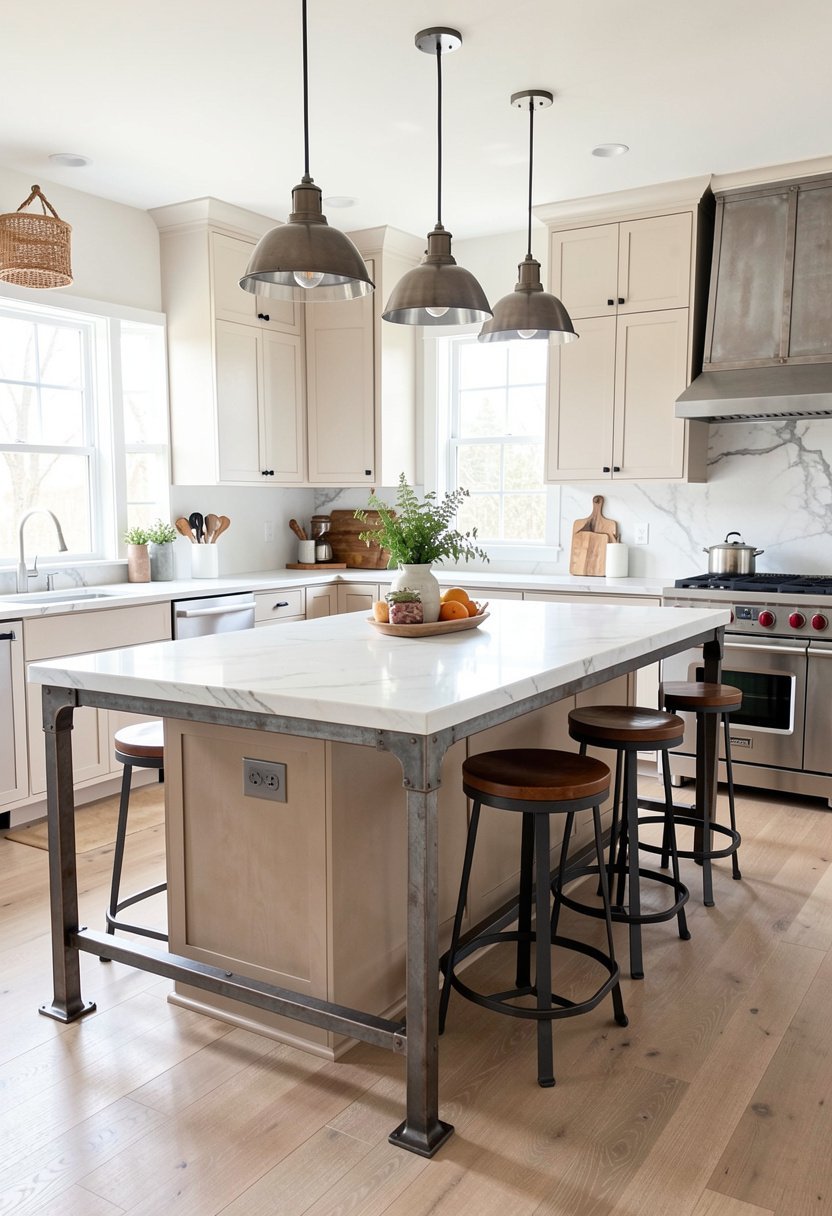
I love a chunky metal frame for an island because it feels light, open, and super modern. Most islands look like heavy, wooden bricks that suck the life out of a room, but a metal frame lets you see the floor underneath. It keeps the space feeling big and airy, which is perfect if you have a smaller footprint.
You can customize the metal to match your hardware, or go with a matte black finish for a nice contrast against light cabinets. I usually add wooden shelves to the bottom, which is a great place to store heavy pots or pretty baskets. It keeps your counters clear of clutter, which is the secret to a high-end look.
Do not worry about it looking too cold, because the right lighting will soften everything up instantly. Use warm bulbs, pick some nice stools, and the whole kitchen will feel cozy. It is a bold move, but it is one I have never seen anyone regret, as long as the quality is there.
- Use steel frames to keep the room light.
- Open shelves offer extra storage for heavy pans.
- Black metal hardware ties the whole room together.
- Warm lights make industrial decor feel very cozy.

4. the Built-in Appliance Hub
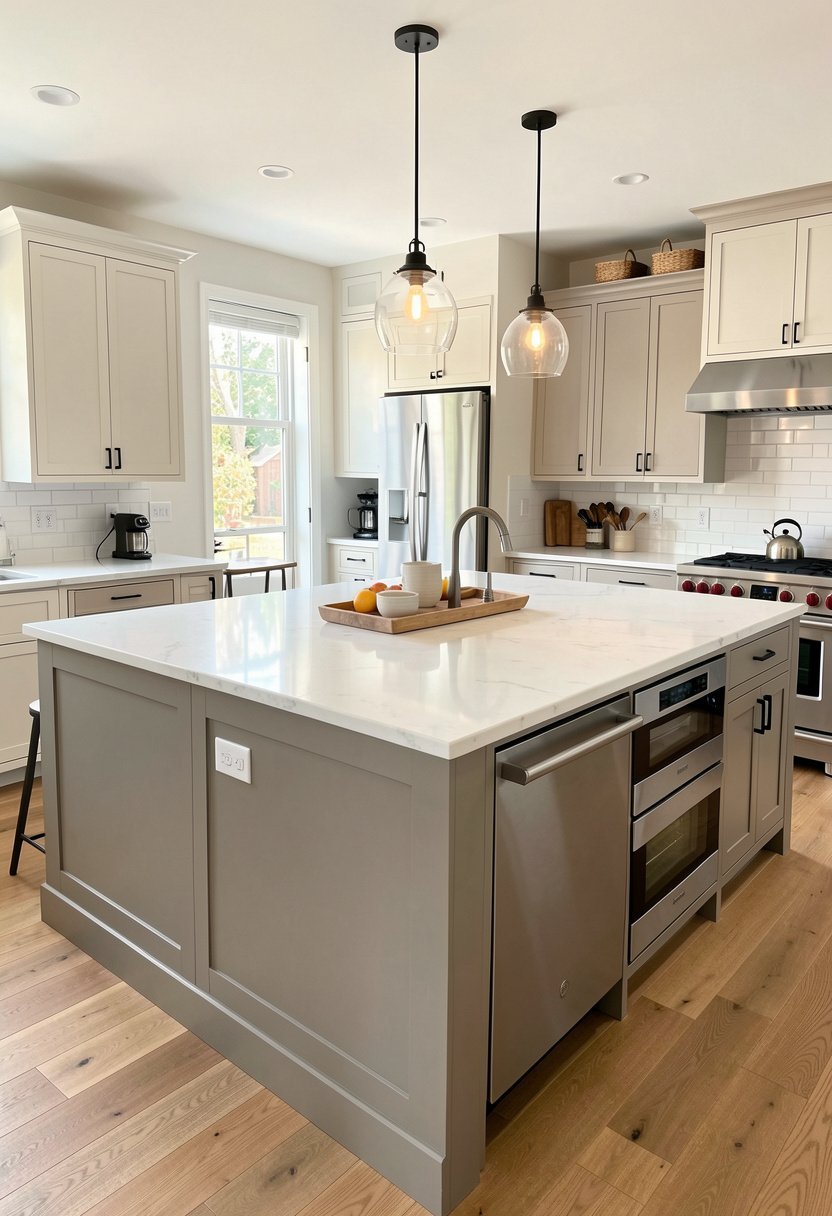
Stop cluttering your main counters with a toaster, a blender, and a coffee machine. A large island is the perfect place to hide these tools inside custom drawers or a tucked-away cabinet. I have seen so many beautiful kitchens ruined by ugly cords and messy appliances, which drives me absolutely nuts every single time I visit.
When you plan your island, add a dedicated spot for your microwave or even a small beverage fridge. This keeps the work triangle clean, which helps you move faster when you are actually cooking dinner. If you can hide the mess, you have won half the battle in keeping your home looking nice and tidy.
Just remember to run your electrical outlets inside the cabinets before you finish the carpentry work. Trying to add power later is a nightmare, and it will cost you twice as much. Be smart about your planning, talk to your sparky early, and enjoy your clean, clear workspace every single day.
- Hide your small appliances inside deep drawers.
- Install a microwave drawer for easy, safe access.
- Add outlets during the initial build phase.
- Keep your main counter clear of messy cords.

5. the Circular Conversation Pit
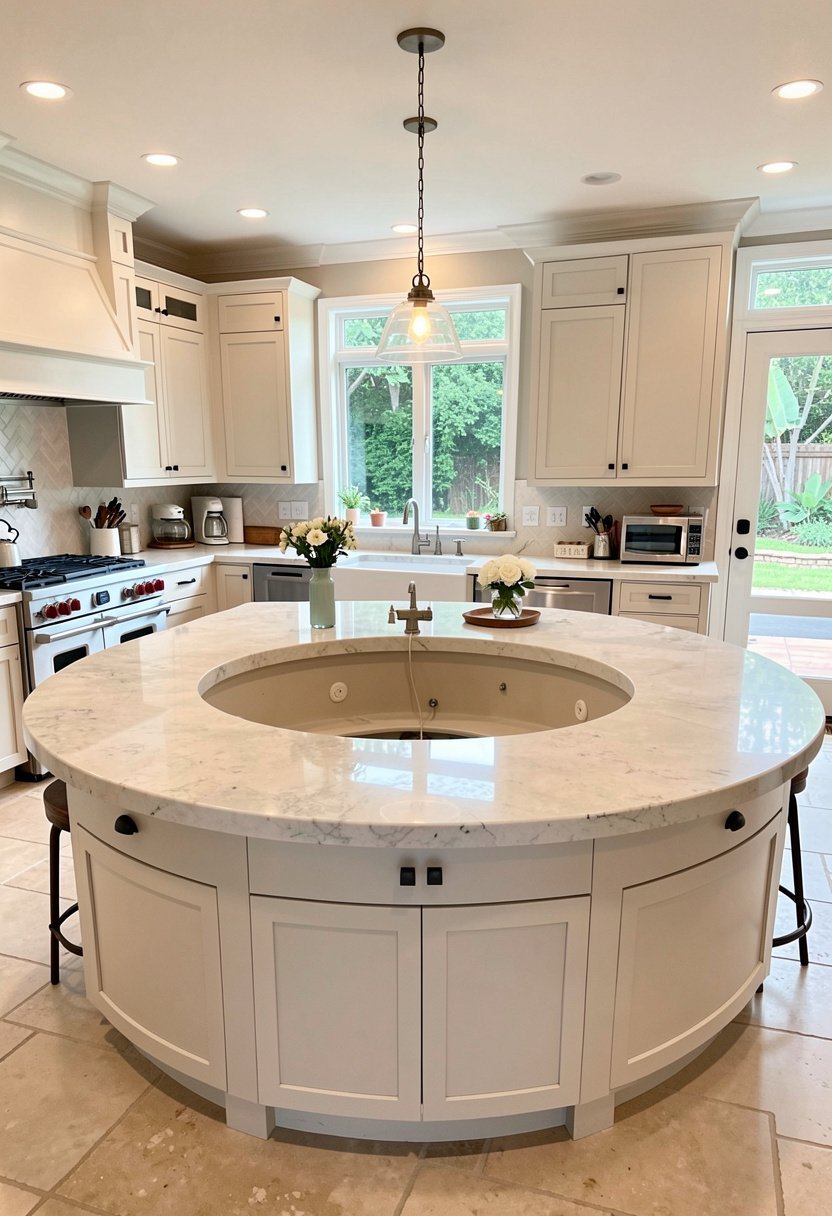
Round islands are rare, but they are amazing if you want to get people talking. Most people pick a square, which is fine, but it makes the kitchen feel a bit stiff and formal. A round shape breaks up all those hard lines, and it creates a much better flow for traffic in a busy, active home.
I once worked on a house with a huge circular island, and it changed how the family used the space. Everyone gathered around the edges, the kids did homework there, and it felt way more relaxed than a standard rectangle. It is a bold choice, but it works perfectly in an open-concept living area where you need soft edges.
Make sure you have enough walking space, as round shapes can be tricky to place in tight rooms. If you have the floor space, it is a total game changer. It feels custom, thoughtful, and unique, which is exactly how your home should feel when you put in the time to do it right.
- Circles soften up a room full of boxes.
- This shape works well for group conversations.
- Ensure you have plenty of clearance all around.
- It is a unique touch that feels very custom.
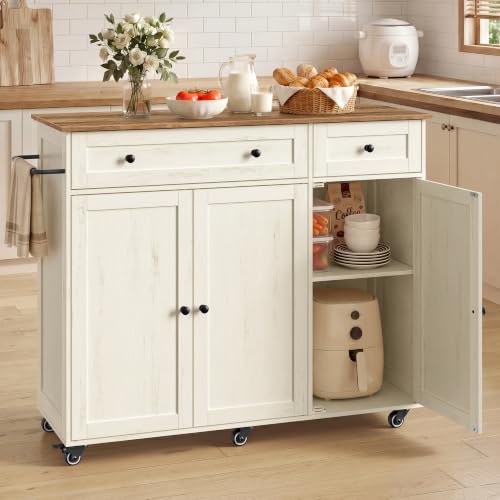
✅ See Also: 12 Diy Kitchen Island Ideas (That Actually Work)
6. the Butcher Block Extension
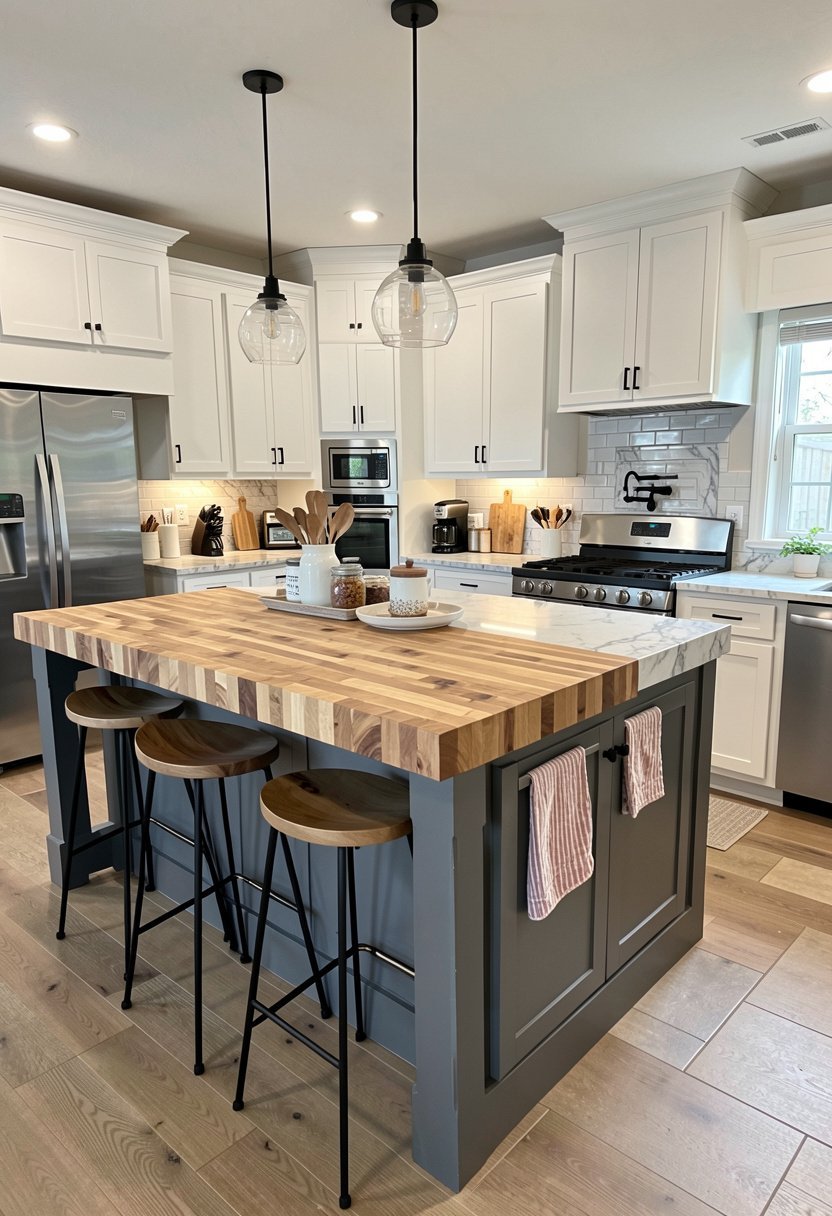
Mixing a hard stone top with a big slab of wood is a pro move that I swear by. Stone is great for prep, but wood adds warmth, texture, and a place to chop without worrying about dulling your expensive knives. Most people choose one or the other, but doing both is a secret weapon for a functional kitchen.
I recommend using a thick walnut slab on one end of the island for your prep work. It ages beautifully, it feels soft to the touch, and it looks professional, like you really know your way around a chef knife. Just keep it oiled, treat it with respect, and it will last you for many, many years.
Don’t use cheap, thin boards, or you will be disappointed when they warp or crack in a few months. Buy high-quality, thick wood that can take a beating. It is an investment, yes, but your kitchen will look and feel better than any boring showroom display you see on the internet.
- Walnut adds warmth to a cold stone kitchen.
- Wood is the best surface for chopping vegetables.
- Treat the surface with food safe mineral oil.
- Use a thick slab for a high-end feel.

7. the Tiered Breakfast Bar
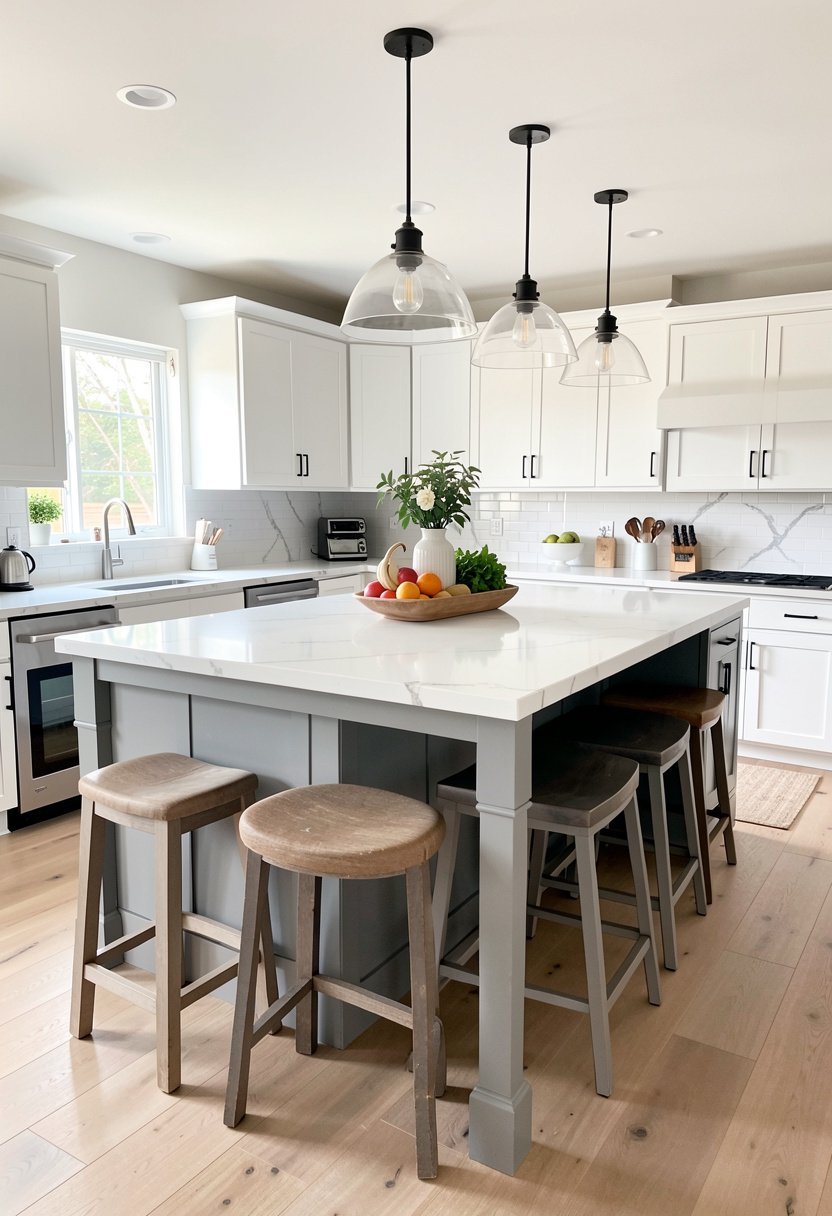
A split-level island is a great way to hide your mess from the living room. One side stays low for prep work, while the other sits higher for eating and hanging out. I know some people think this looks dated, but when you have kids or a messy habit, it is a lifesaver for hiding your sink.
The secret is to keep the materials consistent so it doesn’t look like two different things crashed into each other. I like to use the same marble for both levels, which keeps the look sleek and modern. It gives you a place to tuck away your dirty pans while you serve drinks to your friends.
You can also use the higher side to display books or plants, which adds a bit of personality to the room. If you are worried about the room feeling closed off, keep the height difference small. It is a practical solution that solves the big problem of keeping your kitchen private and calm.
- The high ledge hides your dirty dishes.
- Use the same stone for both levels.
- Add stools to create a casual dining bar.
- It creates a clear boundary between living zones.

8. the Color Block Statement
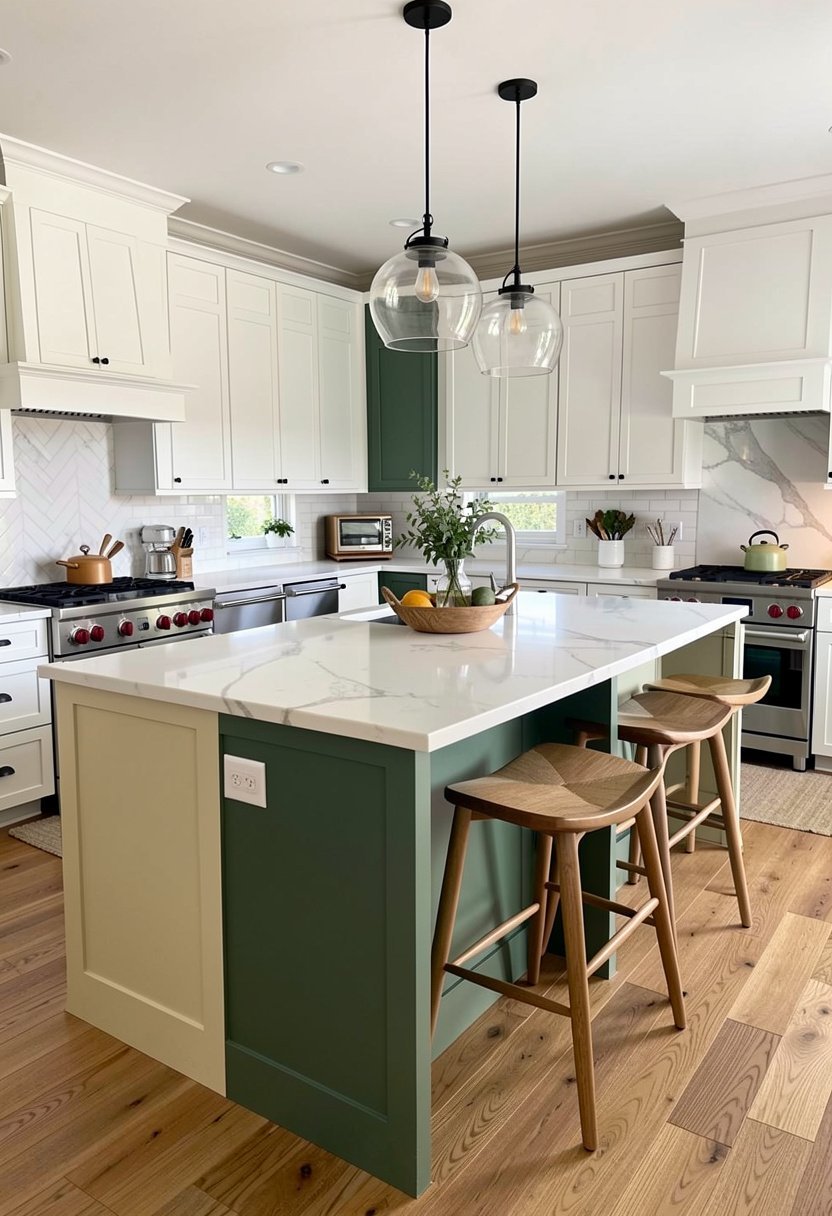
Don’t be afraid to paint your island a different color than the rest of your kitchen. If your perimeter cabinets are white, a navy or forest green island makes the whole room pop. It shows you have an eye for style, and it stops the kitchen from looking like a boring white box, which is a common mistake.
I love using deep, moody colors for the base, especially when paired with nice brass hardware. It turns the island into the star of the show, which it should be. Just keep the surrounding decor simple so the room stays balanced. If you go too crazy with patterns, you will get tired of it fast.
If you are nervous, start with a subtle gray or a soft blue. Once you see how it wakes up the room, you will wonder why you waited so long. Paint is cheap, it is easy to swap, and it is the best way to add some real character to your space without spending a fortune.
- Use a bold color to make the island pop.
- Deep navy looks great with warm brass pulls.
- Keep the surrounding cabinets neutral for balance.
- Paint is the easiest way to update your look.

9. the Library Storage Base
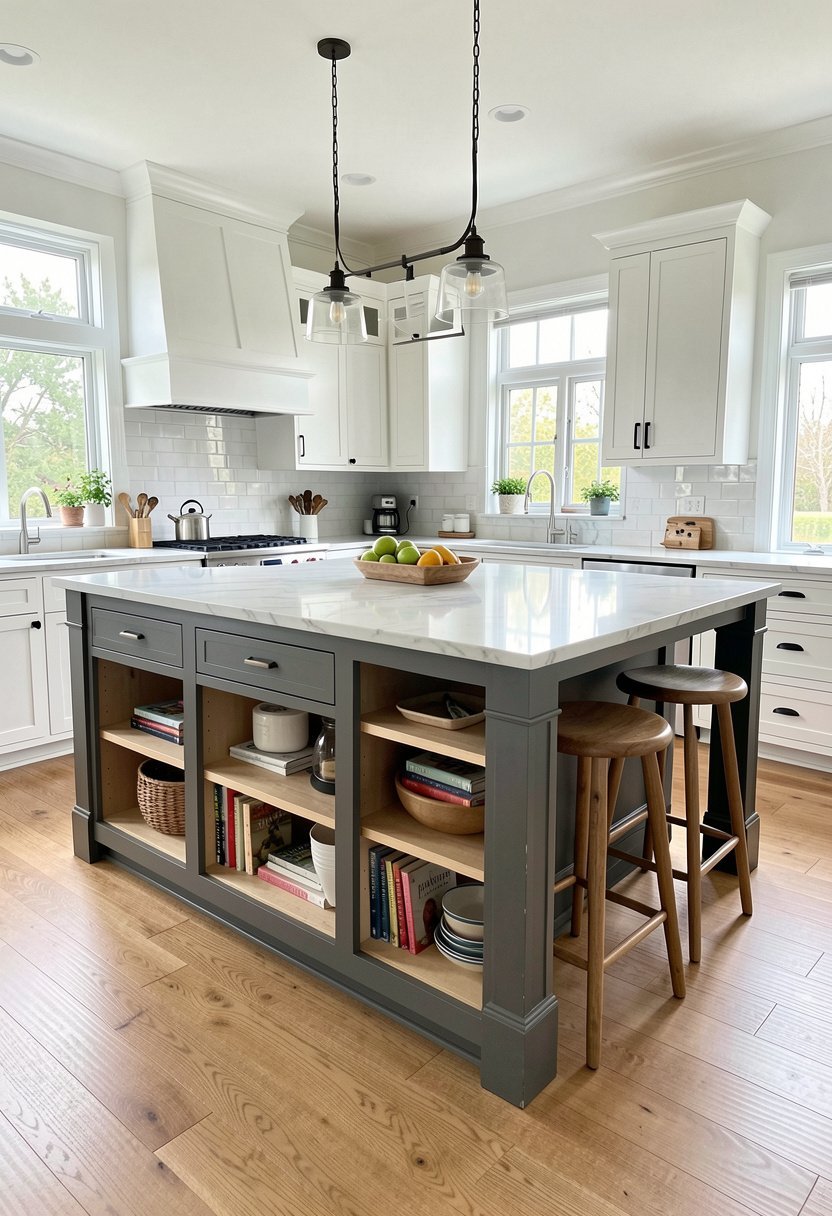
If you have a large island, use the ends for open bookshelves. Most people waste that space with a boring panel, but you can fill it with cookbooks, plants, or decor items. I have used this trick in so many homes because it makes a big kitchen feel personal, cozy, and very lived-in.
It is a great spot to keep your favorite recipes handy, so you are not digging through a drawer while you are trying to stir a sauce. I usually organize them by color or style, which looks like a magazine cover. It adds a bit of flair that most builders never think to include, and it is free space.
Just keep the shelves dust-free, because a dirty bookshelf is a bad look for any kitchen. If you use it for decor, pick items that are sturdy and not too fragile. It is a simple addition, but it makes your kitchen feel like a high-end designer space, which is exactly what we are after here.
- Add shelves to the ends of the island.
- Use this space for your favorite cooking books.
- Open storage makes the kitchen feel more personal.
- Keep the shelves neat to avoid a cluttered look.

10. the Hidden Seating Nook
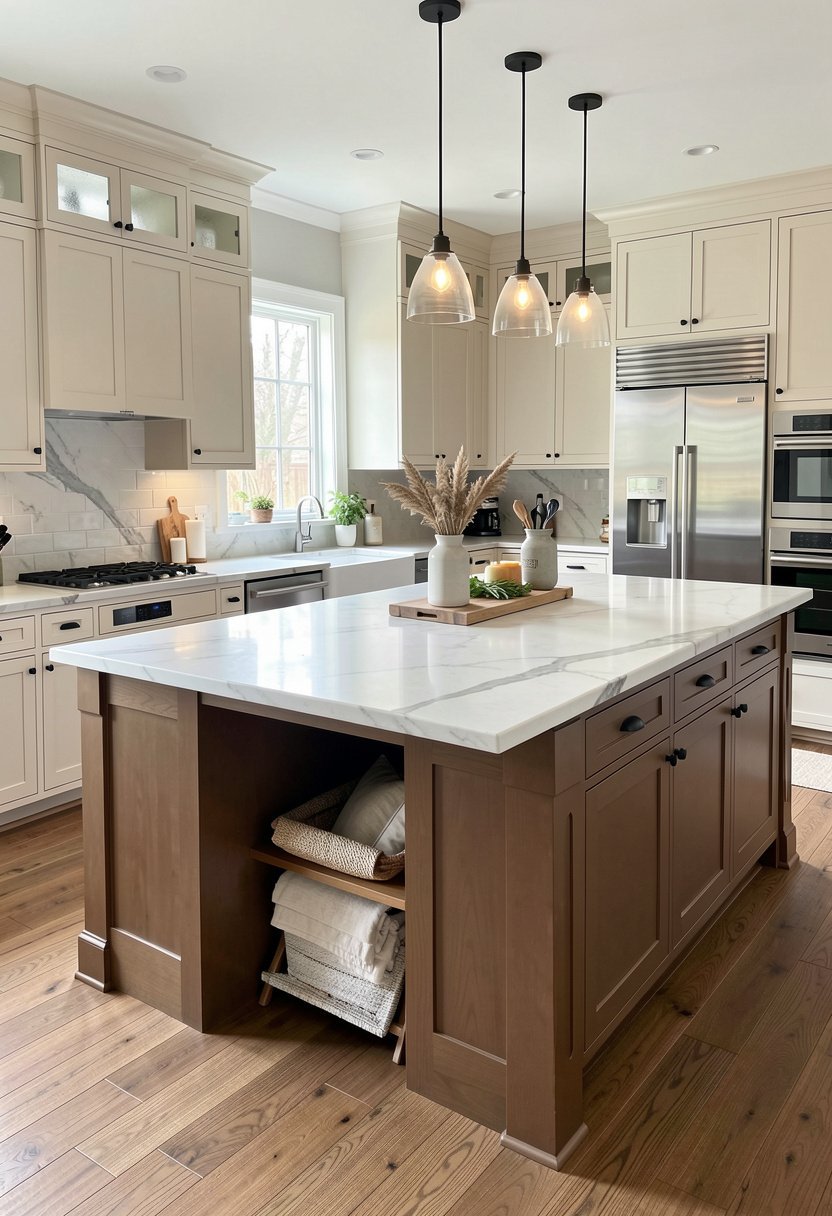
You want stools, but you hate when they block the floor space and create a tripping hazard. A built-in nook is the answer. I love designing islands with a cut-out section where the chairs tuck away completely. It keeps your floor clear when you are not using them, which makes the whole room look way bigger.
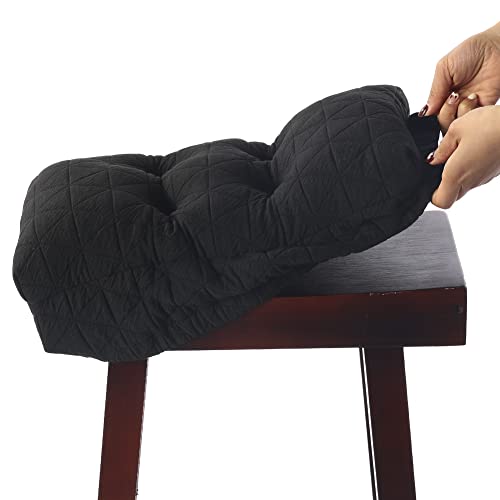
This is a must if your kitchen is part of a high-traffic area. Nobody wants to stub their toe on a stool leg, and a clean, flush design looks much more intentional. You can even add custom cushions if you want to make it feel extra fancy, which is a great touch for family homes.
Don’t make the cut-out too small, or your guests will be uncomfortable trying to fit their knees under the ledge. Measure the height of your chairs carefully before you finish the plans. It is a small detail that makes a massive difference in how clean your room looks and feels every single day.
- Use a recessed area to tuck away stools.
- Keep the walking paths clear of chair legs.
- Add cushions for a more comfortable seating experience.
- Measure for your chairs before building the island.
11. the Lighting Overload
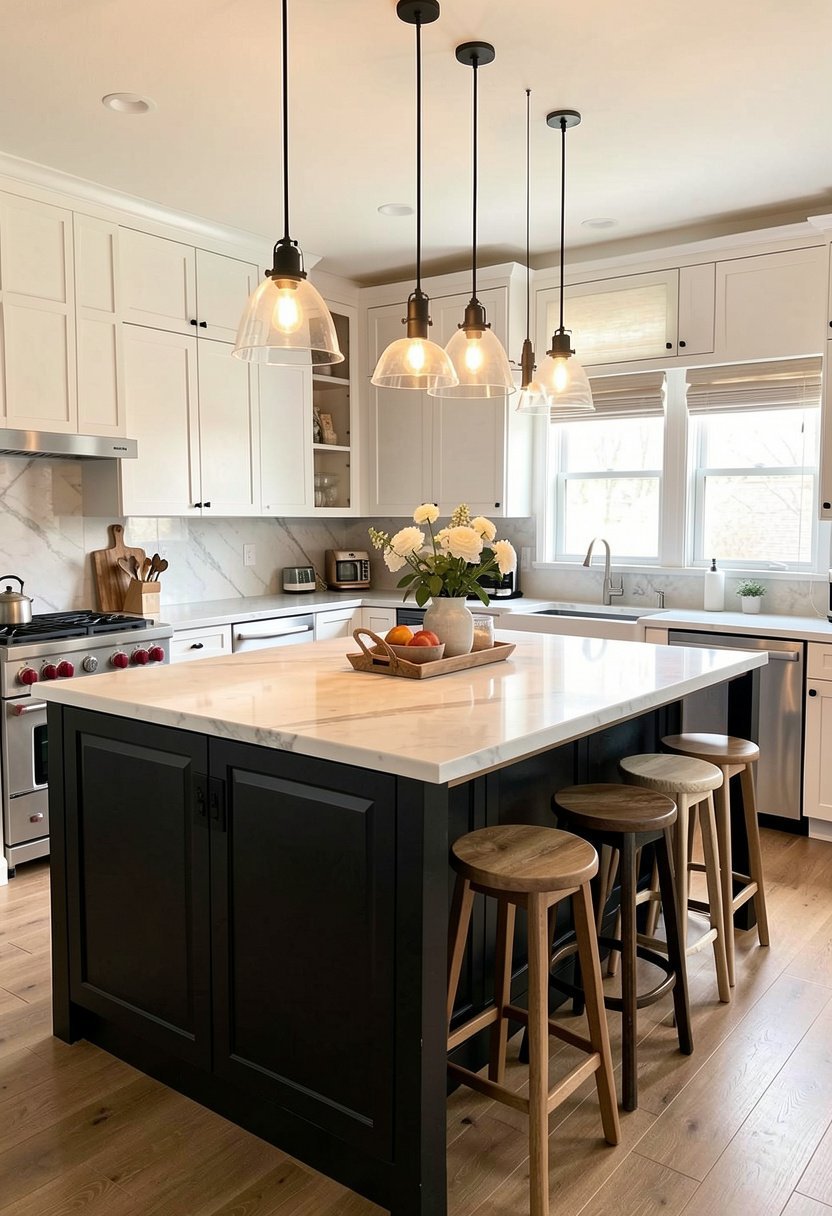
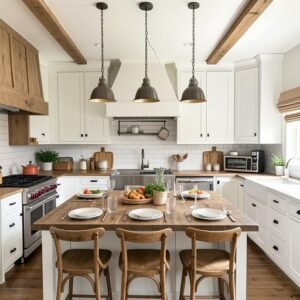
Large islands need large lights, but people usually hang tiny, wimpy pendants that look sad. If you have an eight-foot island, you need fixtures that actually command the space. I like to use three big glass globes or two massive lanterns to ground the whole look. It makes a huge statement right away.
The biggest mistake is hanging them too high, which ruins the mood and leaves the island feeling dark. You want them to float just above eye level, so they illuminate your food without getting in your way when you talk. It is all about the height, the spacing, and the scale of the bulbs.
Use a dimmer switch for these lights. If you don’t have a dimmer, you are doing it wrong, because the kitchen needs to be bright for work and soft for wine nights. I tell all my friends to install dimmers immediately, and they always thank me once they see how much better the vibe is.
- Hang large pendants to fill the vertical space.
- Keep your lights low for a cozy, warm glow.
- Always install a dimmer switch for flexibility.
- Space your lights evenly across the full length.

12. the Pull Out Pantry Wall
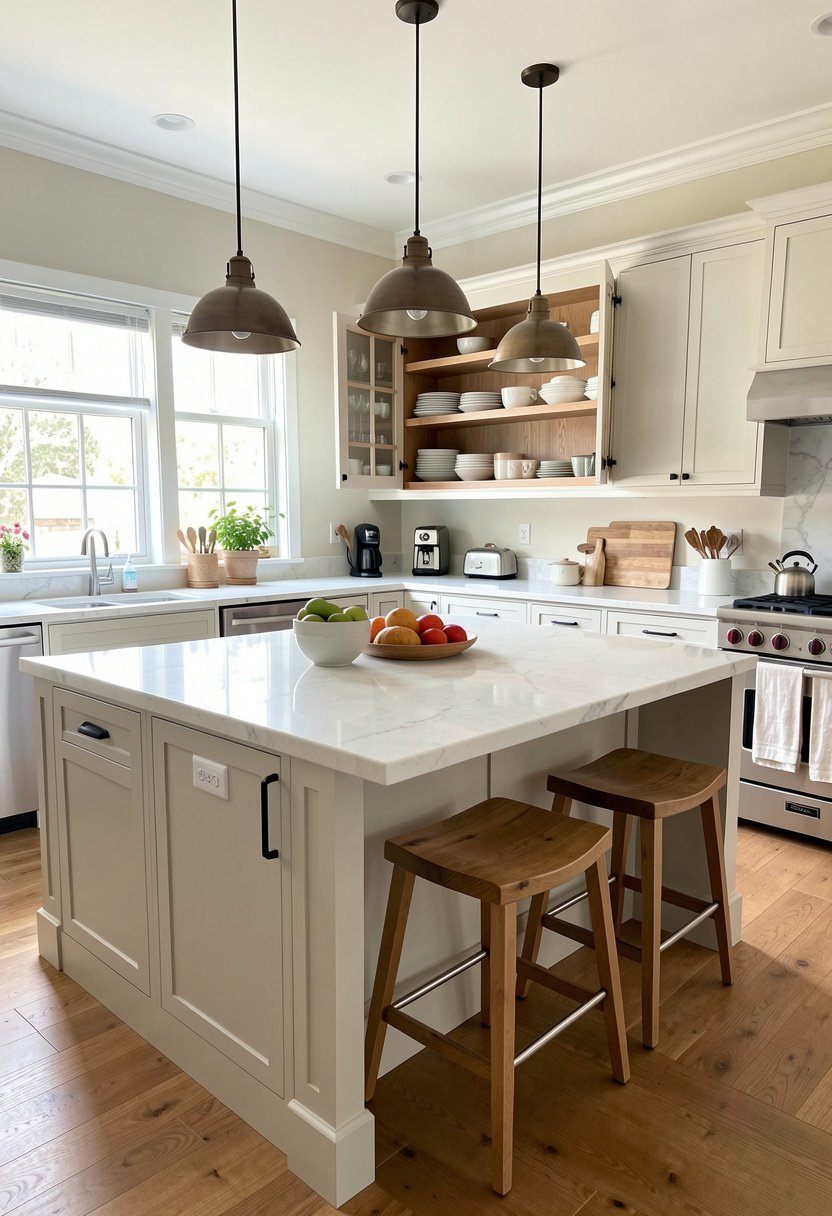
Why run to the corner pantry when you can have ingredients inside your island. I love building deep, pull-out drawers for oils, spices, and dry goods directly under the workspace. It saves so much time, keeps your counters clear of bottles, and makes you feel like a total professional chef in your own house.
People usually ignore the lower storage space, but it is prime real estate. You need full-extension glides so you can see everything without kneeling on the floor to dig through the back. Trust me, if you can see it, you will use it, and you will waste way less food in the long run.
Don’t pack it too tight, or it will be a pain to use. Keep your most used items in the top drawer and the heavy backup stuff down low. It is a system that works, it stays clean, and it keeps your kitchen running smooth, even on the busiest nights of the week.
- Use deep drawers for storing oils and spices.
- Full extension glides make finding items easy.
- Store frequently used ingredients in top drawers.
- This keeps your main counters free of clutter.

13. the Minimalist Slim Profile
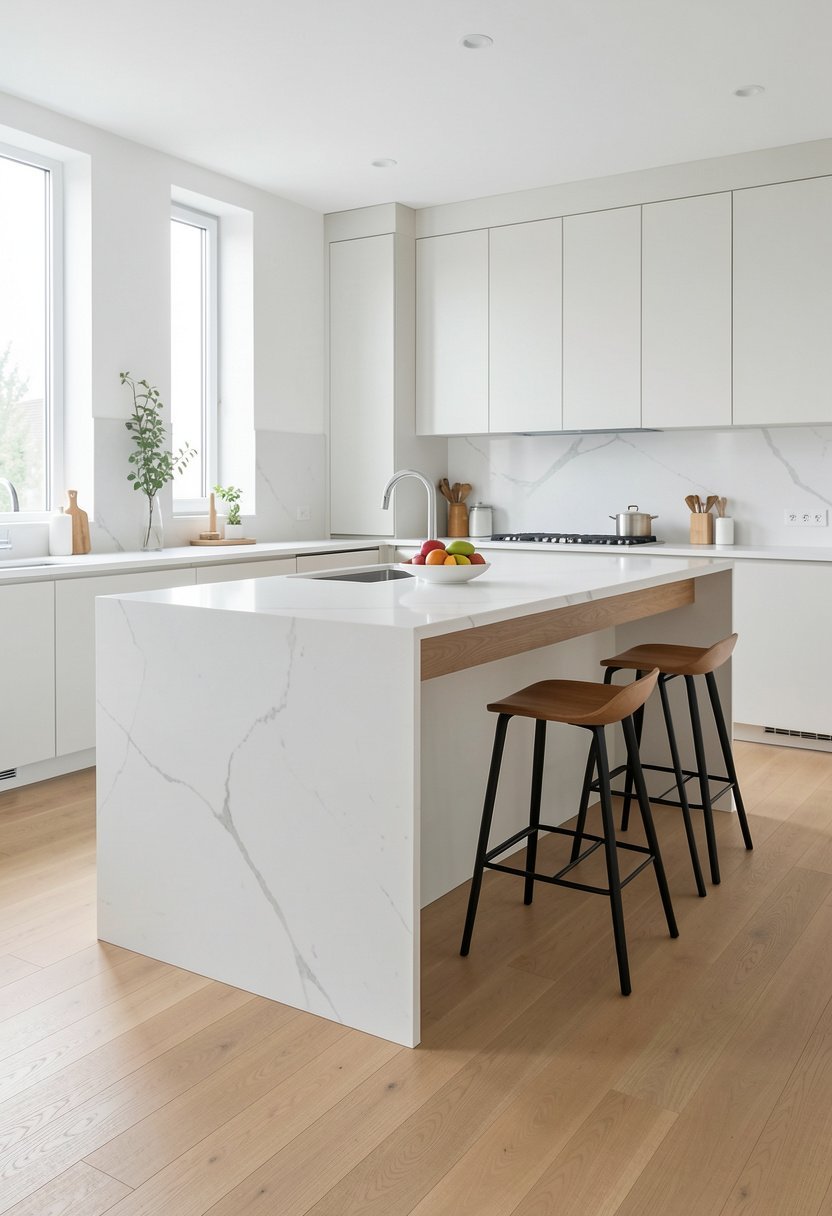
Sometimes, a massive, bulky island is just too much, even in a big room. If you want storage without the weight, go for a slim profile with legs instead of solid cabinet panels. It keeps your sightlines open, which is perfect if you have a great view that you don’t want to block with a giant cabinet.
It feels more like a table and less like a workspace, which can be exactly what a modern home needs. I have used this look in several airy, bright houses, and it always feels clean and refreshing. Just make sure the legs are sturdy, because a wobbly island is a dealbreaker for anyone who values quality.
If you go this route, you lose some hidden storage, but you gain a feeling of space that you cannot get with a solid box. It is a trade-off, but it is often worth it for the look. Keep your floor clean underneath, because with this style, you will definitely see every single crumb.
- Legs keep the room feeling big and open.
- This is a great choice for modern, light homes.
- Ensure the base is built with sturdy materials.
- Minimalist designs show off your flooring well.

14. the Integrated Sink Station
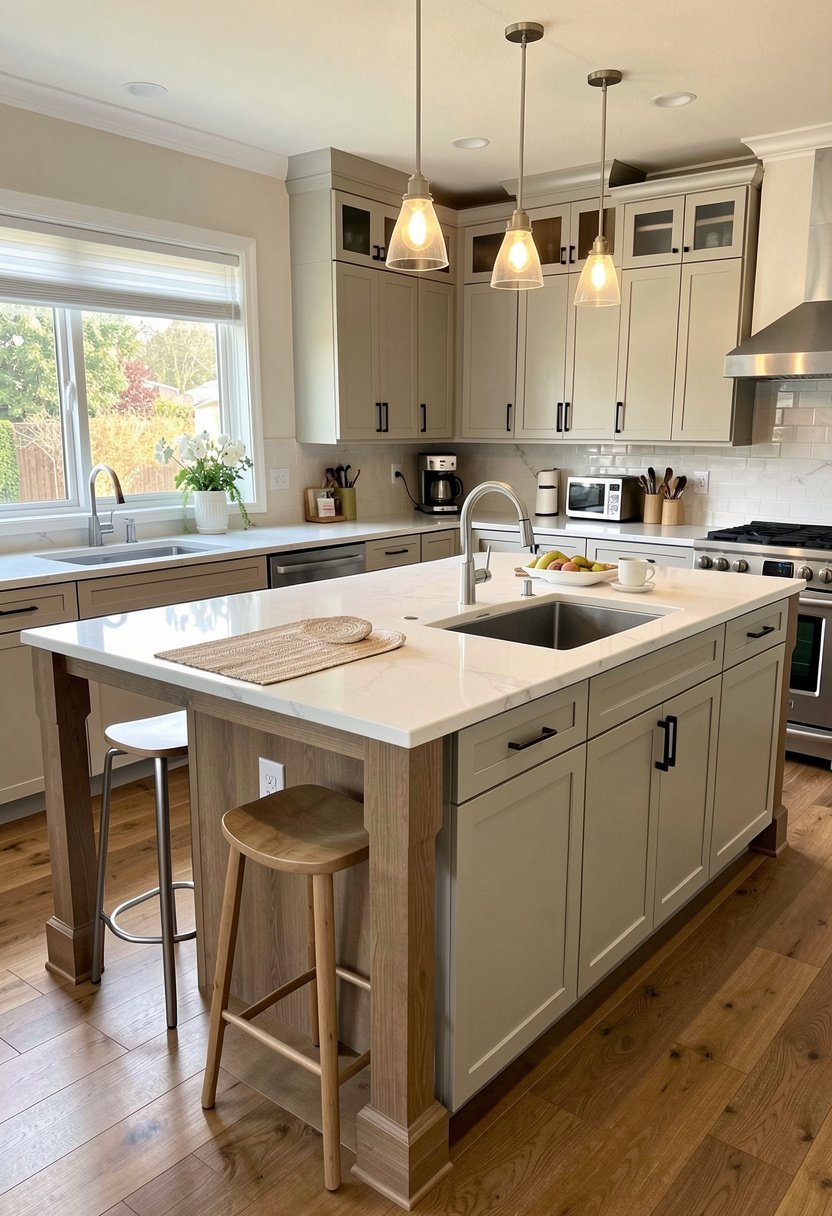
Never put your main sink on an island unless you have a plan to hide the mess. I love a large island that features a secondary prep sink, which is perfect for washing veggies or grabbing a quick glass of water. It keeps your main cleaning sink free for the big pots and pans.
It is a game changer for multiple cooks in the kitchen. One person can be at the stove, and the other can prep at the island, and nobody is bumping elbows. It makes the kitchen feel so much more functional, which is what we all really want when we are spending this much money on a project.
Just make sure you have the plumbing done before the cabinets go in. It is an expensive mistake if you have to rip up your floor later because you didn’t plan for the drain pipe. Get your team together early, talk through the flow, and you will love having that extra water source nearby.
- Add a prep sink to your large island.
- Keep the main cleaning sink away from prep.
- Coordinate plumbing plans early in the build.
- Extra water access makes cooking much faster.
Final Thoughts
I hope you feel ready to tackle your kitchen project now. A large island is the best investment you can make for your home, so take your time, plan it out, and do it right the first time. Don’t listen to the people who say you don’t need the space. Stick to your vision, keep the flow open, and you’ve got this.
| Feature | Best For | Why Choose It |
|---|---|---|
| Double Island | Large Rooms | Clear zone separation |
| Waterfall Edge | Luxury Style | Sleek stone finish |
| Metal Frame | Modern Look | Light and airy feel |
| Appliance Hub | Clean Counters | Hides messy cords |
| Round Island | Social Spaces | Softens hard lines |
| Butcher Block | Serious Cooks | Best prep surface |
| Tiered Bar | Family Homes | Hides dirty dishes |
| Color Block | Bold Decor | Adds major personality |
| Library Base | Book Lovers | Personal, cozy touch |
| Hidden Nook | Tight Traffic | Saves floor space |
| Big Lighting | Statement | Anchors the room |
| Pull Out | Storage | Easy access items |
| Slim Profile | Open Views | Keeps sightlines open |
| Prep Sink | Two Cooks | Faster workflow |
| Custom Drawers | Organization | Keeps things tidy |
Frequently Asked Questions
Is It Hard to Maintain a Stone Island Top?
Not at all, as long as you seal it properly and wipe up spills immediately. Stone is tough, but you should treat it with respect. Do not let acidic liquids like lemon juice sit on the surface, or you will eventually see some dull spots over time.
Can I Put a Stove On My Kitchen Island?
You can, but I rarely recommend it unless you have a very strong ventilation hood. A stove on an island can block your view and send grease into your living room. If you do it, prioritize a high-quality vent, or your furniture will smell like fried food.
Are Round Islands Better Than Rectangular Ones?
Better is a big word, but they are great for traffic flow and conversation. If you have a square room, a round island breaks up the harsh lines and makes the space feel friendlier. They are not as good for storage, so pick what you value more.
Do I Need a Sink On My Kitchen Island?
It depends on how you cook. If you prep a lot of vegetables, a small prep sink is a dream. If you are just using the island for sitting or eating, you do not need it. Do not add plumbing if you are trying to save money.
Are Bar Stools Comfortable for Long Sitting?
Only if you pick the right ones with back support and footrests. People often buy cheap, flat stools that look nice but feel like a torture device after ten minutes. Spend the money on quality seats if you plan to eat your breakfast there daily.
Should I Match My Island to My Cabinets?
You do not have to, and honestly, a different color is often more stylish. Matching everything can look a bit builder-grade or boring. A bold island adds personality, but keep the tone consistent so it does not look like you just bought a random piece of furniture.
Will an Island Make My Kitchen Feel Smaller?
It will if you pick one that is too large for the room. You need enough walking space around the island, or it will feel like a cage. If your kitchen is small, go for a slim profile with legs, which will keep the area feeling open.
Can I Add an Island to a Small Kitchen?
You can, but you have to be very careful with the sizing. A small, rolling cart might be your best option if you have zero floor space. Do not try to force a giant, permanent island into a tight area, as it will make your kitchen impossible to use.