As an Amazon Associate, I earn from qualifying purchases at no extra cost to you.
13 Affordable Kitchen Cabinet Ideas (Everyone Loves Right Now)
 ByRayan

You know, staring at those sad, dated kitchen cabinets is enough to make anyone want to move out. I have been there, trust me, with the ugly wood finish and the peeling veneer that makes your heart sink. Most people think a kitchen redo means tearing everything out, burning cash, and living in a construction zone for months. That is just lazy advice from people who love spending your money.
The truth is, you can fix your space without breaking the bank or your spirit. I am talking about clever swaps, cheap paint jobs, and small tweaks that totally flip the vibe. Stop listening to those fancy designers who tell you that you need custom built-ins to have a nice home. You just need a plan, a bit of grit, and these 13 affordable kitchen cabinet ideas to get the job done right.
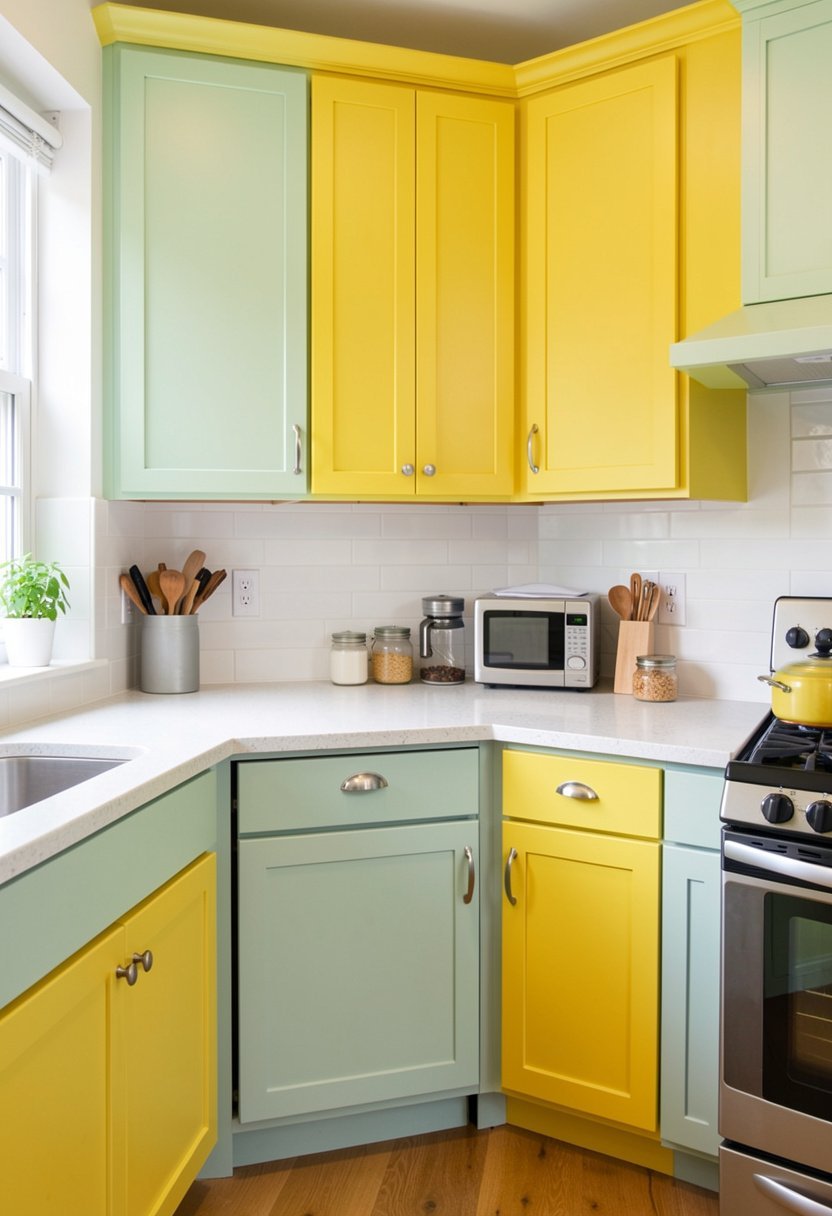
Paint Those Doors for a Fresh Look
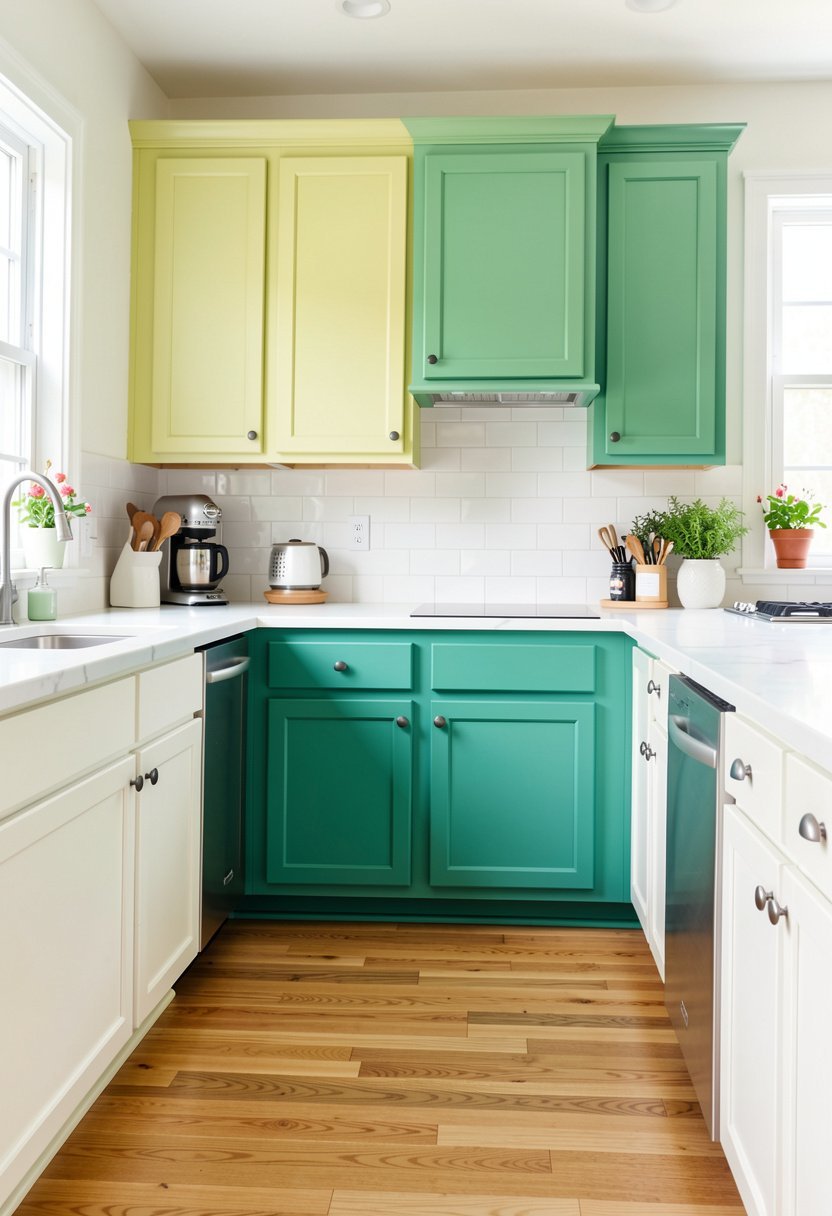
Stop letting those brown cabinets ruin your morning coffee. Most people are terrified of paint, but it is honestly the easiest way to save a kitchen. Grab a good primer, pick a clean color, and just commit. If you use a cheap brush, you will hate your life, so buy a quality roller. I once painted a whole kitchen in a weekend, and it looked like a brand new room.
The secret is all in the prep work, so do not skip the sanding part. If you do not sand, the paint will peel off in weeks, and you will be back at square one. Use a nice, smooth finish to make it look expensive. People will ask who you hired, and you can just smile. It feels good to know you did it, and it cost almost nothing.
Painting is cheap, but bad prep ruins the whole project.
- Sand everything first to help paint stick.
- Use a good primer to cover old stains.
- Pick a durable paint for high traffic.
- Roll it thin for a smooth finish.

Swap Out the Hardware Today
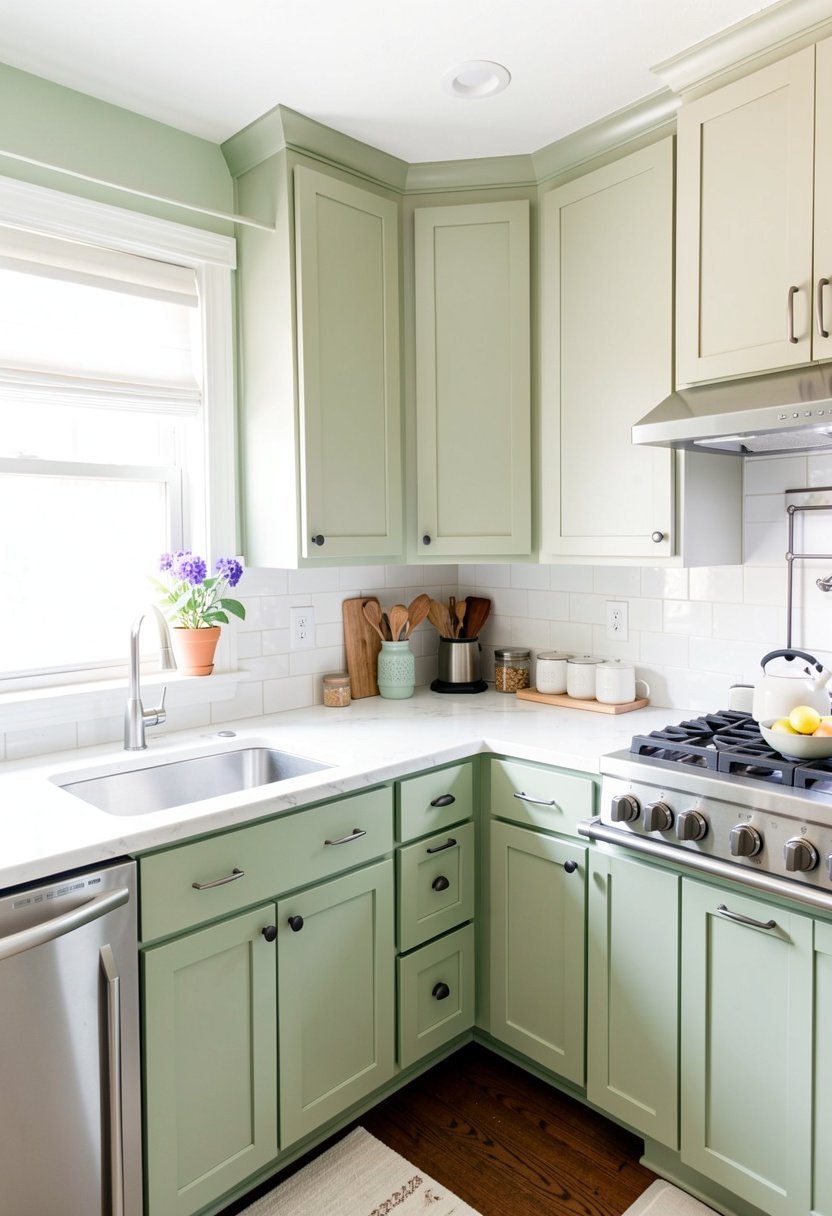
Old, crusty handles make even the nicest cabinets look like trash. You can buy new hardware, and it changes the whole room in ten minutes. Stop looking at those basic, tiny knobs at the big stores. Find something heavy, something with weight, because that feels high quality. I swapped my nickel knobs for matte black pulls, and my kitchen finally looked like a real adult lived there.
Do not worry about matching the sink perfectly, because mixed metals are very trendy now. If your holes do not match, use a little wood filler, paint over the spot, and drill new ones. People act like hardware is hard, but it is just a screwdriver and some patience. You are literally just turning screws, so do not overthink this very simple and cheap upgrade.
Hardware is the jewelry of your kitchen space.
- Choose pulls that fit your hand well.
- Measure the distance between your old holes.
- Use brass or black for a modern feel.
- Keep the old ones in a baggie.
Remove the Doors for Open Shelving
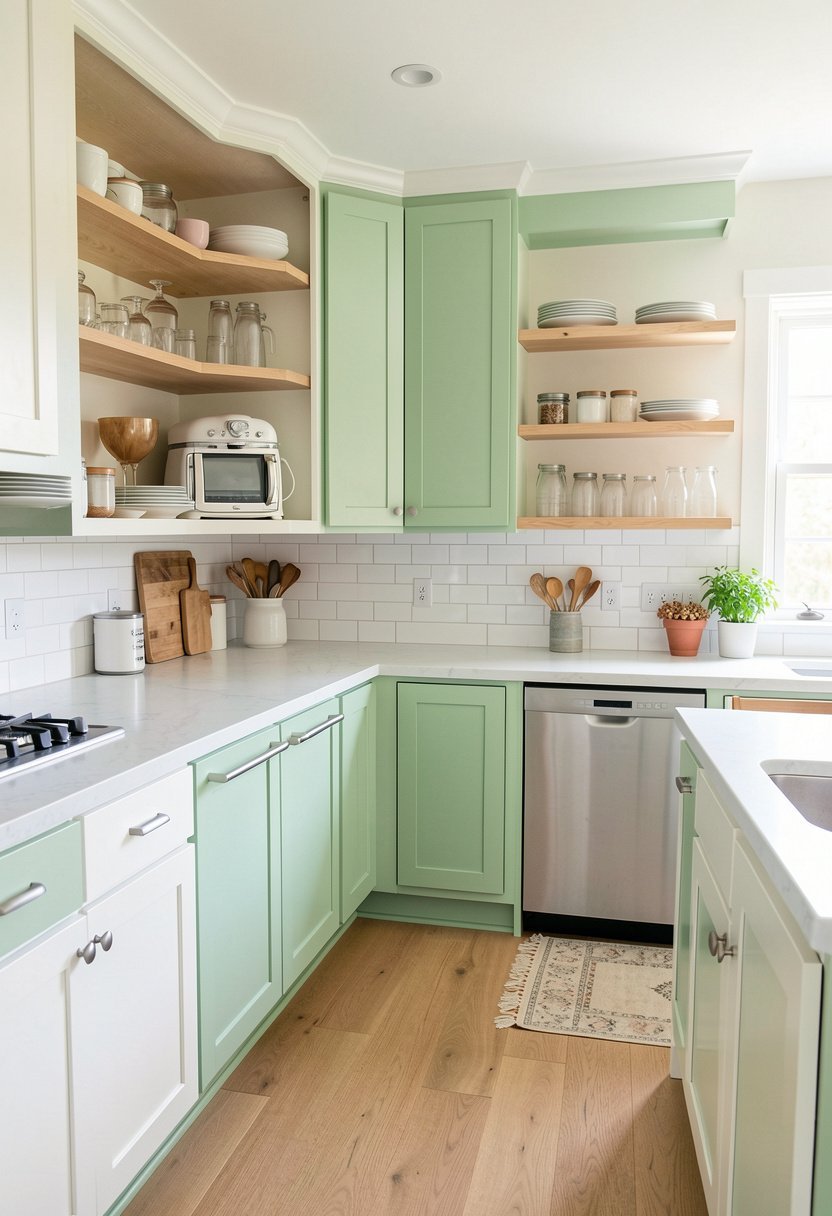
If your cabinets are truly hideous, just take the doors off. It sounds scary, but it creates a trendy, open feeling that designers charge way too much for. You need to organize your dishes, though, because everything is on display now. Paint the inside of the boxes to make it pop. I did this in my small apartment, and it made the kitchen feel twice as big.
It keeps you honest about your mess, which is actually a good thing for your daily habits. If you have mismatched, ugly mugs, put them in a box, and donate them to a friend. Keep the clean, pretty stuff out where people can see it. It is not for everyone, but it is free, and it forces you to keep your kitchen tidy and minimalist.
Taking doors off makes your space feel light.
- Fill the hinge holes with wood putty.
- Paint the back wall a bold color.
- Stack your dishes in neat, tall piles.
- Use baskets to hide the ugly stuff.

Add Trim for a Custom Feel
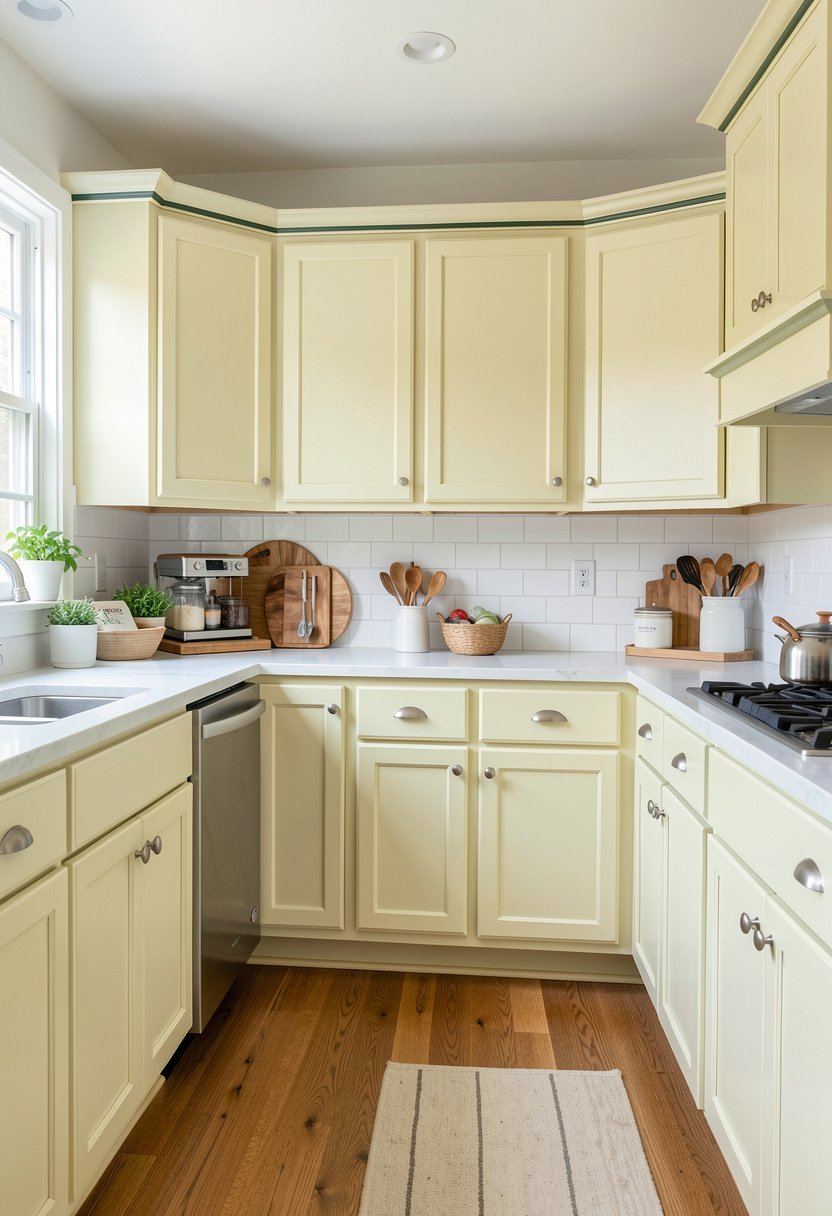
Flat, boring cabinets look like cheap boxes from a warehouse. You can glue thin strips of wood to the front, and suddenly you have a shaker style look. It takes a little math and a miter saw, but it is so worth the effort. I added trim to my plain doors last year, and they look like they cost thousands. No one can tell it is just thin pine boards.
Use a strong glue, hold it tight until it sets, and then paint the whole thing. It hides the seams, makes it look solid, and adds a shadow line that screams fancy design. Most people never try this because they are scared of saws, but you have got this. It is just wood, and it is a very cheap way to get custom cabinetry.
Trim transforms a boring box into something elegant.
- Buy thin molding at the local store.
- Measure your cuts at least twice first.
- Use a strong glue for the bond.
- Fill every tiny gap with wood filler.

Try Contact Paper for Quick Style
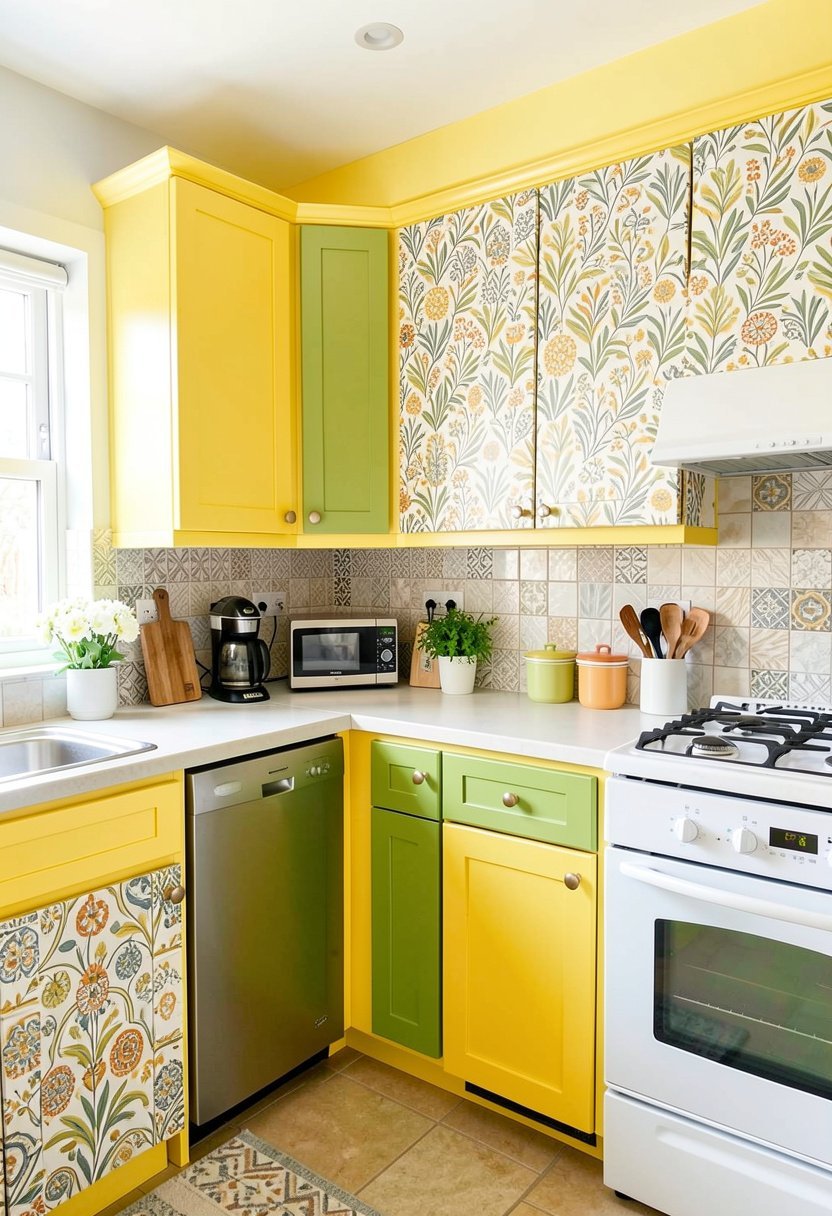
If you cannot paint, use high-quality contact paper. It comes in wood grain, matte colors, and even fake stone textures. I know what you are thinking, but it is not the sticky stuff from your grandma's pantry. Modern films are thick, tough, and they actually stay put. It is a perfect move for a rental where you might get kicked out for painting cabinets.
Clean the surface perfectly before you start, because one crumb will show through. Use a squeegee to push the bubbles out, or you will regret it when the light hits the doors. It is not permanent, which is the best part, because you can peel it off later. It is a quick way to hide a bad finish, and it looks decent if you take your time.
Peel and stick paper is a lifesaver today.
- Clean the doors with rubbing alcohol first.
- Buy a wider roll for fewer seams.
- Take your time to push out bubbles.
- Use a sharp blade for clean edges.

Add Under Cabinet Lighting Strips
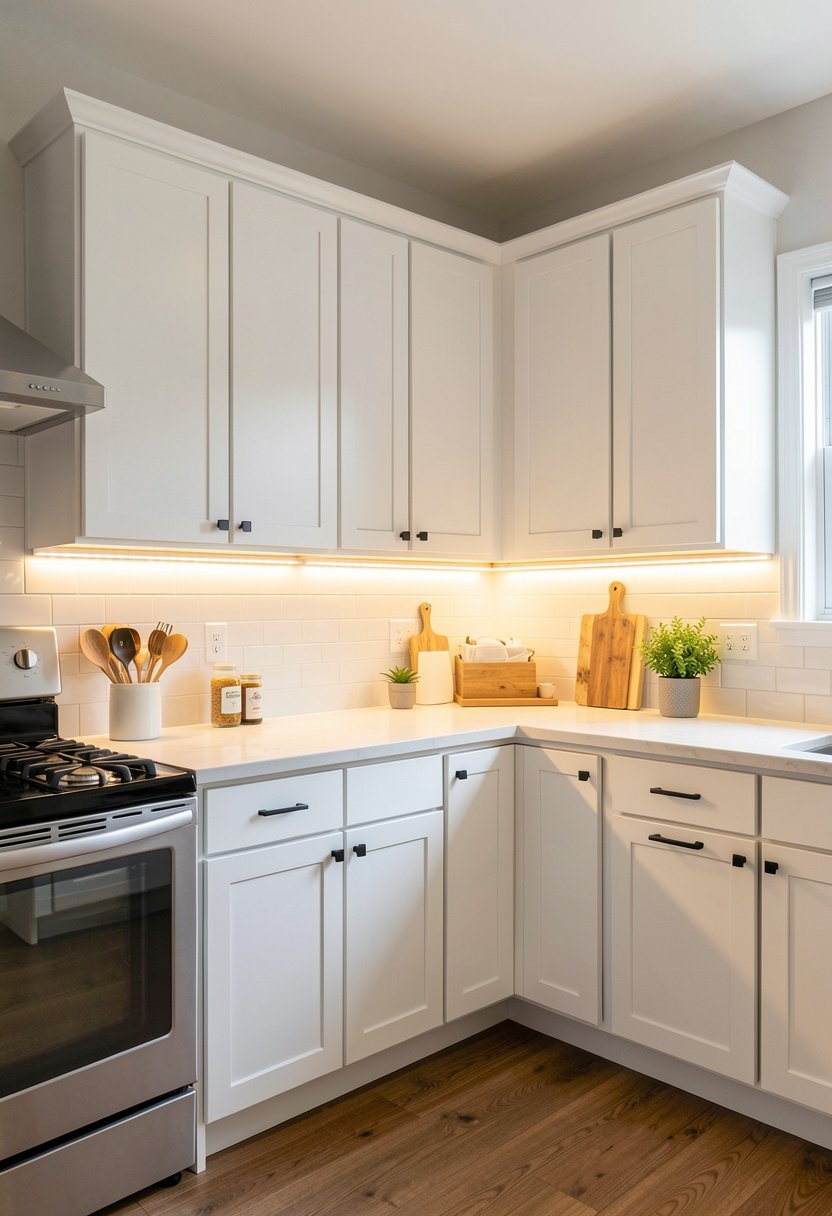
Dark kitchens are miserable places to cook your dinner. You do not need an electrician to fix this, because LED strips are everywhere now. Stick them under your cabinets, plug them in, and watch your kitchen glow. It makes the space look expensive, professional, and bright. I love how it looks at night when I just want a glass of water without turning on the main light.
Some kits are battery-powered, so you do not even need an outlet nearby. It highlights your backsplash, makes your counters look clean, and adds a soft, warm vibe. Do not buy the super cheap ones that die in a week. Get the ones with a remote, or even the kind that connects to your phone. It is a tiny change with a huge, modern kitchen impact.
Lighting makes your kitchen feel like a dream.
- Stick lights behind the front cabinet edge.
- Use a warm color for a cozy glow.
- Plug into a hidden corner outlet nearby.
- Get motion sensors for a hands-free life.

Install Crown Molding On Top
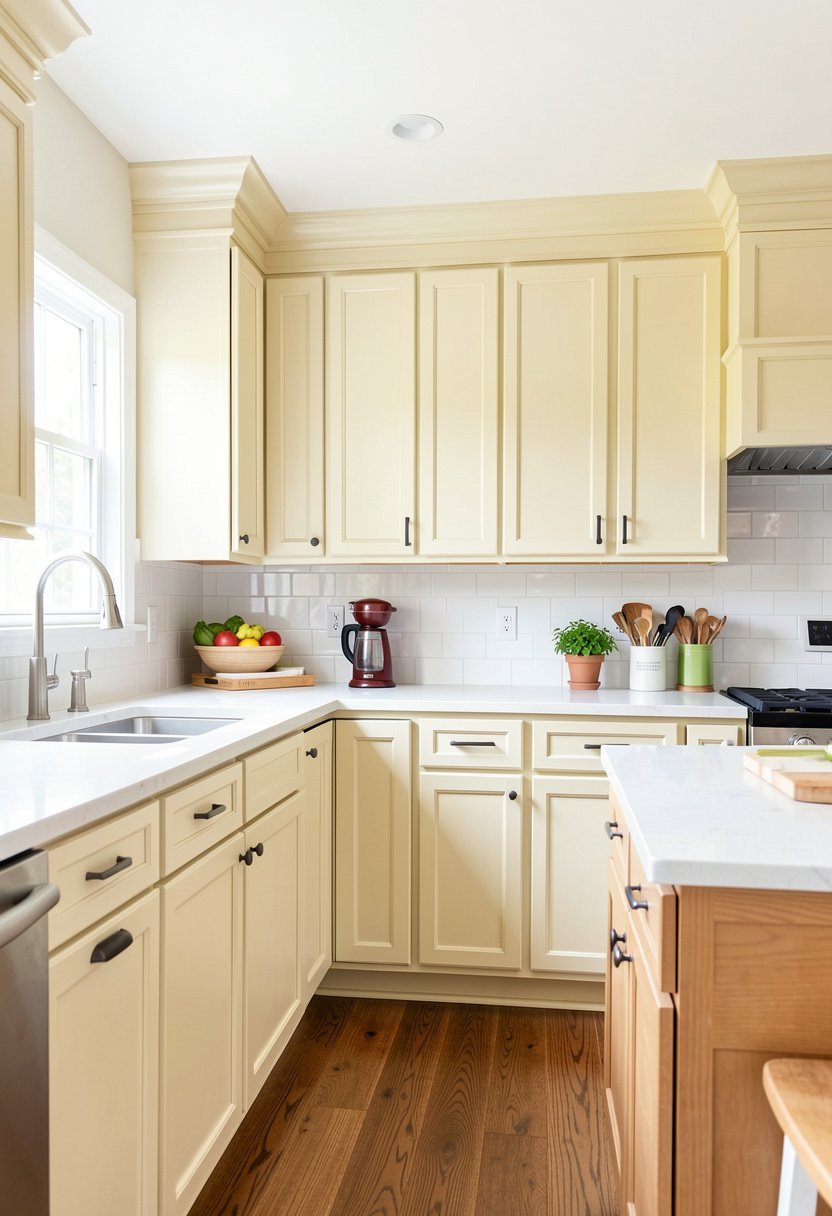
Cabinets that stop short of the ceiling look lonely and gather dust. Fix this by adding some crown molding to the very top. It bridges the gap, makes the cabinets look taller, and ties the whole room to the ceiling. I added molding to my kitchen, and it instantly stopped looking like a boxy afterthought. It frames the space and makes the whole layout feel finished.
You might need a small wood spacer to bridge the gap, but it is simple work. Paint the molding the same color as your cabinets so it looks like one piece. It is a classic move that never goes out of style. If you want your kitchen to look expensive, you have to add these little details that the builder skipped to save a buck.
Molding gives your cabinets a finished look.
- Measure the top gap very carefully indeed.
- Use wood trim to fill large gaps.
- Paint it all the same cabinet color.
- Cut corners at a forty-five degree angle.

Use Woven Inserts in Doors
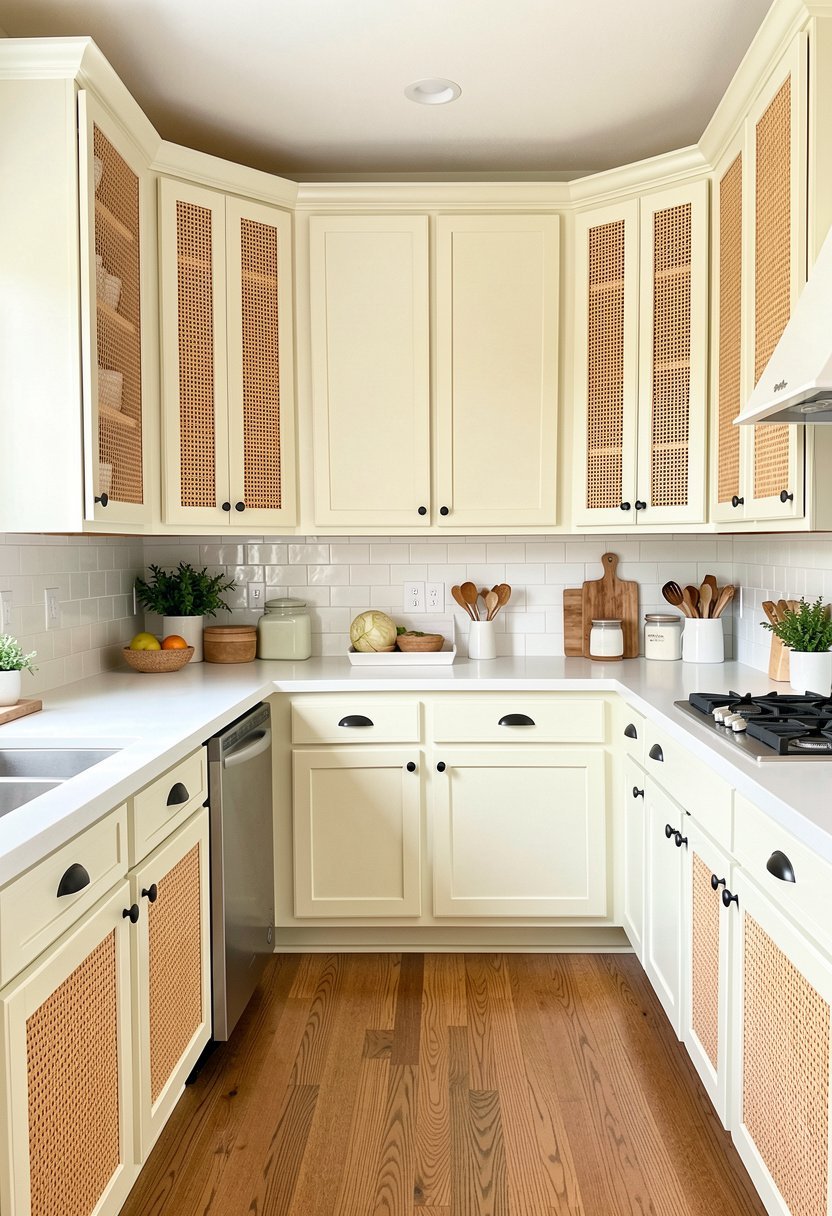
If your cabinet doors are just wooden frames, pop out the middle panel. Replace that wood with some woven cane or wire mesh. It adds texture, breaks up the solid blocks of color, and looks very high end. I put cane webbing in my pantry doors, and it made the whole kitchen feel airy. It hides the mess inside while still letting you see the shapes.
You can buy cane rolls online, soak them in water, and staple them to the back of your doors. It is a bit messy, but it looks like you bought custom furniture in a boutique. It is one of those projects that looks very hard but is actually quite simple. Plus, it is a great way to hide glass that is scratched or just plain ugly.
Woven panels add texture to any kitchen.
- Remove the center wood panel with care.
- Soak cane in water to soften it.
- Staple the mesh tightly to the back.
- Use a bead of glue for stability.

Paint the Inside for a Pop
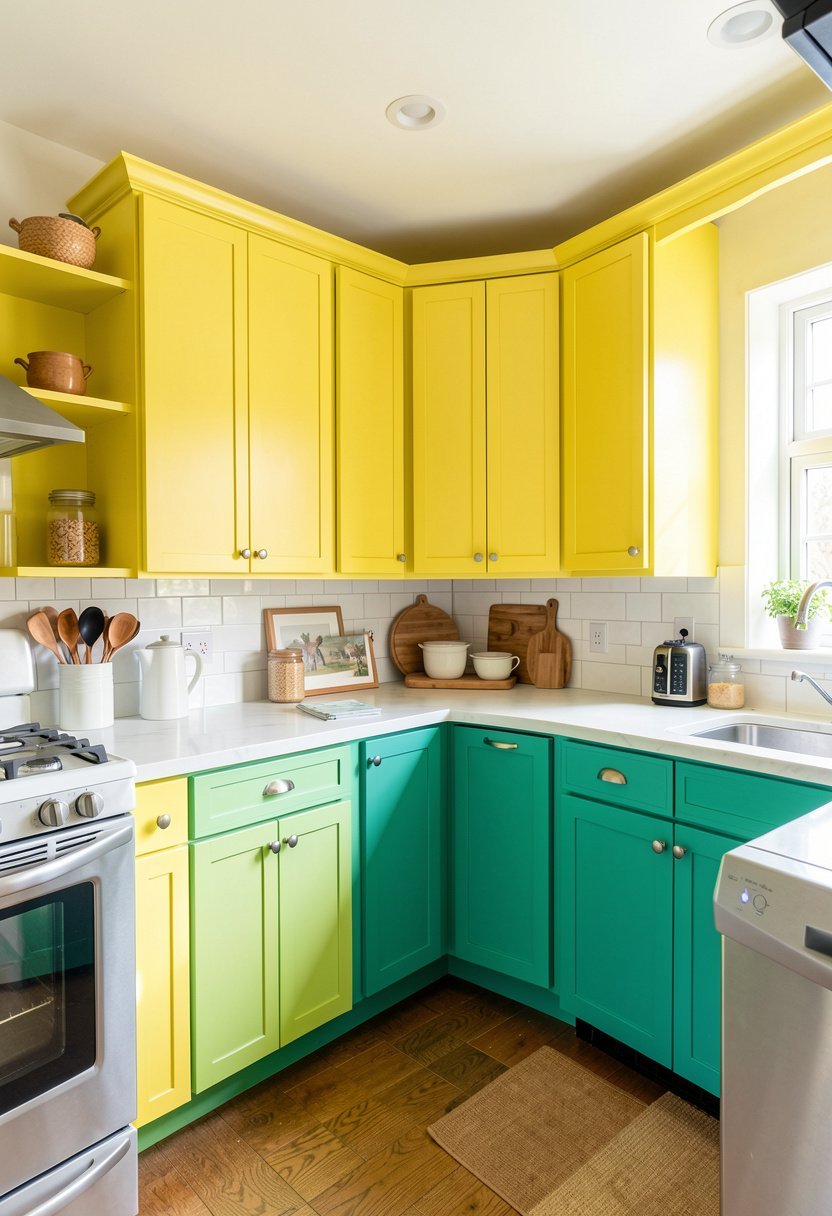
Sometimes the outside is fine, but the inside is just boring. Open a door and paint the back panel a wild, bright color. It is a fun surprise that makes you smile every time you grab a plate. I painted my inside shelves a soft blue, and it completely changed my mood. It is a small, hidden touch that feels like a secret for you.
You can also use leftover wallpaper or some fun contact paper. It protects the wood, makes it easy to wipe down, and adds a layer of design. Do not be afraid to go bold here, because it is tucked away. It is not like you are painting the whole room neon orange. It is a fun, home improvement trick that is cheap and totally removable.
A hidden pop of color brings joy.
- Use a fun color inside the frame.
- Clean the interior walls before painting.
- Apply clear contact paper for easy wipes.
- Use bold patterns for more visual impact.

Swap to Pull Out Drawers
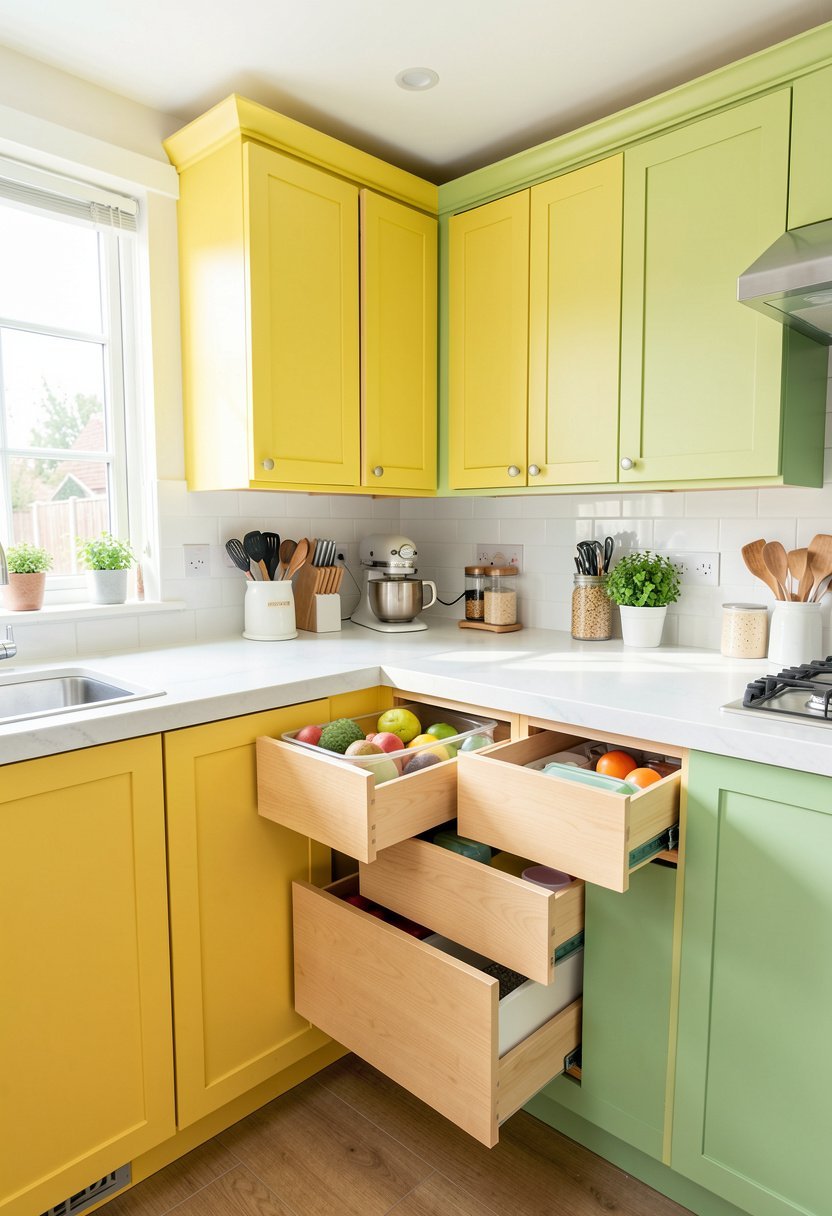
Fix the deep, dark cabinets where pots go to die. Install sliding drawers inside your lower cabinets to reach stuff easily. You do not have to be a carpenter to use a drill and a simple slide kit. I installed these in my base cabinets, and I never lose a pan in the back again. It makes your kitchen feel like a high-end custom kitchen upgrade.
Stop digging on your knees for that one lid. These slides bring the stuff to you, which is the only way to live. They are sturdy, they hold heavy pans, and they save your back from daily strain. It is a functional fix that changes how you feel about cooking. Once you go to pull-out storage, you will never want to go back to static shelves.
Slides stop you from losing your pots.
- Measure your interior space very carefully.
- Pick heavy duty slides for your pans.
- Mount them level or they will stick.
- Keep the screws tight for long use.

Use Magnetic Strips for Knives
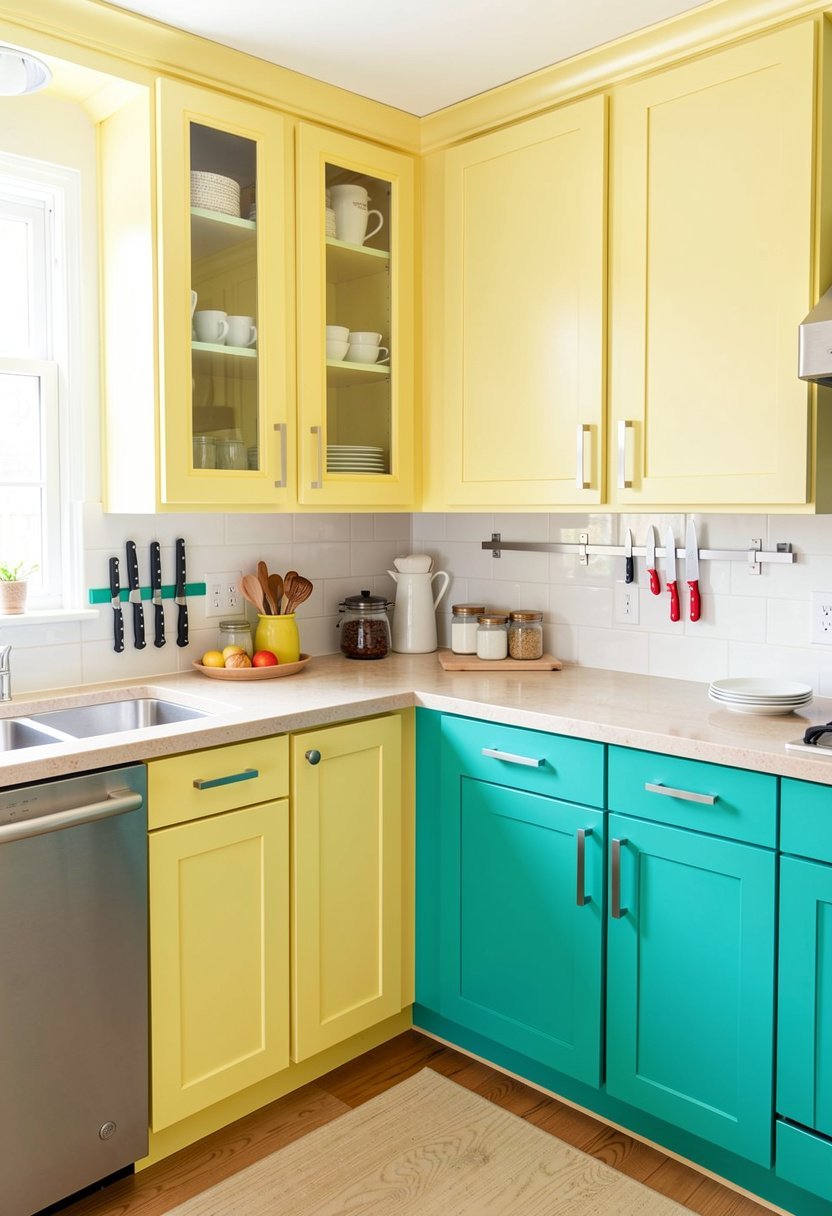
Get those bulky knife blocks off your counter to save space. Install a sleek magnetic strip on the side of a cabinet. It looks like a chef kitchen, it saves precious counter space, and it keeps your knives sharp. I mounted mine on the side of my pantry cabinet, and it is the best use of space I have found. It is simple, cheap, and very effective.
Make sure you put it high enough so kids cannot reach it. It keeps the sharp blades away from your drawers and makes prep work faster. Plus, it just looks cool to have your gear on display. Stop cluttering your counters with stuff you do not need, and start using the vertical space on your cabinets. It is a total space saving win.
Knives on the wall look very professional.
- Mount the strip at eye level easily.
- Keep it away from high traffic paths.
- Wipe the knives before putting them up.
- Test the magnet strength for safety first.

Add Corbels Under Your Counters
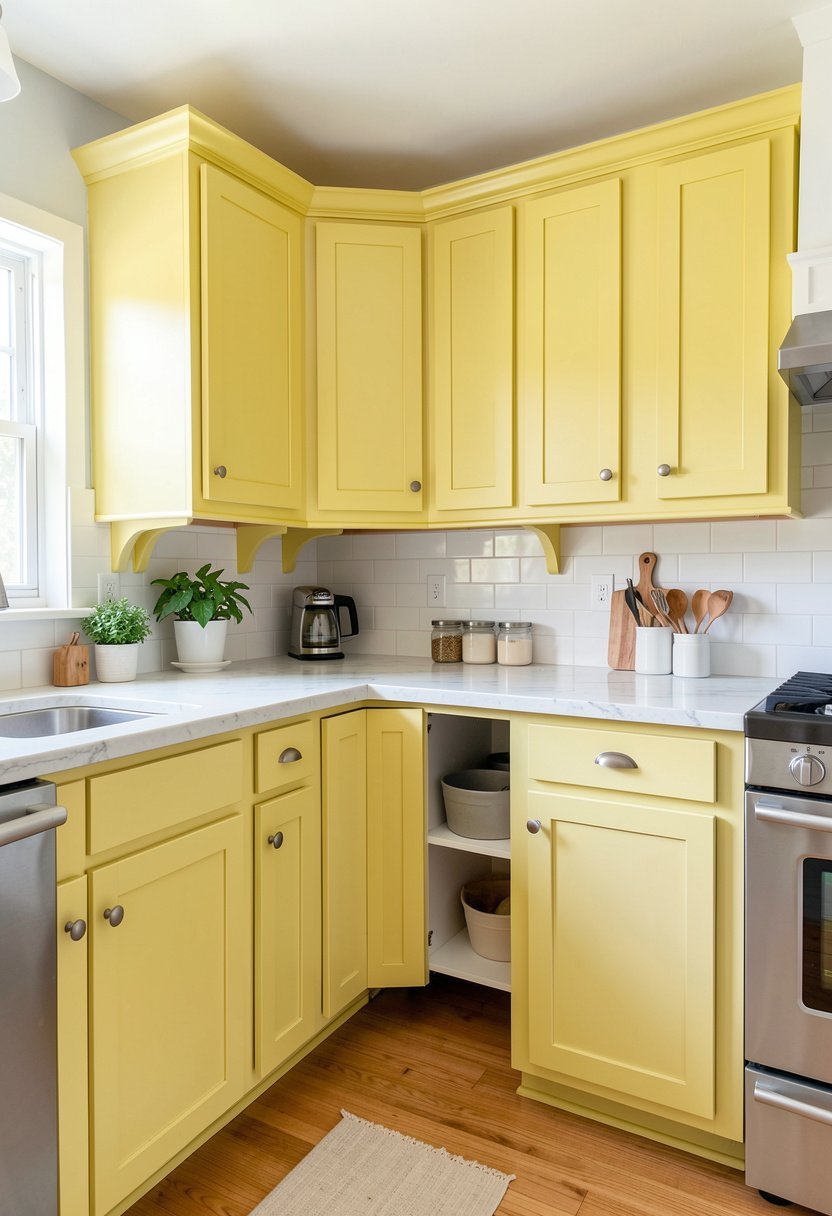
If you have a small breakfast bar, add some wooden corbels underneath. It makes the counter look supported, adds a touch of character, and fills the empty space. You can buy plain wood ones and paint them to match your cabinets. I added these to my kitchen peninsula, and it suddenly looked like a real piece of furniture. It is such a small, cheap, yet classic detail.
Do not overdo it with the fancy, swirly styles if your house is modern. Pick something simple, straight, and clean to match the vibe. It anchors the counter, makes the kitchen feel more grounded, and shows you paid attention to the details. It is a quick afternoon project that finishes the room off. Don’t underestimate how much a bit of wood adds to the room.
Corbels give your counter a finished base.
- Pick a style that matches your home.
- Screw them firmly into the support beam.
- Paint them the same as your trim.
- Ensure they are level for a look.

Replace Old Hinges with Soft Close
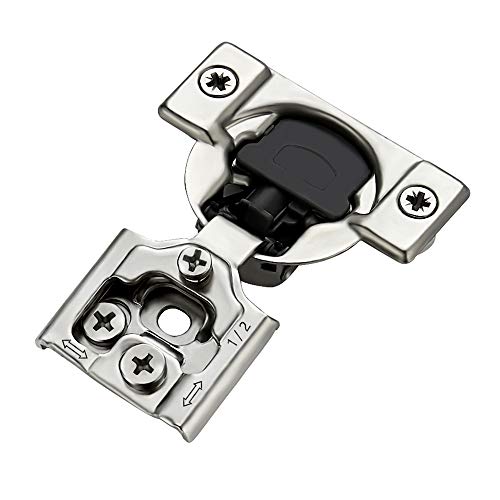
The sound of slamming cabinet doors drives me crazy. Swap your old, screeching hinges for new soft-close ones. You can find these in packs for almost nothing. They install into the existing holes, and they make your kitchen feel like a million bucks. Every time you close a door, it just glides shut. It is a tiny, quiet luxury that makes life so much better.
I did this for every cabinet in my house, and it took one rainy afternoon. It feels like a high-end kitchen now, and it protects your doors from getting chipped. Stop letting your kids slam the cabinets, because now they literally cannot. It is a hidden update that makes your home feel calm, quiet, and very expensive, even if you did it for a bargain price.
Soft close hinges make a huge difference.
- Check your hinge type before you buy.
- Test one first to see the change.
- Adjust the screw for the speed.
- Use a drill for faster, easier work.
Final Thoughts
I hope these ideas show you that a fresh kitchen is totally within your reach. Do not let the big stores tell you that you need a huge budget to make your home look beautiful. Most of these fixes take just one weekend and very little cash. Pick one, get started, and enjoy the result. Stop waiting for the perfect time, because you have got this.
| Idea | Cost Level | Time Needed |
|---|---|---|
| Paint | Low | Weekend |
| Hardware | Low | One Hour |
| Open Shelves | Free | One Day |
| Add Trim | Low | Two Days |
| Contact Paper | Low | One Day |
| LED Strips | Low | One Hour |
| Crown Molding | Medium | One Day |
| Woven Inserts | Low | One Day |
| Inside Paint | Low | One Hour |
| Pull Outs | Medium | Two Days |
| Knife Strip | Low | Half Hour |
| Corbels | Low | Two Hours |
| Soft Close | Low | Two Hours |
| Organize | Free | One Day |
| Clean Up | Free | One Day |
Frequently Asked Questions
Is It Hard to Paint Kitchen Cabinets by Yourself?
It is not hard, but it is tedious. You must spend most of your time cleaning and sanding. If you rush the prep, the paint will chip. Use a quality brush, take your doors off to paint them flat, and you will get a great look.
Can I Change Cabinet Hardware Without Drilling New Holes?
Yes, you absolutely can. Just look for hardware that matches the size of your current holes. If you want something different, you can use a filler to hide the old holes and drill new ones. It is a very simple DIY fix today.
Are Open Kitchen Cabinets Easy to Keep Clean?
They require more dusting than closed ones. If you keep your dishes stacked neatly, it actually looks quite stylish. It forces you to get rid of the junk you never use. Just make sure you actually like the look of your plates.
Do I Need to Buy Expensive Tools for These Projects?
Most of these ideas only need a screwdriver, a sander, and a drill. You do not need big workshop gear. Most hardware stores will cut wood for you for free. You can do a lot with just basic tools you own.
Should I Remove the Doors for More Space?
Taking the doors off is a great way to make a tiny kitchen feel bigger. It creates a light, airy look. Just be prepared to keep the inside of your cabinets very tidy, because everyone will see what is in there.
Will Contact Paper Last On Kitchen Cabinets?
High-quality film can last for a few years if you prep the surface well. It is not as good as paint, but it is perfect for rentals. Clean the surface with alcohol to make sure it sticks properly and avoid bubbles.
Are Soft Close Hinges Worth the Money?
They are one hundred percent worth it. They save your cabinets from wear and tear, and they stop the noise of slamming doors. They are cheap, easy to install, and they make your kitchen feel like a custom, high-end space.
Does Adding Crown Molding Help with Value?
It makes your kitchen look much more finished and professional. Buyers love those extra details. It bridges the gap to the ceiling, which makes the room feel taller and more expensive. It is a very cheap way to add value.