As an Amazon Associate, I earn from qualifying purchases at no extra cost to you.
13 Pallet Kitchen Cabinet Ideas (That Make Rooms Look Bigger)
 ByRayan

Whether you are staring at a sad, tiny kitchen, or just tired of boring store shelves, you need a change. I have spent years fixing up old homes, and I promise, wood pallets are the secret sauce. Stop buying overpriced stuff that snaps in a week.
People always think pallets are just for rusty gardens, but they are wrong. They think you need a huge budget to make a kitchen look expensive, and that is just silly. Most folks fail because they pick the wrong wood, or they skip sanding entirely.
In this guide, I will show you how to turn raw wood into beautiful storage. You will learn how to save cash, fix your space, and stop making those classic mistakes. These 13 pallet kitchen cabinet ideas will change your life, and your kitchen will feel huge.
Lightly Sanded Natural Wood Frames
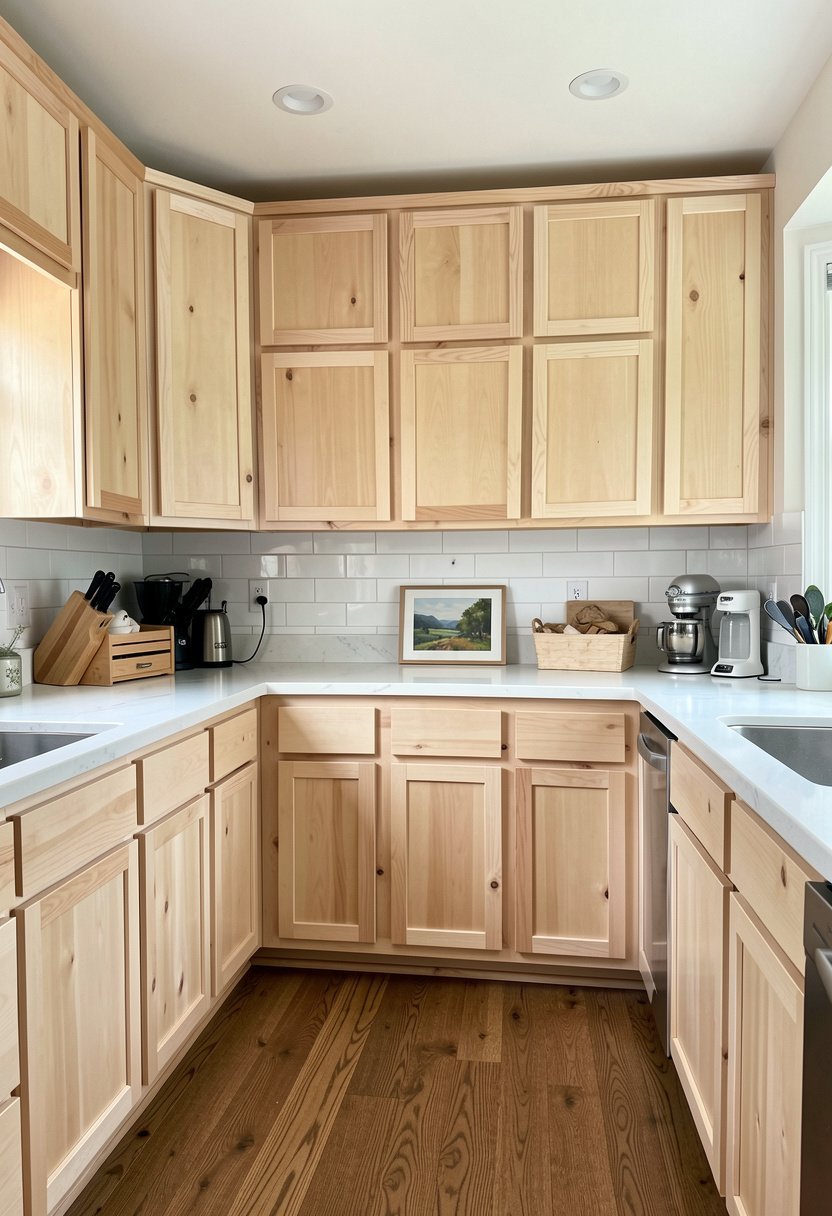
You really need to start with the basics, like choosing the right wood, and sanding it down until it feels like silk. Many people make the mistake of using rough, splintery boards, and that is a bad look, especially in a kitchen where you touch things daily. Keep the tone light, and natural, because dark wood sucks the life out of a small, cramped room.
I always suggest a clear coat of matte sealer to protect the grain, without making it look like cheap plastic. If you leave it raw, grease will ruin it, and you will be back here asking me how to fix a mess. Do not skip the sealer, it is the only thing keeping your cabinets clean, and lasting for years to come.
This light wood trick reflects the sun, making your walls feel further away, and your kitchen feel airy. Stop listening to people who say you need white paint to grow a room. Natural, light wood, done with care, beats a generic white kitchen, every single day of the week.
- Use light colored wood for brightness.
- Sand boards until they are soft.
- Apply matte sealer for protection.
- Keep the natural grain visible.

Floating Open Shelves with Lighting
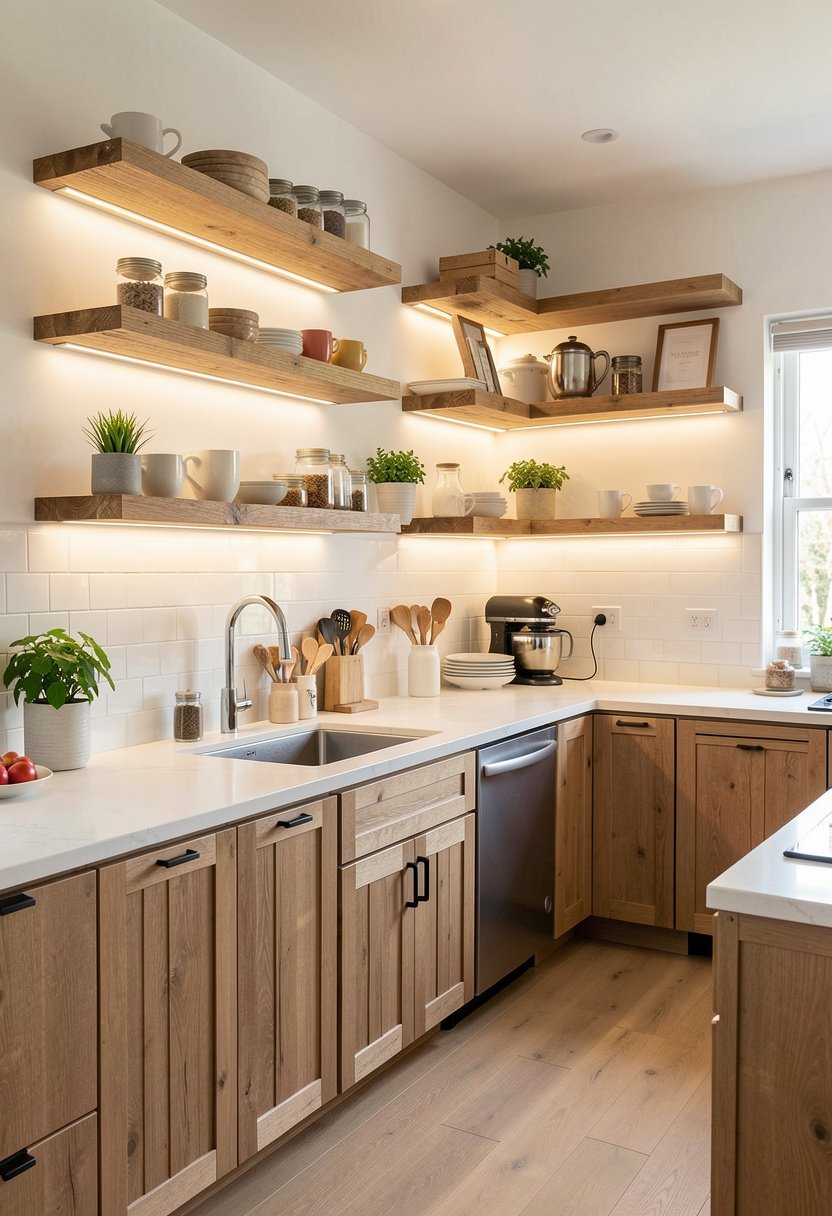
Ditch those heavy, dark doors that close in your kitchen, and try simple floating pallet shelves instead. Everyone thinks they need bulky boxes to store plates, but those just shrink your space, and hide all your nice dishes. I tried this in my own place, and the room grew instantly, because I could finally see the walls behind the items.
Mounting them at different heights adds visual interest, but keep it tidy, or it will just look like a pile of junk. Add some tiny LED strips under the bottom shelf, to wash the wall with light, and watch the shadows disappear. Light creates depth, and deep kitchens look like they have more square footage than they really have.
Stop cluttering your counters with stuff you do not need, and get it on the wall. It is the cheapest trick in the book, and honestly, the most effective one I have ever found.
- Replace heavy cabinets with shelves.
- Vary the height of each shelf.
- Install lights underneath the boards.
- Clear off your messy countertops.

White Washed Rustic Storage Units
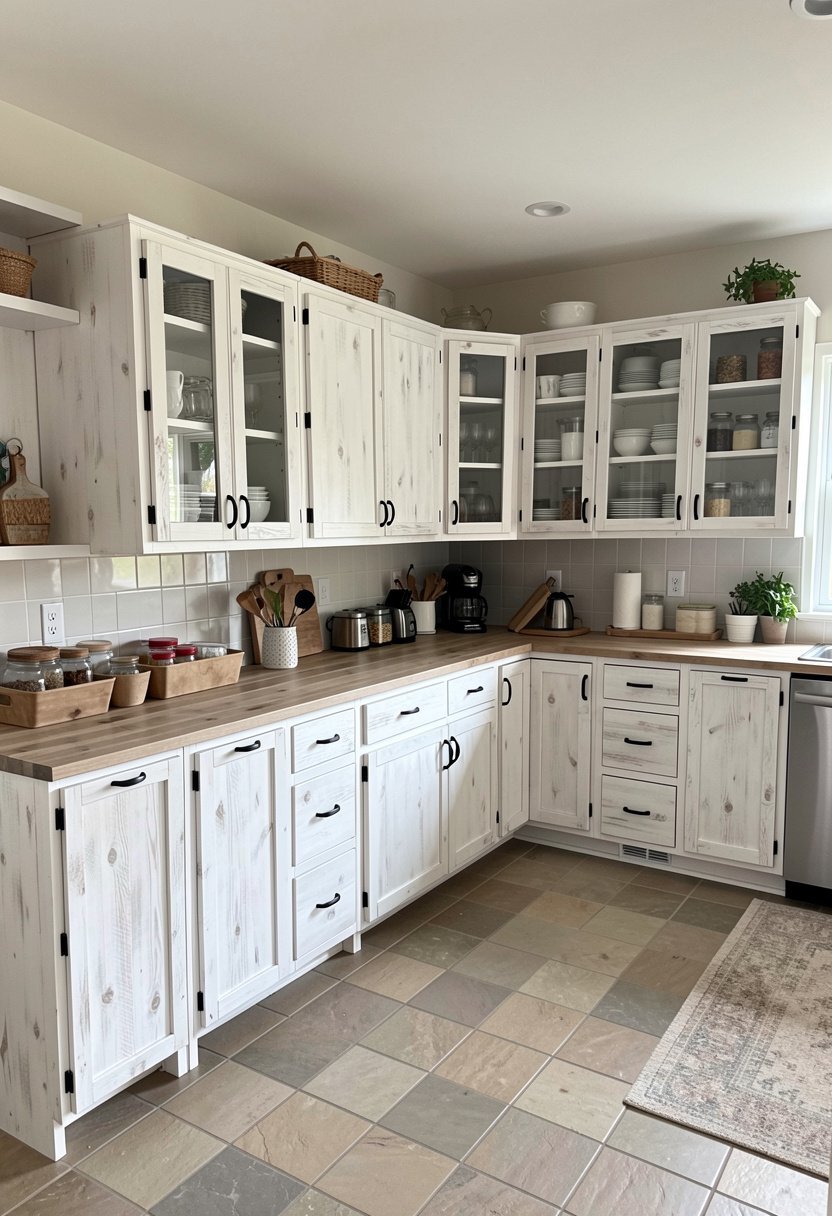
If you want a bright kitchen, but love the look of wood, white wash is your best friend. Paint is boring, and it hides the character, but a thin white wash lets the knots and grain peek through. I have seen people slap thick paint on pallets, and it just looks sad, like a cheap project gone wrong.
You want the wood to look loved, and aged, not buried under a gallon of heavy paint. Mix your white paint with water, wipe it on, and wipe it right back off. This creates a soft, hazy look that bounces light around the room, making it feel fresh, and much wider than it actually is.
Do this on your base cabinets, and pair it with a light countertop. It feels like a cottage by the sea, and your tiny kitchen will suddenly feel like a grand, open space.
- Mix white paint with water.
- Wipe off excess to show grain.
- Pair with very light counters.
- Avoid thick, heavy paint coats.

Vertical Pallet Wine Rack Displays
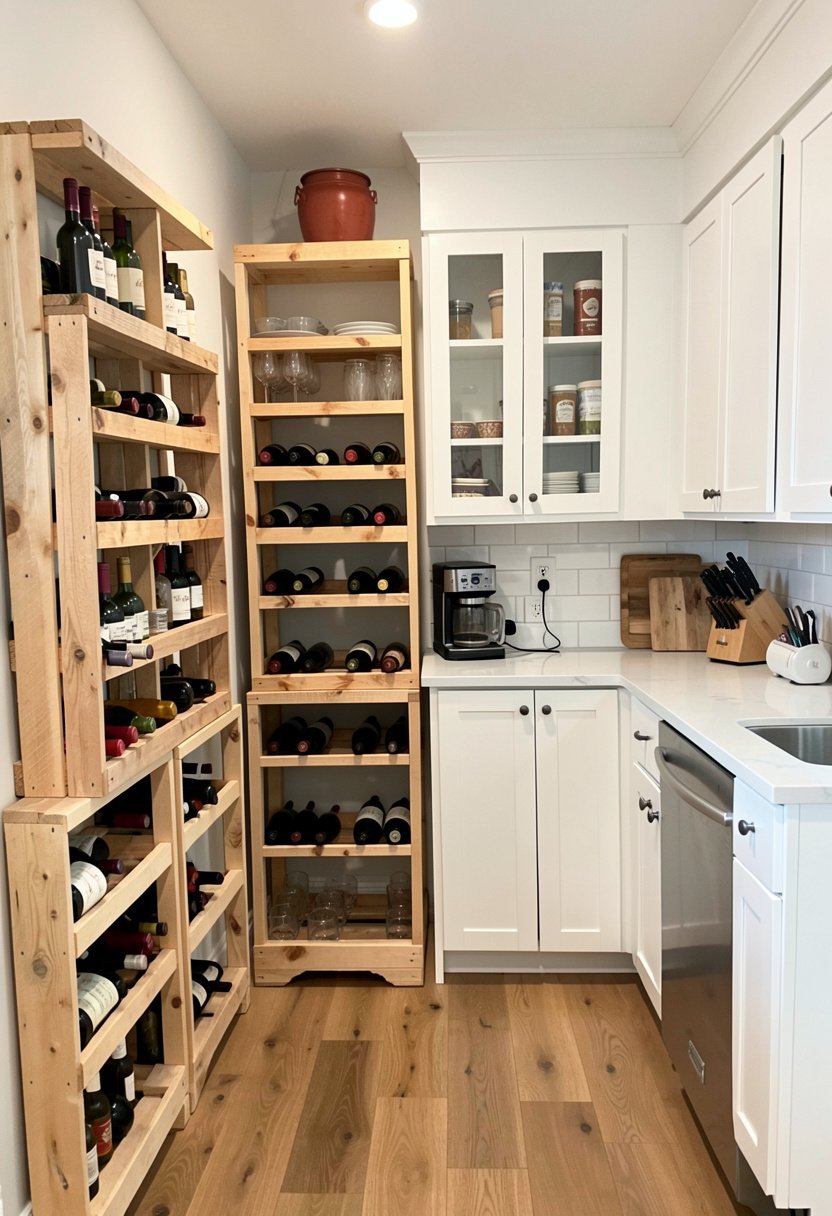
Nothing wastes space like a bulky wine cabinet sitting in the middle of a room. Take your wine storage to the wall, using a simple, vertical pallet frame. It keeps your bottles safe, off the counter, and looks like a piece of art. I love this because it pulls the eye upward, which tricks the brain into thinking the ceiling is higher.
Make sure you secure it well to the studs, because nobody wants a floor full of broken glass. Most people build these too wide, but you only need a thin profile to save space. Keep it slim, keep it tight to the wall, and your kitchen will feel like it has room to breathe again.
This is a total game changer for small apartments. You save the floor space, you look fancy, and you do not break the bank.
- Go vertical to save space.
- Bolt it into wall studs.
- Keep the frame very thin.
- Mount it high for height.

Under Cabinet Pallet Pullouts
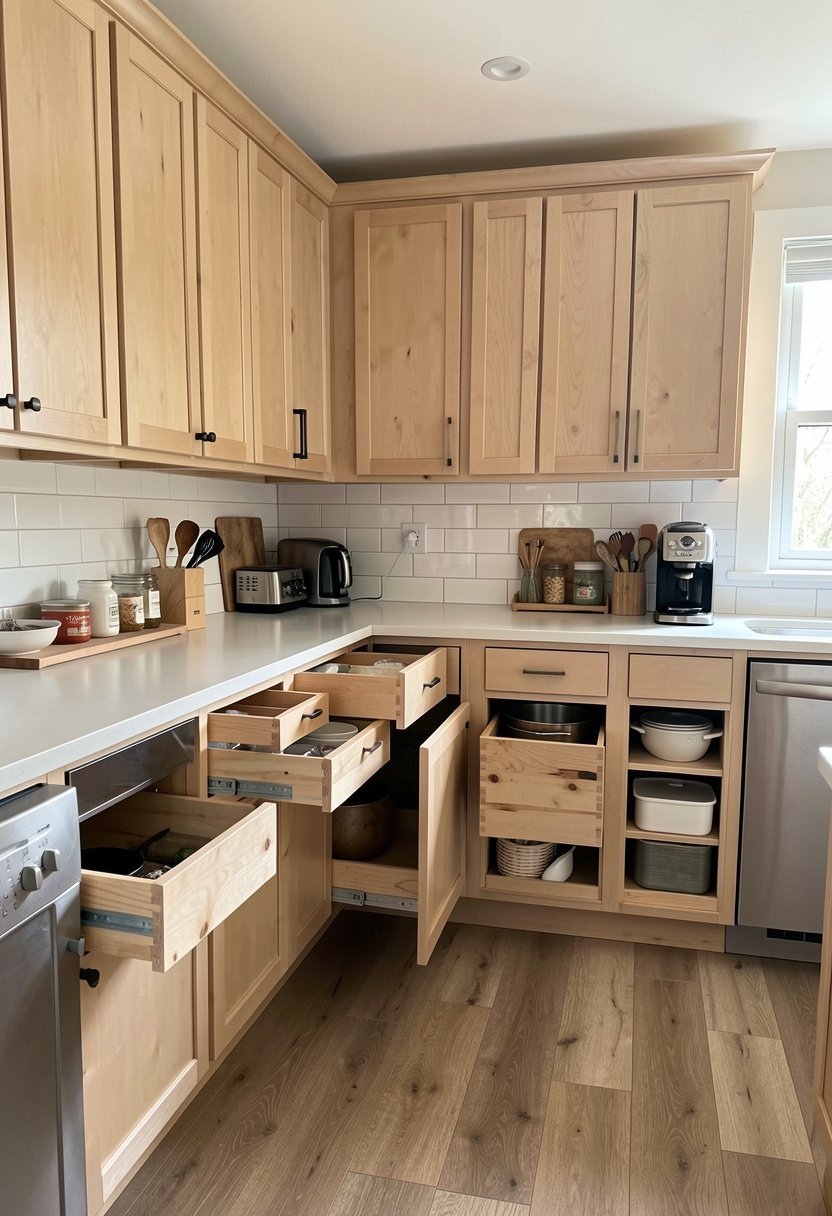
We all have that tiny gap between the stove and the wall, which usually just collects crumbs. Stop wasting that spot, and build a slim, rolling pallet pullout. It is perfect for spices, oils, or those tall boxes that never fit anywhere else. I used this in my first tiny house, and I was shocked by how much I fit inside.
Use good wheels on the bottom, so it slides out smooth, and doesn’t scrape your floor. If it gets stuck, you will hate it, and eventually throw it away. Spend the extra buck on decent casters, and you will be happy you did. This keeps your main surfaces clear, and clear surfaces make any room look bigger.
Stop letting that gap be a trash trap. Turn it into a smart tool for your kitchen.
- Use the gap by the stove.
- Add wheels for smooth movement.
- Store spices in the pullout.
- Keep counters free of items.

Pallet Pot and Pan Hangers
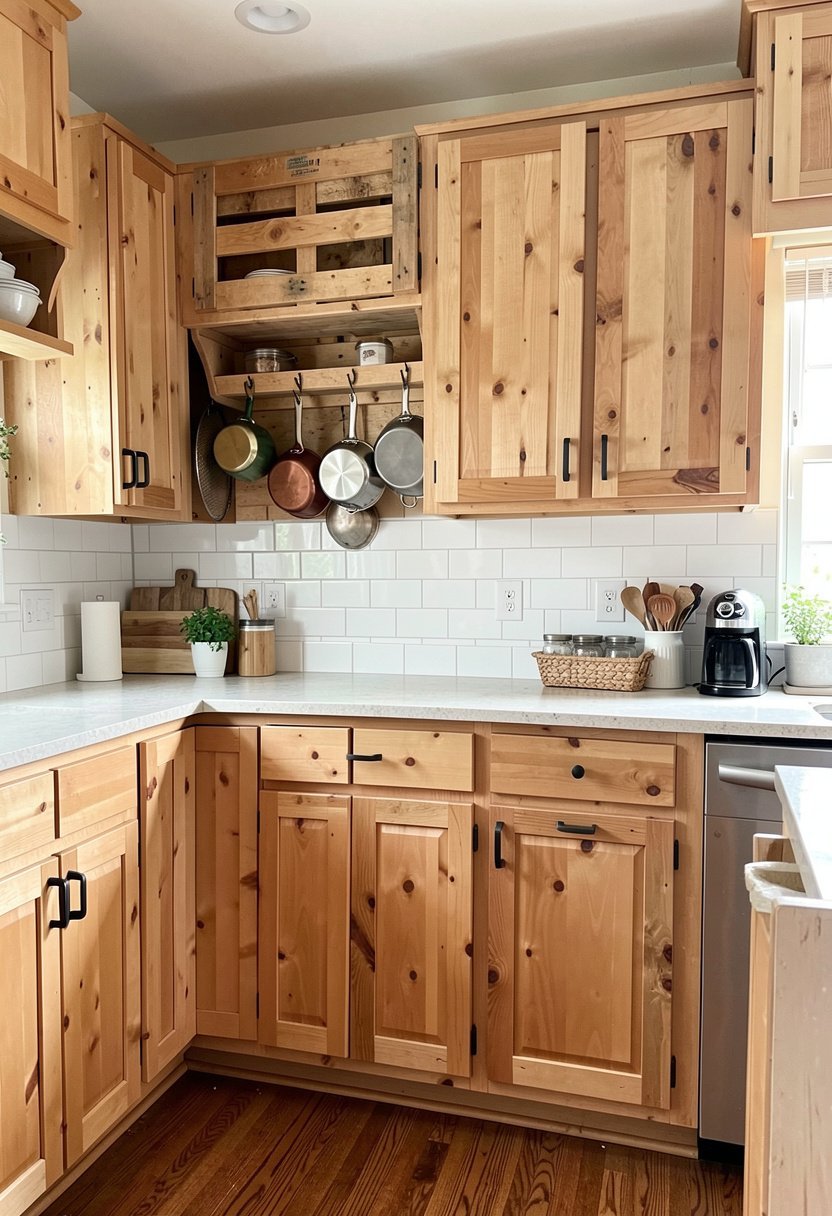
Stop stuffing your pots into deep cabinets, where they clatter and bang every time you want a lid. Build a sturdy pallet frame for the wall, and hang your gear on hooks. It looks professional, like a chef lives here, and it clears out so much space underneath your counters. People who hide their pots in dark corners are just missing out.
Measure your biggest pot first, because if it hits the counter, you will regret it. Make sure the hooks are strong, and spaced out, so everything hangs flat against the wall. When your tools are visible and organized, your kitchen feels purposeful, and those empty cabinets underneath start to look like hidden gems for other things.
It feels like a big, open studio kitchen. Plus, you save yourself the stress of digging for pans.
- Hang pots on the wall.
- Measure for the biggest pan.
- Space hooks for flat storage.
- Leave lower cabinets for pantry.

✅ See Also: 12 Pink Kitchen Cabinet Ideas (Anyone Can Copy)
Reclaimed Wood Kitchen Island Bases
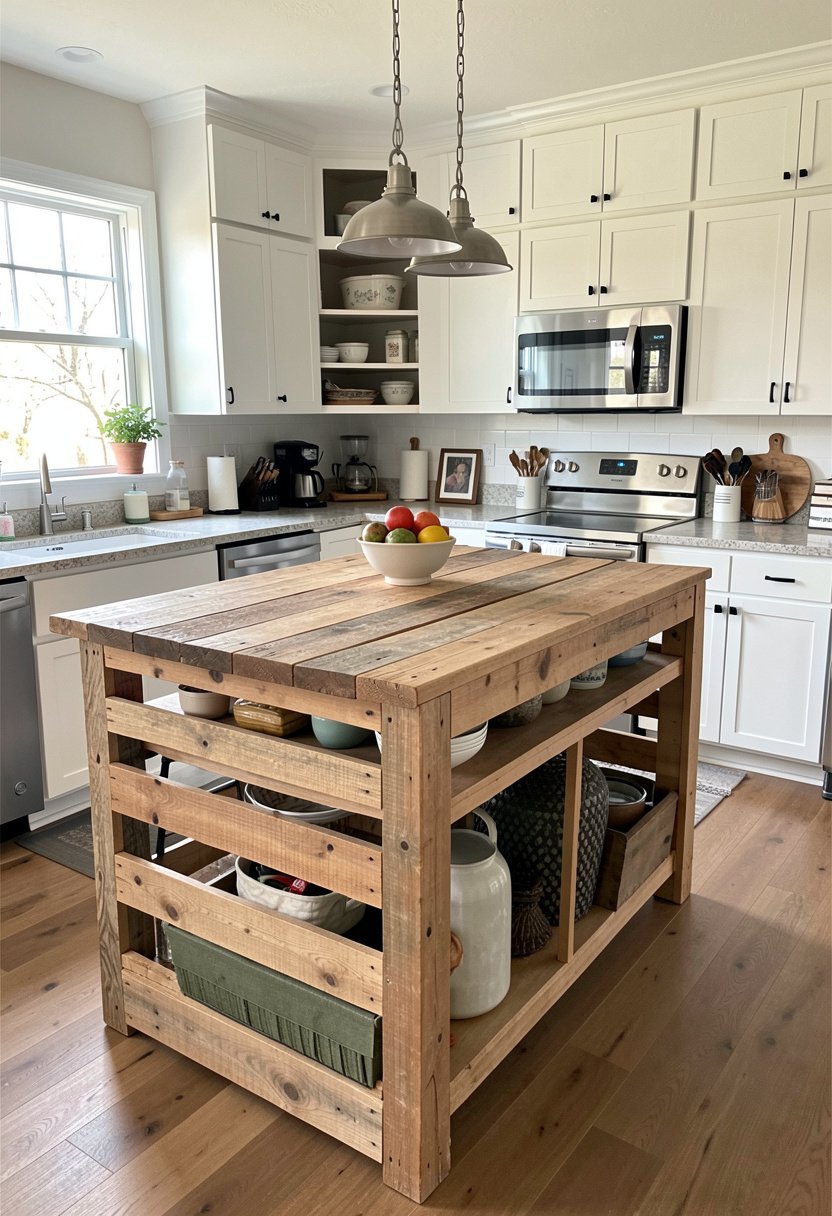
Every small kitchen dies without a good island, but store ones are way too bulky. Use a pallet frame to build a custom island base that fits your specific needs. You can keep it open at the bottom, which lets you see the floor, and makes the room feel much larger. Solid boxes on the floor just kill the flow.
Top it with a nice, thin piece of wood, or even tile, to keep it light. I hate those massive granite islands that take over the room. Your kitchen should be a place to move, not a place to dodge obstacles. An open base gives you that extra workspace without the heavy visual weight of a solid cabinet.
This is the best way to get more prep space, without making the room feel like a crowded box.
- Build an open island base.
- Avoid solid, bulky cabinets.
- Use a thin, light countertop.
- Keep the floor visible underneath.

Corner Pallet Cabinet Organizers
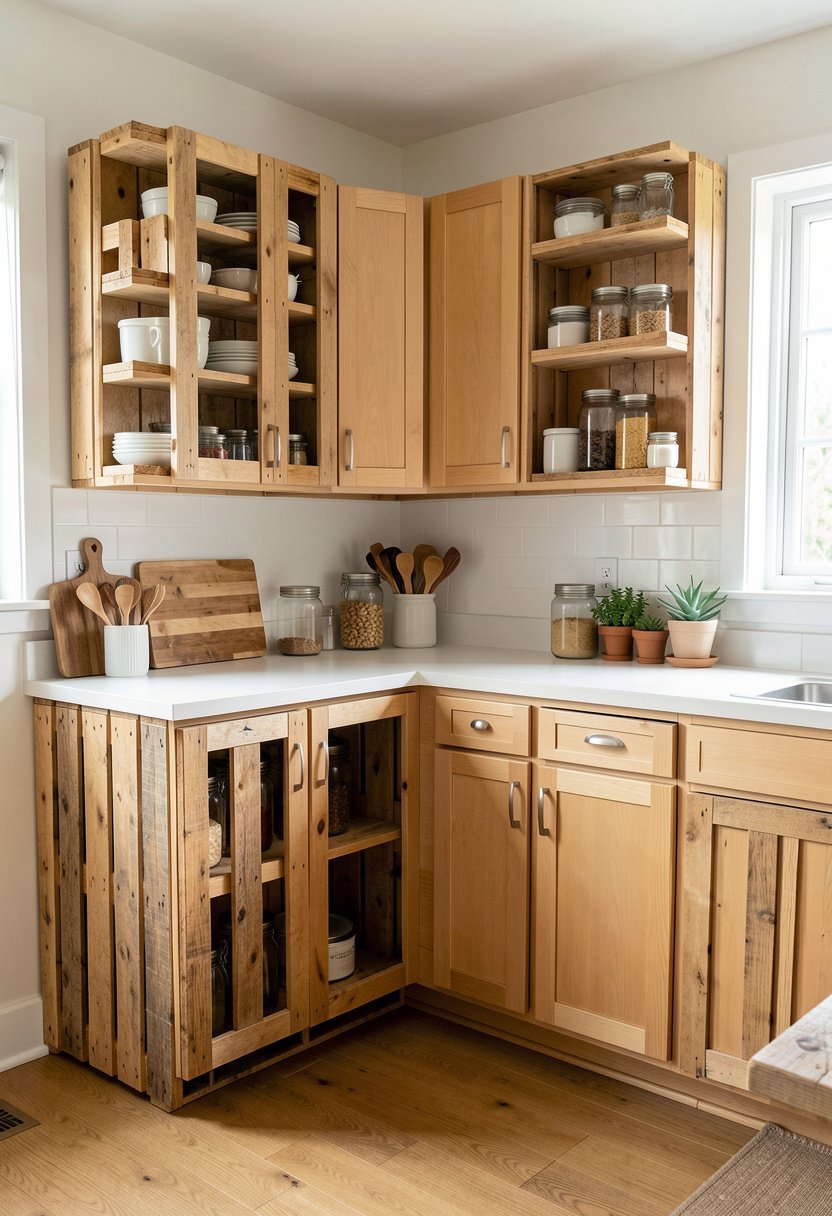
Corners are where storage goes to die. I have seen so many kitchens where the corner cabinet is a dark, black hole of lost Tupperware. Fix this with a custom corner insert made from thin pallet slats. It pulls everything out where you can reach it, so you never lose track of your stuff.
Organized kitchens always feel bigger because they are not overflowing with clutter. If you can see what you have, you stop buying duplicates, and your cabinets stay lean. Build it so it spins, or pulls out, and you will never go back to those frustrating deep corners. It is a small change, but it makes a massive difference daily.
Stop fighting your cabinets. Build something that actually works for you, and keep your space clean.
- Use inserts for corner space.
- Make storage reach the front.
- Clear out your lost items.
- Keep your cabinet inventory light.

Pallet Backsplash Feature Wall
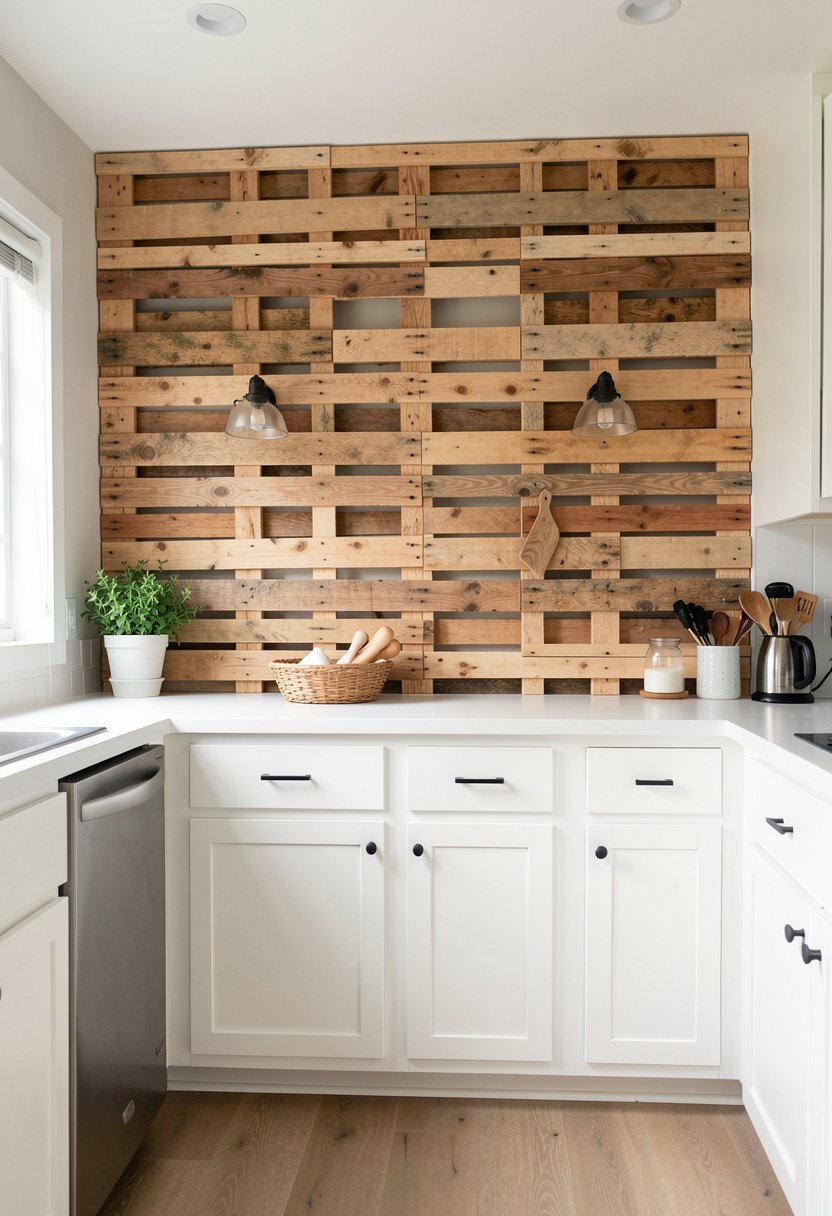
If you have a boring wall, don’t waste money on fancy tile, just use thin, sanded pallet slats for a feature wall. It adds warmth, and texture, but keep it to one wall so you do not overwhelm the space. People who cover every single inch in wood end up living inside a sauna. Don’t be that person.
Seal it really well, because grease in the kitchen is real, and it will ruin raw wood in a week. A good, clear poly coat makes it wipeable, and keeps it looking fresh. This draws the eye to the back of the room, which creates an illusion of depth, and makes the whole area feel a lot longer.
It is a smart, cheap way to make a kitchen look custom, and intentional, right away.
- Use thin slats for walls.
- Focus on just one side.
- Apply heavy duty sealer coats.
- Use depth to stretch rooms.

Pallet Coffee Station Nook
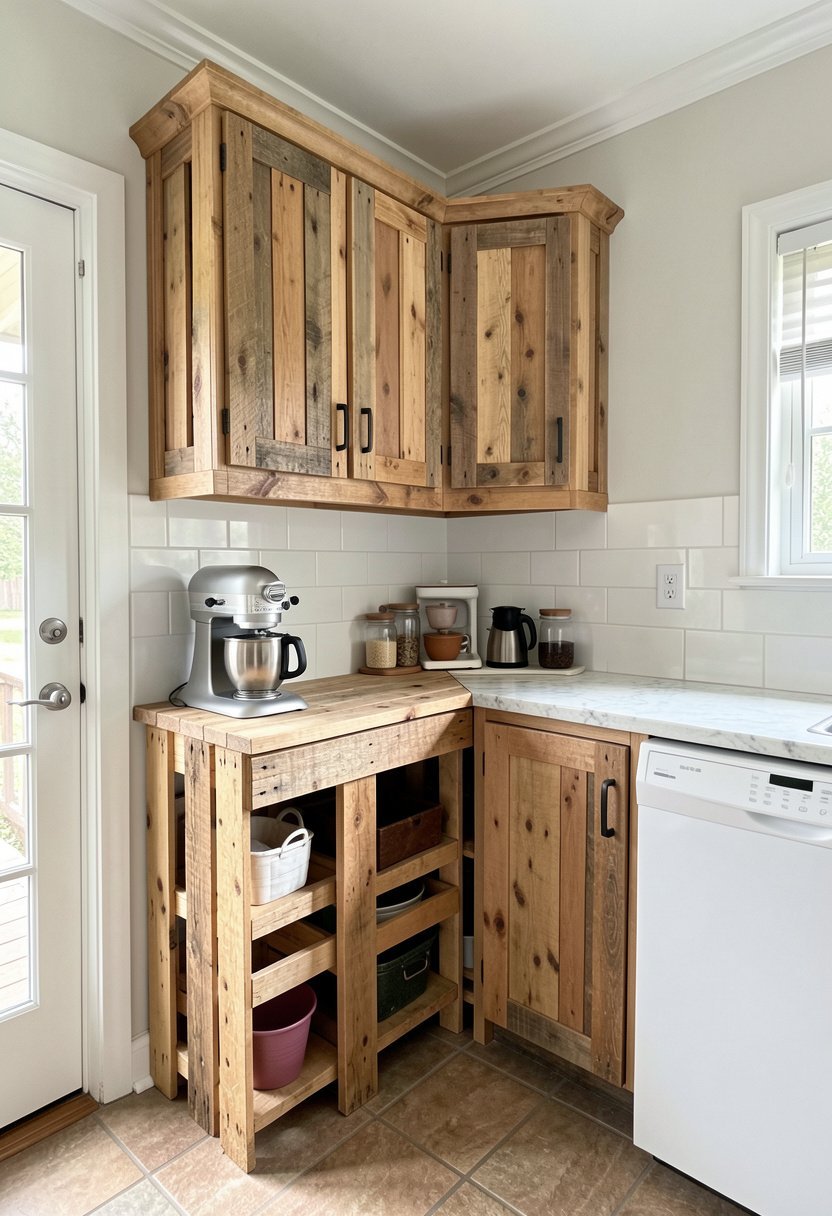
Most of us waste counter space on coffee gear, mugs, and sugar bowls. Build a dedicated pallet shelf, or a tiny hutch, just for your morning brew. It gets all that clutter off your main counters, giving you room to actually cook. When your counters are empty, your kitchen instantly feels twice as big.
I built one for my corner, and it makes the room feel so cozy, like a real cafe. Keep it simple, with hooks for mugs underneath, and a shelf for the machine. It is a small zone, but it keeps the rest of your kitchen clean, and that makes a huge difference in how the room feels.
Do not let your coffee stuff take over. Give it a home, and keep it neat.
- Designate a specific coffee spot.
- Hang mugs from bottom hooks.
- Clear your main prep counters.
- Group items for easy access.

Painted Pallet Fronted Drawers
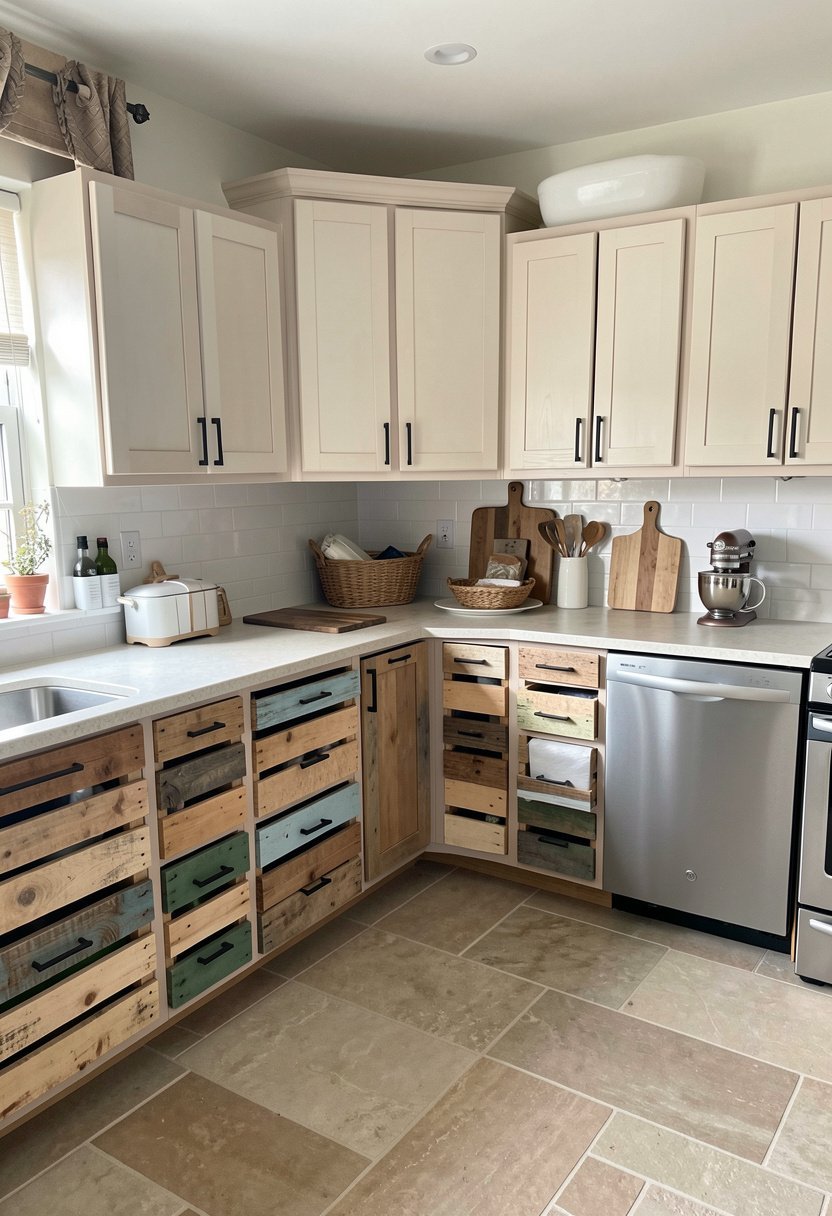
Sometimes you just want to update the look of your existing cabinets without ripping them out. Get some thin pallet wood, cut it to size, and attach it to your drawer fronts. Paint it a bright, soft color, like sage or light gray, to keep the room feeling wide. The texture of the wood makes it look high end, and custom.
Don’t use dark colors, or your kitchen will look like a cave. Dark colors are a trap for small rooms, and they make walls feel like they are closing in on you. Keep it light, keep it bright, and your kitchen will feel refreshed. This is the fastest, and cheapest, way to get a new kitchen vibe.
You will feel like you spent thousands, when you really just spent a weekend.
- Cover drawer fronts with wood.
- Use light, bright colors only.
- Avoid dark paint in kitchens.
- Add texture for luxury feel.

Under Sink Pallet Organizers
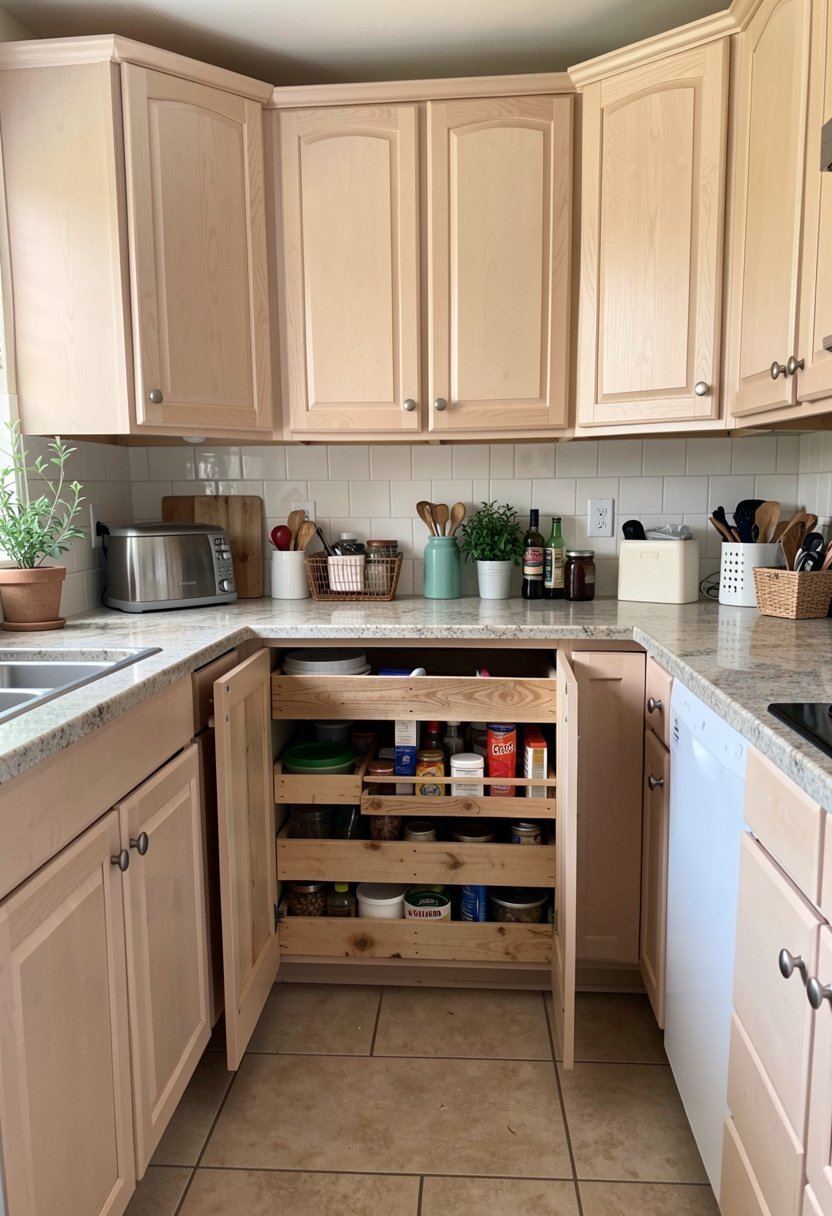
The area under the sink is always a disaster, full of soap, sponges, and pipes. Build a simple pallet frame that fits around the plumbing, and gives you shelves for your cleaning gear. Most people leave this space empty, or just toss things in, but a custom shelf doubles your storage, and keeps things tidy.
When everything has a home, you don’t need extra cabinets, or more storage furniture. You just need to be smarter with the space you already have. Less furniture means more room for you to stand, and move around. A cramped kitchen is just an unorganized kitchen, so fix your under sink mess first.
This is the secret to a kitchen that feels professional, and clean, even when it is tiny.
- Build shelves under the sink.
- Fit frame around the pipes.
- Group cleaning gear on shelves.
- Free up your floor space.

Pallet Display Tray Centerpiece
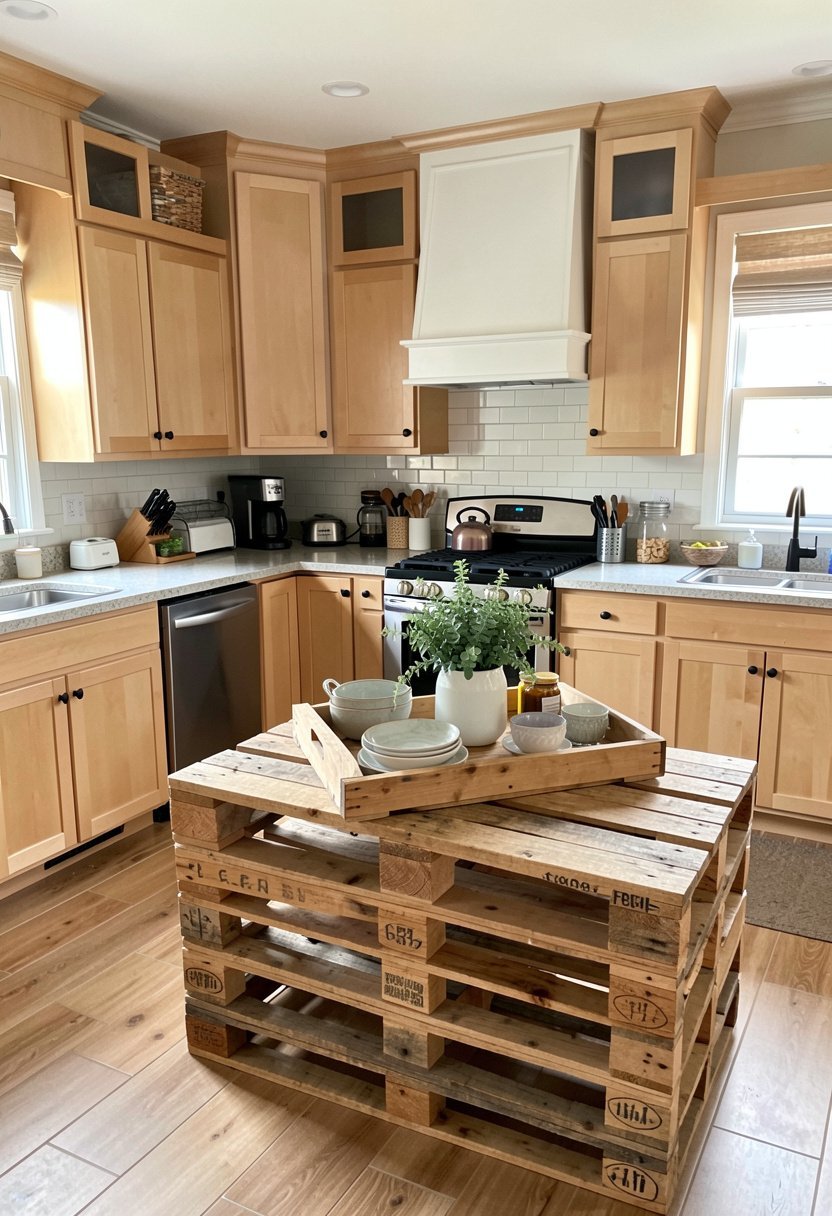
Sometimes you need a little something on the table or island, but do not want a bulky centerpiece. A low, flat pallet tray keeps your fruit, or napkins, perfectly contained. It adds a touch of wood, which ties your pallet theme together, without taking up all your precious counter space.
I see people putting huge, heavy vases in tiny kitchens, and it drives me crazy. It blocks your sight lines, and that makes the room feel small. Keep it low, keep it flat, and your eyes will travel across the room, making it feel much bigger than it really is. It is the little details that win the day.
Keep your surfaces clear, and your centerpieces low. It is a simple, effective way to decorate.
- Keep your centerpiece very low.
- Use wood to match cabinets.
- Keep sight lines totally clear.
- Avoid big, bulky table decor.

Final Thoughts
I hope these ideas gave you the confidence to start your own project today. Do not worry about perfection, because wood has character, and that is what makes it so special. Just take your time with the prep, keep your colors light, and trust your gut. You do not need a big budget to build a space you love. Seriously, you have got this.
| Pallet Idea | Difficulty | Space Saved |
|---|---|---|
| Sanded Frames | Easy | Low |
| Open Shelves | Medium | High |
| White Washed | Easy | Low |
| Wine Rack | Medium | Medium |
| Pullouts | Hard | High |
| Pot Hangers | Medium | High |
| Island Base | Hard | Medium |
| Corner Inserts | Hard | High |
| Feature Wall | Medium | Low |
| Coffee Nook | Easy | High |
| Drawer Fronts | Medium | Low |
| Under Sink | Medium | High |
| Display Tray | Easy | Low |
| Storage Bin | Easy | Medium |
| Wall Hook | Easy | Medium |
Frequently Asked Questions (FAQs)
Is It Safe to Use Pallet Wood Inside the Kitchen for Storage?
It is safe if you source heat-treated pallets, marked with HT, instead of chemical-treated ones. Always sand the wood thoroughly to prevent splinters from getting into your food. Use a food-safe sealer to ensure no dust or oils collect on the surface.
Can I Paint My Pallet Cabinets a Dark Color?
You should avoid dark colors because they absorb light, making your kitchen look smaller and more cramped. Stick to light, airy colors that bounce light around. If you really want dark wood, keep it to small accents, not your entire cabinet set.
Are Pallet Projects Actually Cheaper Than Buying Store Cabinets?
They are much cheaper if you find free pallets and do the work yourself. The cost is mostly for sandpaper, sealer, and screws. Store cabinets involve massive markups, shipping fees, and assembly costs that add up quickly for a small kitchen space.
Do I Need Special Tools to Build These Pallet Kitchen Ideas?
You really only need a basic saw, a drill, and a sander to get started. Do not let people convince you that you need a huge workshop full of fancy equipment. Simple tools are enough for these projects, if you are careful.
Should I Sand the Pallet Wood Before I Start Building?
You must sand the wood before you build anything. It removes grime, splinters, and old dirt that you do not want in your cooking area. Sanding also makes the wood look finished and professional instead of like trash from a warehouse.
Will the Pallet Wood Rot Near My Kitchen Sink?
Wood will rot if you leave it damp or exposed to standing water. You have to use a high-quality, water-resistant sealer on every inch of the wood. Keep it wiped dry, and avoid soaking the surface, to keep it pristine.
Does Pallet Wood Look Cheap in a Modern Kitchen?
It looks cheap if you build it poorly or leave it rough. If you take the time to sand, seal, and paint or stain it with care, it looks like custom, high-end woodwork. The style depends on your effort and finishing.
Can I Combine Pallet Furniture with Existing Kitchen Cabinets?
You can easily mix them. Adding a pallet shelf or a small pullout to your current kitchen adds warmth without needing a total remodel. Start with one small item, see how it looks, and then add more if you like.