Sticky fingerprints cover your current dark cabinets every single afternoon. You spend way too much time scrubbing away grime that never seems to leave.
Most people pick a stark white paint that shows every tiny speck of dirt immediately. They end up cleaning all day because they chose the wrong finish for a busy kitchen.
Follow these steps to choose the right shade and glaze for your space. You will stop worrying about maintenance and finally get that warm, cozy kitchen look you crave. My 13 antique white kitchen cabinet ideas help you pick a style that stays clean and looks high end without any professional help.
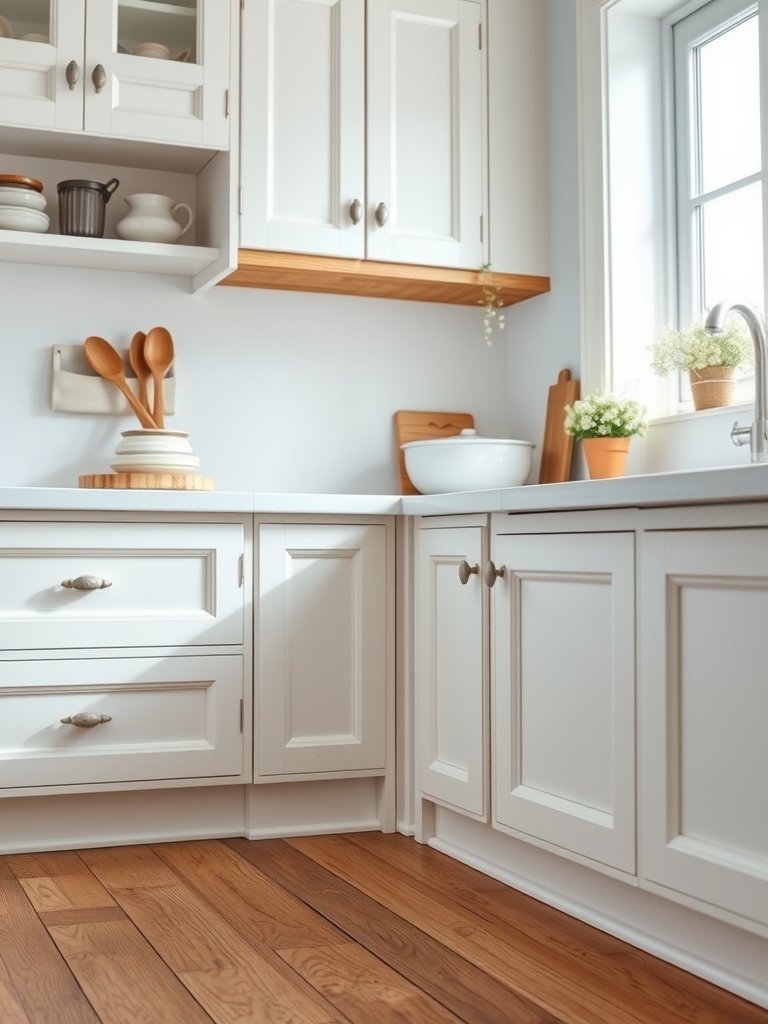
Use Warm Creamy Base Tones
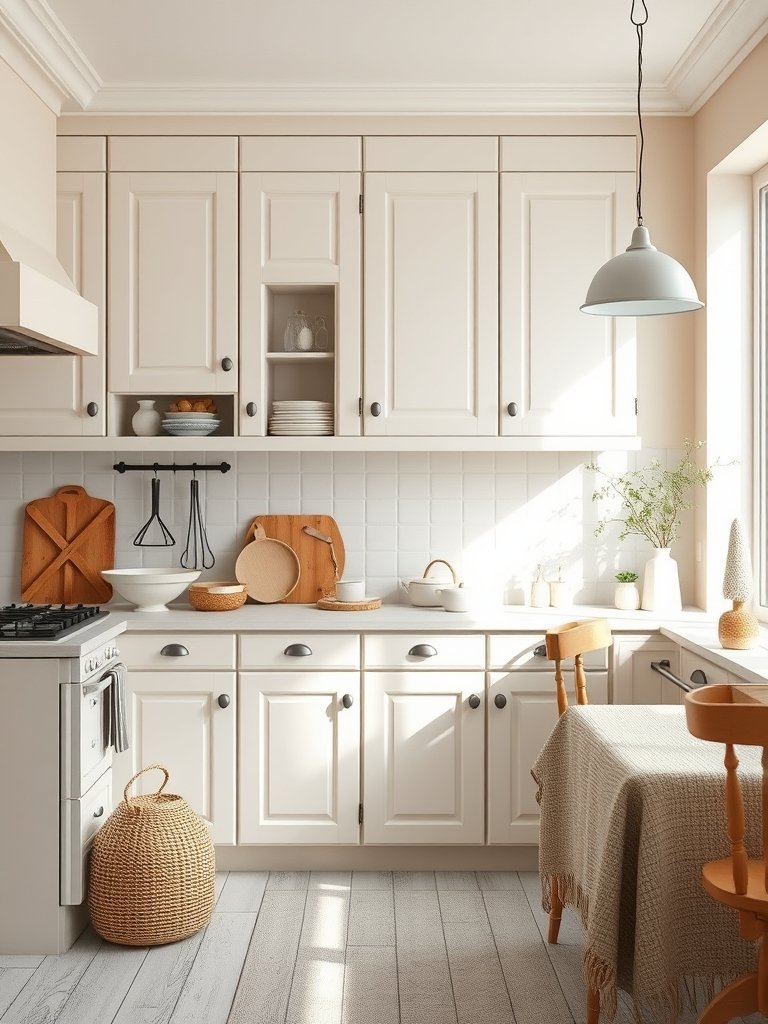
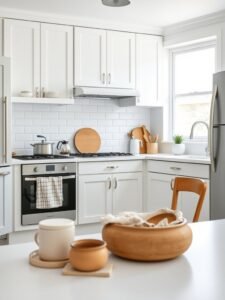
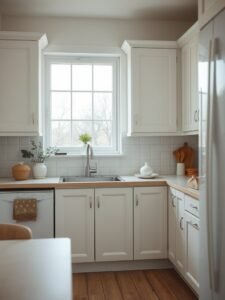
Choosing the right paint color matters more than anything else in your kitchen renovation. Many people select a cool white that makes a kitchen feel like a hospital room. You want a warmer, creamier tone that feels inviting when you walk in the door.
Pick a creamy white paint that has yellow or beige undertones to create a soft base for your walls. This warmth makes the room feel cozy while hiding minor dust particles between your deep cleanings. You should buy several sample pots to test on your cabinet doors before you commit to painting the entire kitchen.
Test these samples at different times of the day to see how the light changes the color. You want a shade that looks good in the morning sun and under your artificial lights at night. A soft base saves you from a cold, sterile kitchen vibe.
- Select creamy shades with yellow undertones.
- Test paint samples on cabinet doors.
- Avoid bright cool white colors.
- Check how light changes the paint.
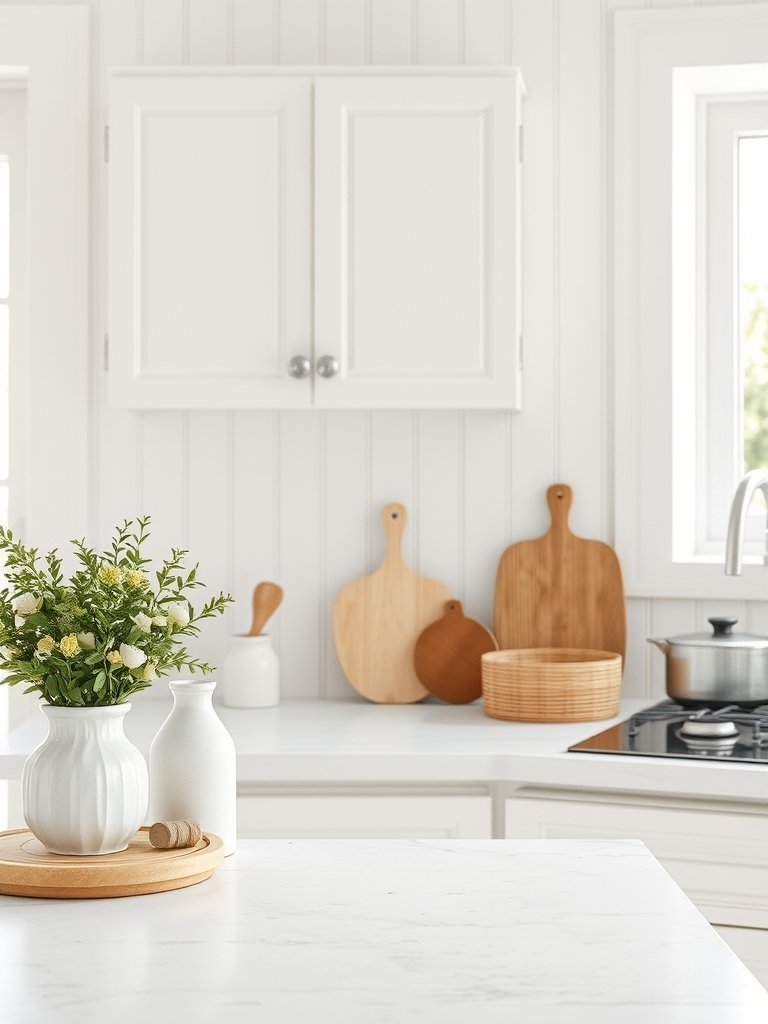
Apply Dark Brown Glaze Details
Adding a dark glaze to your antique white cabinets adds depth and character to every single door. You might think painting is enough, but glazing brings out the details in your trim. It highlights the grooves and gives your kitchen a custom, high end appearance that costs very little.
Rub a thin layer of dark brown glaze over your painted cabinets using a soft, lint-free cloth. Wipe away the excess glaze quickly so it only stays in the deep crevices and corners. This simple trick makes plain flat-panel cabinets look like expensive custom woodwork from a fancy shop.
Practice on a scrap piece of wood before you touch your actual cabinet doors to perfect your technique. You will find that a light touch creates a better result than glopping the glaze on heavily. Take your time to get the look just right.
- Use dark glaze for deep detail.
- Apply with a soft clean cloth.
- Wipe off excess glaze quickly.
- Practice on scrap wood first.
Choose Matte Finishes for Durability
Picking the right sheen for your paint protects your hard work from daily wear and tear. Glossy paints show every bump, scratch, and smudge on your cabinet surfaces. You want a matte or satin finish that absorbs light and covers up those tiny imperfections naturally.
Matte finishes are very forgiving in a high-traffic area like a busy family kitchen. They offer a smooth, chalky look that suits an antique style perfectly without being shiny. You can find durable cabinet paints that offer a flat look but still handle scrubbing with a wet sponge.
Ask the shop for a paint that resists moisture since your kitchen gets steamy during dinner prep. A flat finish looks better over time because it does not highlight the oily fingerprints that happen near your stove or handles. Use these paints for a long-lasting look.
- Select matte or satin finishes.
- Avoid high gloss cabinet paint.
- Choose paint that resists moisture.
- Use washable paint for durability.
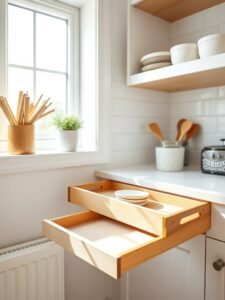
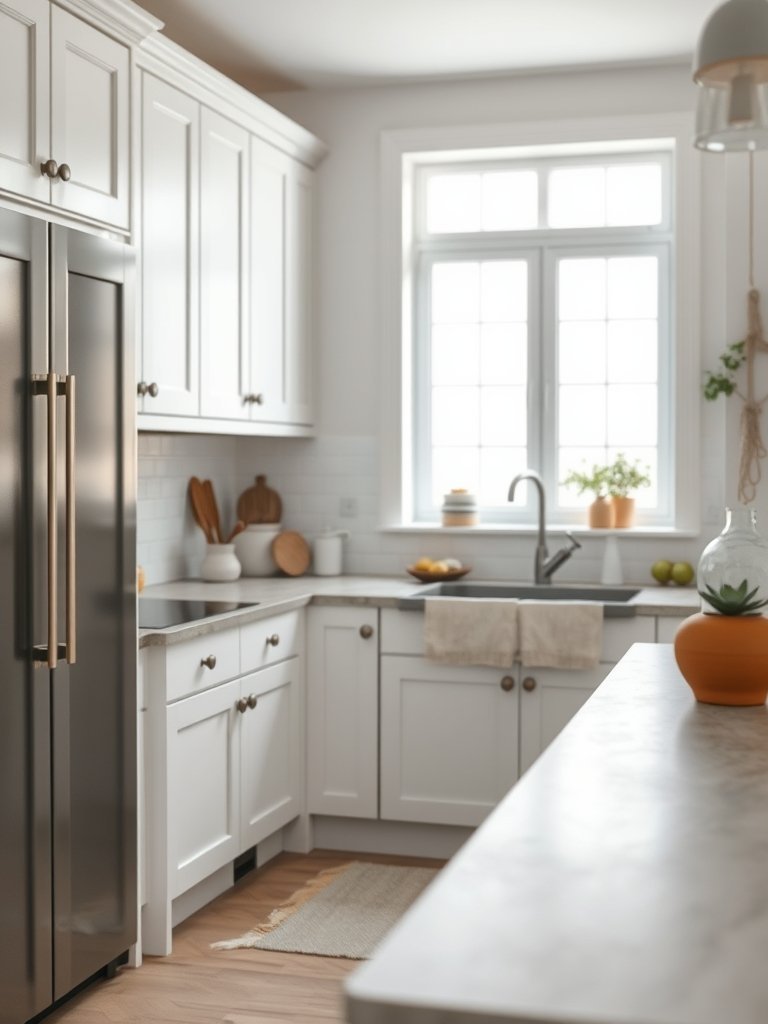
Add Oil Rubbed Bronze Hardware

Old-fashioned white kitchens need dark hardware to ground the design and create a clear focal point. Chrome or silver handles often look too modern against an antique white paint job. You should look for oil rubbed bronze pieces that provide a nice contrast to the soft, light cabinets.
These dark handles match the glaze in your crevices and tie the whole room together perfectly. You can find these at most hardware stores in various shapes like cups, pulls, or simple knobs. Installing new hardware takes less than an hour but completely changes how your kitchen feels when you walk in.
Measure your existing holes carefully before you buy new handles so you do not have to drill again. Standard sizes make swapping out your old hardware very easy for anyone with a simple screwdriver. Dark metal creates a classic, vintage, and warm kitchen feel.
- Buy oil rubbed bronze hardware.
- Use pulls for a vintage look.
- Measure existing holes before buying.
- Install new hardware with ease.
Install Glass Front Cabinet Doors
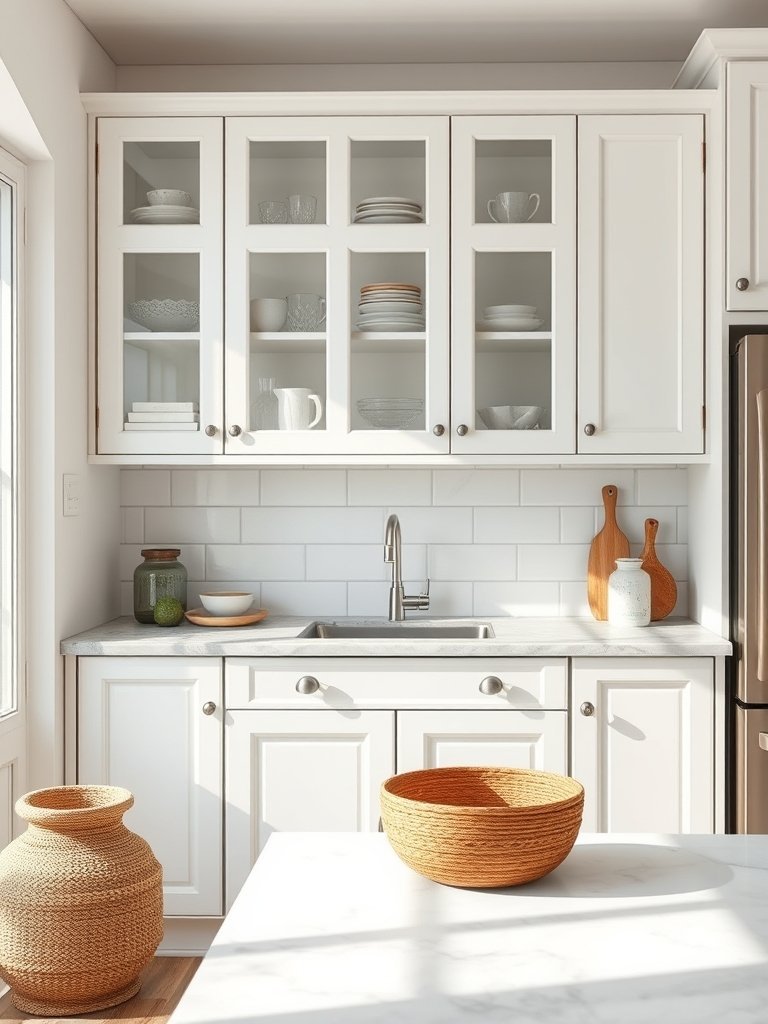
Open up your kitchen by swapping out a few solid wood panels for glass inserts. You do not need to replace the entire cabinet frame to get this high-end look. Simply remove the center panel and install clear or seeded glass to show off your favorite plates.
Glass doors force you to keep your dishes organized but they also make the room feel much larger. You can place an antique bowl or a set of white mugs inside to continue the vintage style. Seeded glass works especially well for hiding items while still adding that classic, airy aesthetic.
Hire a local glass shop to cut the pieces to size so they fit your frame perfectly. You can use wood trim to hold the glass in place instead of using messy glue. This adds a level of elegance that solid wood doors just cannot match.
- Replace panels with glass inserts.
- Use seeded glass for character.
- Keep dish displays very tidy.
- Cut glass to fit frames.
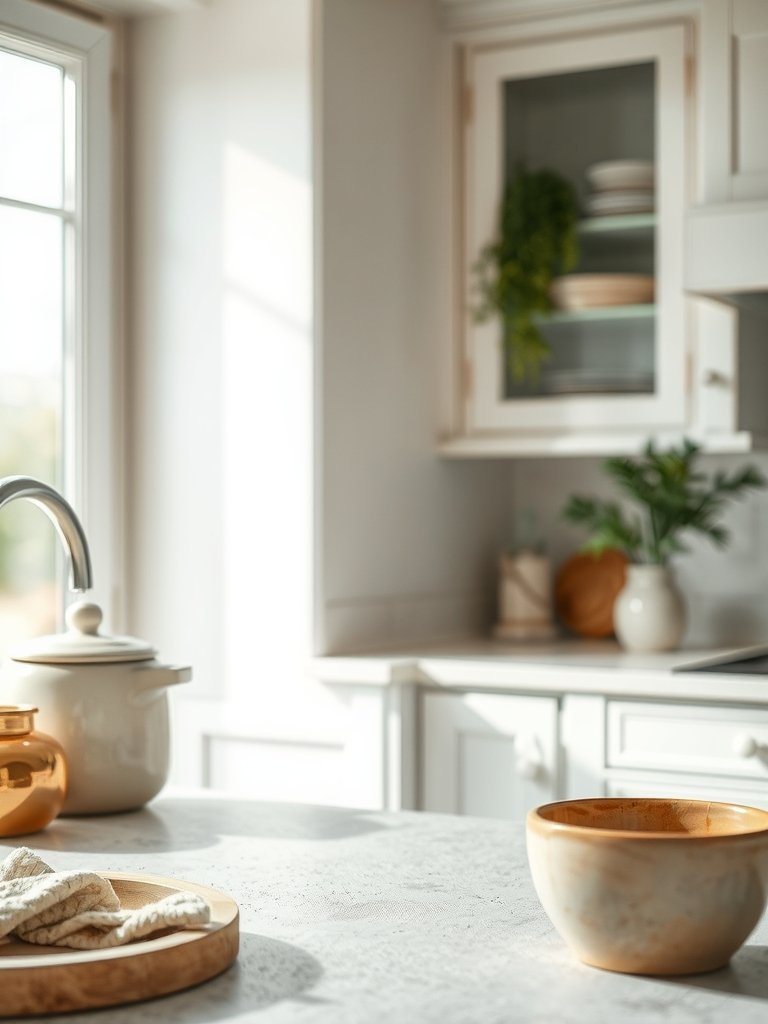
Keep Your Crown Molding Simple
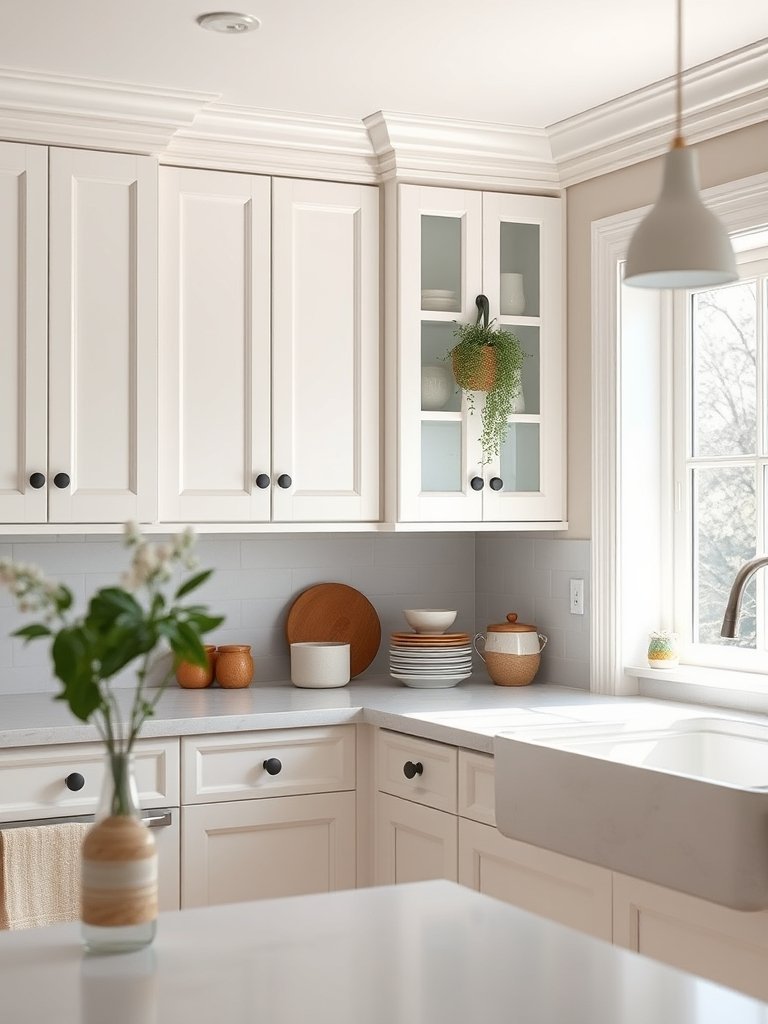
Antique white cabinets look best when they have a bit of height and fancy top trim. You can buy premade crown molding at the store and paint it to match your cabinet color. Attach it to the very top to draw the eye upward and make your ceilings feel taller.
Avoid overly complicated shapes that attract too much dust and are hard to clean over time. Simple, clean curves work best with the vintage theme and allow you to reach everything easily with a duster. You want the molding to look like a natural part of the cabinet construction.
Secure the molding with finishing nails and a little wood glue for a strong, permanent bond. Cover the nail holes with a tiny dab of paint so nobody can see where you attached the pieces. This simple addition makes basic cabinets look like expensive custom furniture pieces.
- Buy pre-made crown molding trim.
- Match molding to cabinet paint.
- Use simple curves for cleaning.
- Glue and nail molding securely.
Add Under Cabinet Lighting Fixtures
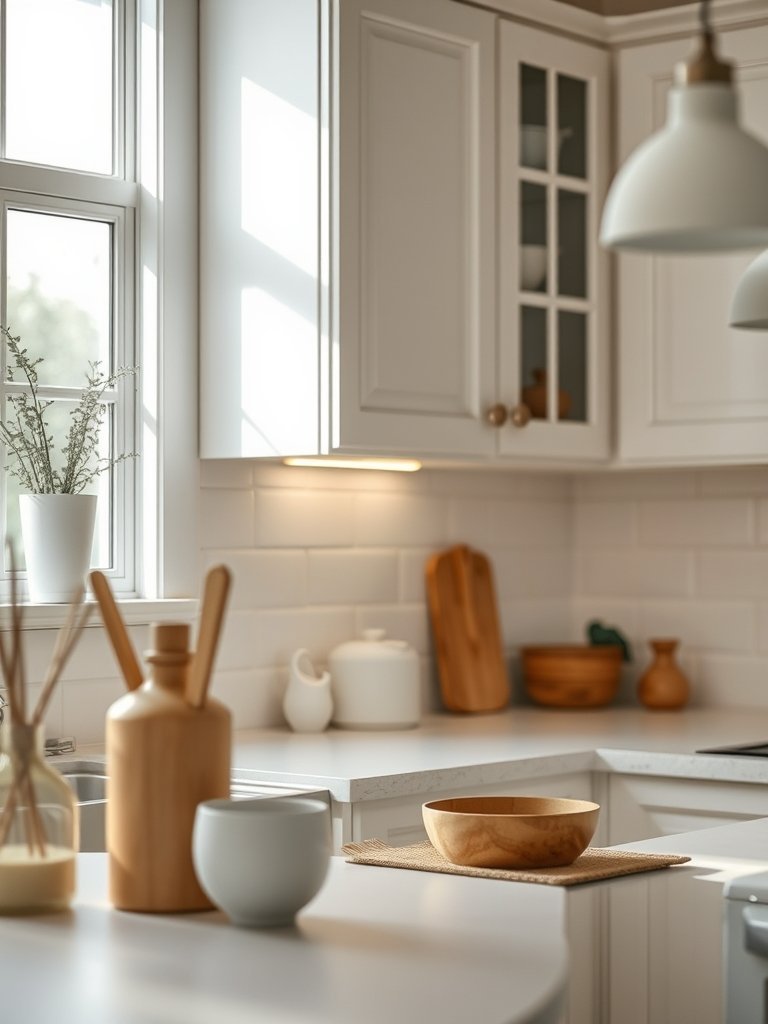
Dark shadows often hide the beauty of your cabinets when you use a warm antique finish. You should add slim LED light strips underneath your upper cabinets to brighten the workspace. This makes cooking easier and highlights the texture of your paint and glaze during the evening.
Look for light strips that have a warm color temperature rather than a harsh blue glow. You can wire these directly into your outlet or use battery versions for a faster installation process. These lights change the mood of the room instantly for very little extra effort.
Place the strips toward the front edge of the cabinet so the light hits the counter well. You can hide the cords by running them along the wall or tucking them into small clips. Good light makes your vintage kitchen feel fresh, bright, and very professional.
- Install slim LED light strips.
- Choose warm color light bulbs.
- Place lights near front edges.
- Hide wires with small clips.
Use Beadboard Backing For Texture
Adding beadboard inside or behind your cabinets brings a subtle, country feel to your kitchen design. You can buy thin sheets of beadboard at most big building stores for a low price. Cut these to fit the back of your open cabinets or the space between the counters.
Paint the beadboard the same antique white color to keep the look consistent and very clean. This adds vertical lines that make your kitchen look taller and more interesting than flat walls. You can attach the boards using a nail gun or simple construction adhesive for speed.
This is a great trick if your cabinet backs are damaged or look worn out after years of use. It covers everything up perfectly and adds a layer of texture that works well with vintage knobs. The finish creates a cozy, cottage look that feels very inviting.
- Cut thin beadboard to size.
- Paint boards to match cabinets.
- Attach with nails or adhesive.
- Use to hide damaged backs.
Distress Edges With Sandpaper
If you want an authentic antique feel, you need to show a little bit of wear. Use a fine-grit sandpaper to gently rub the edges of your cabinet doors after you paint them. This exposes a tiny amount of the wood underneath and creates a natural, aged look.
Be careful not to overdo the sanding because you want it to look like it happened over years. Focus on the areas where people grab the doors most often, like handles and corners. This technique makes your kitchen feel like it has a long history and a unique story.
Wipe away the sanding dust with a damp rag before you apply any protective clear coat. A clear matte sealant protects the exposed wood from water damage while locking in the aged look. This DIY trick saves money and creates a beautiful, custom antique finish.
- Sand edges with fine paper.
- Focus on corners and handles.
- Wipe away dust before sealing.
- Apply clear matte top coat.
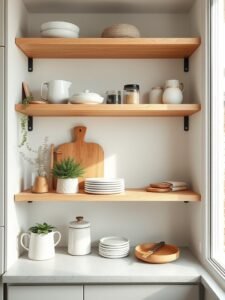
Mix Open Shelving With Cabinets
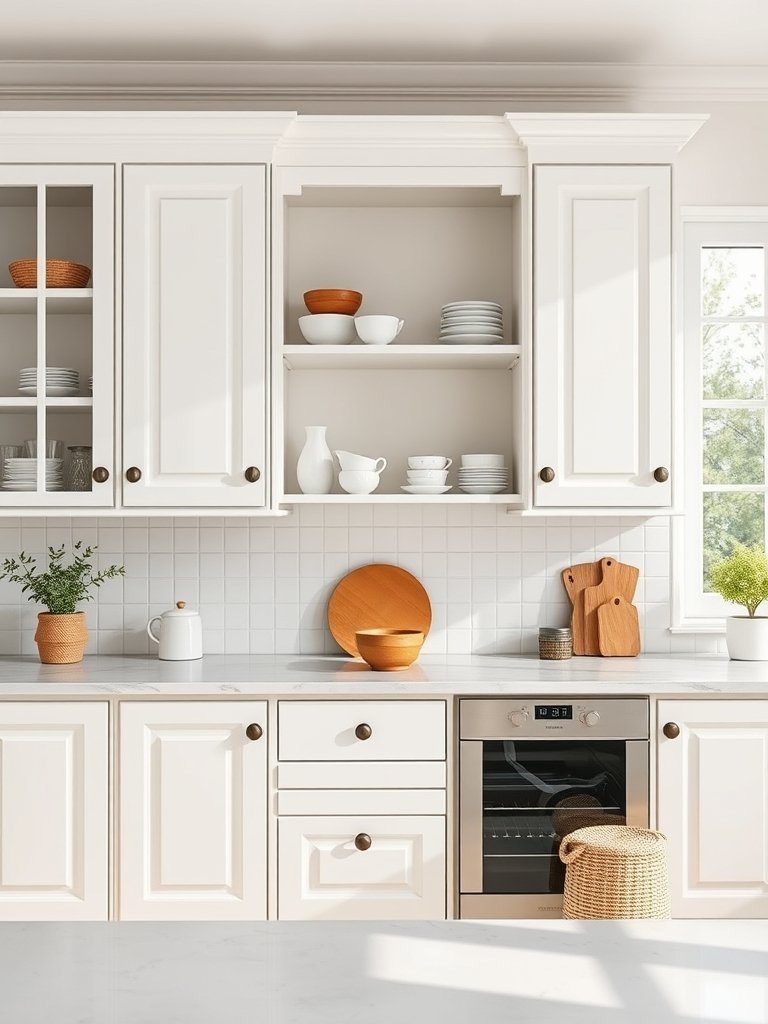
You do not need to have solid cabinets covering every inch of your kitchen wall. Remove one or two upper cabinet doors to create a balanced, open display for your cups. This breaks up the solid wall of white and lets you show off your personality.
Paint the interior of these open shelves a slightly different shade if you want a pop. Keep the shelves clean and organized so the area does not look cluttered or messy. Use wooden brackets to support your shelves and add an extra touch of vintage style.
Open shelves are perfect for items you use every day, like your favorite coffee mugs. You can change the items on display whenever you feel like updating the look. It keeps the kitchen feeling airy, light, and very functional for a busy lifestyle.
- Remove some cabinet door fronts.
- Create display space for mugs.
- Use wood brackets for support.
- Keep open shelf space organized.
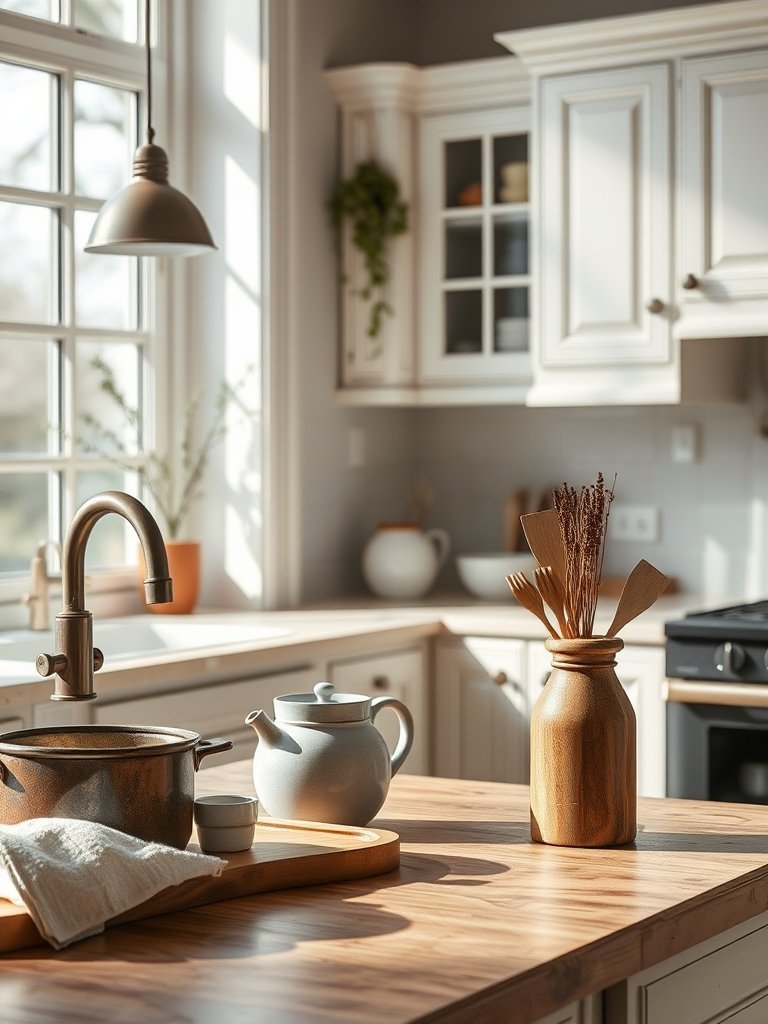
Select Natural Wood Countertops
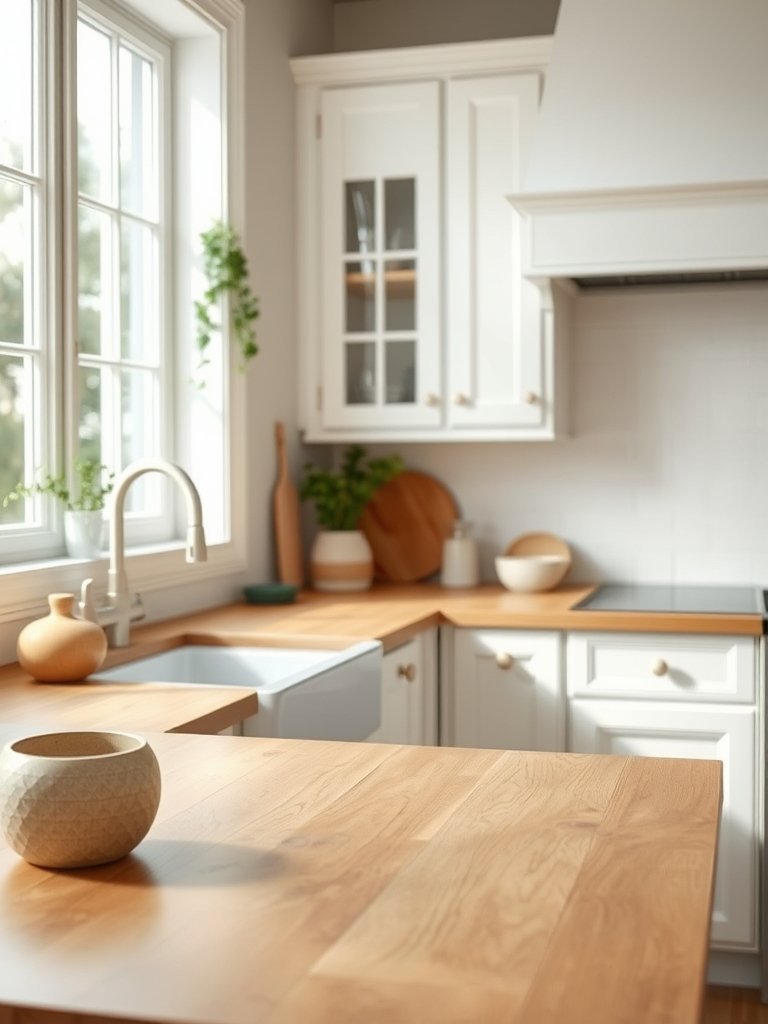
White cabinets look stunning when paired with natural wood butcher block counters. The warmth of the wood balances the antique white paint and makes the kitchen feel grounded. You can find pre-cut wood slabs that fit standard cabinet sizes very easily at local shops.
Apply a food-safe oil to the wood regularly to keep it looking rich and protected from moisture. This finish develops a beautiful patina as the years pass by in your kitchen. Butcher block is much softer on your hands and dishes than stone or tile surfaces.
Make sure you seal the edges well near your sink to prevent any water stains. You might need to sand and re-oil the surface once a year to keep it fresh. The combination of white paint and warm wood is a classic choice for any home.
- Buy pre-cut wood counter slabs.
- Apply food-safe oil regularly.
- Seal edges near the sink.
- Sand annually to refresh wood.
Use Decorative Feet On Bases
Adding small wooden feet to the bottom of your base cabinets makes them look like furniture. You can buy these feet at most craft stores and attach them to the toe kick area. Paint them to match the cabinets so they blend in perfectly with your design.
This creates a high-end look that usually only comes with expensive, custom-made kitchen sets. It breaks up the long line of your base cabinets and makes the floor space feel more open. You can even add a small decorative trim around the base for more detail.
Measure your cabinets first to ensure the feet fit the height you need for comfort. A little bit of wood glue and a few nails will keep these feet secure. This small project is a great way to elevate your antique white kitchen style.
- Buy wooden feet at stores.
- Attach to the toe kick.
- Paint to match cabinet color.
- Use glue for extra security.
Install Vintage Style Light Fixtures
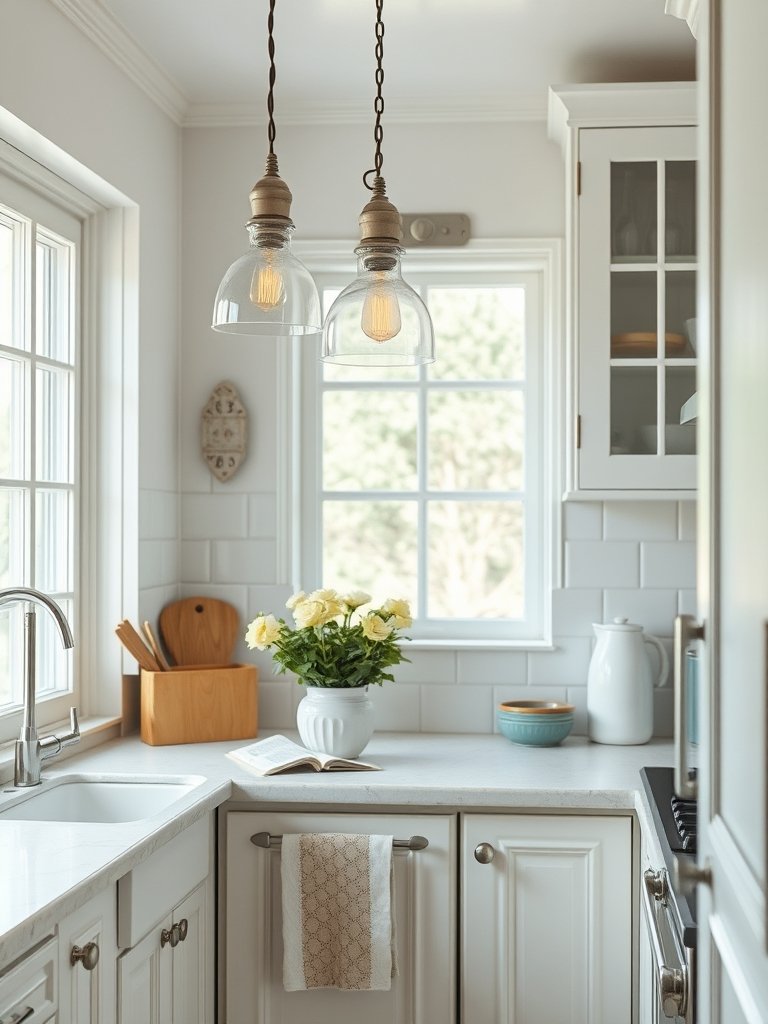
Complete your antique kitchen look by replacing your boring ceiling lights with vintage style fixtures. Look for metal lanterns, glass pendants, or simple farmhouse style chandeliers. These pieces act as jewelry for your kitchen and pull the whole antique theme together nicely.
Choose warm white bulbs to ensure the light feels soft and inviting in your newly painted space. Installing new lighting usually just involves turning off the power and following the wire instructions. You can do this job yourself in an afternoon to finish your kitchen renovation project.
Check the size of your space before buying to make sure the light does not hang too low. You want plenty of room for walking underneath your new hanging lights. A beautiful light fixture makes all your hard work on the cabinets really shine.
- Use metal or glass pendants.
- Pick warm white light bulbs.
- Install safely with power off.
- Check height before hanging.
Final Thoughts
I hope you feel ready to start your kitchen project today. These ideas offer a simple way to get that classic look you want without spending a fortune. Take it one step at a time and do not rush the process. A little paint and some new hardware go a long way. You have all the skills needed to create a space you love. You’ve got this.
Kitchen Decor Upgrade Checklist
| Step | Action | Time Needed |
| :— | :— | :— |
| 1 | Buy Paint | 1 Hour |
| 2 | Clean Surfaces | 2 Hours |
| 3 | Sand Doors | 3 Hours |
| 4 | Apply Primer | 4 Hours |
| 5 | Paint Base | 5 Hours |
| 6 | Apply Glaze | 2 Hours |
| 7 | Seal Finish | 2 Hours |
| 8 | Buy Hardware | 1 Hour |
| 9 | Install Pulls | 1 Hour |
| 10 | Change Lighting | 2 Hours |
| 11 | Add Shelving | 3 Hours |
| 12 | Add Feet | 2 Hours |
| 13 | Oil Counters | 1 Hour |
| 14 | Organize Items | 2 Hours |
| 15 | Enjoy Kitchen | Always |
Frequently Asked Questions (FAQs)
Is it hard to paint kitchen cabinets?
Painting cabinets takes patience but it is not difficult. You must clean the grease off first so the paint sticks well. Use a good primer to block stains and always use a quality brush or roller. If you follow these simple steps, you will get a smooth finish that lasts for years.
Can I paint my cabinets without sanding?
You should always sand lightly to help the paint grip the surface. Skipping this step often leads to paint peeling off later. A quick sand with fine paper makes a huge difference in the final look and durability. It is worth the extra time to ensure your hard work stays on the doors.
Are antique white cabinets out of style?
These cabinets remain a classic choice for many homeowners. They offer a warm, timeless feel that never looks dated like some trendy colors. You can pair them with modern hardware or vintage pieces to keep the kitchen feeling fresh and current. They work in almost any home style you choose.
Do antique white cabinets show dirt?
These cabinets hide dust much better than bright, stark white paint. The creamy tones camouflage small particles and fingerprints throughout the day. You should still wipe them down occasionally to keep them looking clean, but you will not spend every single hour scrubbing them like you would with pure white.
Should I glaze my white cabinets?
Glazing is a great choice if you want to highlight the trim and edges. It adds depth and a vintage character to your kitchen cabinets. You do not have to glaze if you prefer a solid, clean look. Try it on one door first to see if you like the effect.
Will dark hardware look good with antique white?
Dark oil rubbed bronze or matte black hardware looks fantastic with these cabinets. It creates a bold contrast that grounds the space and adds interest. This choice is very popular because it looks expensive and vintage at the same time. You will love how the dark handles pop against the light paint.
Does kitchen lighting change the paint color?
Your kitchen light definitely affects how the color looks on the cabinet. Cool lights make the paint look whiter while warm lights pull out the creamy yellow tones. Always test your paint samples in your kitchen at different times of the day to see how the light changes the overall appearance.
Can I mix open shelving with my cabinets?
Mixing open shelves with closed cabinets is a perfect way to break up the visual weight. It allows you to display pretty dishes and makes the room feel larger. Just keep the items organized and clean so the space looks intentional rather than messy. This adds great personality to your room.