As an Amazon Associate, I earn from qualifying purchases at no extra cost to you.
12 Island Kitchen Cabinet Ideas (That Save You Money)
 ByRayan

Each time I walk into a kitchen, I see people wasting cash on custom cabinets, when they could have just hacked something better. You want a gorgeous island, but you think it needs a massive budget, and that is just wrong. I have fixed so many kitchens, and I promise you do not need to empty your wallet, or hire a fancy pro, to get the look you crave.
The problem is the industry loves to sell you expensive, pre-made islands that fall apart in a year. They look shiny in the store, but they are built like cardboard, and they scratch if you look at them too hard. Most people just buy them because they are tired, and lazy, and want the work done fast. You deserve better, and you want something that actually lasts.
Today, you will learn exactly how to build, or fake, a beautiful island that looks like it cost a fortune. I am sharing 12 island kitchen cabinet ideas that really work, and I am not holding back on the secrets. We are going to transform your space, save your bank account, and stop you from making those tired, expensive mistakes that every amateur falls for.
1. the Stock Cabinet Base
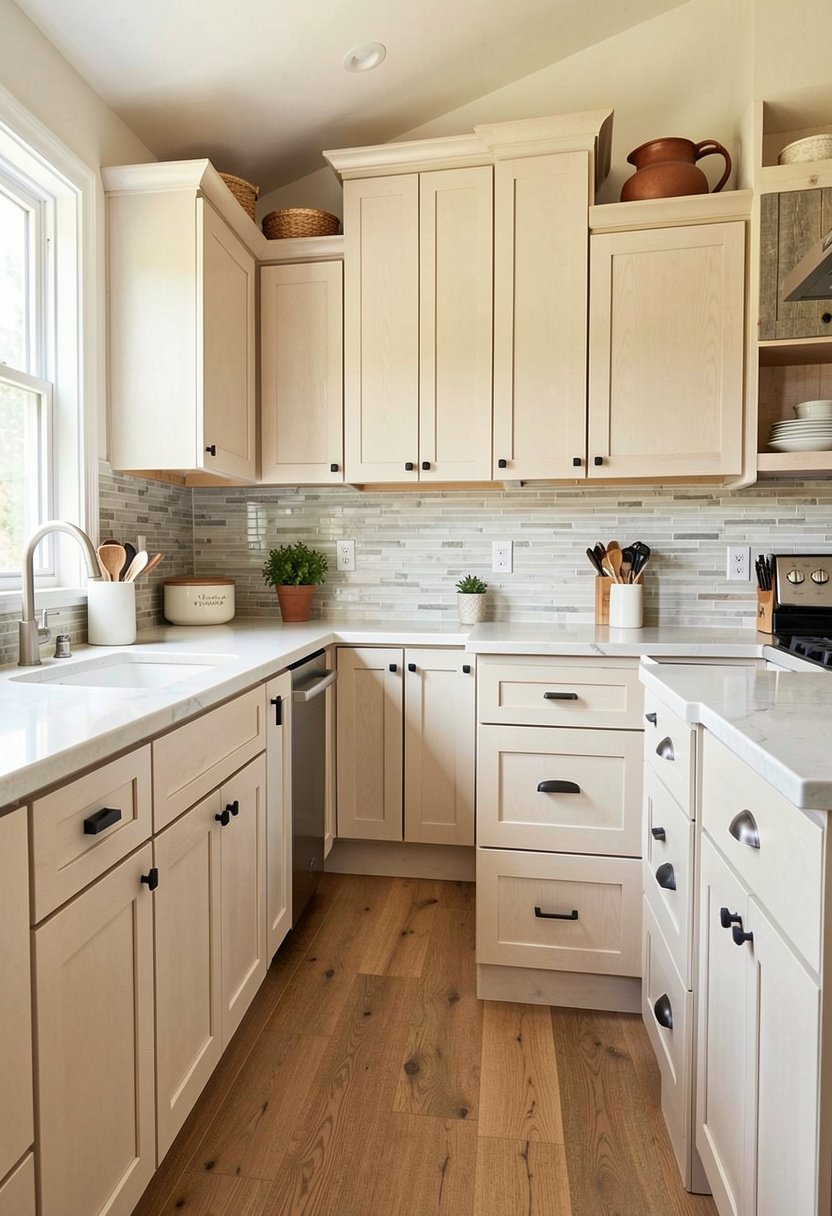
Stop looking at expensive designer islands, because a simple stock cabinet from the store is all you need. You just take two base cabinets, face them back to back, and screw them together tight. It sounds way too simple, but it creates a solid, heavy base that will last for years. Most people ignore these because they want fancy finishes, but paint works wonders.
You need to pick a sturdy top for this, like butcher block, to hide the seam where the two cabinets meet. Do not let the store staff talk you into the expensive, custom stuff, because they just want your money. You can sand the wood, add a nice stain, and nobody will ever guess that your island came from the bargain aisle at the store.
This is the smartest way to start your kitchen remodel, because it leaves room in your budget for nice lighting fixtures. People always overspend on the island frame, then cry when they have no money for good chairs. Don’t be that person. Trust me, a basic box is just a canvas, and you are the artist who makes it look rich.
- Use two base cabinets.
- Screw them back to back.
- Add a wood countertop.
- Paint for a custom look.

2. Repurpose an Old Dresser
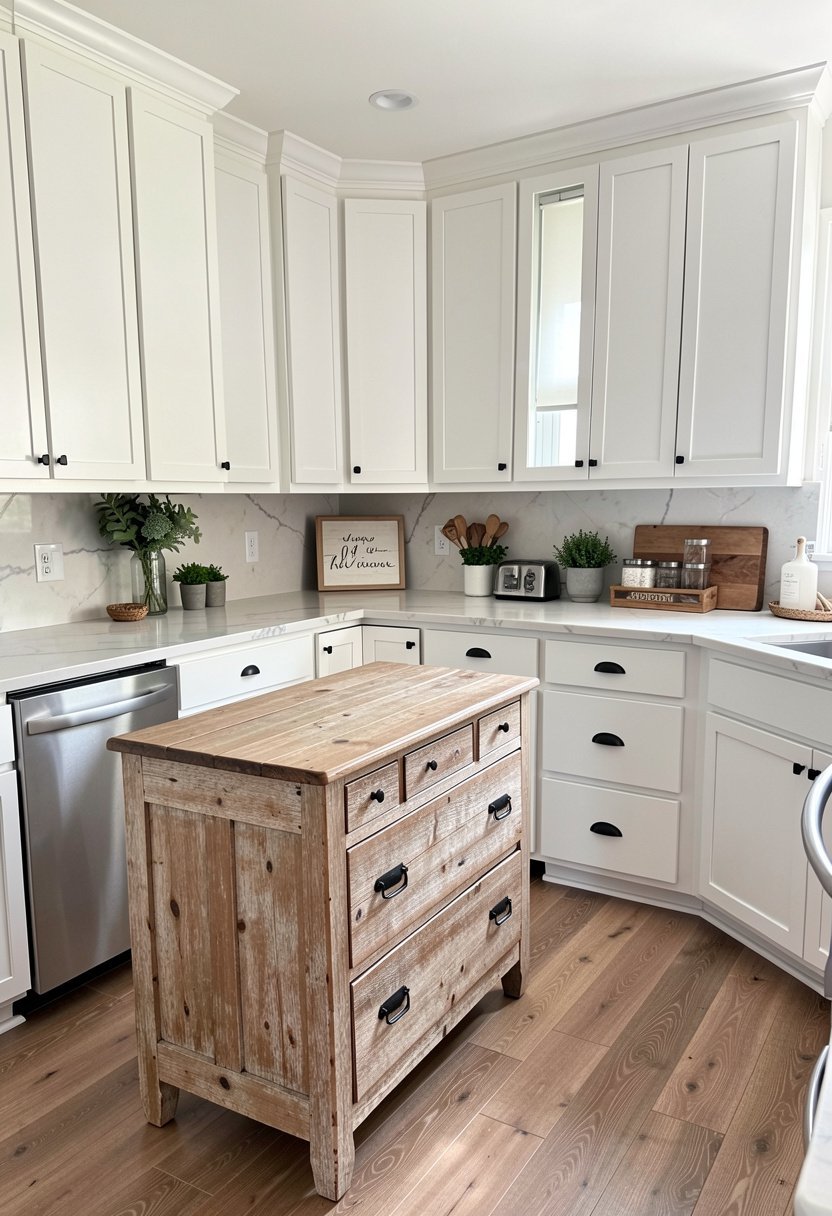
If you find a tall dresser at a thrift store, buy it, because it is basically a kitchen island waiting to happen. Most old dressers are built with real wood, not the cheap fake stuff they sell today, so they are tough as nails. You just need to remove the top, reinforce the base, and seal the wood so it survives your messy cooking.
People try to paint these with cheap brushes, and it ruins the finish, so please take your time. Use a good primer, and a nice satin paint, and it will look brand new in no time. You get all that storage for your kitchen utensils, plus a look that nobody else in your neighborhood has. It is cheap, cool, and totally unique.
Some people worry about the height, but you can just add new feet to the bottom to lift it up. If the drawers are wobbly, just fix the glides, and you are golden. Don’t be afraid to take a risk on a piece with some character, because the flaws are what make it special. Your guests will ask where you bought it, and you can laugh.
- Find a sturdy dresser.
- Remove the old top.
- Add a wood counter.
- Install taller feet.
3. the Open Shelving Look
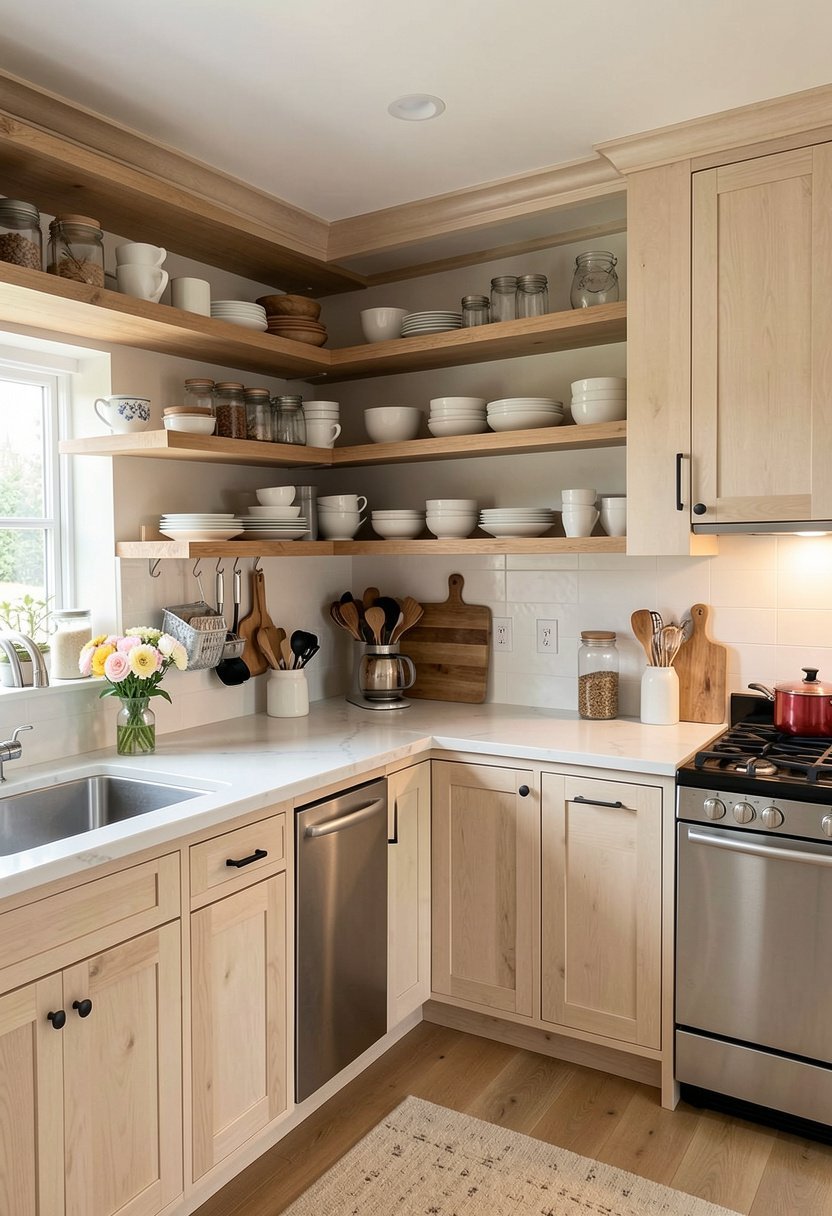
Everyone thinks they need doors on their island, but open shelves are often way better for your workflow. It keeps your most used items right there, in the open, so you are not digging through dark corners. You just build a simple frame, add some heavy boards, and you are done. It is clean, it is airy, and it makes small kitchens feel huge.
Just remember that you have to keep these shelves tidy, because everyone will see what is on them. If you are a messy person, maybe put your items in nice, matching storage baskets to hide the chaos. It looks intentional, it looks neat, and it saves you money on expensive cabinet doors and hinges that always break anyway.
I love this look because it forces you to keep your gear organized, which is a habit you actually want. Don’t buy those overpriced island kits with cheap doors. Build this instead, and use the money you saved for some high quality cookware. You will love how easy it is to grab your favorite pans while you are busy cooking dinner.
- Build a simple frame.
- Add thick wood shelves.
- Use baskets for storage.
- Keep it very tidy.

4. the Rolling Cart Hack
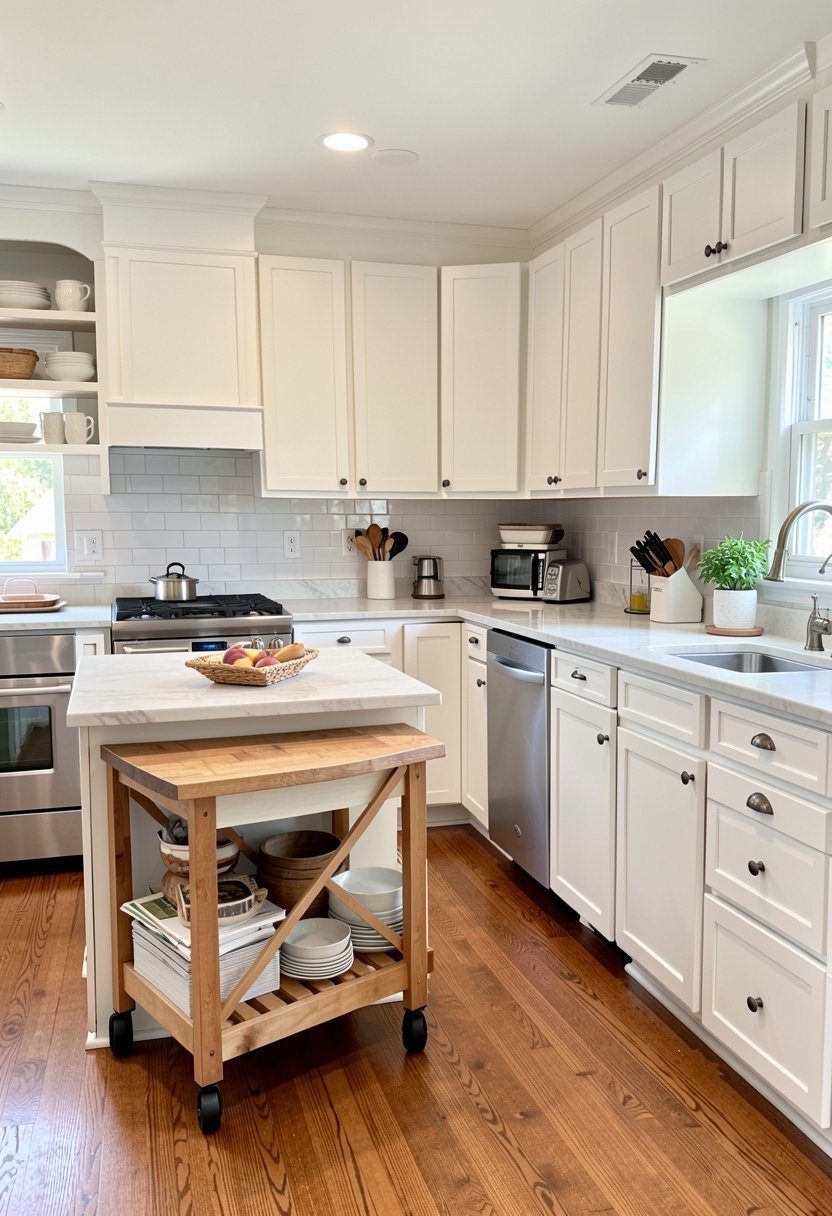
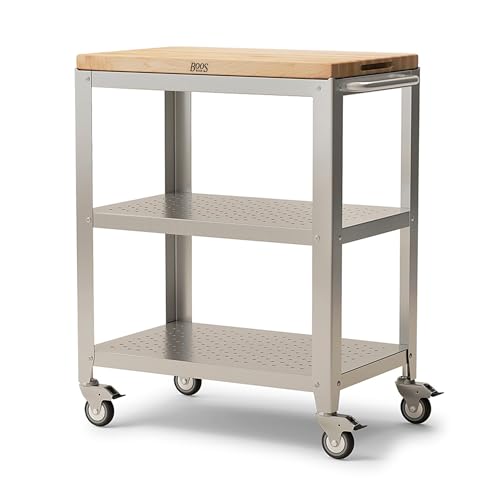
If your kitchen is tiny, don’t build a giant fixed island, because you will just trip over it every single day. A sturdy rolling cart is the perfect solution, because you can tuck it away when you are not using it. People think these are for dorm rooms, but if you buy a butcher block top, it looks like a professional prep station.
Make sure you get high quality wheels with locks, or your island will slide across the floor while you chop veggies. I have seen so many people buy the cheap plastic wheels, and they always snap under the weight of a stone top. Don’t be cheap here. Get the heavy duty metal wheels, and your cart will move smooth as butter.
This is the best way to handle a small kitchen layout, because it gives you flexibility when you have guests over. You can move it to the side to make space, then roll it back when the party starts. It is smart, it is nimble, and it makes you look like a pro who understands how a real home works.
- Buy a heavy cart.
- Get high quality wheels.
- Add a wood surface.
- Lock it in place.
5. the Desk Conversion
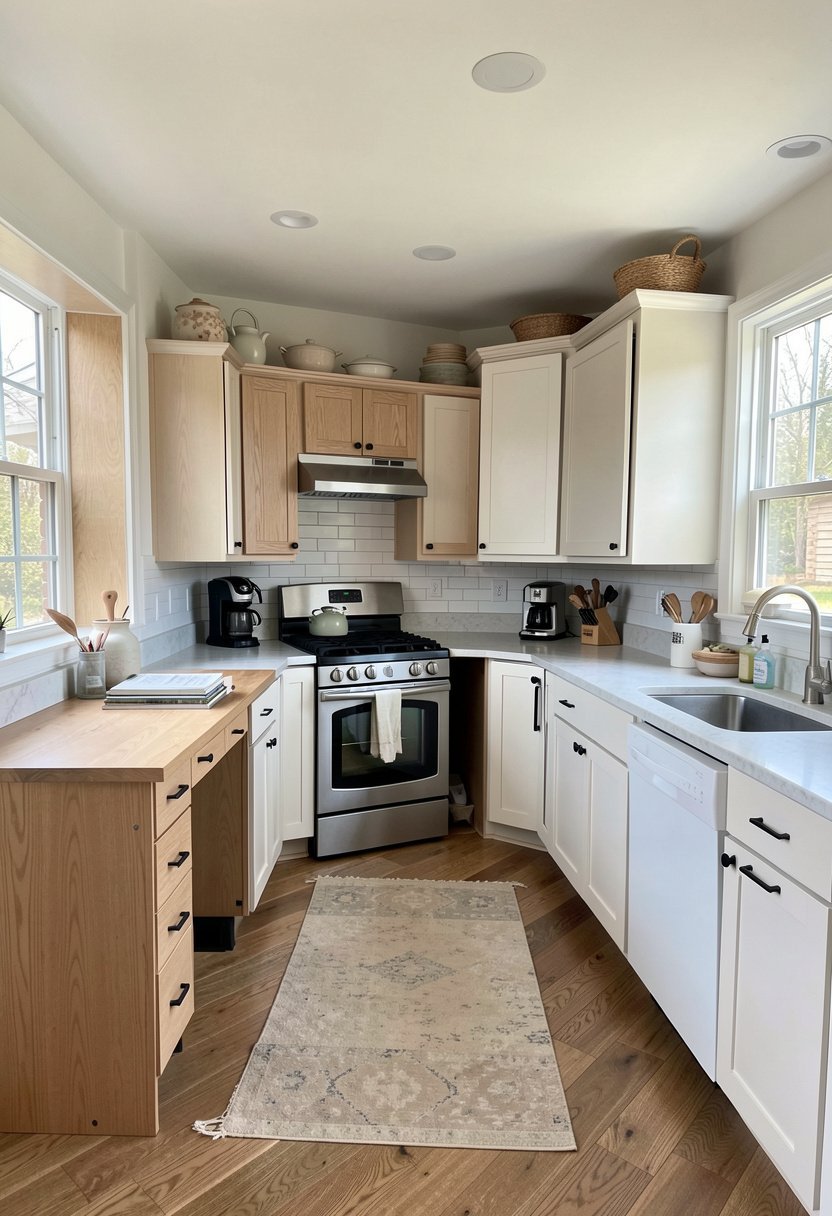
Did you know an old wooden desk makes a perfect kitchen island? Most desks have a nice wide top, and plenty of space for your knees if you want to use it for seating. You just have to make sure the desk is high enough, or you can add extra wood to the bottom. It is a brilliant way to save a piece of history.
People overlook these because they are usually hidden in the back of antique shops, but you should look for the solid oak ones. They are heavy, they are built to last, and they usually only cost a few bucks. Give it a fresh coat of paint, or keep the wood natural if it looks good, and you have a stunning centerpiece.
This saves you so much cash compared to those fake kitchen islands that cost thousands. You get more style, and you get a piece with a soul, which you will never find in a big box store. Just add a decorative backsplash nearby to tie it all together, and your kitchen will feel like a high end magazine spread instantly.
- Find a solid desk.
- Raise the height if needed.
- Sand and paint it.
- Use it for seating.
6. the Industrial Pipe Base
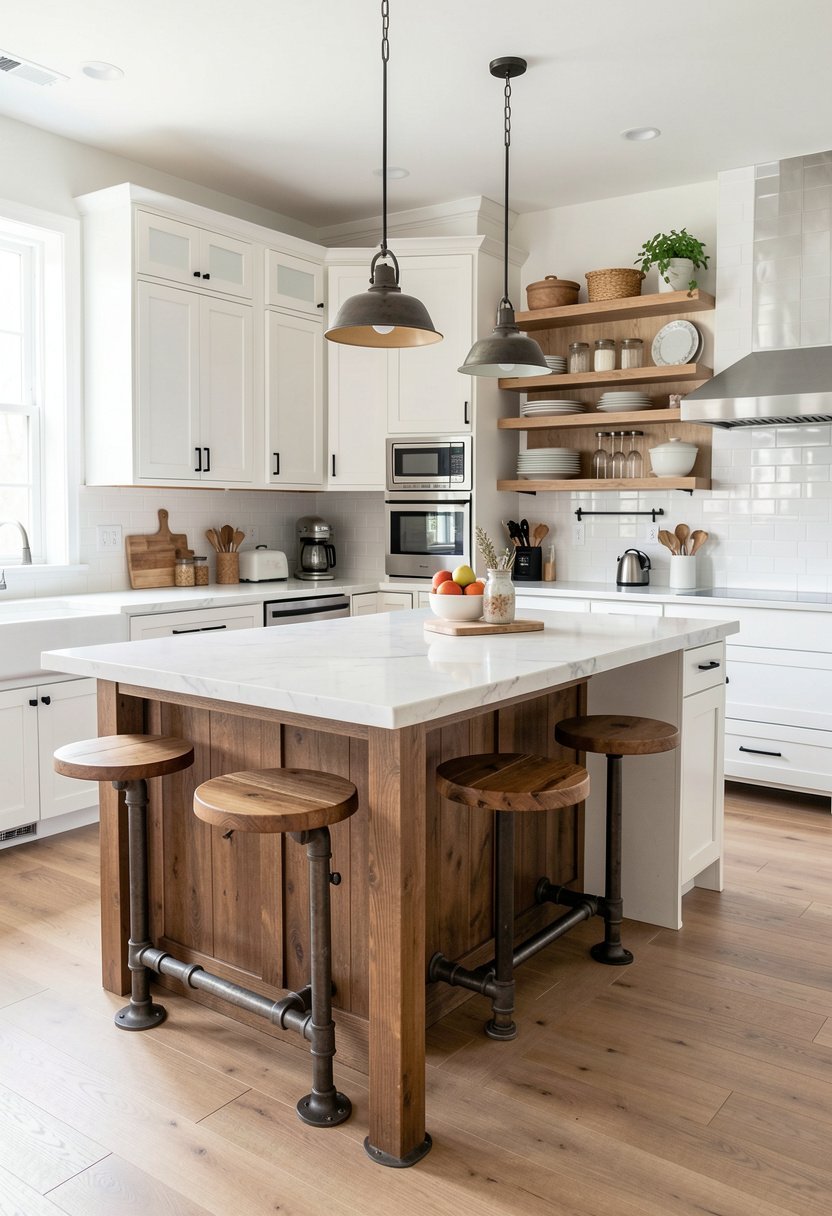
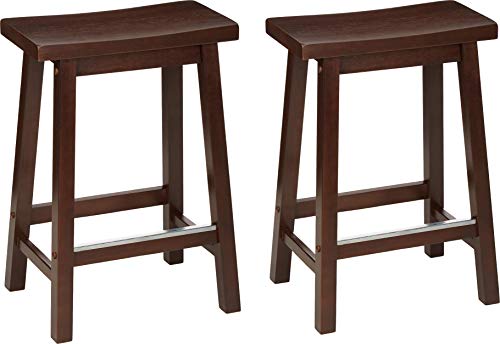
If you want a modern look, build your island frame out of black iron pipes from the hardware store. It is basically like playing with building blocks for adults, and it is almost impossible to mess up. You just screw the pipes together, add a thick wood board on top, and you have a cool, industrial piece that looks expensive.
Do not worry about it being too hard, because it is just threading parts together. You can make it as big or as small as you need, and you can even add a bottom shelf for your modern kitchen gadgets. People think this is hard, but it is actually the easiest way to get a custom size without paying a custom price.
The pipes give your kitchen a sharp, clean edge that feels very intentional. It contrasts perfectly with soft colors, and it makes your kitchen look like you hired a designer. Don’t overthink the connections. Just keep it simple, level it out so it does not wobble, and you will have a sturdy island that lasts forever.
- Get black iron pipes.
- Screw them together.
- Top with thick wood.
- Level it very carefully.

7. the Reclaimed Wood Box
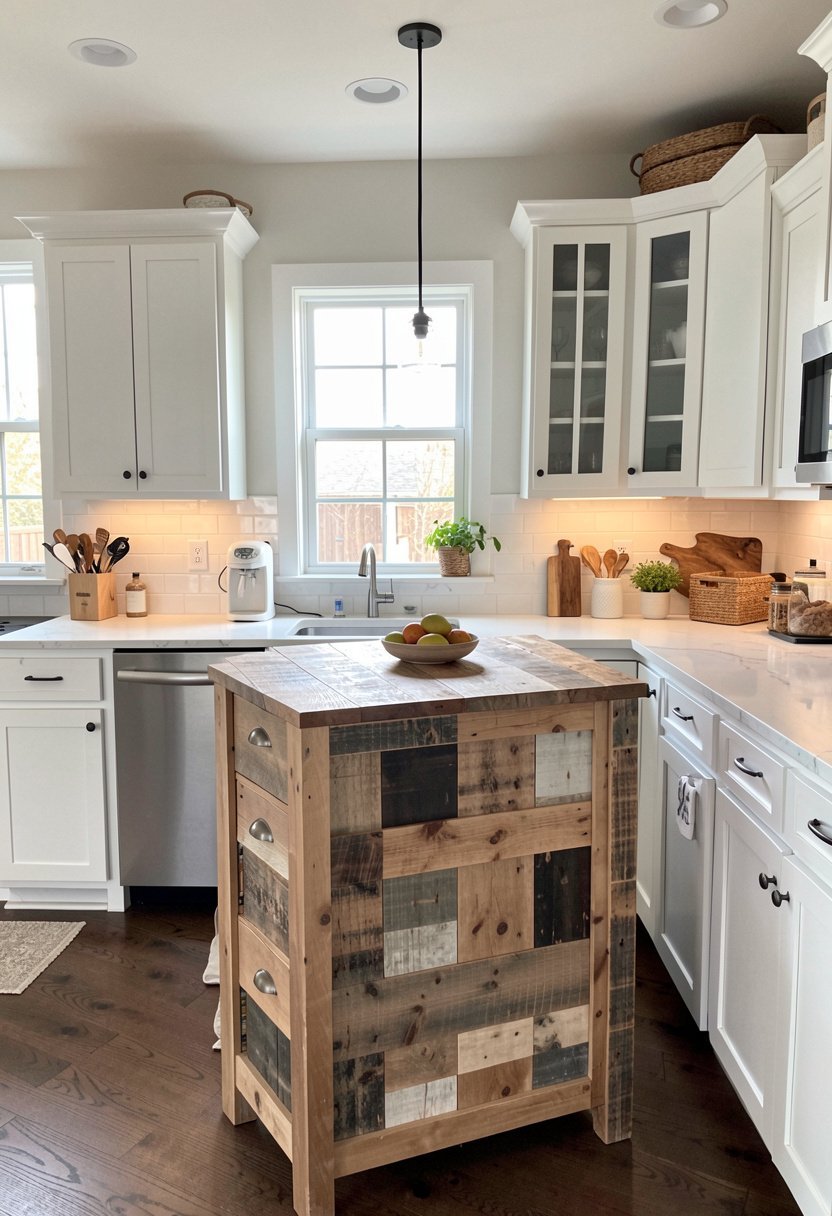
You can build a simple box out of old barn wood, and it adds so much warmth to a sterile kitchen. Reclaimed wood has a history, and it hides scratches, which is great if you have kids or pets. Most people pay extra for fake distressed furniture, but you can build the real thing for half the price using scavenged boards.
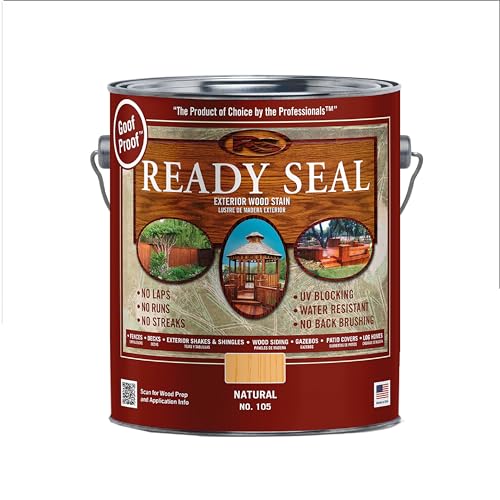
Make sure you seal the wood well, because kitchens are damp places, and you do not want your island to rot. Use a food-safe wax or oil so you can prep food directly on the wood if you want. It feels amazing to work on, and it brings a little bit of nature right into your cooking space every day.
This is a great way to fix a cold, white kitchen that feels a bit empty. It adds texture, it adds character, and it makes your home feel cozy. You don’t need fancy tools to pull this off. Just some basic saws, a drill, and some old wood will do the job better than any plastic island you find online.
- Find old barn wood.
- Build a simple box.
- Seal the wood well.
- Add a wood counter.

8. the Library Table Idea
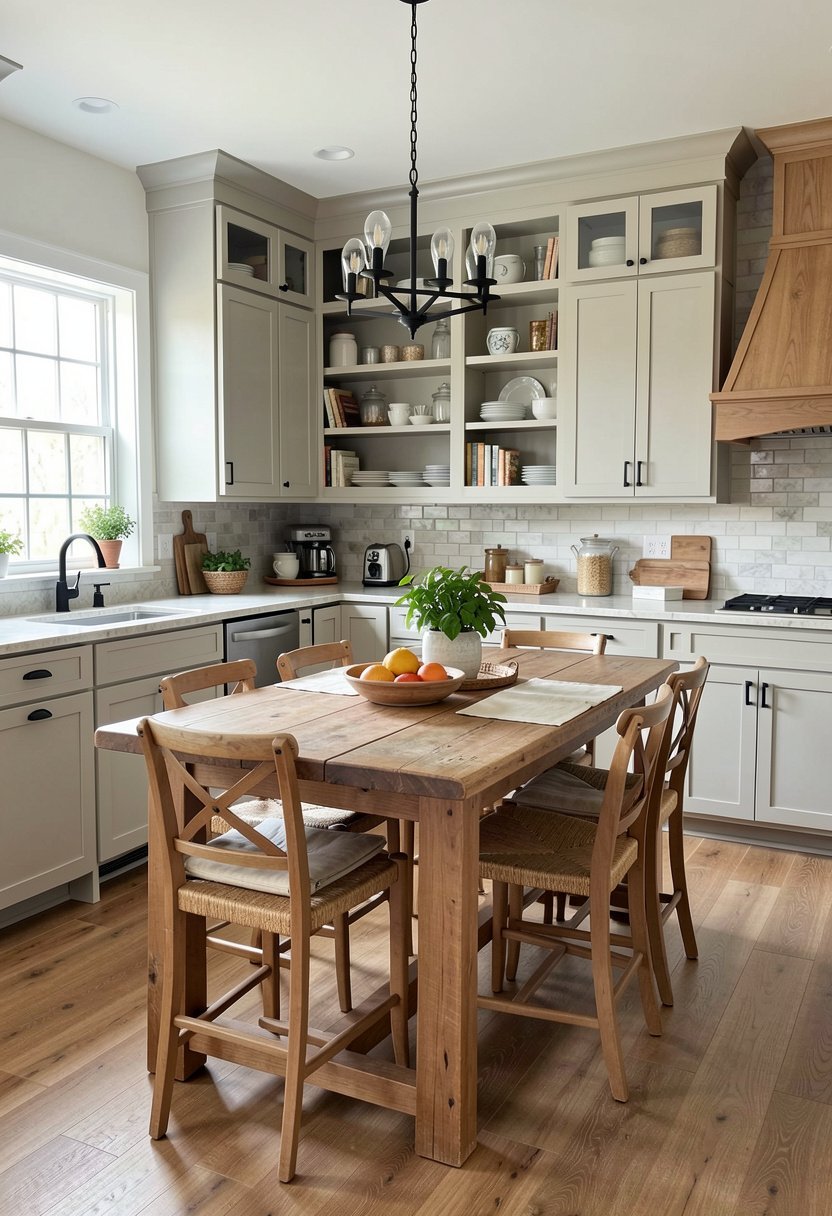
Using a long, narrow table from a library, or an old schoolhouse, is a genius way to get extra surface space. These tables are designed to hold heavy books, so they are built like a tank. You just cut the legs down to counter height, and you have the perfect spot for your kitchen lighting prep work.
Most people skip these because they look a bit formal, but you can paint them a bold color to make them feel fun. A bright yellow, or a deep navy, turns a stuffy table into a modern statement piece. Don’t be afraid to try something bold, because your kitchen should be a place where you have a little bit of fun.
This is much cheaper than buying a giant custom cabinet, and it is a lot more interesting to look at. Plus, you get plenty of legroom, which is perfect for eating breakfast or chatting while someone cooks. It keeps the room feeling open, unlike those heavy, built-in cabinets that just swallow all the air in the room.
- Find a heavy table.
- Cut legs for height.
- Paint a bold color.
- Keep the floor open.

9. the Bookshelf Pedestal
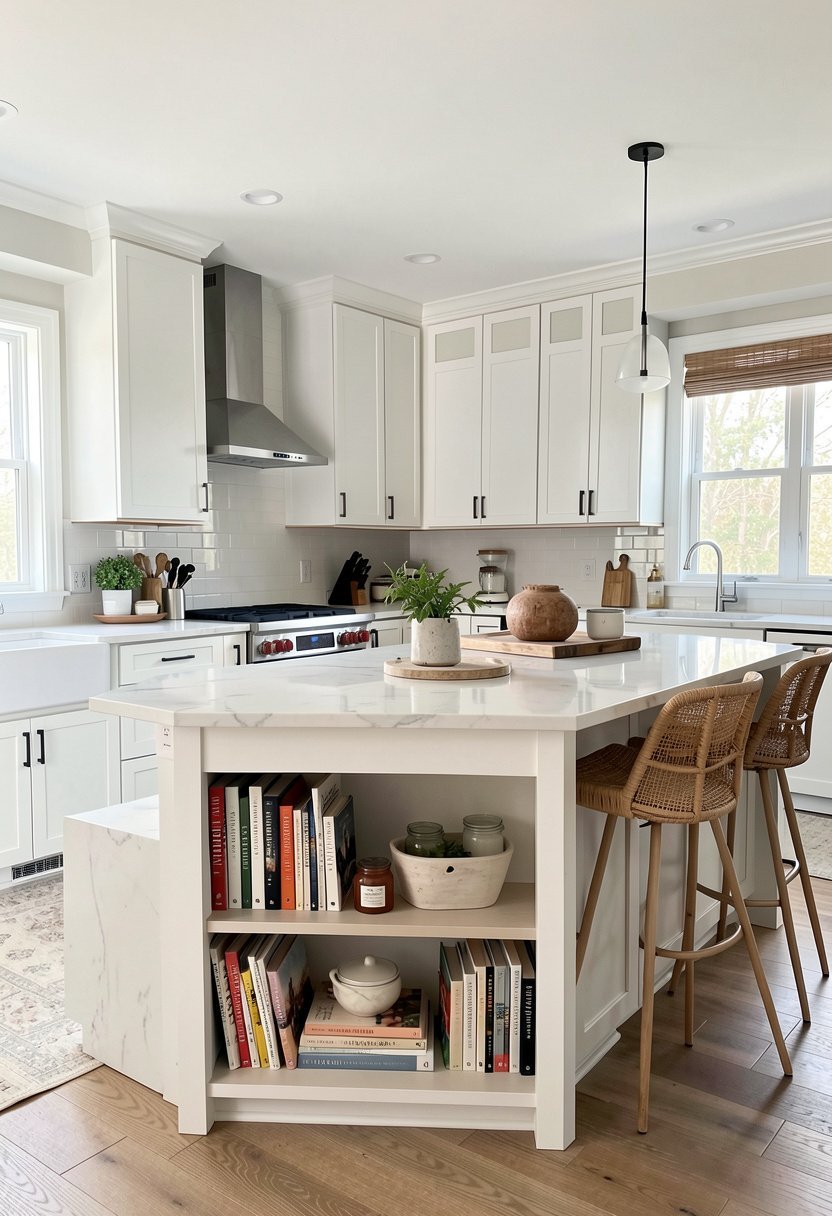
If you have two matching bookshelves, lay them on their sides, and you have an instant island with storage. You can screw them together, add a countertop, and you are done. The shelves are perfect for holding your cookbooks, or your pretty serving dishes, and it keeps everything right at your fingertips while you work.
Make sure you anchor these well, because you don’t want them tipping over if someone leans on them. A little bit of trim around the bottom makes them look like one solid unit, rather than two cheap shelves. Most people stop at the bookshelves, but the trim is what makes the whole thing look like real, expensive custom cabinetry.
I have done this in a few apartments, and it is the best way to get storage without spending a fortune. It is sturdy, it is easy to find, and it looks great with a nice marble or wood top. Stop buying those flimsy island kits. Just grab two shelves, some trim, and get to work this weekend.
- Get two matching shelves.
- Lay them on sides.
- Add a sturdy top.
- Use trim to hide gaps.

10. the Painted Pallet Base
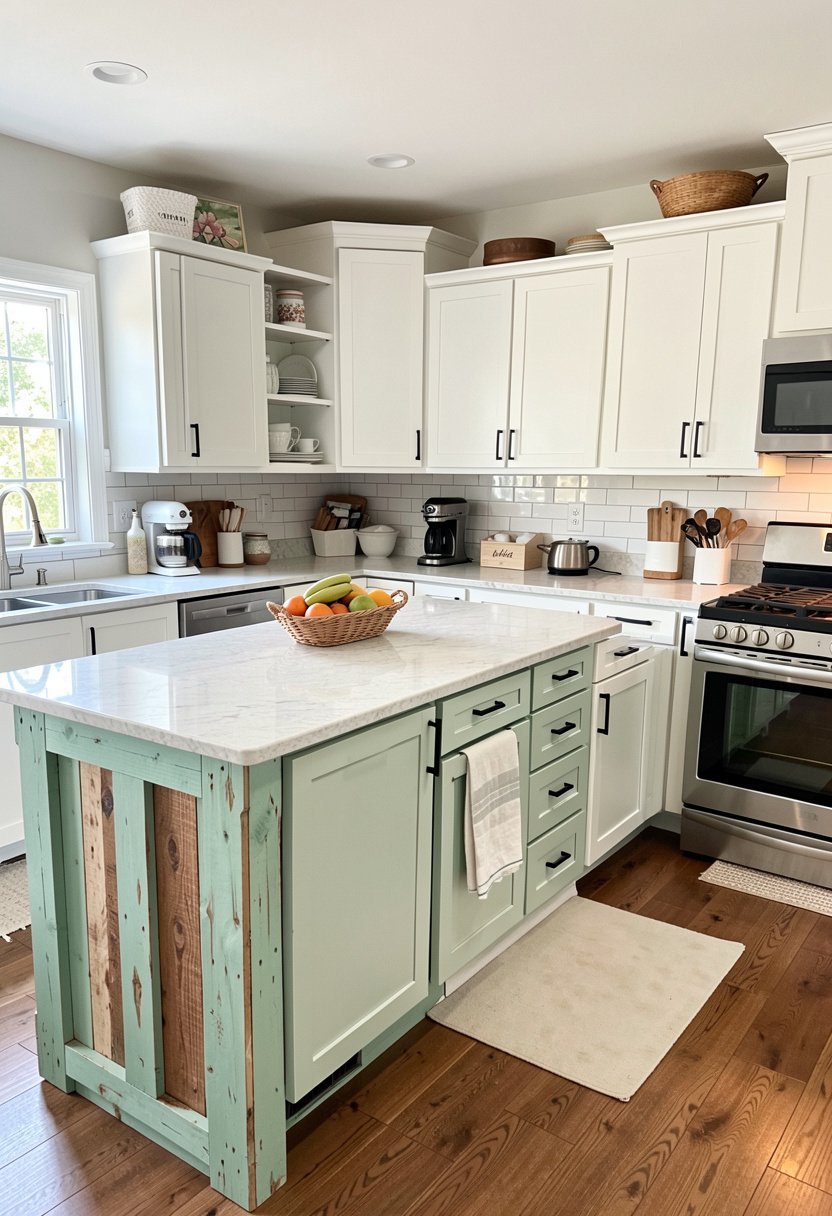
Pallets are free, and if you have the patience to pull them apart, you can build a really cool island base. People think pallets are just trash, but you can turn them into a rustic masterpiece with a little bit of elbow grease. Sand them down until they are smooth, then stain them a dark, rich color for a high-end look.
You have to be careful with the nails, so please wear gloves and take your time. Once the frame is solid, add a nice, thick wood top to balance the rough pallet wood. It is a great way to save money, and it is a fun project if you like working with your hands on the weekend.
Don’t use pallets that have chemicals on them, so look for the ones marked with a stamp. Safety comes first, always. When it is finished, you will have an island that cost almost nothing, but looks like a million bucks. Your neighbors will be so jealous, and you can just smile knowing you did it yourself for pennies.
- Find clean wood pallets.
- Take them apart safely.
- Sand everything smooth.
- Build a solid frame.

11. the Vintage Piano Base
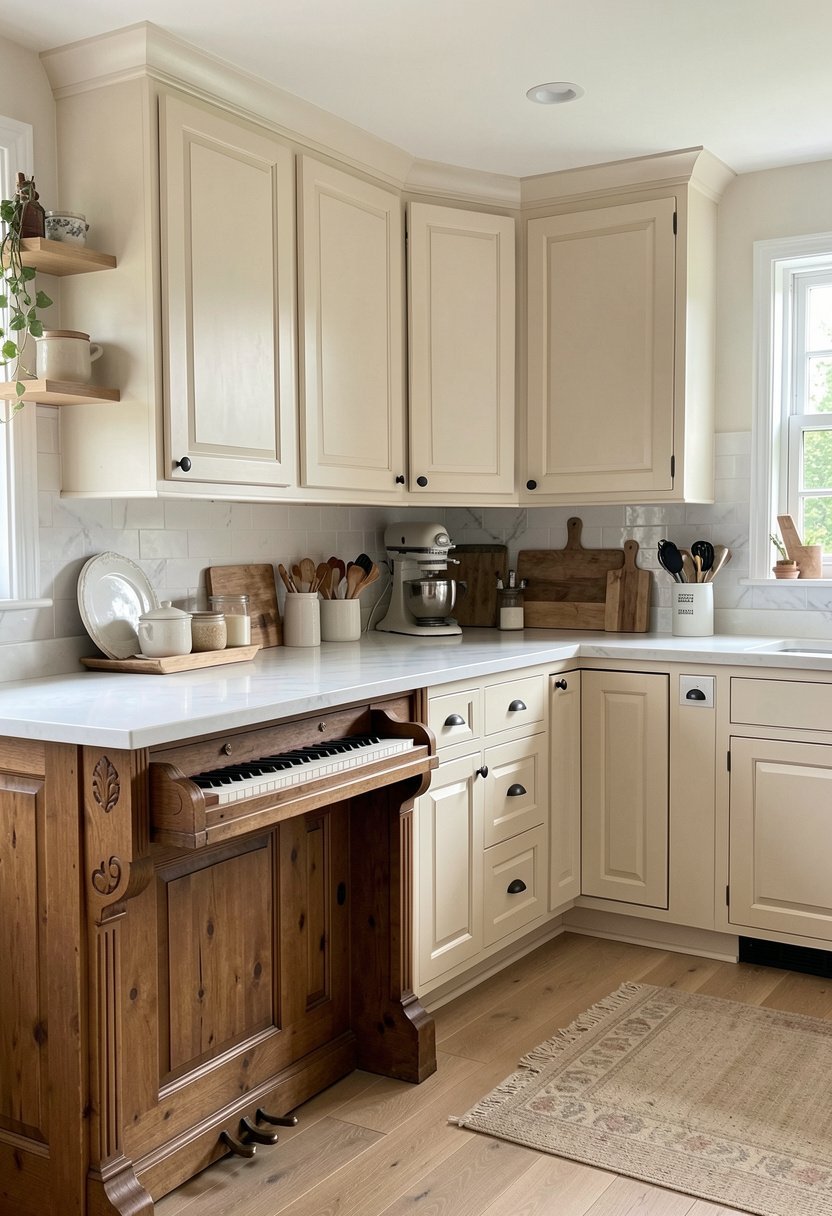
If you want to be truly wild, use the legs or the bottom frame of an old piano. It sounds crazy, but those old pianos have the most beautiful, carved wood legs you have ever seen. You just take the base, clean it up, and add a simple top to make it functional. It is a total conversation starter for your kitchen.
Most people just throw these pianos away, so you can find them for free if you look around. You are saving a piece of history, and getting a gorgeous, ornate island that no store could ever sell you. It is a little bit of work to clean up, but the result is a beautiful piece that anchors your entire kitchen space.
You really don’t need to spend thousands on new, boring cabinets when you can find beauty in the old stuff. It takes some vision, sure, but that is the fun part of home decor. You take something broken, and you give it a new life. That is real design, and it is way better than anything mass-produced in a factory.
- Find a junk piano.
- Keep the carved legs.
- Add a new surface.
- Clean and stain wood.

12. the Window Display Unit
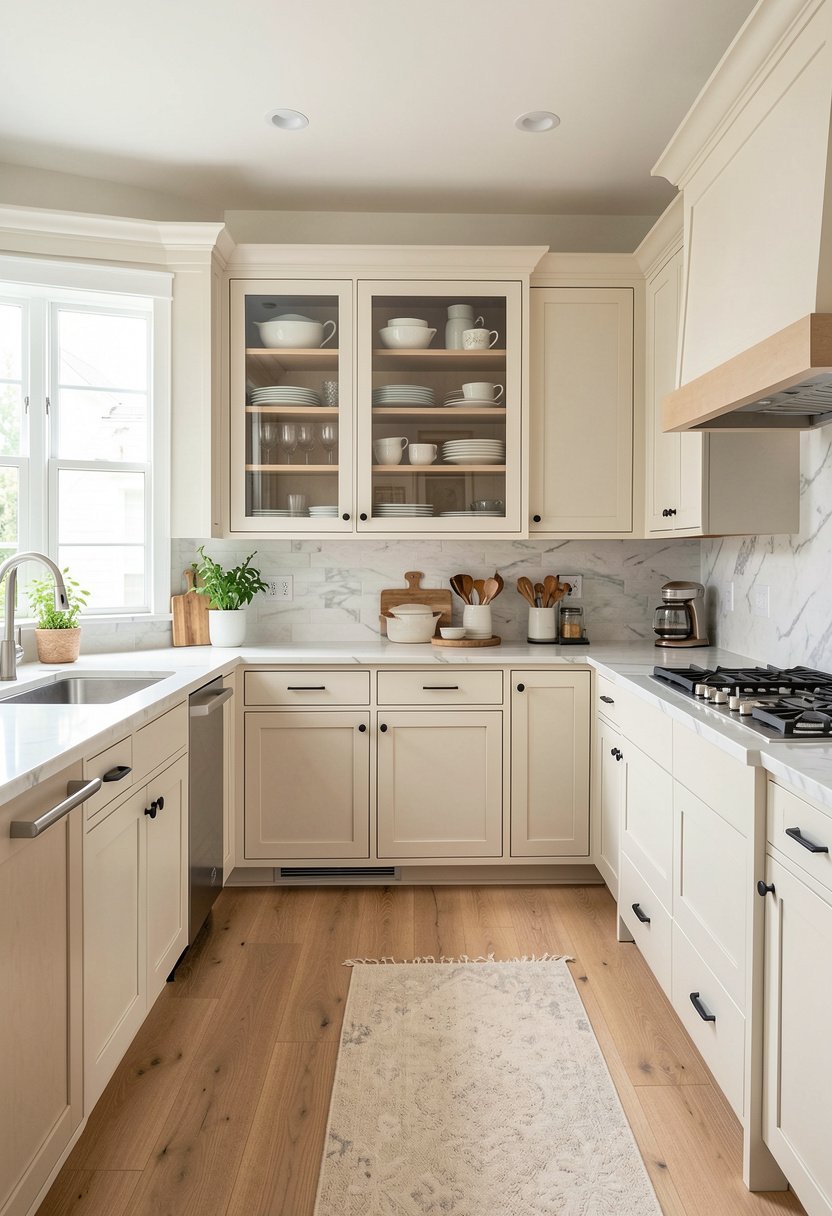
If you find an old store display, or a glass cabinet, you can use it as a base for a gorgeous kitchen island. These units are usually built to be seen from all sides, which is perfect for an island. You just need to add a solid, heavy top, and make sure it is stable enough to hold your weight.
I love using these because they have glass doors, which lets you show off your favorite plates and mugs. It makes your kitchen feel like a boutique, rather than just a place to cook. Don’t worry about the style being too old. You can paint the frame white, or grey, to make it feel fresh and modern for your home.
It is a great way to get a lot of style for a tiny price. Just make sure the glass is thick, or replace it with plexiglass if you have kids running around. It is a smart, pretty way to finish your room. You will feel proud every time you walk by your new, custom-made kitchen island masterpiece.
- Find a glass cabinet.
- Add a heavy top.
- Check for stability.
- Use nice paint colors.

Final Thoughts
I hope these ideas help you build an island you actually love, without burning through your savings. You really do not need to follow the expensive trends that magazines push on you. Find a solid base, add a nice top, and make it your own with some paint. You have the skills to pull this off, so stop worrying and just get started. You have got this.
| Idea | Cost | Effort |
|---|---|---|
| Stock Cabinets | Low | Medium |
| Dresser Hack | Low | Medium |
| Open Shelving | Low | Easy |
| Rolling Cart | Low | Easy |
| Desk Conversion | Low | Medium |
| Iron Pipes | Medium | Medium |
| Barn Wood | Low | High |
| Library Table | Medium | Medium |
| Bookshelves | Low | Easy |
| Pallet Base | Free | High |
| Piano Legs | Free | High |
| Display Unit | Medium | Medium |
| Wood Stain | Low | Easy |
| Trim Work | Low | Medium |
| Hardware | Low | Easy |
Frequently Asked Questions (FAQs)
Is a Kitchen Island Worth the Money?
Yes, it is definitely worth it if you have the space. It adds extra counter space, storage, and a place to sit. If you build it yourself using these ideas, it is a great investment that adds real value to your home.
Can I Put a Sink in My Island?
You can, but it is a big job that involves moving pipes. I suggest skipping the sink unless you have a pro helping you. Keep your DIY island simple so you avoid expensive plumbing disasters and keep your budget in check.
Are Rolling Islands Sturdy Enough?
They are if you buy high quality wheels. Do not go cheap on the hardware. If you get locking metal wheels, your island will stay put while you work. Always check the weight limit on the wheels before you start.
Do I Need to Anchor My Island?
If you have a heavy, permanent island, you might want to anchor it, but many DIY islands are heavy enough to stay put. If you have kids who climb, then yes, please anchor it safely to the floor.
Should I Use Marble for the Top?
Marble is beautiful, but it stains and chips easily. If you are a busy cook, go with wood or a tough quartz instead. Wood is warm, easy to fix, and holds up great if you oil it properly.
Will an Island Make My Kitchen Look Smaller?
It will if you pick one that is too big. Measure your space carefully, and leave plenty of room to walk around. If you have a small kitchen, a narrow island or a rolling cart is always the better choice.
Does the Island Need Matching Cabinets?
No, it does not. A mix of styles often looks better than everything perfectly matching. A painted, unique island adds character, and it makes your kitchen feel like a real home rather than a sterile showroom.
Can I Build an Island Without Tools?
You need at least a drill and a saw to do a good job. You can borrow tools if you don’t own them. Don’t try to build a cabinet with just a hammer, or you will be very frustrated.