As an Amazon Associate, I earn from qualifying purchases at no extra cost to you.
13 Homemade Kitchen Cabinet Ideas (Anyone Can Copy)
 ByRayan

While walking through your kitchen, do you ever feel like you need a change, but your wallet keeps saying no? I have been there, staring at those boring doors, wishing for a fresh look that does not cost a fortune. You are not alone, and you definitely do not need a contractor.
Most people think you must tear everything out to see a real difference, but that is total nonsense. I have fixed up my own place, saved thousands, and I am here to tell you that you can do it too. You just need a few cheap supplies, a little patience, and some guts.
In this guide, I will show you how to swap, paint, and update your space. These 13 homemade kitchen cabinet ideas will change your life, save your budget, and give you a kitchen that looks like a million bucks. Let us get to work.
Go Bold with Matte Paint
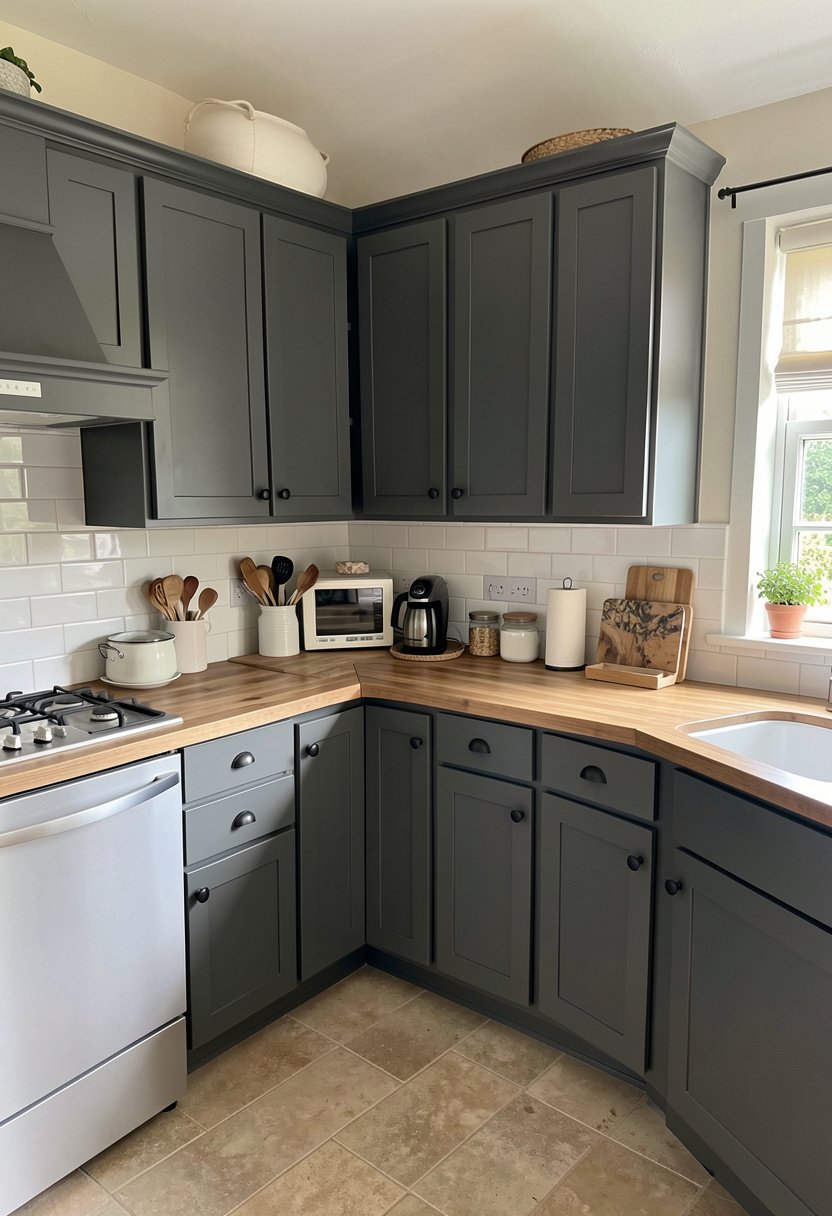
Painting your cabinets is the easiest way to change a room, but people always mess it up by picking the wrong sheen. Skip the glossy stuff, it shows every single mistake you make, and looks like plastic. Use a flat matte paint for a high-end, custom look that hides all those little dings.
You need to clean the surface really well, or the paint will just peel off in a month. Use a degreaser, scrub it, and dry it off before you touch a brush. If you skip this step, do not come crying to me when your hard work turns into a peeling mess. It is simple stuff, but it makes the difference between professional results and a total disaster.
Once the prep is done, thin coats are your best friend. Take your time, let it dry, and enjoy your new kitchen.
- Clean surfaces with strong degreaser.
- Pick a flat matte paint finish.
- Apply thin, even coats always.
- Avoid glossy paint at all.

Use Simple Leather Pulls
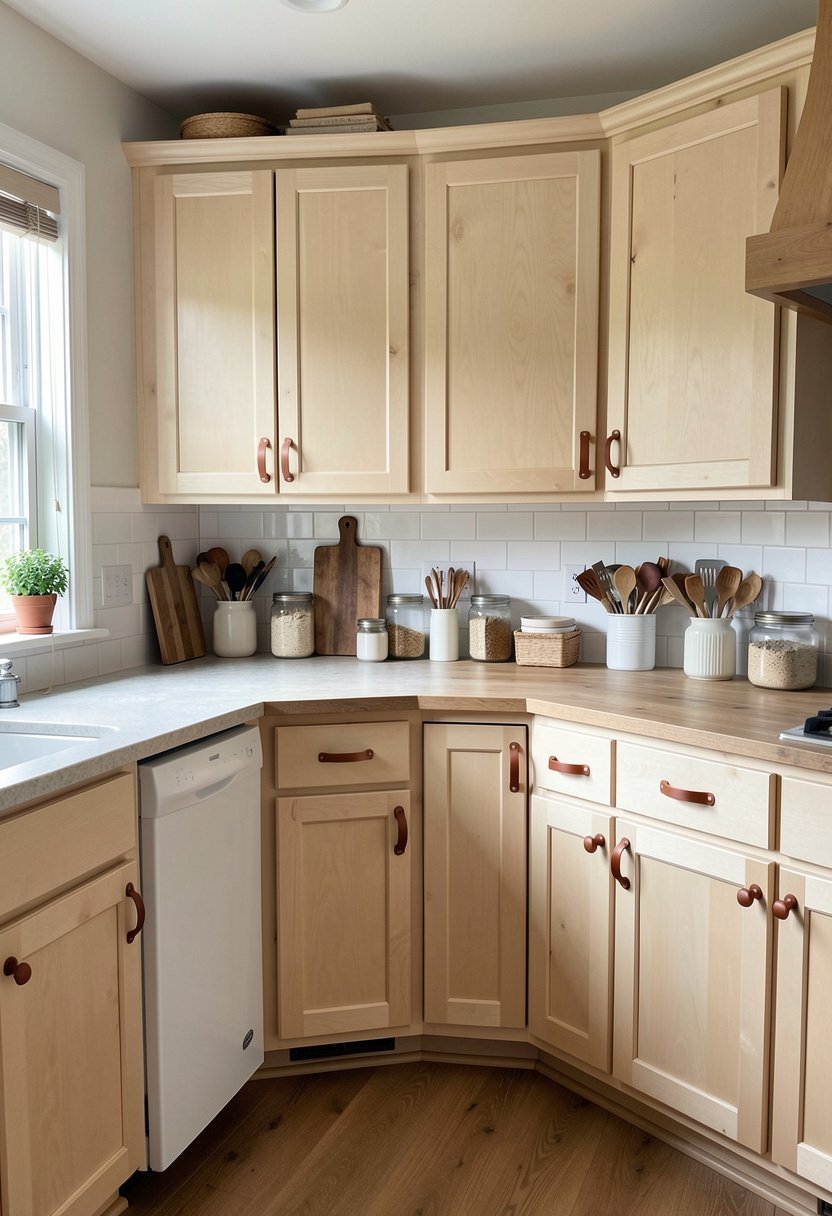
Hardware makes or breaks a design, and leather pulls are the secret weapon nobody talks about enough. Forget those heavy, cold metal handles that feel like a gym locker. Leather adds warmth, texture, and a soft touch that makes your kitchen feel like a modern farmhouse dream.
You can buy strips of leather, cut them to size, and attach them with a single brass screw. It is so easy, even my dog could probably do it if he had thumbs. The best part is how they age, they get darker and softer over time. They look expensive, but they cost pennies compared to those fancy designer sets.
If your cabinets are dark, use a tan or cognac leather for a nice contrast. It looks sharp, clean, and totally intentional. You will love grabbing these every single day.
- Buy thick, durable leather strips.
- Measure holes for consistent length.
- Use gold or brass hardware.
- Keep the look very natural.

Remove Doors for Shelving
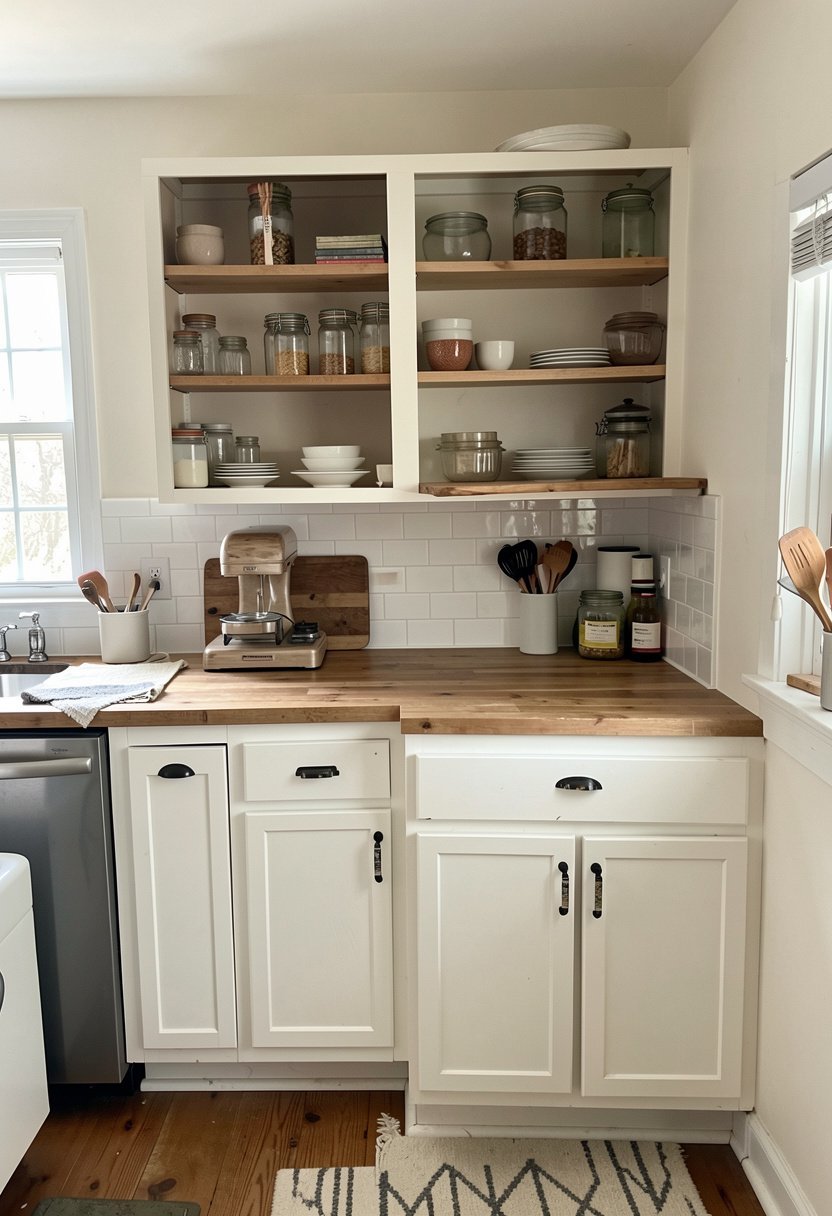
Sometimes the best way to fix a cabinet is to get rid of the door entirely. Open shelving is huge right now, but you do not need to buy expensive units. Just take the doors off your existing uppers, patch the hinge holes, and paint the inside to match your walls.
This trick forces you to be organized, which is a blessing in disguise for most people. If you keep your plates and mugs neat, it looks like a curated display in a boutique. If you are a messy person, maybe only do this for one or two sections. Use your storage solutions wisely, and keep the pretty items on display for guests.
It opens up the room, makes it feel bigger, and gives you a reason to buy better dishes. Trust me, it works perfectly.
- Take off all upper doors.
- Fill holes with wood putty.
- Paint the cabinet backs inside.
- Display only your best dishes.

Add Trim for Dimension
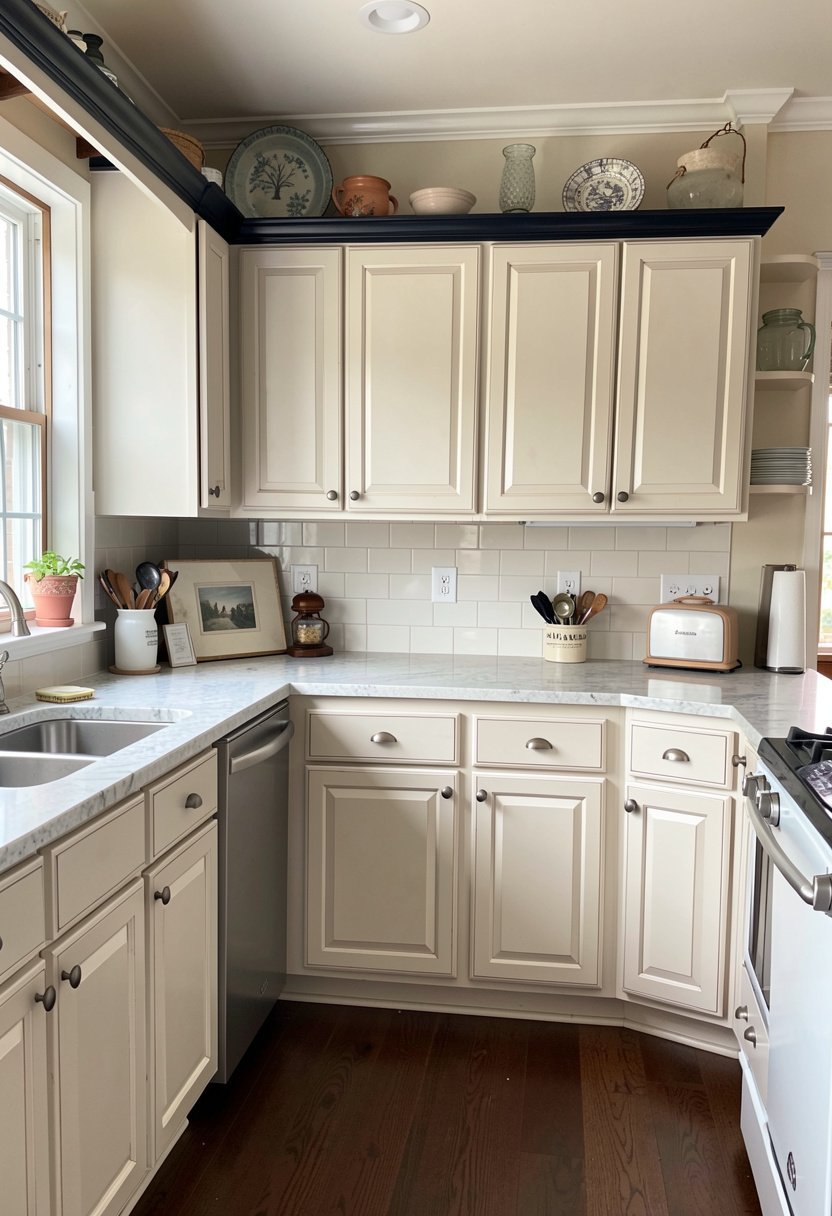
Flat, boring cabinets look like cheap rental units, but you can fix that with some simple wood trim. Buy thin strips of molding, cut them to fit your door panels, and glue them on. It mimics a shaker style, which is a classic look that never goes out of style, no matter the year.
Most people are scared of using a saw, but you can buy pre-cut pieces at any store. Just measure twice, cut once, and use a strong wood glue to hold it in place. Once you paint over it, nobody will ever know it was a DIY job. It turns a flat, sad door into a custom cabinet design masterpiece.
You will feel like a pro when it is finished. Just keep the lines straight, and the results will be amazing.
- Buy thin wood molding strips.
- Cut pieces to fit panels.
- Use strong wood glue carefully.
- Paint everything one solid color.

Install Under Cabinet Lights
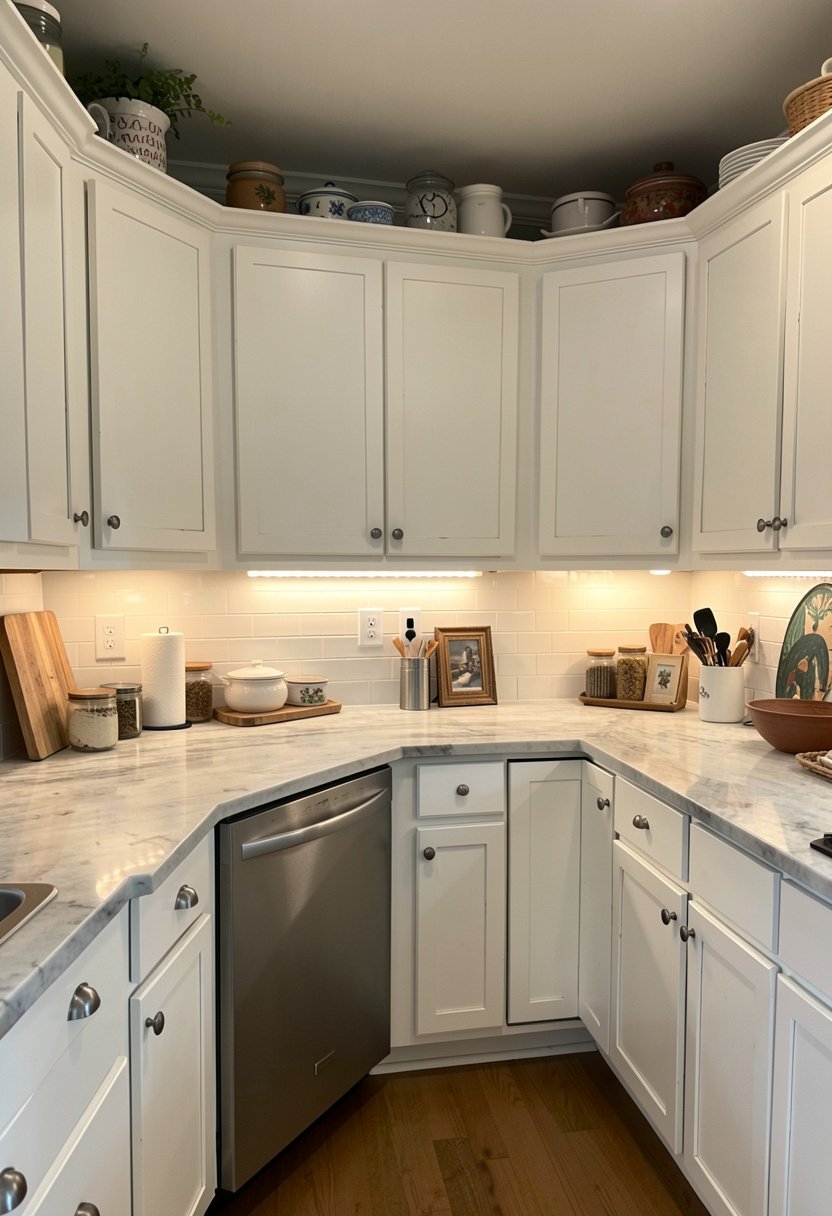
Dark shadows under your cabinets are the enemy of a happy home cook. You can buy LED light strips that stick on with tape, and they work like a charm. No wiring, no electrician, and no stress. It makes your counters pop, and it creates a cozy vibe at night.
People often buy lights that are way too blue, which makes your kitchen look like a cold hospital room. Look for warm white lights, they make the wood look rich and welcoming. If you can, get the ones with a remote. It is a small detail, but being able to dim the lights makes a huge difference during dinner.
Do not overthink this one. It is a quick win that adds instant value to your space while you organize kitchen counters.
- Pick warm white LED strips.
- Use peel and stick backing.
- Look for remote control options.
- Place lights near front edge.

Apply Peel and Stick Paper
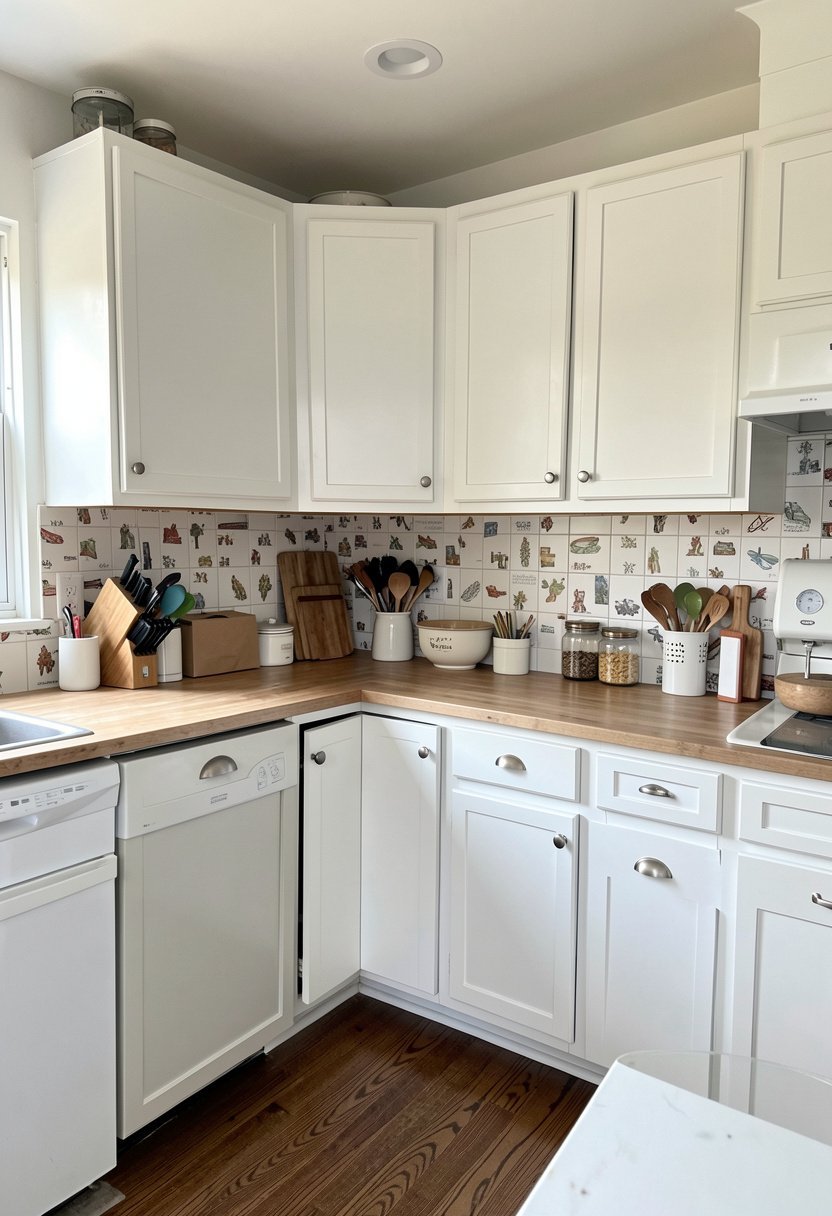
If you hate your cabinet color but cannot paint, use peel and stick wallpaper on the panels. There are so many patterns out there, from wood grains to bold colors. It is not permanent, so it is perfect for people who rent or just like to change their minds every six months.
The trick is to use a credit card or a plastic scraper to get all the bubbles out. If you rush this part, it will look cheap and bubbly, and you will regret it instantly. Take your time, smooth it out, and use a sharp blade to trim the edges. It is basically like wrapping a giant gift for your kitchen.
It is a low-risk move, and it adds so much personality to a boring room. Go wild with it.
- Clean doors very well first.
- Use a tool to smooth.
- Cut edges with sharp blades.
- Choose patterns that fit style.

Swap Out Old Hinges
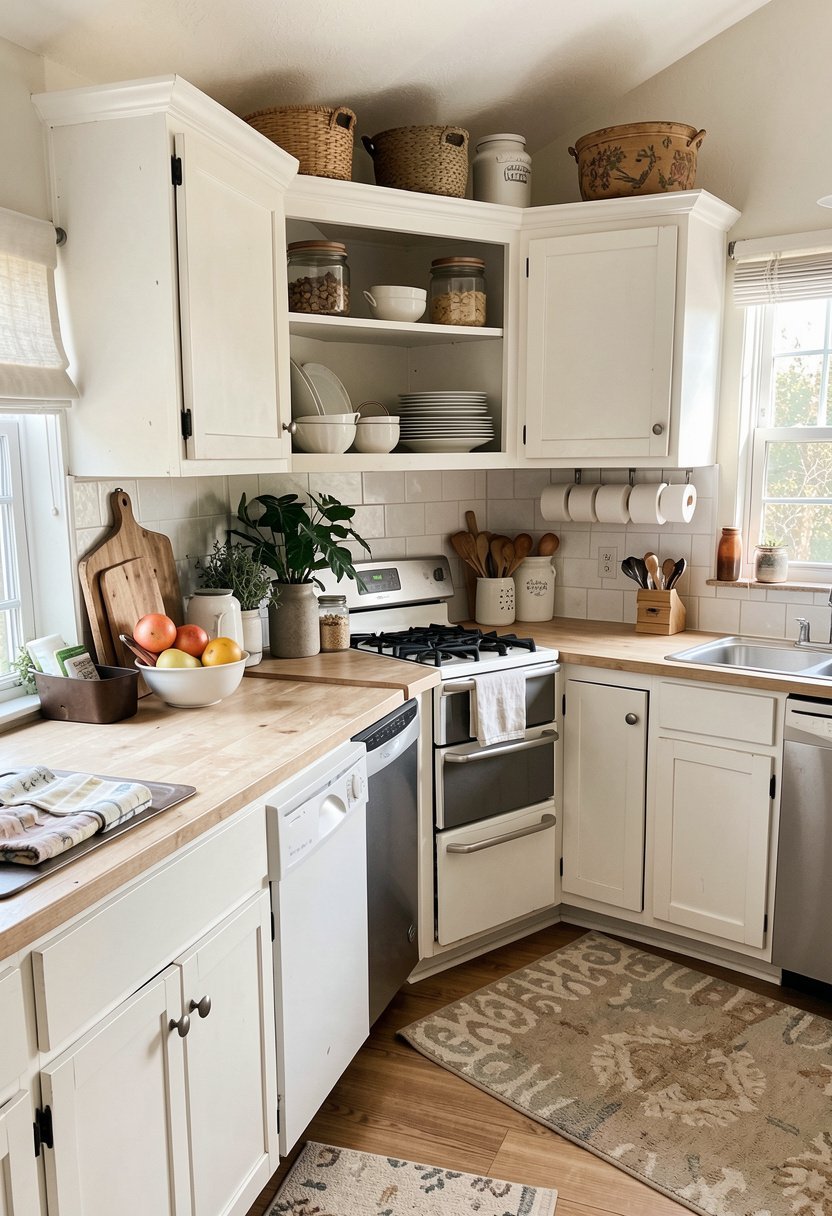
Hinges are the most overlooked part of a kitchen, yet they dictate how your doors hang. If your doors are saggy or hitting each other, your hinges are probably ancient and tired. Buy new soft-close hinges, and watch your life change. The quiet, smooth closing action feels like a luxury upgrade for very little effort.
Some people worry about the install, but it is just a few screws. If your new hinges do not line up with the old holes, just use a little wood filler to patch them up. It is an easy cabinet hardware update that makes your kitchen feel solid and sturdy. You will stop slamming doors without even thinking about it.
It is a small change, but your ears will thank you every single day. Do not skip this.
- Buy modern soft-close hinge sets.
- Use a drill for accuracy.
- Fill old holes with wood.
- Check door alignment after install.

Create a Coffee Station
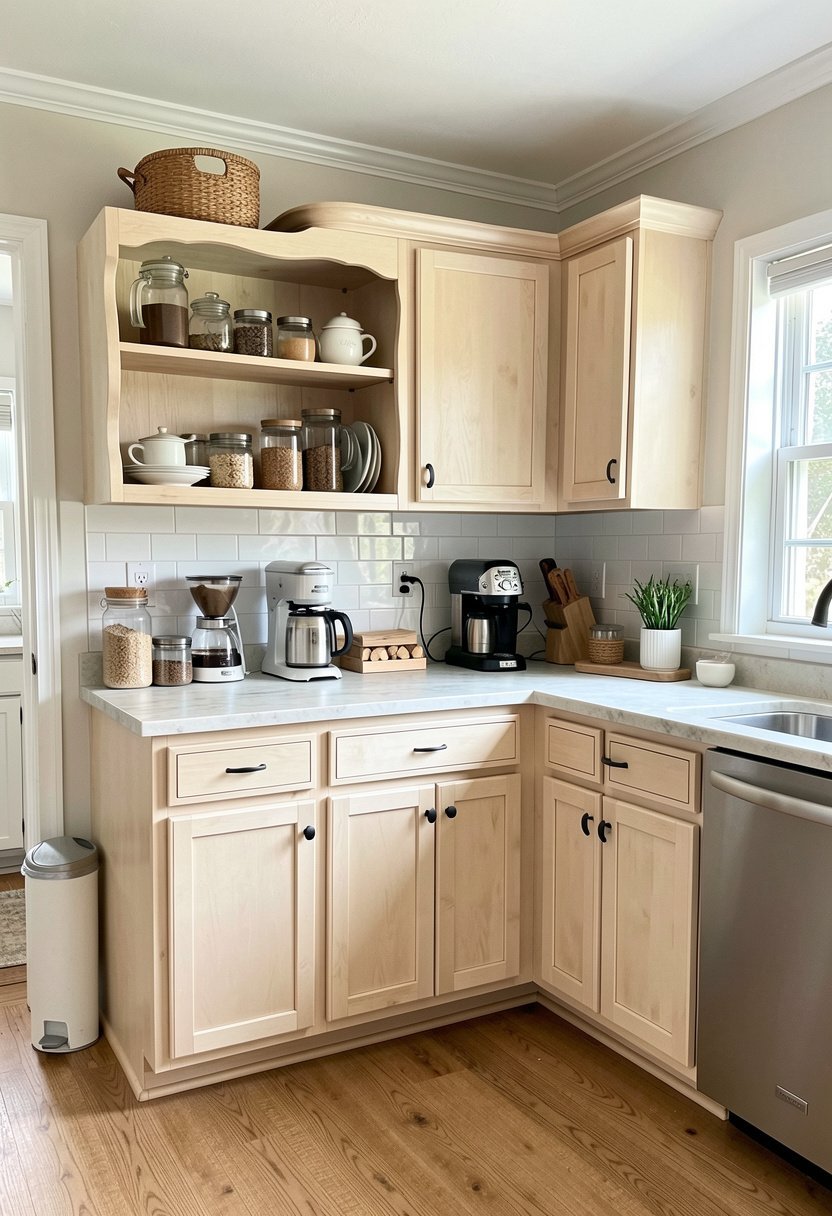
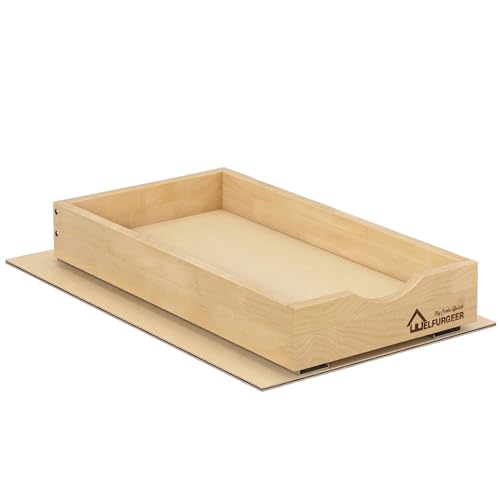
Turn one of your lower cabinets into a dedicated coffee bar. Take out a drawer, build a slide-out tray, and install a small outlet. It clears up your counter space and makes your morning routine feel like a treat. You can keep your beans, mugs, and machine hidden away behind closed doors.
I did this last year, and it changed my mornings forever. No more clutter, no more hunting for a clean spoon, just a smooth, quick process. It is a clever way to use space that is usually wasted on junk. Add a little light inside, and you have the best kitchen organization tips right in your own home.
It is functional, smart, and makes your guests think you are much more organized than you really are.
- Build a sliding wood tray.
- Hide coffee gear inside drawers.
- Add a small power outlet.
- Keep mugs near the machine.
Add Glass Cabinet Inserts
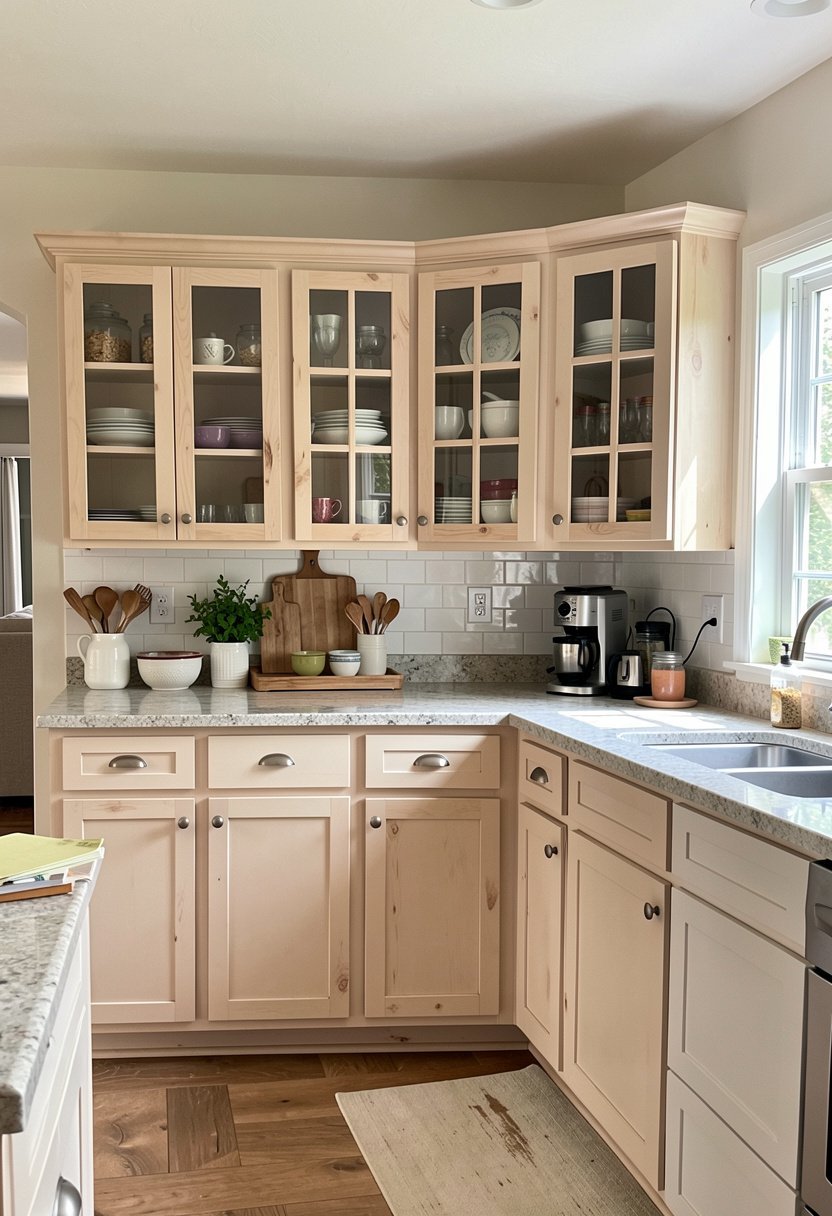
If your cabinets feel heavy and dark, turn a few of them into glass-front displays. Use a jigsaw to cut the center panel out, buy a piece of glass or clear plastic, and mount it inside. It instantly adds depth and lets you show off your favorite glassware or colorful bowls.
You do not need to do every cabinet. Just picking two in the center creates a focal point that breaks up the wall of wood. It makes the kitchen look custom, expensive, and airy. If you are worried about the mess inside, put some pretty fabric or wallpaper on the back wall of the cabinet.
It is a bold move, but it pays off with a light and breezy home decor look.
- Cut center panels with care.
- Use glass or clear acrylic.
- Mount pieces with small clips.
- Add light inside the cabinet.

Use Magnetic Knife Strips
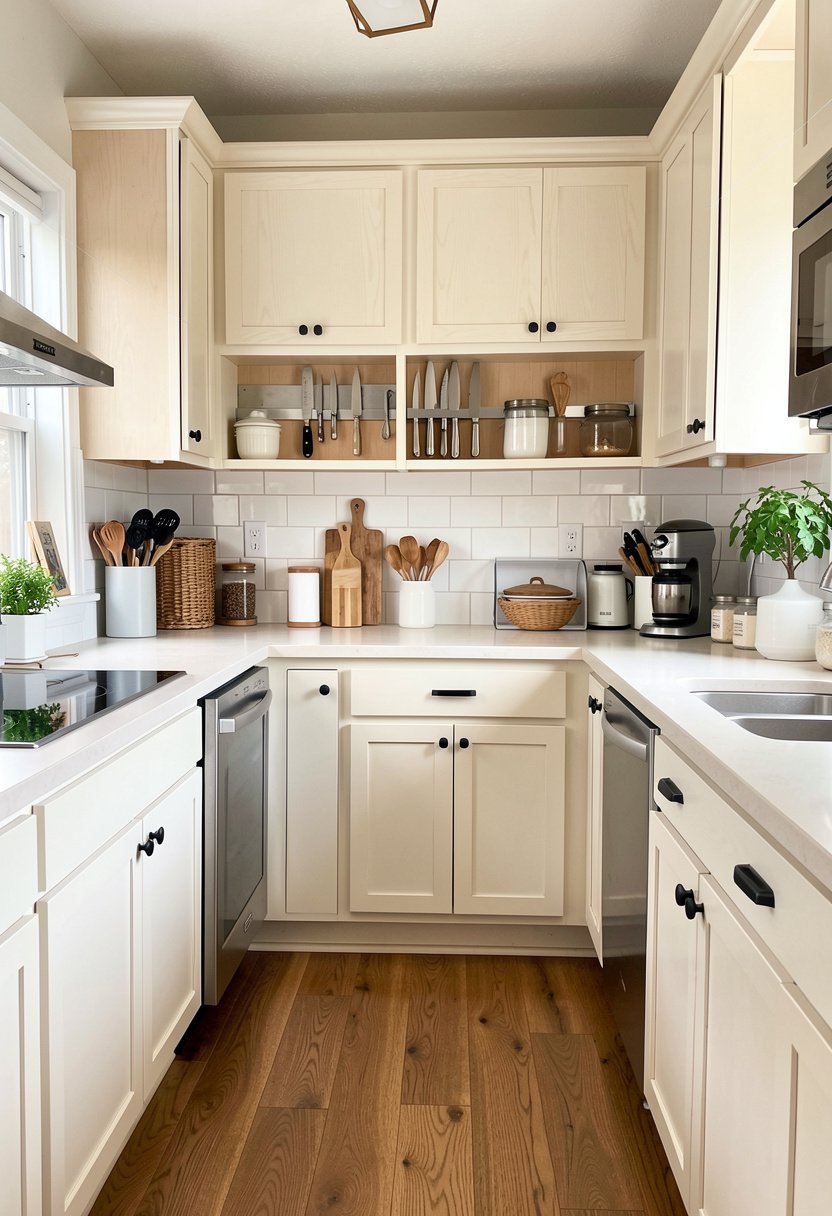
Stop wasting drawer space on bulky knife blocks that get gross and hold germs. Mount a magnetic knife strip right under your upper cabinets or on the side of a tall unit. It looks professional, keeps your blades sharp, and saves you precious room on your counter.
I love the look of clean, stainless steel knives lined up neatly. It makes you feel like a pro chef, even if you are just making toast. Plus, it is easier to grab exactly what you need without digging through a drawer. Just make sure the magnet is strong, or you might end up with a scary accident.
It is a simple, cheap addition that makes your kitchen look clean and very well organized.
- Find a strong magnetic strip.
- Mount to wall or cabinet.
- Keep knives clean and dry.
- Place away from reach area.

Install Pull-Out Trash Bins
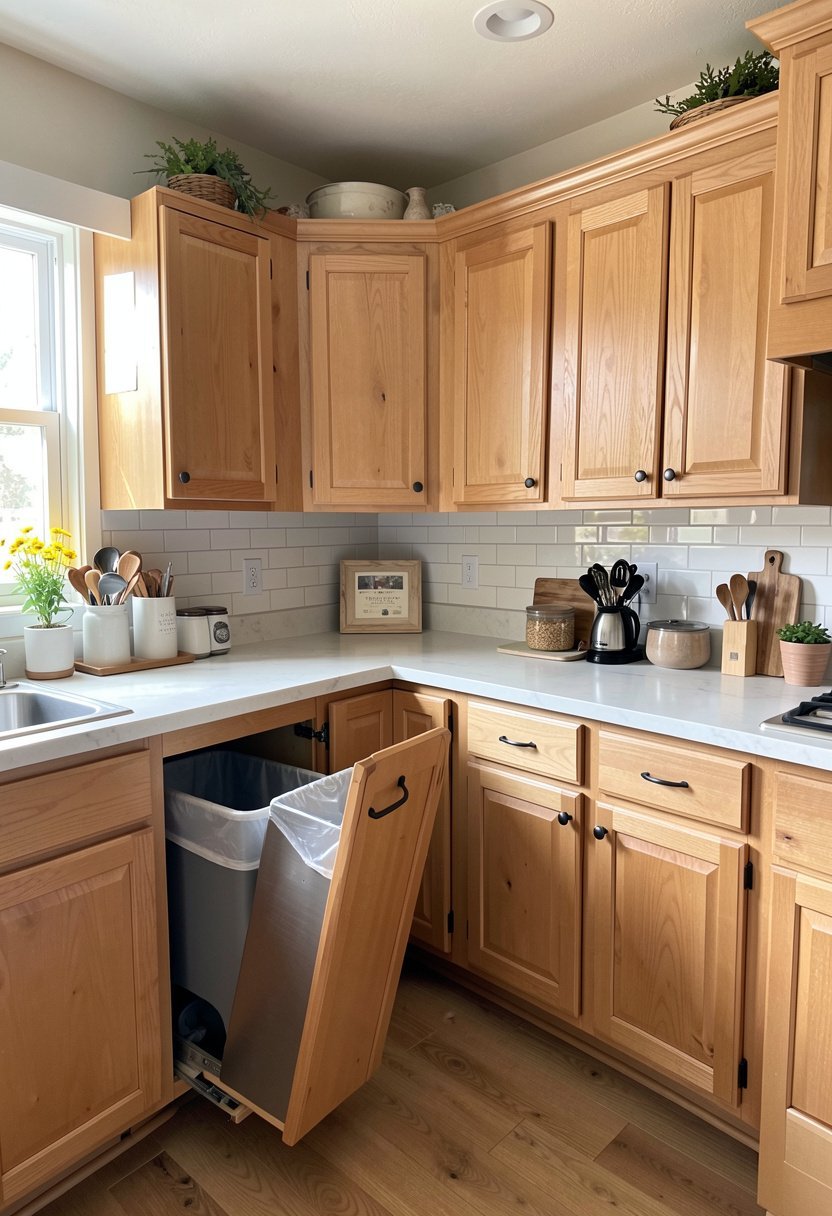
Nothing ruins a kitchen like a trash can sitting out in the open. Hide that mess by installing a pull-out trash system inside a lower cabinet. You can buy kits that mount to the door, so it opens automatically when you pull it. It keeps the floor clean and hides all those smells.
This is the ultimate kitchen layout improvement for any home. You will never trip over a bin again, and your pets will stop getting into the garbage. It takes about an hour to install, and it changes the entire feel of your workspace. It is truly the best thing I ever did for my kitchen.
Do not let a gross bin ruin your decor. Hide it away, and keep your space looking spotless.
- Buy a slide-out bin kit.
- Mount to the cabinet door.
- Measure your interior depth carefully.
- Keep the space very clean.

Paint the Inside Backs
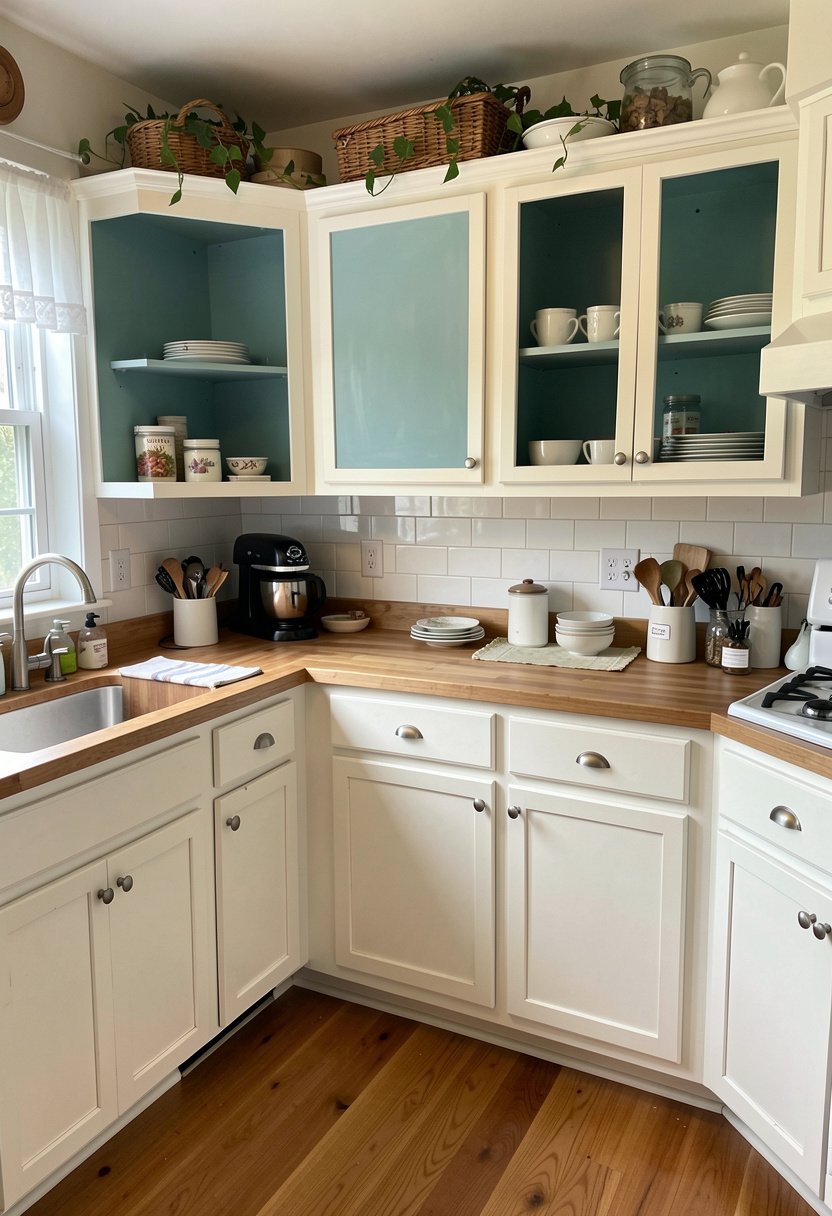
If you have glass cabinets or open shelves, the back wall is a prime spot for a pop of color. Paint it a deep navy, a soft green, or even a metallic gold. It acts as a frame for your dishes and makes the whole unit stand out. It is a tiny detail, but it shows real effort.
I chose a bright teal for my own shelves, and it made my white plates look incredible. It is a cheap project that uses almost no paint. You can even use contact paper if you want to swap it out later. Don’t be afraid to try something fun, because you can always paint over it.
It is a simple budget kitchen makeover that adds huge personality to your room. Have some fun.
- Choose a bold, fun color.
- Paint back panels before assembling.
- Use tape for clean edges.
- Match color to room decor.

Add Crown Molding Tops
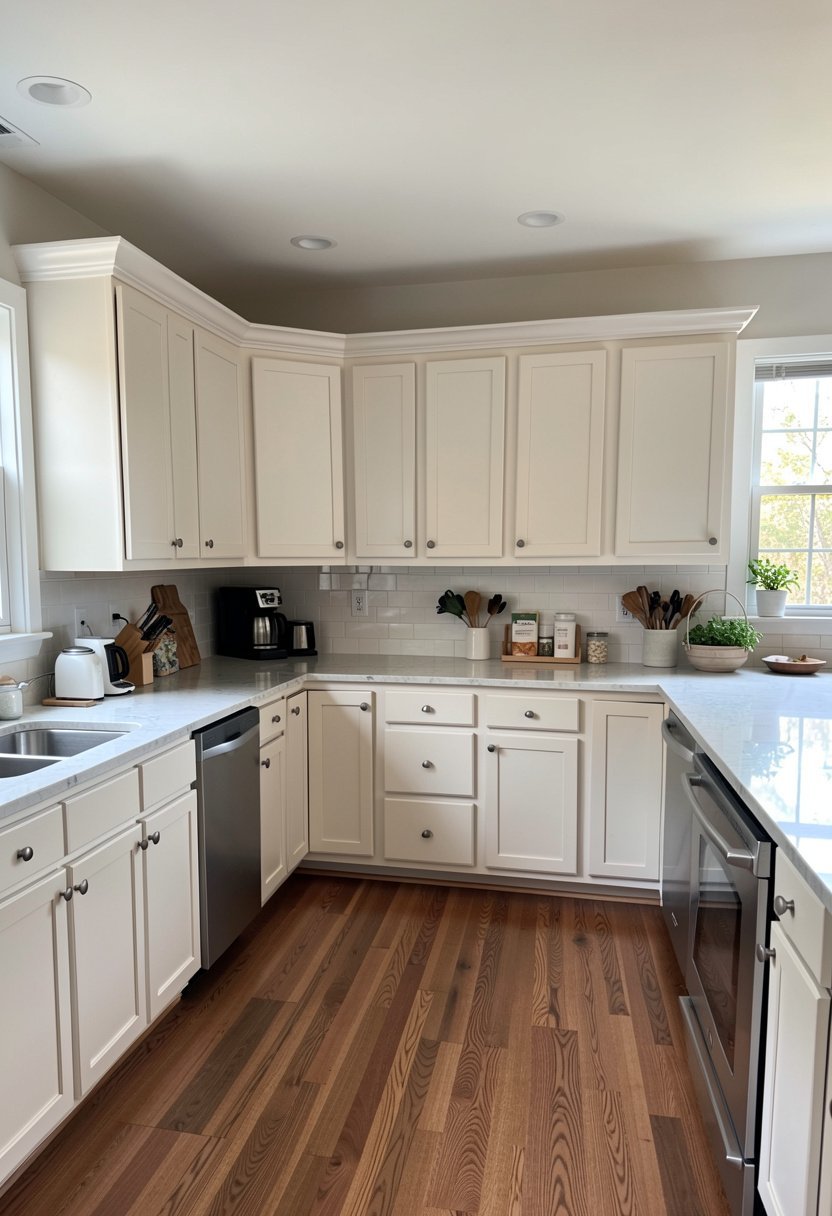
Most factory cabinets look like they are floating with a gap at the ceiling. That gap is just a dust trap that nobody can reach. Fix it by adding crown molding to the top of your cabinets. It connects them to the ceiling, makes them look taller, and gives them a finished, built-in appearance.
You can buy foam or wood molding and stick it right on. It hides the messy top and gives the room a sense of height. It makes your kitchen look like it was designed by an expert rather than bought in a box. This is the single best way to make cheap cabinets look like high-end custom carpentry work.
It is the final touch that makes everything else feel complete and polished. You will be proud.
- Measure ceiling height very carefully.
- Use foam or wood molding.
- Glue molding to top edge.
- Paint to match cabinet color.

Final Thoughts
I hope these ideas gave you the spark you needed to finally start that project. Do not worry about being perfect, just focus on making your kitchen a space you actually enjoy using. You have all the tools and knowledge now to make it happen without spending a fortune. Trust your gut, take it one step at a time, and I promise you’ve got this.
| Project Type | Difficulty Level | Estimated Cost |
|---|---|---|
| Matte Paint | Medium | Low |
| Leather Pulls | Easy | Very Low |
| Remove Doors | Easy | Zero |
| Add Trim | Hard | Low |
| LED Lights | Easy | Low |
| Sticker Paper | Medium | Low |
| New Hinges | Medium | Medium |
| Coffee Bar | Hard | Medium |
| Glass Inserts | Hard | Medium |
| Knife Strips | Easy | Low |
| Pull-Out Bin | Medium | Medium |
| Paint Backs | Easy | Very Low |
| Crown Molding | Hard | Low |
| Deep Cleaning | Easy | Very Low |
| Hardware Swap | Easy | Low |
Frequently Asked Questions (FAQs)
Is It Hard to Paint Kitchen Cabinets On My Own?
It is not hard, but it does take time and patience. The key is in the prep work. If you scrub, sand, and prime your cabinets correctly, the paint will hold up for years. Many people fail because they try to rush the process.
Can I Change Hardware Without Drilling New Holes?
Yes, you can. Look for hardware that comes with adjustable centers or use a template to find handles that fit your existing spacing. If you really want a different size, just fill the old holes with wood filler, sand them smooth, and drill fresh ones.
Are These 13 Homemade Kitchen Cabinet Ideas Good for Renters?
Many of these tips are perfect for renters. Using peel and stick paper, removing doors, or switching out hardware are all reversible. Just keep the old doors or handles in a safe place so you can put them back when you move out.
Do I Need Special Tools for These Projects?
Most of these projects only need a screwdriver, a paintbrush, and a measuring tape. If you want to add molding or glass, you will need a saw or a drill. Most hardware stores can even cut the wood or glass to size for you.
Does Painting Cabinets Really Last As Long As New Ones?
If you use high-quality cabinet enamel paint and let it cure properly, it will last a very long time. Do not use cheap wall paint, or it will chip. Let the paint harden for a few days before you start using the doors normally.
Should I Choose Glass Doors for All My Cabinets?
I would suggest doing only one or two sections. Having glass on everything makes it hard to keep the kitchen looking clean. It is better to have some areas where you can hide your messy items, and some where you can display your nice pieces.
Will LED Strips Under Cabinets Get Too Hot?
Modern LED strips stay cool to the touch. They are very safe for wood cabinets and use very little energy. Just make sure you buy a reliable brand so the adhesive sticks well and the lights do not flicker after a few months of use.
Can I Add Crown Molding to a Sloped Ceiling?
You can, but it is much harder to cut the angles correctly. If your ceiling is not flat, you might want to skip the crown molding or use a flexible material that can bend. It is a tricky project, so maybe start with something easier.